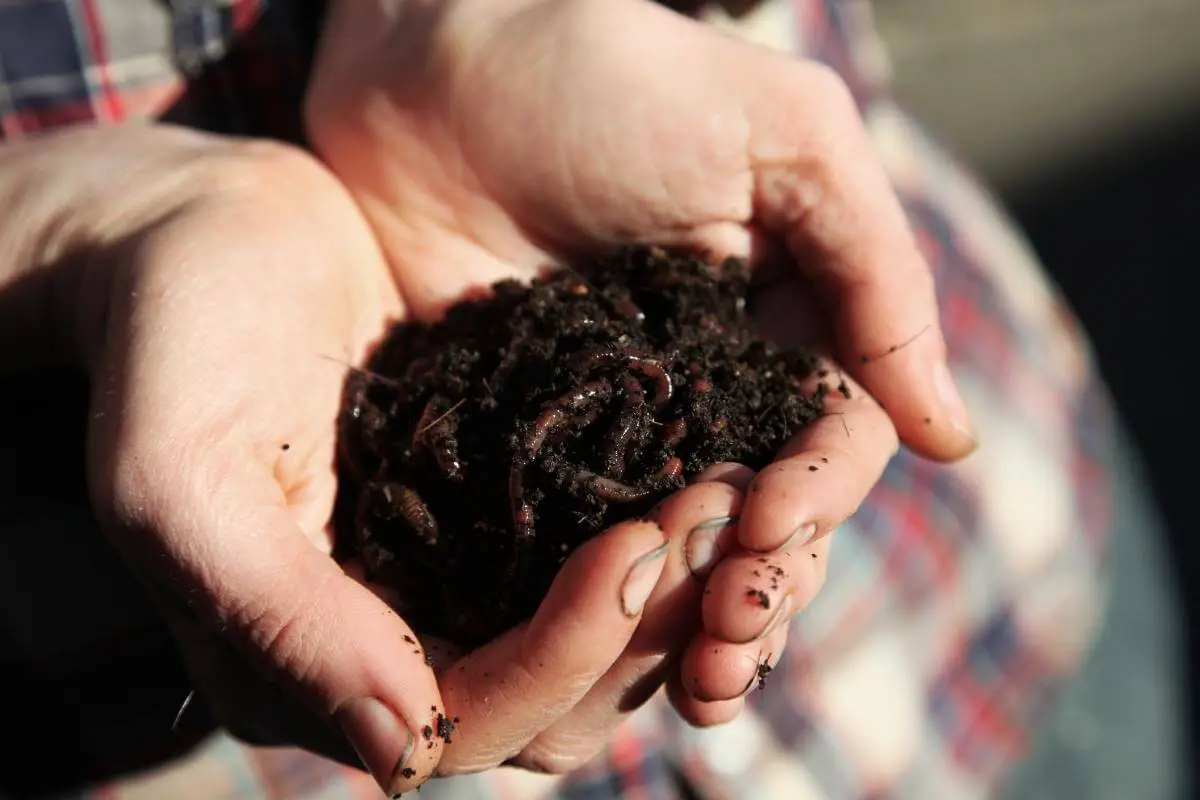
Compost worms are a specific subtype of earthworms.
They are segmented wiggler worms that are reddish-purple in color and range from 2 to 3 inches in length, otherwise known as red wigglers.
They prefer warm environments though can adapt to temperature fluctuations.
They thus thrive in decaying organic material such as rotting vegetation, manure, and compost. They live close to the surface, bringing processed matter to the top.
However, they will only survive in a garden if there is lots of organic material for them to digest.
It’s not suggested to spread or use compost worms around your gardens. They are best kept to the compost bin or area.They are segmented wiggler worms that are reddish-purple in color and range from 2 to 3 inches in length, otherwise known as red wigglers.
Housing Worms
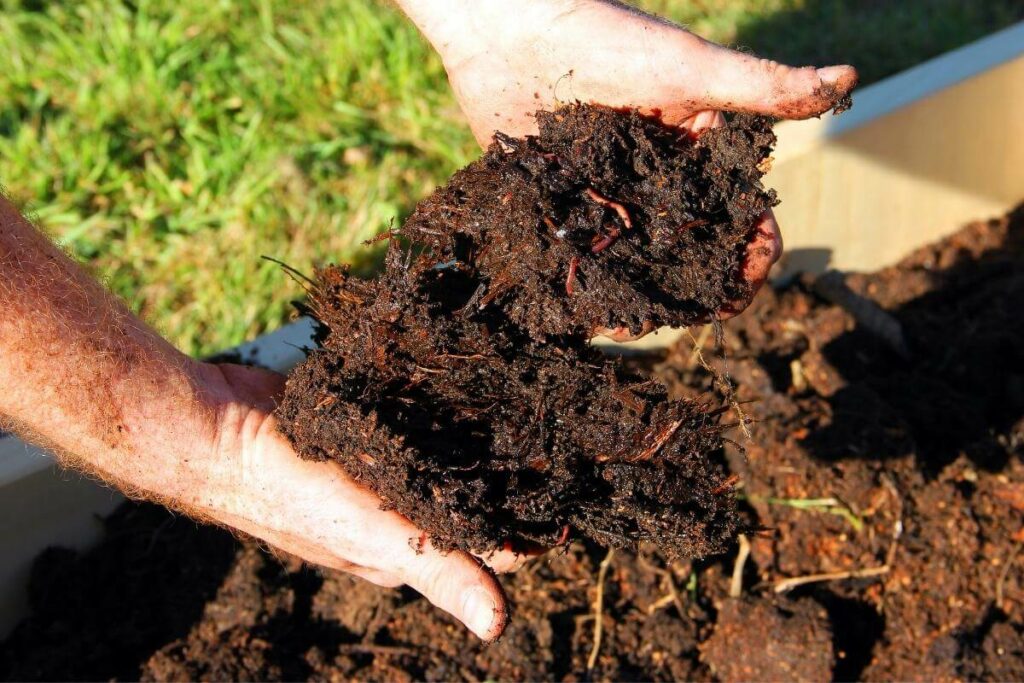
Composting worms do best in a separate worm home or a composting bin.
It is easier to control the amount of food they get, the temperature of the habitat, and the moisture levels.
Having worm farms or compost bins where they create nutritious soil is a great way to create your own fertilizer.
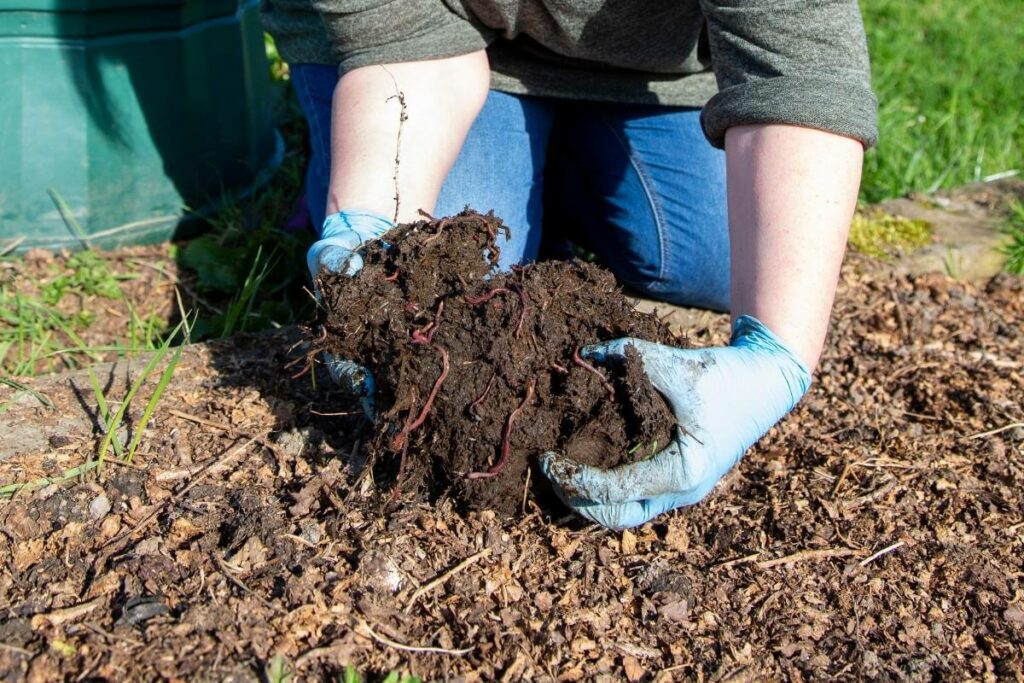
However, even if worms are kept in a separate location from the garden, when it comes time to move the compost to the garden, you will inevitably move worms to the garden.
Additionally, sometimes there is not space for a separate home or bin just for worms.
Here are some ways for you to keep composting worms, as well as native earthworms, alive and prospering in your garden.
Feeding Stations / Worm Farms
Garden worm feeding stations are small buckets buried in the garden where you feed the worms types of food and they, in turn, put nutrients into the garden.
Keeping the bucket in the garden is a great way to save space.
Getting the Bucket
So get yourself a bucket or PVC pipe with a large diameter. It should have a firm fitting lid to keep other pests away from it.
Cut the bottom off the bucket, and drill holes in the sides to allow the worms to come and go freely.
Don’t Forget: Make sure to leave the top few inches of the bucket without any holes. If you cannot create a bucket, you can always purchase a ready-made one.
Placing the Feeder
You’ll want a place in your garden that is easy to get to and is also close to plants that will benefit from the worms.
You may need to move the compost around to the farthest reaches of your garden, or have multiple worm feeding stations.
Wet the soil where you’re planning to dig, then dig a hole big enough for your bucket. You’ll want the top of the bucket to be above ground an inch or two, but everything else should be buried.
Important: Keep the lid on while you surround the area with some of the previously removed soil and seat your feeder firmly.
Filling the Feeder
Once all that is done, you’ll need some cardboard. Yes, cardboard. It makes the best bedding.
The easiest places to get cardboard are toilet paper tubes and egg cartons, but any plain brown cardboard will do.
Rip or cut your cardboard into palm-sized pieces, moisten it, and put it in the bottom of the bucket, which is actually just the soil in your garden at this point.
Then put some moistened newspaper balls on top of the cardboard.
Adding the Worms
Now you add your worms. You can get composting worms at feed shops, nurseries, and even bait and tackle stores.
Once you’ve put your worms in, give them some more wet newspaper and maybe some grass or mulch.
Then you’ll want to put the lid on the feeder and let them settle for a few days. You can water the garden as normal, but you’ll want to keep the area around the feeder moist.
Feeding the Worms
After a few days, you can add scraps of food to your feeder. Your worms will gladly eat fruits and vegetables, but don’t give them meat or dairy.
If you feed them too much food, the feeder will start to smell as the food rots faster than the worms can eat it.
Remember This: You’ll also want to buffer with more shredded cardboard or chopped straw to keep enough oxygen in the feeder.
Harvesting the Feeder
Once the feeder is full of more soil than decomposing fruits and vegetables, you may need to remove some of it.
Do this by taking out the top half and setting it aside. Then take the bottom half and spread it through your garden.
Then put more cardboard and newspaper down for bedding, but the top half back into the feeder, and continue feeding as normal.
Food Deposits
If a worm farm is not the right fit for your garden, you can also dig smaller food deposits throughout your garden and throw kitchen scraps into them.
Composting worms as well as the local worm population will gladly take care of the scraps for you. However, this option does not work as efficiently or as quickly as a purpose built feeder.
Mulching
You can add mulch to your garden in addition to any of the previous methods or use it as a method of its own.
Here’s why:
- Mulch feeds composting worms regardless of where they are located in your garden and it will encourage other worms to move into your garden.
- Lucerne mulch and sugar cane mulch are ideal types of mulch to use. You can also use hay, straw, and grass clippings.
- Wood chips are good, but only if they go on top of other mulch, as they are very complex and take a long time to break down.
Other Tips for Compost Worms in Your Garden
Worms thrive on moisture, so keep your garden moist for both your plants and your worms.
Here’s how:
- Having a variety of plants will also promote a vibrant ecosystem for your worms
- When you fertilize, try to use organic fertilizers rather than chemical ones
Conclusion
In short, adding composting worms to your garden is a great way to make your garden thrive and prosper.
Red wigglers do need certain conditions to work with, but once you’ve done the initial set up, these worms will be doing more work than you did.
Related Articles
- Worm Castings vs Compost: Which is Better?
- What is Black Bag Composting?
- Is Unfinished Compost Bad? What to Do with It!