If you are not too familiar with gas fireplaces, the word thermocouple might seem like it came straight from Mars. But today I’ll break it down for you in the simplest terms possible.
A thermocouple is essentially a flame sensor. It takes heat energy from the flame and turns it into electrical energy. When the pilot flame heats it, it produces some voltage that runs through a copper wire, making an electromagnet in the solenoid end. That electromagnet keeps the gas valve open, allowing gas to flow. It uses two dissimilar wires to generate this tiny bit of voltage.
The thermocouple is a safety device. It keeps an eye on that pilot flame, only letting the gas valve open when it’s safe to burn. But if that thermocouple gets all dirty or decides to quit on you, the main burner does not stay lit.
Sometimes, soot residue from incomplete combustion can build up on the thermocouple’s surface. This messes up the voltage generation and does not hold the valve open.
If your fireplace does not stay lit on releasing the gas valve, it is a sign that the sensor needs a good cleaning to get rid of that soot or any oxidation.
How to clean a thermocouple
Now, let’s get down to the nitty-gritty.
To begin, you will need to have the right tools handy for the job. This includes an adjustable wrench or nut driver and emery cloth.
1. Get the logs out of the way
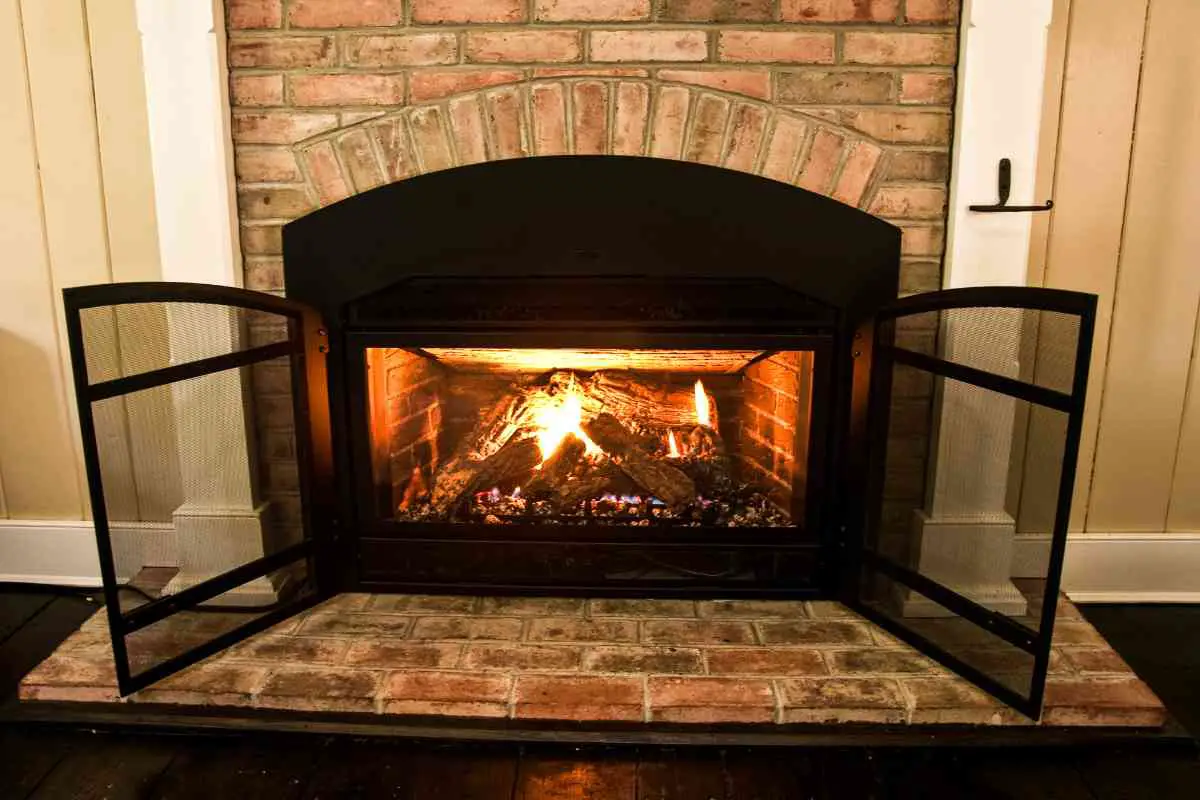
Take the glass or screening cover off and remove the logs to reach the pilot assembly. This should give you a clear view of the pilot assembly.
2. Kill the power & cut off the gas
Switch off the power and the gas valve to the “off” position by rotating it 90°. Give the furnace about 10 minutes to cool down.
3. Identify the thermocouple
The thermocouple is connected to the gas valve that leads right to the pilot assembly and the burner.
In most cases, the pilot assembly is tucked inside the firebox, under the top logs. In newer gas fireplace models, it might be sitting pretty on the left side of the rack. Right next to the pilot is the thermocouple.
4. Remove & clean the thermocouple
Pull out your trusty wrench or nut driver. Disconnect and slide the thermocouple out of its mounting.
Now, take an emery cloth, soft sandpaper, or soft abrasive pad and give the thermocouple surface a gentle scrubbing to get rid of the soot. Be careful not to scratch up the coat.
When that probe starts looking’ semi-shiny, you are done cleaning.
5. Pop the thermocouple back in place
Slide that thermocouple right on back into the pilot assembly as it was before. Tighten it up well with the screws or nuts.
6. Light up the pilot
Now that the thermocouple’s all spiffy and clean, it’s time to give the furnace a test run.
Flip the power switch back on, then turn on the gas. Set that gas valve to the “pilot” position. If you got a bypass button, hold it down so the gas can flow into the pilot.
Whip a BBQ lighter and give that pilot assembly a spark if it isn’t an automatic ignition system. Hold that bypass button for another 30 seconds to ensure that the thermocouple heats up keeping that flame burning.
The furnace should continue burning without a hitch once you let go of that bypass button.
Pilot cleaning
The flame on a properly functioning pilot should be blue. If you spot a yellow flame, well, that’s a sign that the air intake holes in the pilot assembly need a good cleaning.
You got yourself two options here:
- One, take a gentle poke at the air intake holes using’ a fine piece of wire. Give them a little nudge to clear out any debris.
- Or, use compressed air to blow away debris and dust.
Make sure the gas is turned off and all the connections are unplugged. Safety first.
Once you’ve successfully cleared out the air intake holes, light up that pilot again. If the flame is back to a glorious blue and engulfing the thermocouple, well, problem solved.
Thermocouple Replacement
To determine if the thermocouple is functioning properly or requires replacement, you’ll need to measure its voltage.
Follow these steps to measure the thermocouple’s voltage accurately:
- Get yourself a trusty voltmeter. Be sure to set it to DC volts, not AC. Look for the symbol showing DC volts, usually a long line with three dots or lines beneath it.
- Now, unscrew the thermocouple from the valve. We’ll be taking our readings from the end of it.
- Grab your voltmeter. Take that red probe and stick it right on the very end of the thermocouple. The black probe goes on the outer copper wire lead.
- Alright, time to light up the pilot. Keep that gas valve knob pressed down. That pilot will stay on only if you’re holding that knob since the thermocouple is disconnected.
- With the pilot’s burning bright, and the voltmeter attached, you should see a voltage reading between 8mV and 30mV. If that reading dips below 7mV, well, it’s time to rustle up a new thermocouple.
Replacing the thermocouple
First off, get a replacement piece that matches your existing thermocouple. Standard lengths come in 18, 24, 36, and 48 inches. Check the millivolt rating to ensure they match.
Now, let’s get down to business;
- First, shut off the gas supply and kill the power. Safety is key, folks.
- Find that thermocouple assembly and disconnect it.
- Yank out that old thermocouple and slide in the new one. It should be lined up nicely. Reattach the bracket and get the screw holes aligned just right. Screw and secure that new thermocouple in place.
- Light up the pilot. That fire should stay lit, dancing and flickering just like it’s supposed to.
To Sum Up
Occasionally cleaning the thermocouple is essential for maintaining its performance.
By following these step-by-step instructions, you can effectively clean the thermocouple and promote the optimal functioning of your gas fireplace.
But remember to always prioritize safety and seek professional assistance if you need to or if problems persist.