Summary
To create a microclimate in your garden, take the following steps:
- Understand that microclimates are smaller climates with differing conditions from the area’s primary climate
- Observe and assess the factors that determine your property’s growing conditions, such as:
- Climate
- Geography
- Water
- Existing structures
- Air circulation
- Light
- Temperature
- Existing plants
- Access points and materials
- Growing areas
- Identify one problem to correct
- Identify a solution to the problem
- Make the change
It’s tempting to rush making changes, but gardening doesn’t work that way. It requires patience, and trying to do too much at once too fast can (and likely will) result in unforeseen and adverse effects.
It’s better to take the time to understand your growing area, the factors that create the climate there, and make one change at a time.
Imagine a row of spruce trees or a hedgerow of lilacs serving as an effective windbreak.
Now, imagine swales catching water if you live somewhere with infrequent rainfall.
Imagine planting the right kinds of trees to build a canopy offering shade from the sun.
These are just some benefits microclimates can offer you and your garden. The only limit to further benefits is your understanding of the growing area, physics, and your creativity.
If you’re ready to test those limits, then I’ll help you learn how to create a microclimate in your garden.
First, you need to understand microclimates.
1 – Understand Microclimates
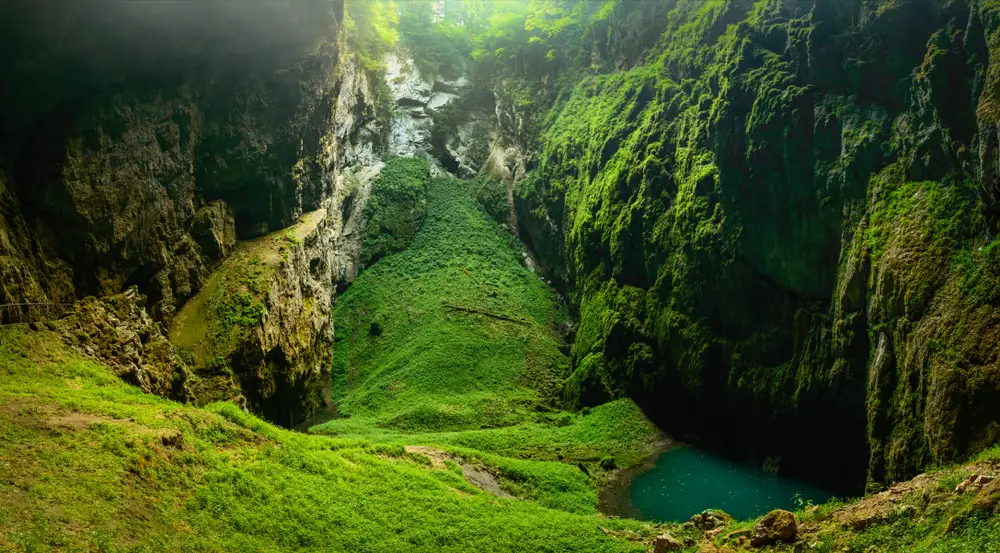
Simply put, microclimates are pockets where conditions differ from the prevailing environment. They occur due to relationships between specific elements in a landscape.
For example, that spot on your backyard deck that is several degrees warmer than everywhere else? That’s due to the relationship between the opposite-facing hill, your fence, and the western-facing wall of your house. This relationship blocks the wind and retains heat from the sun.
The spot on top of the above-mentioned hill, where almost nothing will grow? It’s exposed to all weather conditions, and since it is on top of a hill, it is also drier because all precipitation runs down the slope.
You get the idea.
But it’s an important idea to understand because only certain plants will grow in those locations’ conditions.
While this is true for all locations, knowing that micro-locations exist within larger ones helps you be even more precise with your gardening and get the most out of it.
Also, you’ll be able to make changes to your garden, leading to success instead of frustration.
2 – Observe And Assess

To create a microclimate in your garden, the best place to start is a strong working knowledge of how your property functions when it comes to light, water, temperature, wind, etc.
Though this may seem kind of obvious, all of these elements are part of how your yard works as a growing space. When you understand each well, you can enhance what you wish and create the most positive impact with the least effort.
As you observe and learn about your property, you will want to note what is an asset to growing (strengths) and the relative challenges (weaknesses).
You will want to take your time and observe as many different conditions, such as the weather, as possible.
However, remember to take it all step by step. It’s a lot to take in all at once.
With that in mind, let’s start with your climate.
Climate
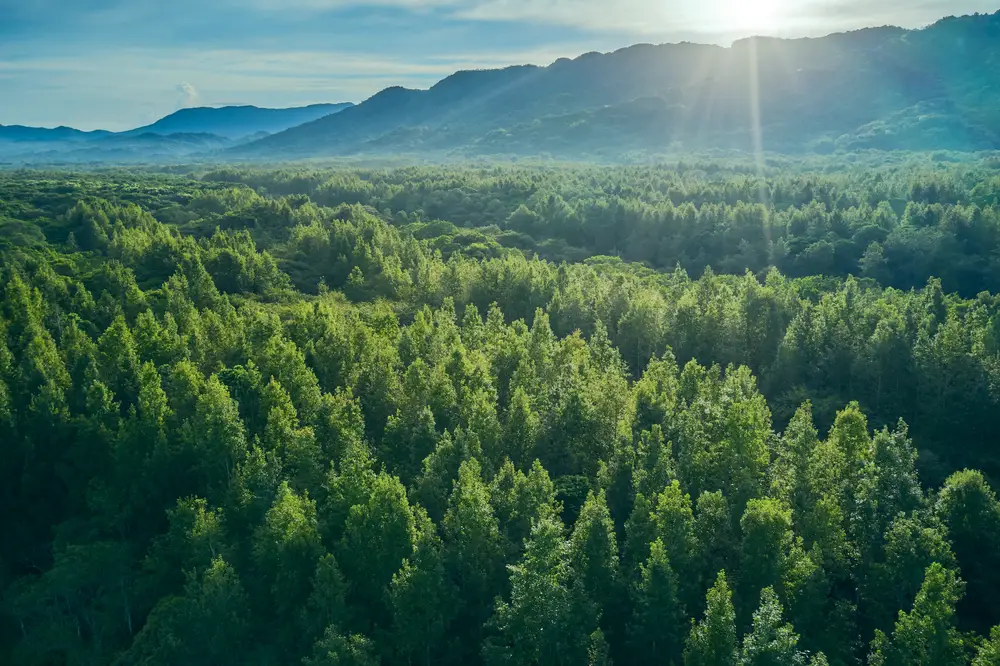
Climate exists on a variety of scales, such as macro (big, such as an entire region) and micro (small, such as a corner of a property).
It is a range of area-specific weather conditions based on the relationship between geographic (location) and topographic (land and water) features and the sun and moon (primarily).
When we speak about climate, we are speaking about those conditions and their patterns over time specific to an area (micro or macro).
Observing your growing area’s climate is essential because it is relatively permanent and non-negotiable. It sets the limits you need to work within.
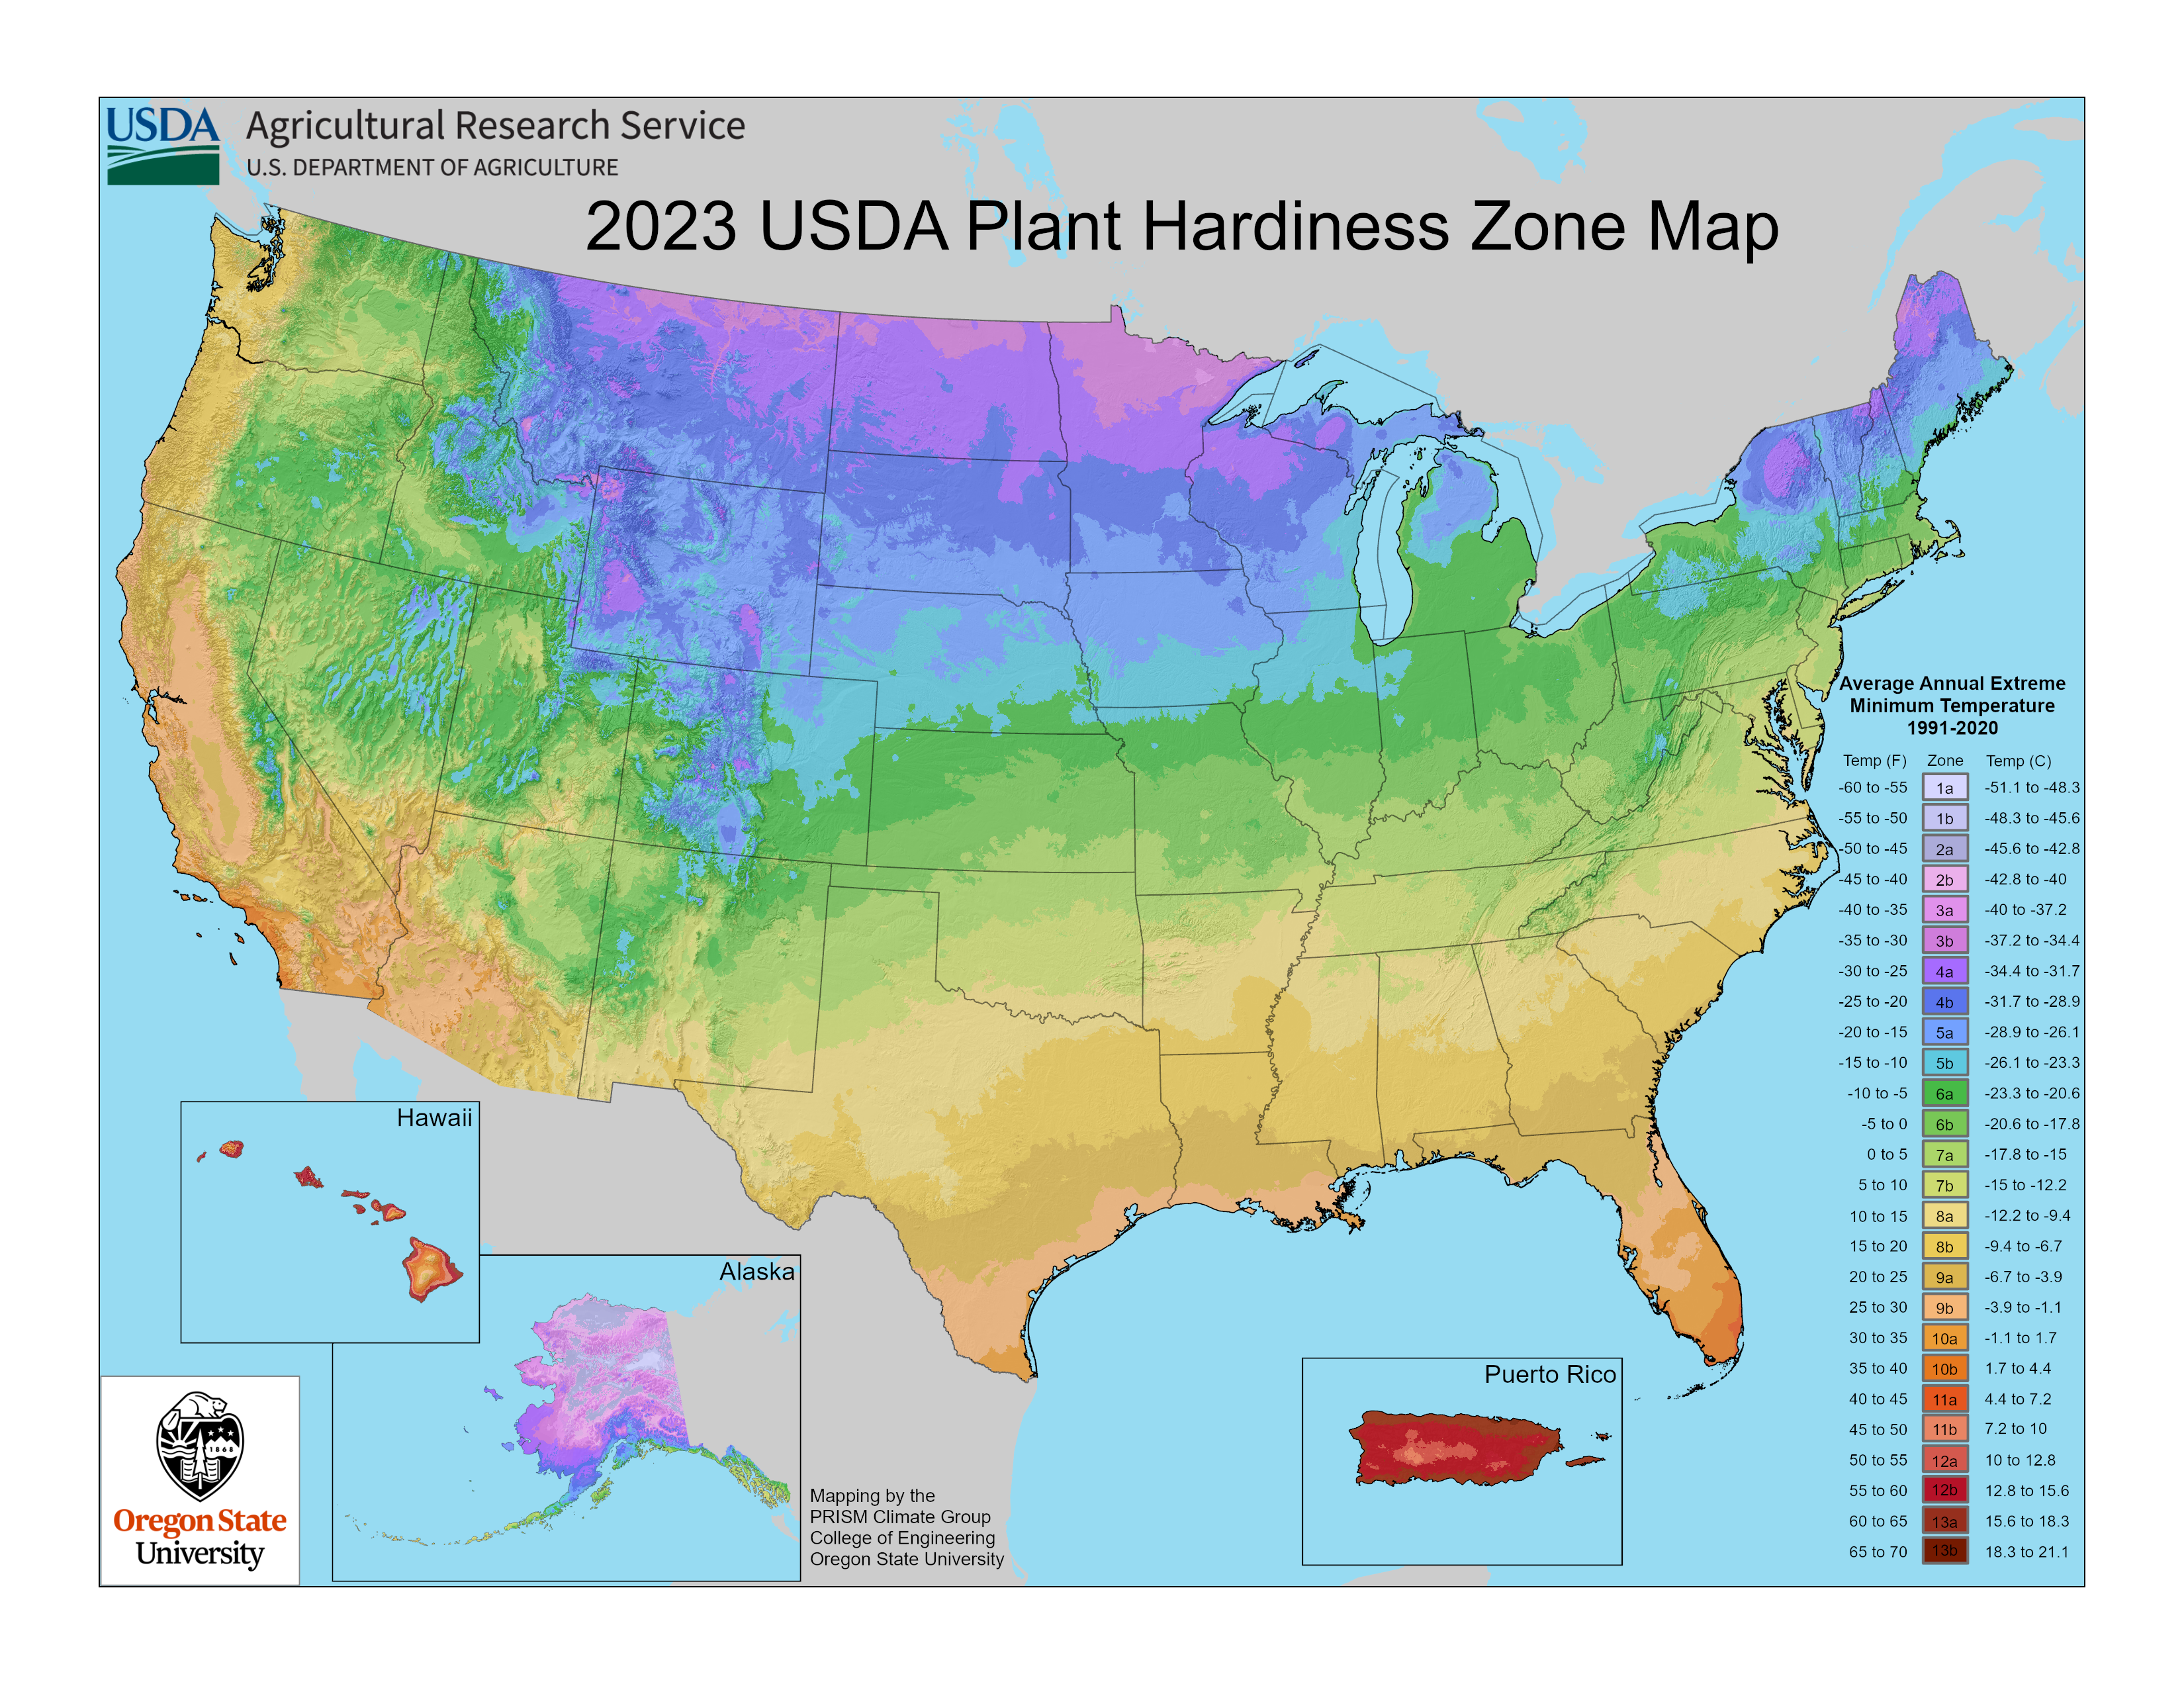
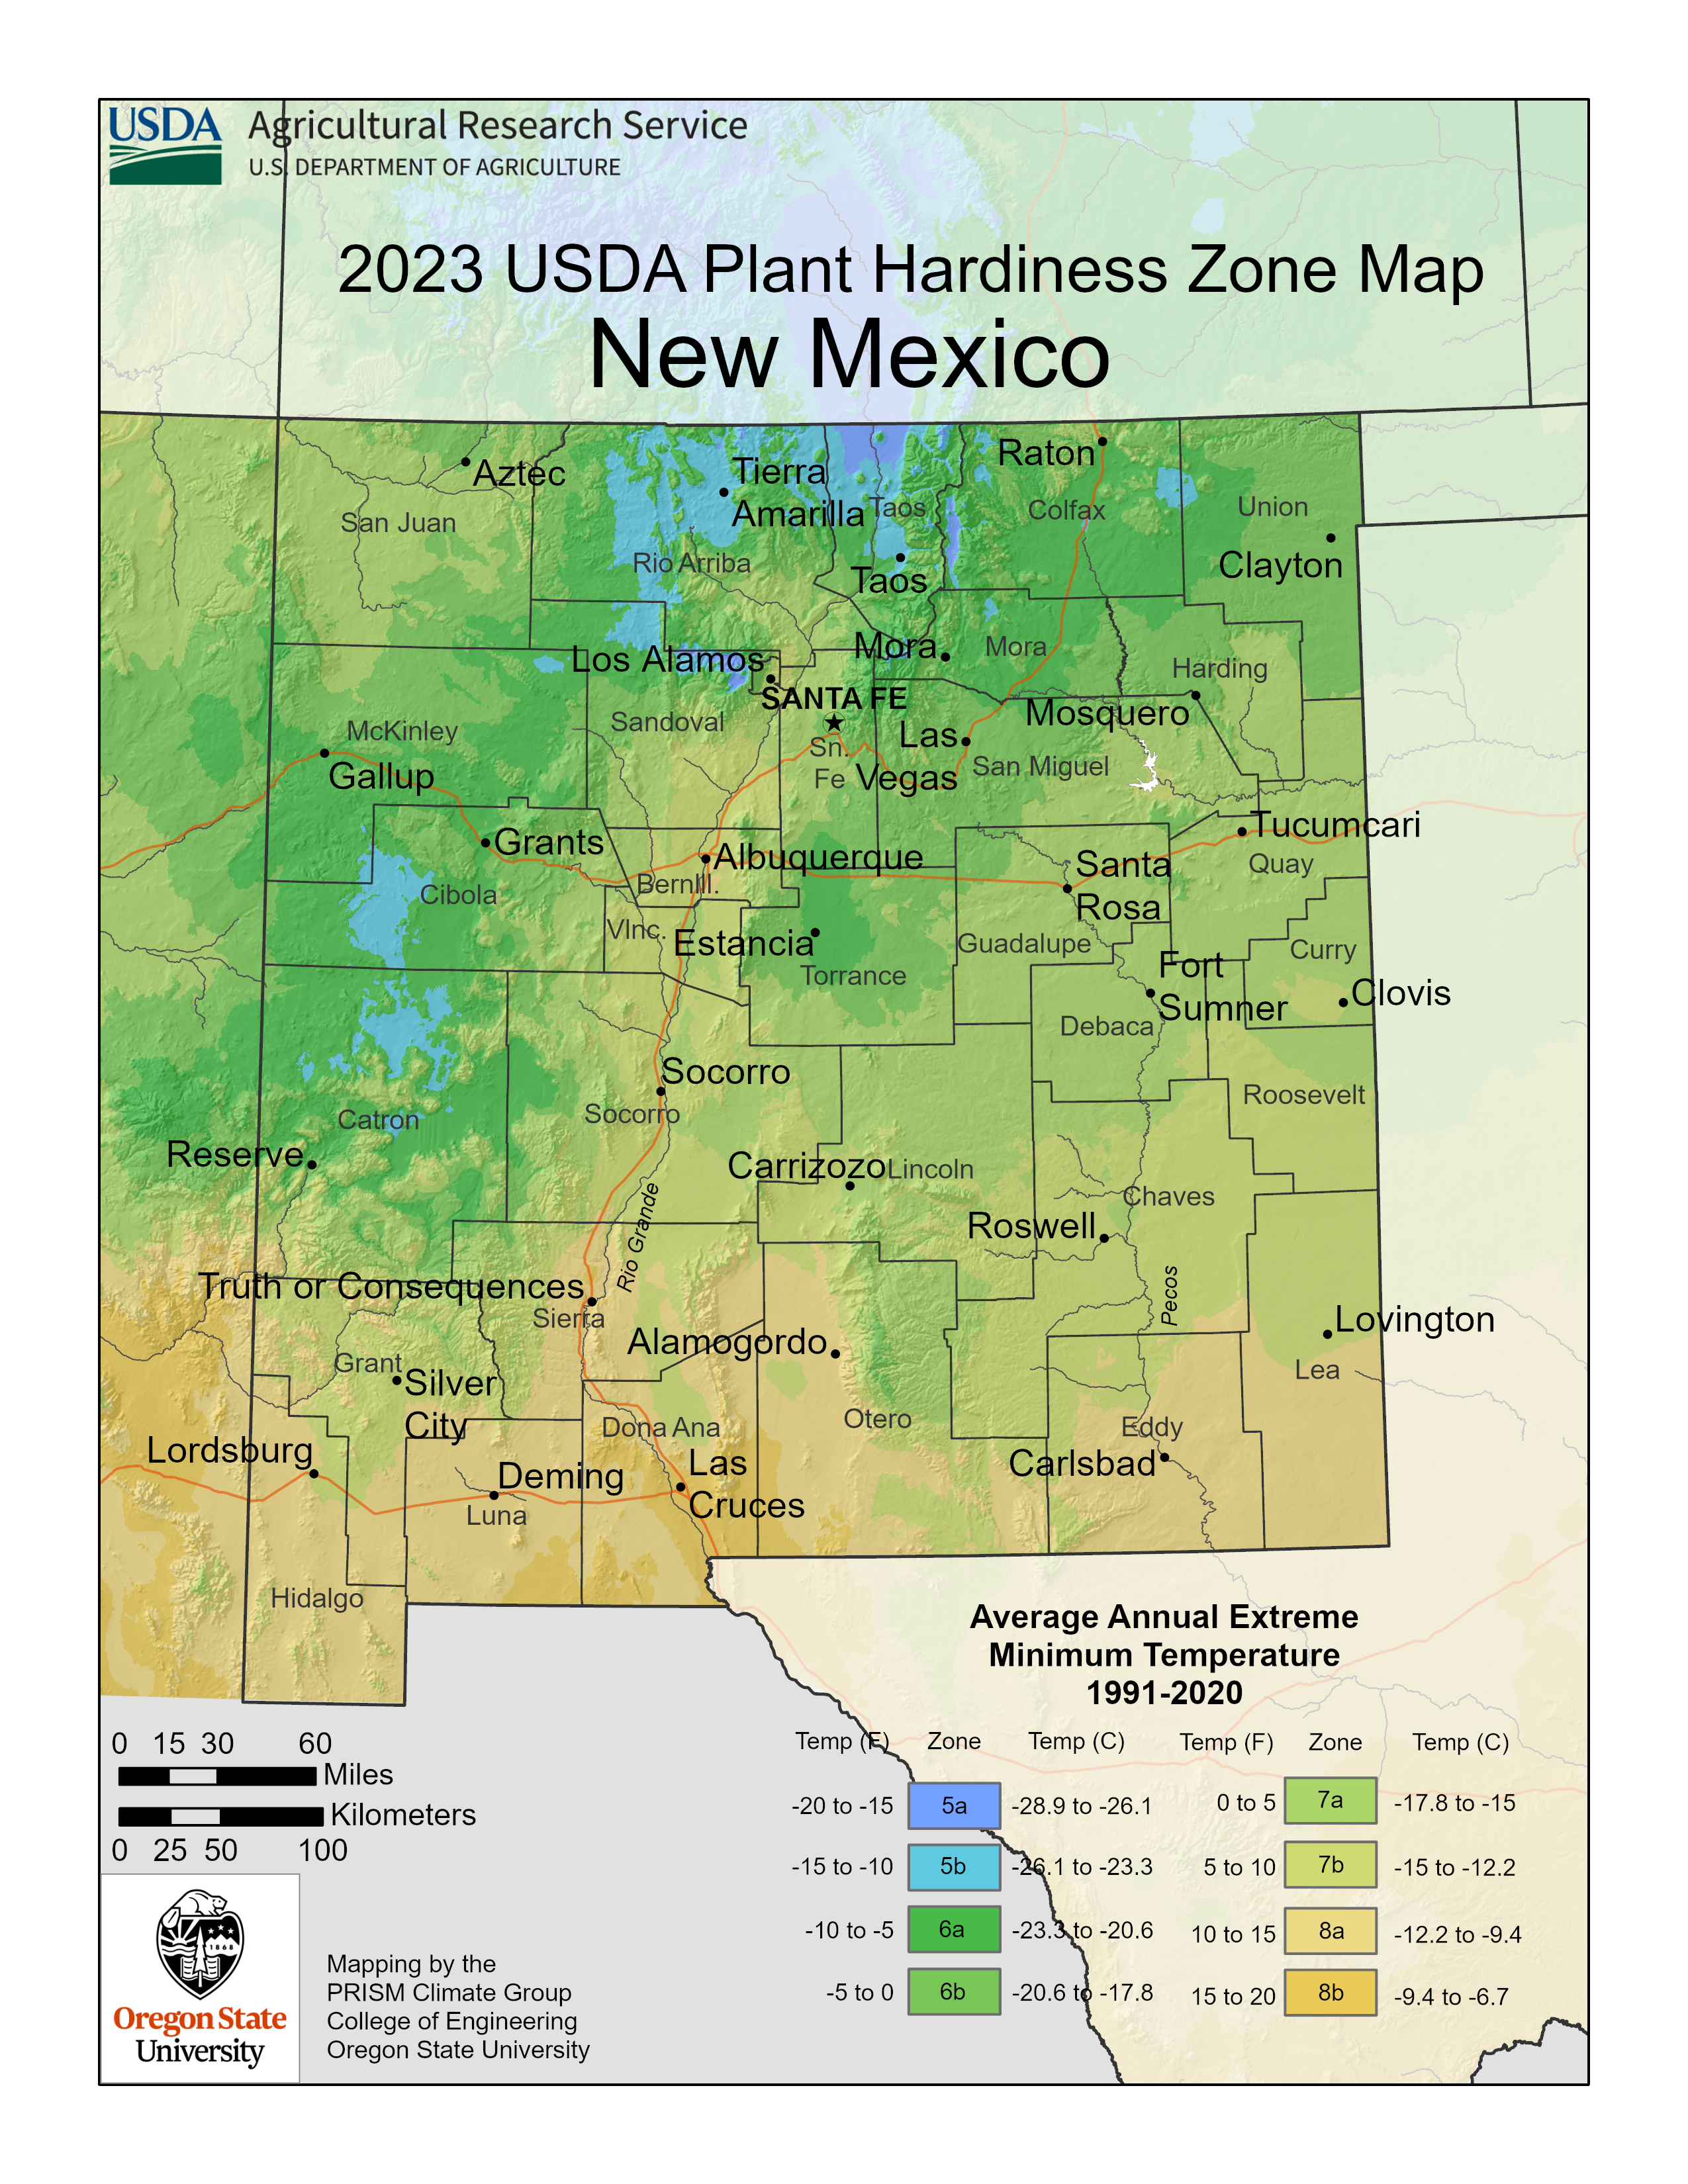
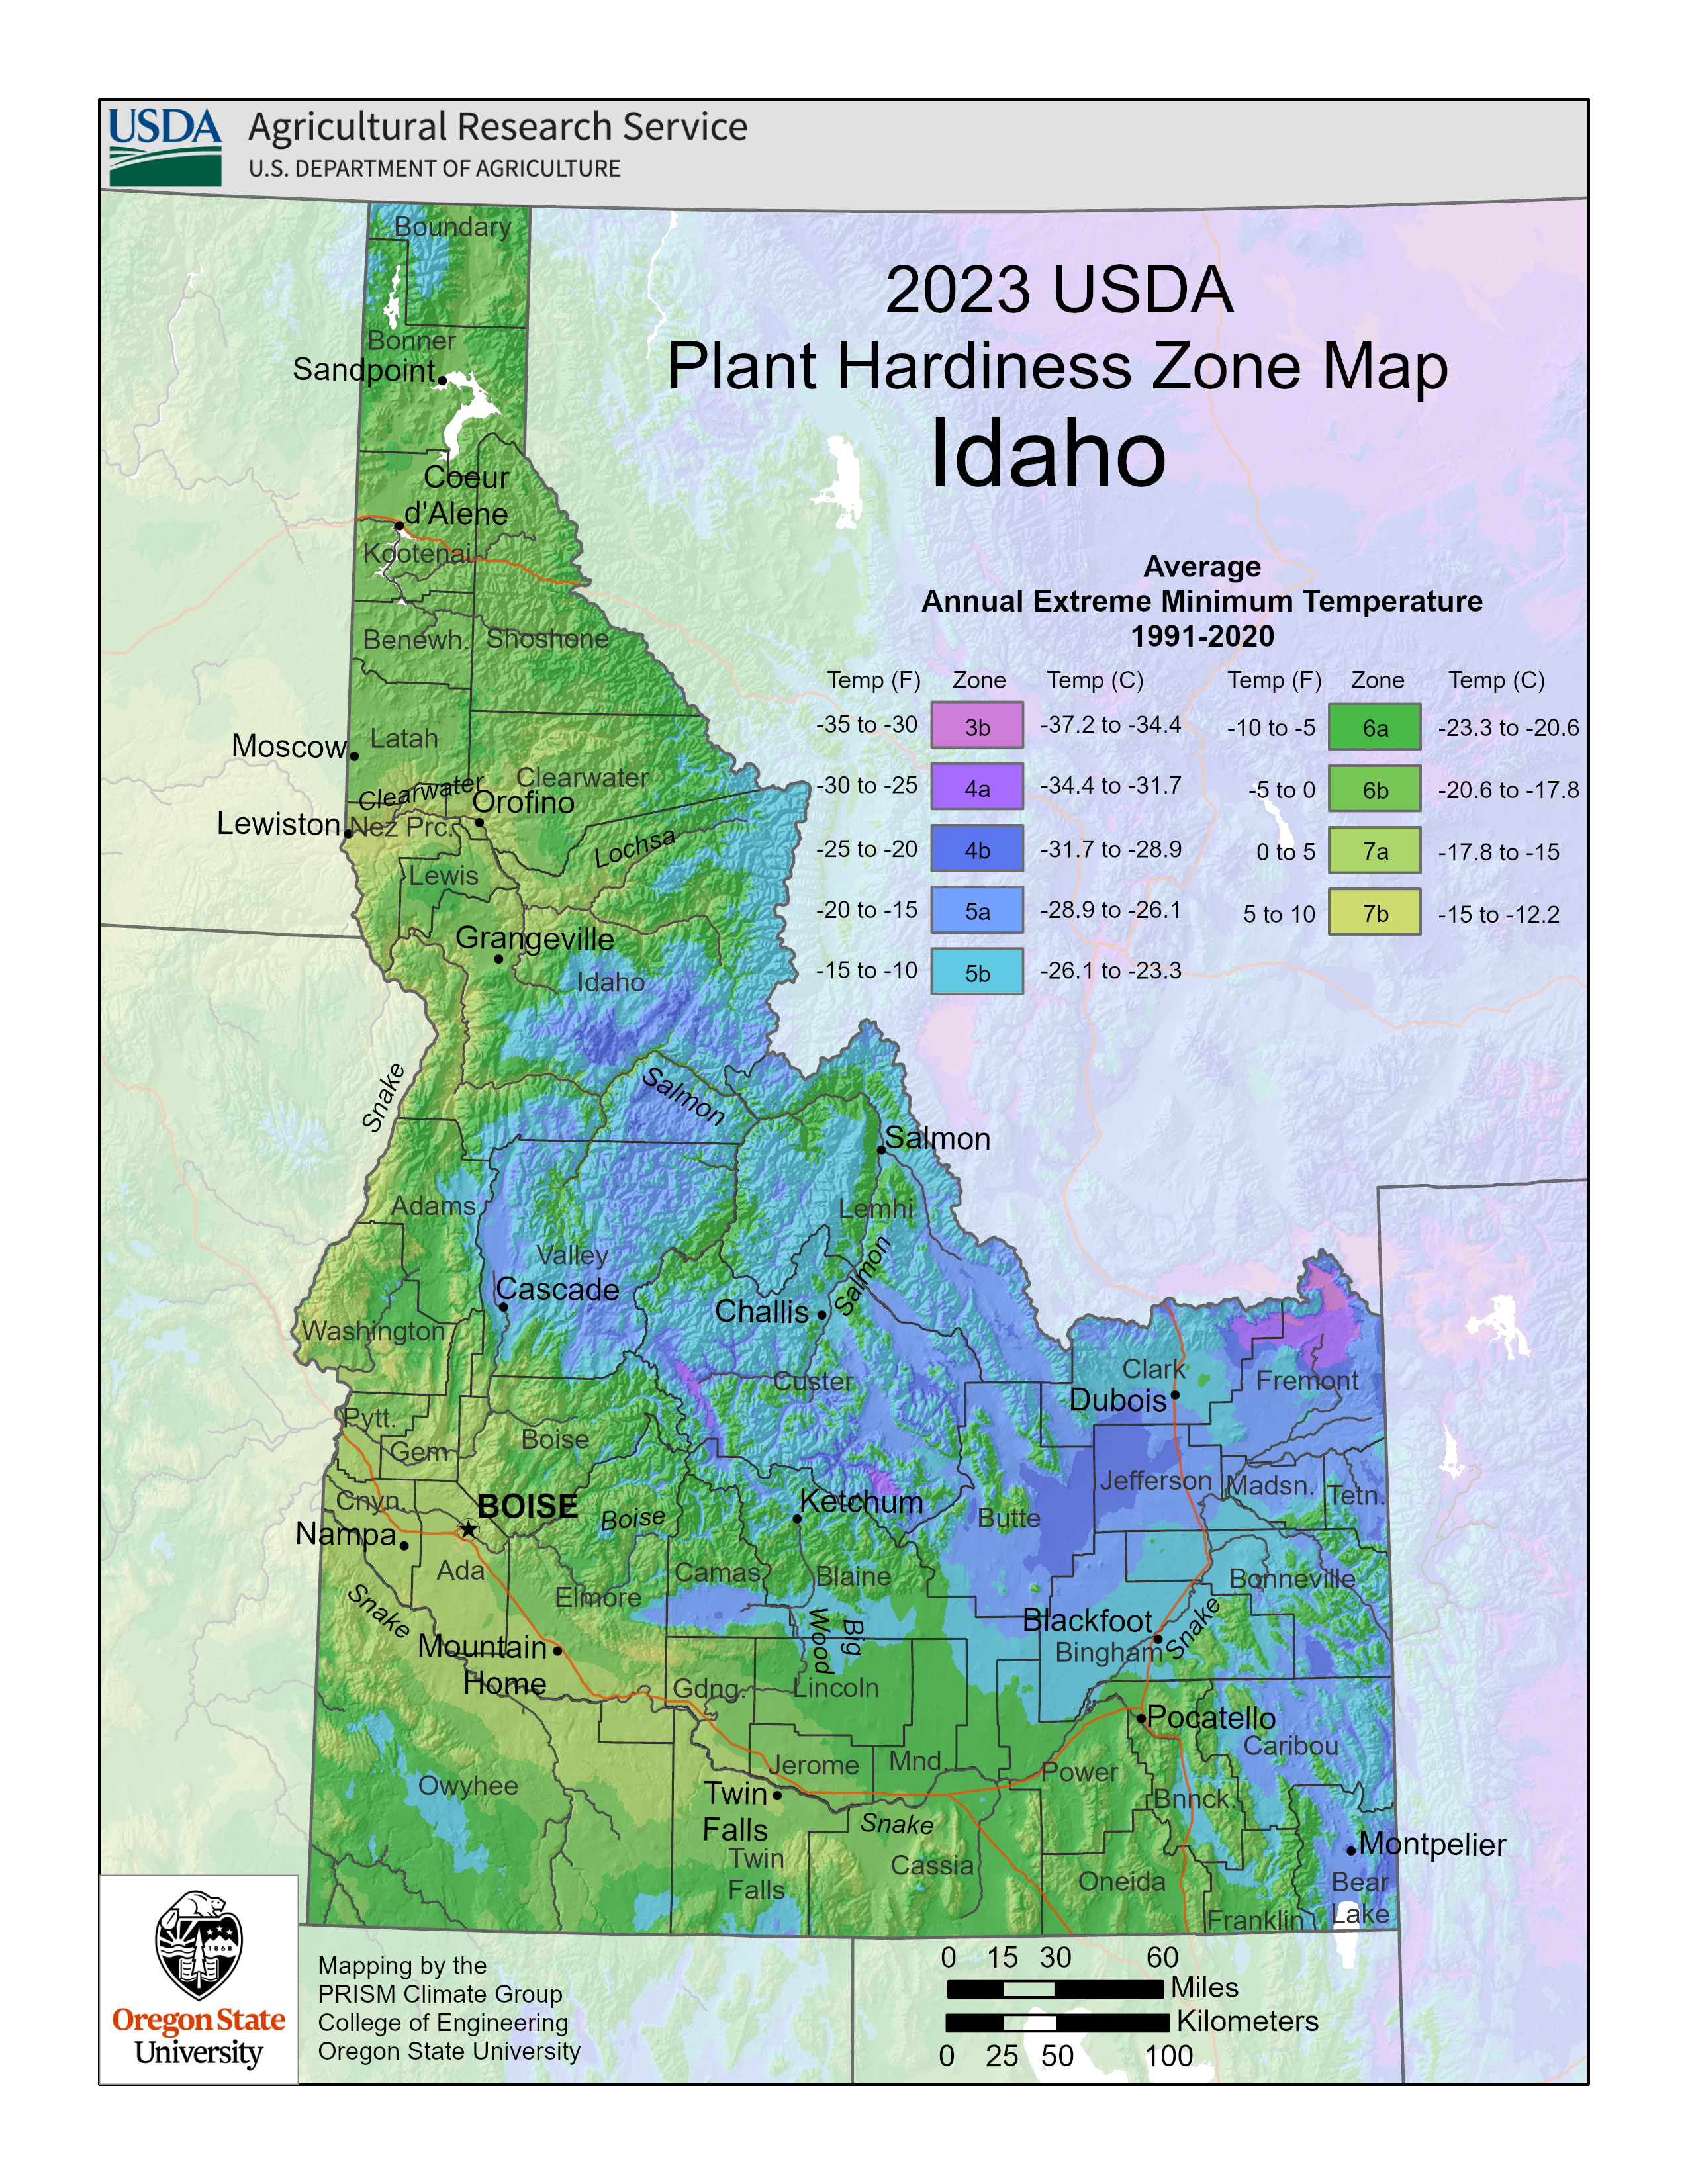
You need to be aware of how to plan your garden within your area’s climate range. Begin by finding out which USDA Hardiness zone you live in.
Geography

Understanding how local geography affects your garden is key to your success.
Depending on where you live, you could have mountains, lakes, oceans, forests, deserts, beaches, tundra, rivers, or other geographic features nearby. And each of them influences how warm, cold, wet, or dry an area is.
For example, areas in (or near) mountains can have extremely fast-changing conditions all year. Forests typically have a cooling effect as compared to cities in comparable locations, and so on.
There is also the element of how your property’s specific geography affects your garden (micro level).
For example, a hill could protect plants at its base from harsh winds but could also work with other elements to be a sink for cold air and increase frost risk.
To succeed as a gardener you must be aware of how different geographic features are working in your growing area.
Water
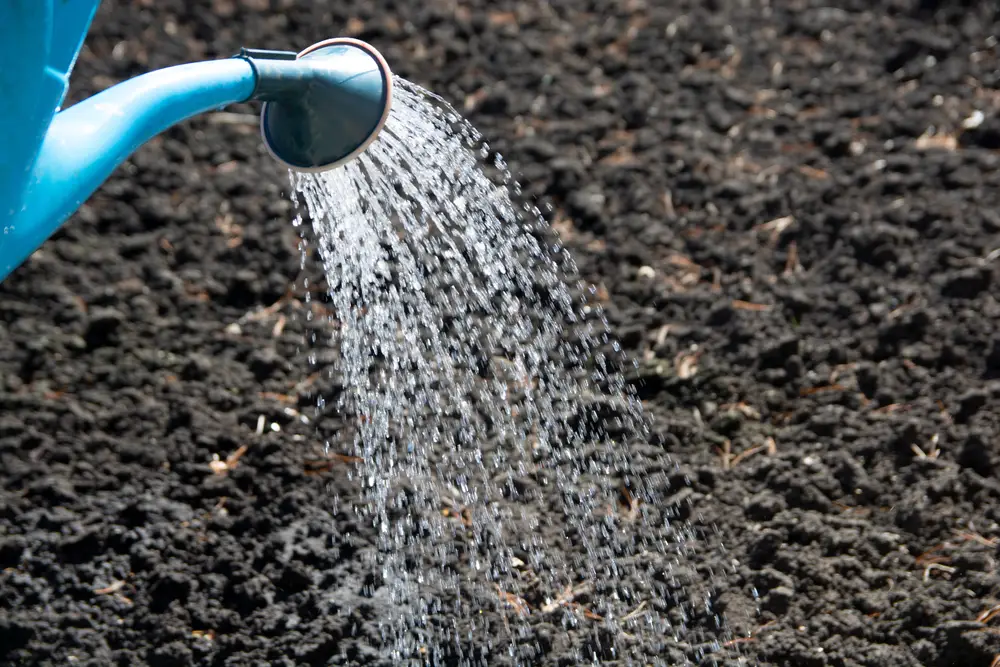
Water is, of course, essential to gardening. As a gardener, you need to be aware of how much water you can reasonably expect to receive through rainfall.
You’ll also need to learn how water moves on your property. This is so you can determine if your microclimate plans need to direct or catch water and for what reason.
You will want to spend time in different areas of your yard when it is raining and shortly after.
Water is essential to consider when planning any landscape design change.
Existing Structures
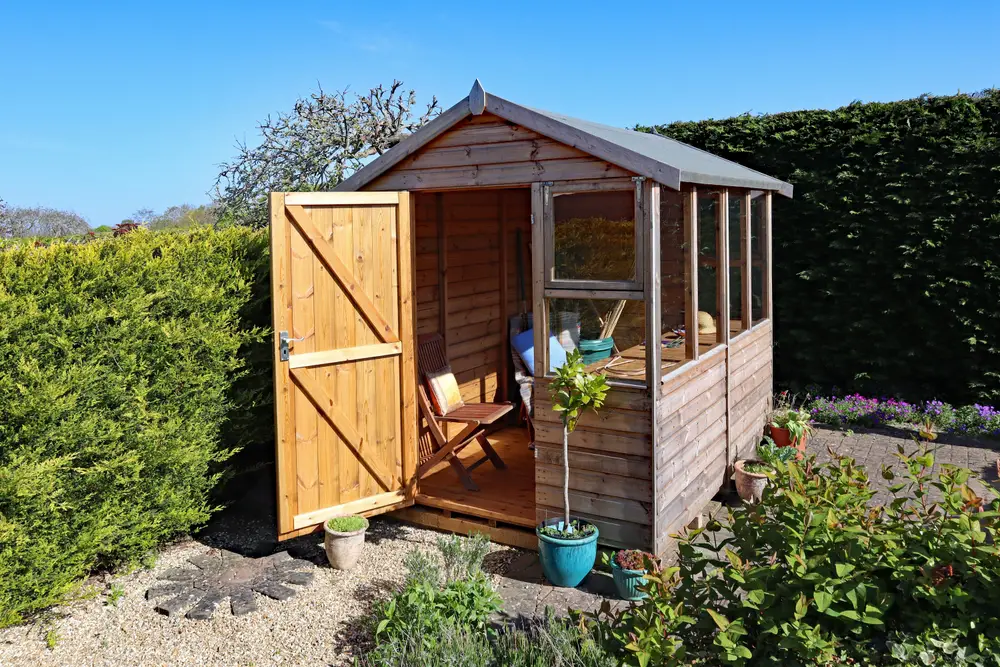
Your property’s human-made structures have a significant effect on creating microclimates.
The orientation of each wall in relation to the sun and prevailing winds dictates which areas are more sheltered or exposed, where sun and water will be accessible, and where shade will rule.
As you assess your property and certainly before installing new structures, please evaluate how they will likely affect your growing space.
Air Circulation

As previously discussed, each area has its own air movement pattern. Learning this pattern means becoming familiar with your area’s winds and how they play out in your yard. Hills, fences, and human-made structures can all play a part in how they do.
This matters for your garden because balanced air flow is essential to growing plants. Imbalanced airflow can have adverse effects.
For example, stagnant air pockets can potentially promote disease among your plants.
Pockets of dense cold air can promote frost.
Spend time in various spots in your yard to determine how the air is moving through. Note the variations and potential challenges, and keep in mind, above all else, that balance is the key (a good motto for many aspects of gardening and life in general).
Light
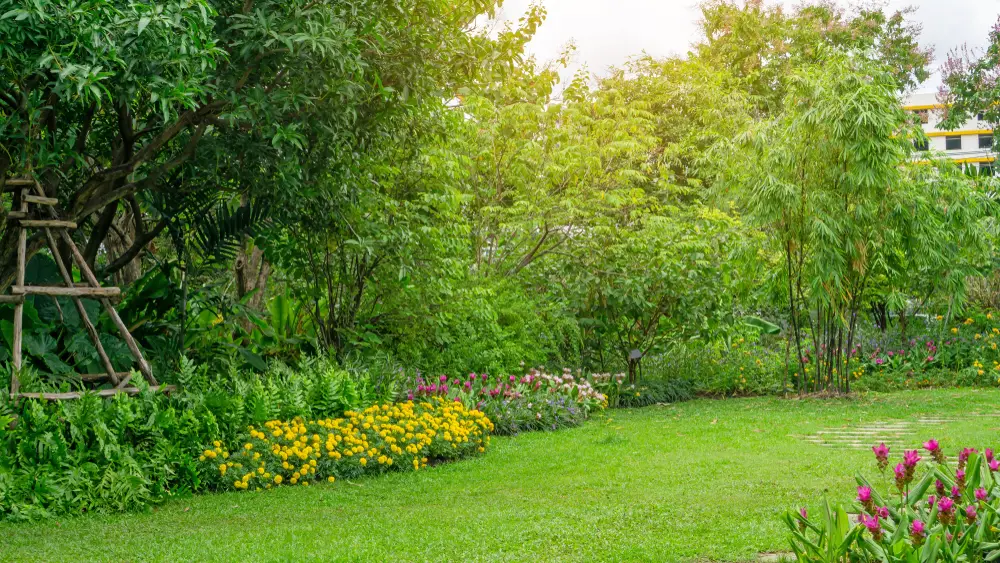
What kind of sun exposure your gardens have dictates the kind of growing you can do in your yard.
South or west exposure is typically considered best for gardens, but we often don’t have as much control around this as we’d like.
Regardless of the specifics of your situation, it is your job as a gardener to determine your access to light throughout your property. Doing so maximizes the total light available to your plants.
Surveying the light in different spots throughout the day is the only way to truly know where and how much sun your garden receives.
Even if you are quite astute, undertaking this observational exercise will always include a couple of surprises.
In short, be patient, be intentional, and know your light.
Temperature
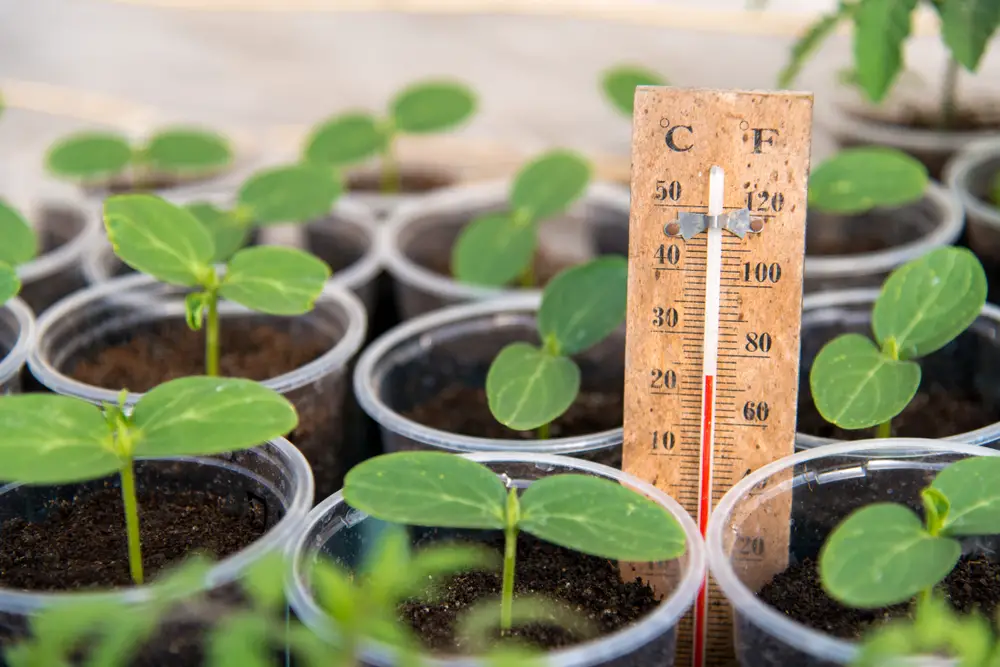
One of the most well-known and popular kinds of microclimates involves discovering or creating a relationship between two or more elements in your yard, resulting in a temperature increase.
Typically, this allows gardeners to begin growing earlier and continue growing later without adjusting.
Without a doubt, this is exciting!
But there are a few potential problems you may want to consider.
With the general warming trend we are seeing worldwide, you may be reluctant to accelerate it further in a permanent fashion. So, you could embrace your area’s colder temperatures and use cold frames to get the results you want, for example.
As well, warmer is not always better in a temperate garden. You are wise to think about how a variety of situations can play out in your yard.
For example, do you want to plant a fruit-producing tree (let’s say peach) in a warm spot in your yard, hoping you will protect it from late frosts? Or does it make more sense to plant it in a cooler area that will delay flowering until after the frost risk has passed?
Although I’d be delaying my access to peaches for a couple of weeks, I would choose the second, more reliable option.
Existing Plants
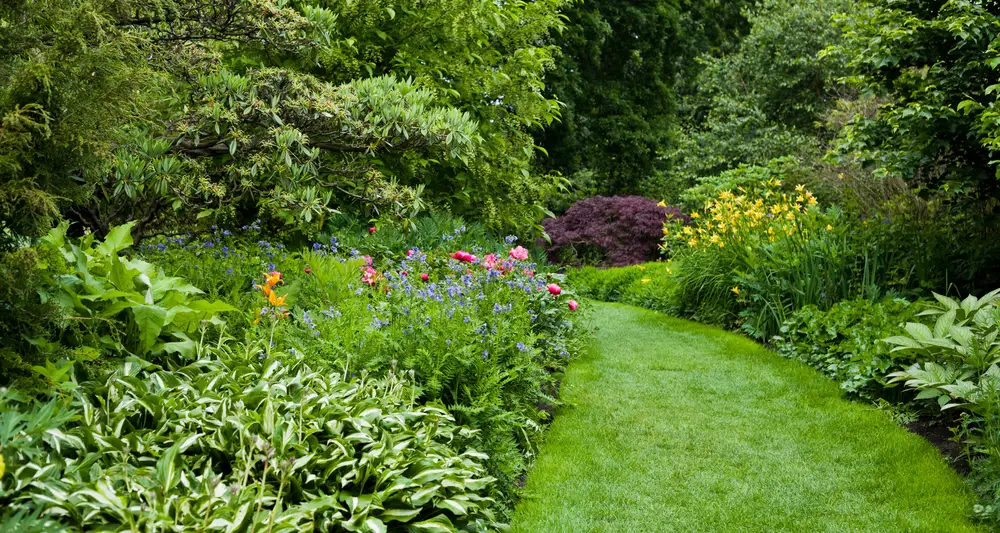
Due largely to evaporation, land covered in vegetation of almost every description has a cooling effect on the general area.
This is one of the reasons urban landscape designers have incorporated green roofs and living walls into concrete-dense (and heat-inducing) cities in recent years.
You can apply the same principles at home.
Assessing where you could benefit from increasing plant cover and why it may not already exist in specific areas of your property is a necessary part of your assessment.
Specific factors you will want to consider are how trees and lower-growing plants affect light, temperature, soil quality, and the movement of water and air.
Access Points and Materials
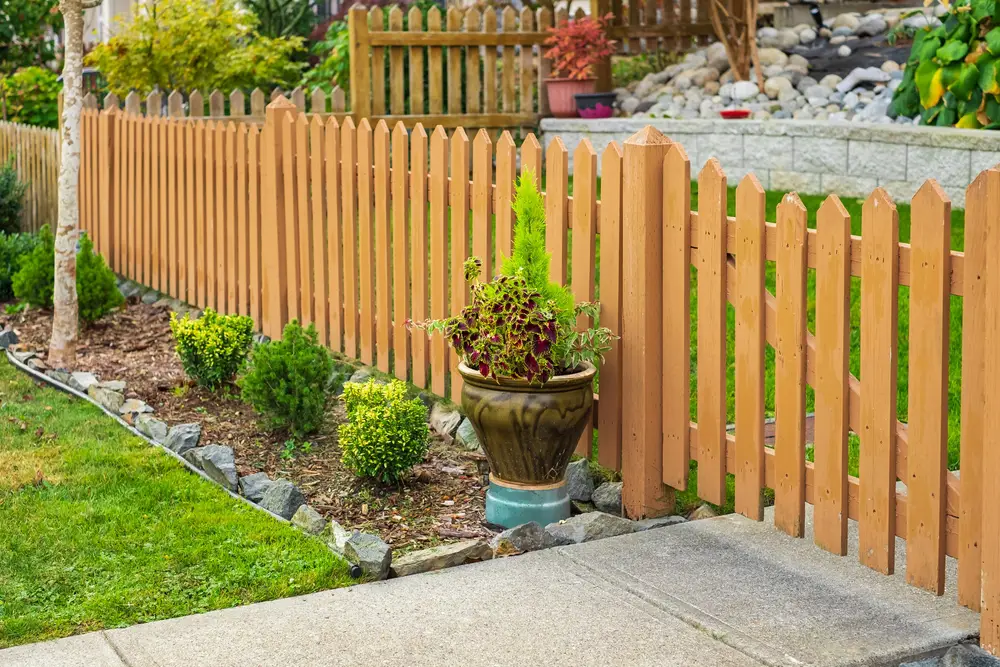
Access points to your property, such as driveways, pathways, and fences, are another component you will need to assess when considering microclimates, as are the materials they are made from.
Stone, concrete, asphalt, bricks, pavers, etc., are materials that generally cause heat, limit airflow, and restrict water retention. Other elements, such as wood fences, organic mulches, and living walls, are cooling and hold water.
Include how these often overlooked elements affect the rest of your growing space and plan to use materials that result in the desired overall effect when considering changes.
Growing Areas
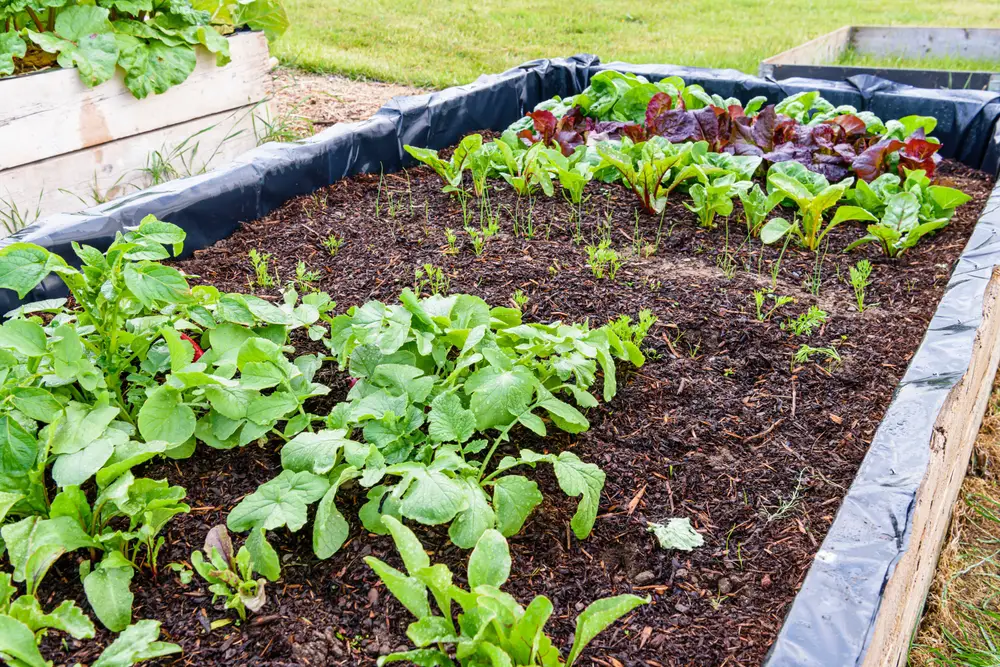
You should construct your growing areas to best support what type of growing you want to do. This sounds lovely, but rarely do we have the opportunity to design everything we need in a way that integrates old and new elements all at once.
The great news is you don’t have to do everything at once. It is actually better for you to change, add to, or expand your growing spaces slowly.
Incorporating elements one piece at a time allows you to observe how each decision is absorbed into the existing ecosystem and course correct (if necessary) along the way.
I am thinking of a gardener I know who added a huge block of raised beds to their property in one season. They used a popular (and effective) method called lasagna gardening (also known as sheet composting).
This is a process that begins by laying cardboard (or sometimes several layers of newspaper) over top of sod. The cardboard layer acts as a weed barrier to prevent the grass from getting through, and gardeners then add soil, compost, dried leaves, grass clippings, and all manner of organic materials to plant in.
This method can be an effective and relatively quick way for gardeners to incorporate new beds into the existing ecosystem. The problem in this particular application was that the gardener covered more than half of their backyard sod with this method all at once.
It was too much of a good thing.
It temporarily altered water drainage and created a slug-friendly habitat just underneath the cardboard, drawing a huge number of slugs right to where this gardener was growing their food.
The whole season became a battle while the slugs feasted and the cardboard broke down.
By the following year, the cardboard had broken down enough in the soil, and the situation sorted itself out. However, if that gardener had added a smaller area at once or incorporated several smaller beds with space in between, it would likely have played out differently.
3 – Identify One Problem To Correct

“No wind blows in favor of a ship without direction.”
It’s highly unlikely Seneca the Younger said this quote with microclimates or landscape design anywhere in mind. But things change, and both its literal and figurative meanings apply here.
In other words, your best path to success is by executing a series of steps serving a specific outcome. This is as true in your yard as it is anywhere else.
So, what are you trying to achieve by creating a microclimate in your garden?
I suggest beginning with what problems you’d like to solve instead of trying to add something new. Approaching creating a microclimate this way prevents you from dealing with unintended side effects.
I think of a gardener I know who incorporated a small fishpond into their backyard rock garden.
The garden was close to the eastern slopes of the Rocky Mountains in Canada. They developed it to take the unique climatic variations of the area into account. One of those is that the area is rather dry.
During its first season, you could see their garden was a blooming success.
Then, they installed their fishpond at the beginning of the second season.
Two months later, salamanders were everywhere in their garden.
Now, don’t get me wrong. Some salamanders are great, but too much of anything is problematic.
After trying several things to manage the exploding salamander population, my friend chose not to have the fishpond in their garden after all.
The last straw was when they got out of bed one night for a glass of water and came face to face with a salamander in their kitchen.
With the fishpond in the rock garden emptied, filled in, and planted with native species (a better fit with the rest of the garden and the surrounding natural landscape), the micro-population of salamanders quickly sorted itself out.
While this example is a bit funny and may seem extreme, I can think of several examples of the same kind of thing: tip the balance in one direction and invite a cascade of complications.
To avoid creating your own version of this, move slowly and plan.
When you define your microclimate goals by creating solutions to a particular problem, you will be less distracted by flights of fancy that may result in a salamander infestation (or something worse!).
4 – Identify A Solution To The Problem

Whatever problems you’ve assessed in your yard, they have a range of solutions.
Select one challenge to work on at a time to avoid confusing or overwhelming yourself or your garden (it is alive, after all).
Maybe you have an area in your yard where water pools and drainage would be helpful.
Maybe you have a particularly dry yard and would like to work on building the soil health to hold more water and support a wider variety of plants.
Or maybe you have an area where nothing seems to survive because it is always too cold or hot.
Maybe old trees or overgrown shrubs are blocking the sun where you would like to grow.
Maybe you like the sun-blocking effect, but those plants are diseased or dying and need removing, so you are seeking a replacement.
Once you’ve chosen what you will work on and what approach you’d like to take, consider how your project will affect all the elements you have already assessed (light, existing flora, air circulation, temperature, etc.).
Though it may seem tedious to keep examining and re-examining your plan from various perspectives, doing so will reduce your risk.
5 – Make The Change

Once you’ve taken the time to really get to know your landscape and work with the natural forces at play in your yard, identified a specific challenge you want to overcome, and the action you intend to take, you’re ready to get to work!
Gather the tools and supplies you require and build away.
Depending on what you undertake, you may immediately change the microclimate. Or, it could take a bit of time.
Either way, at some point, you will be able to observe how your addition or subtraction is affecting your backyard ecosystem and easily make adjustments as needed.
