Few flowers are as showy and glorious as those shooting up from a summer-blooming bulb. Knowing how to plant summer bulbs in the spring is key to this success.
The commonly used term “summer bulbs” extends to all bulbs, rhizomes, corms, and tubers gardeners like to plant in spring to enjoy later in the season.
They’re all technically different. However, they share so many commonalities with planting and growing that they’re all referred to as summer bulbs.
Regardless, let’s start with what supplies you’ll need to plant and grow summer bulbs in the spring.
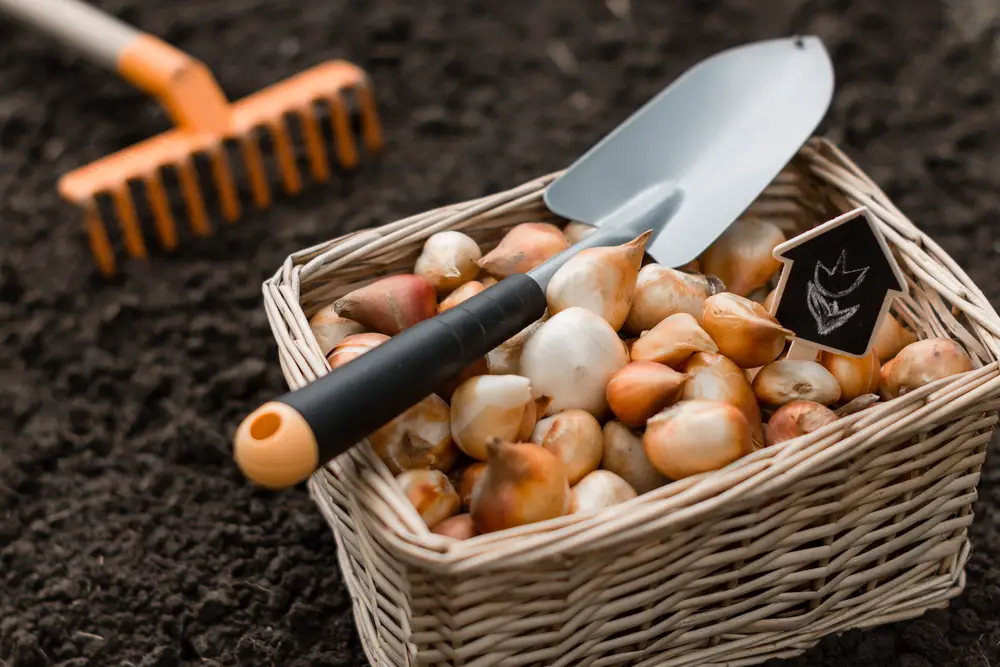
1 – Gather Necessary Supplies And Tools
Planting summer bulbs is neither laborious nor difficult and, aside from the bulbs themselves, shouldn’t require any equipment or supplies you don’t already have.
Here’s what you’ll need:
- Garden trowel
- Gardening gloves
- A way to water your bulbs after planting
- Water
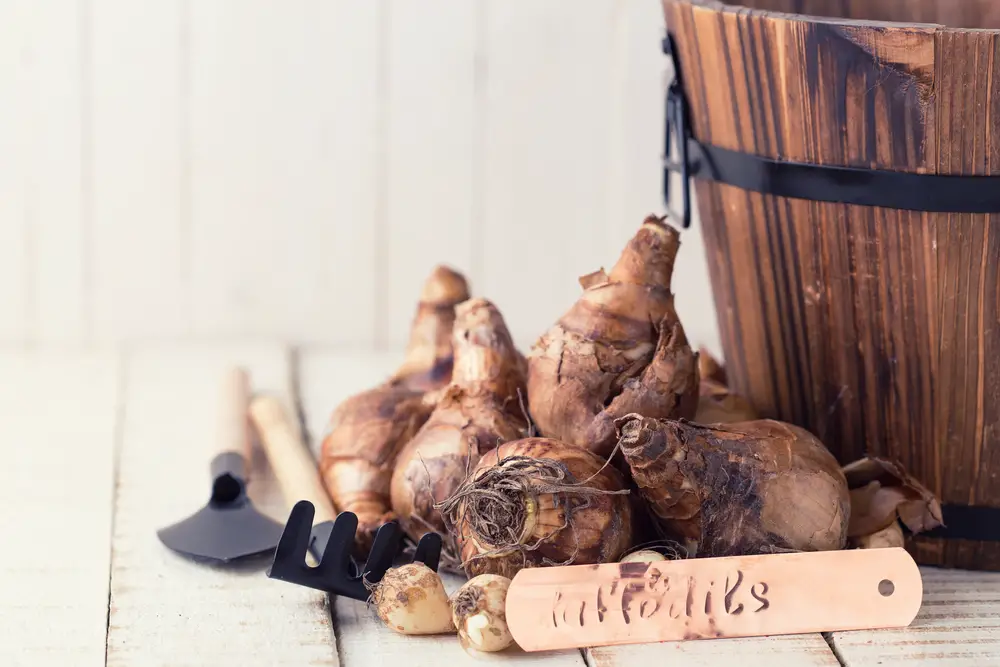
2 – Choose Your Bulb Varieties
When choosing bulb varieties, it is helpful to visualize where you are going to plant them and what you want your garden bed to look like.
Popular varieties include:
- Begonias (tuberous varieties)
- Lilies
- Canna lilies
- Dahlias
- Gladiolus
- Crocosmia
- Agapanthus
- Freesia
- Ranunculus
Consider the height and size of your bulbs as mature plants and what other flowers may look good adjacent to them as you develop your plan (more on this in the “Plant Your Bulbs” section below).
You’ll start to see these bulbs appear in garden centers in the late winter or early spring.
For expanded choice, or if you enjoy growing exotic or unique kinds of flowers, you may want to look at online bulb catalogs and order from there.
Keep in mind you’ll need to plant whatever you order this growing season.
It is recommended you plant bulbs as quickly as possible after purchasing. This will prevent them from drying out and dying.
However, you’ll need to be mindful of the temperature before you plant.
3 – Be Careful Of The Temperature
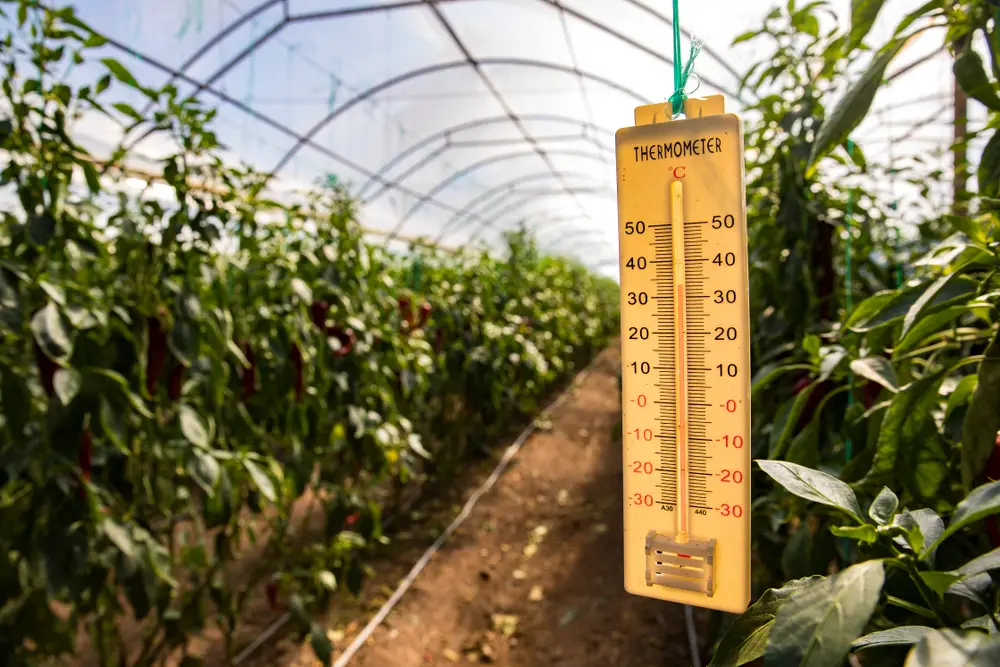
You must keep all varieties of summer bulbs at temperatures above 36-45°F (2-7°C) so they survive.
This is why if you order summer bulbs, they are only shipped once outdoor temperatures fall within or above this range.
This is also the best temperature range for storing your bulbs when they are dormant during the off-season.
For now, let’s focus on planting. Given that these plants are not habituated to tolerate even light frost, you must wait to plant them until there is no chance of it.
You can get a general sense of when your area will receive its last frost in spring by determining your USDA Hardiness Zone.
You’ll also want to pay attention to your local weather forecast and wait until soil temperatures have warmed and overnight air temperatures are consistently above 55°F (12°C).
You can plant your bulbs earlier if you have a greenhouse or other indoor space accommodating their need for warmth. In this case, plant them in pots and place them in their outdoor growing spots when outdoor temperatures are suitable.
Pots are also great if you live in a cooler growing zone. You’ll have the flexibility to move your containers indoors or outdoors as needed.
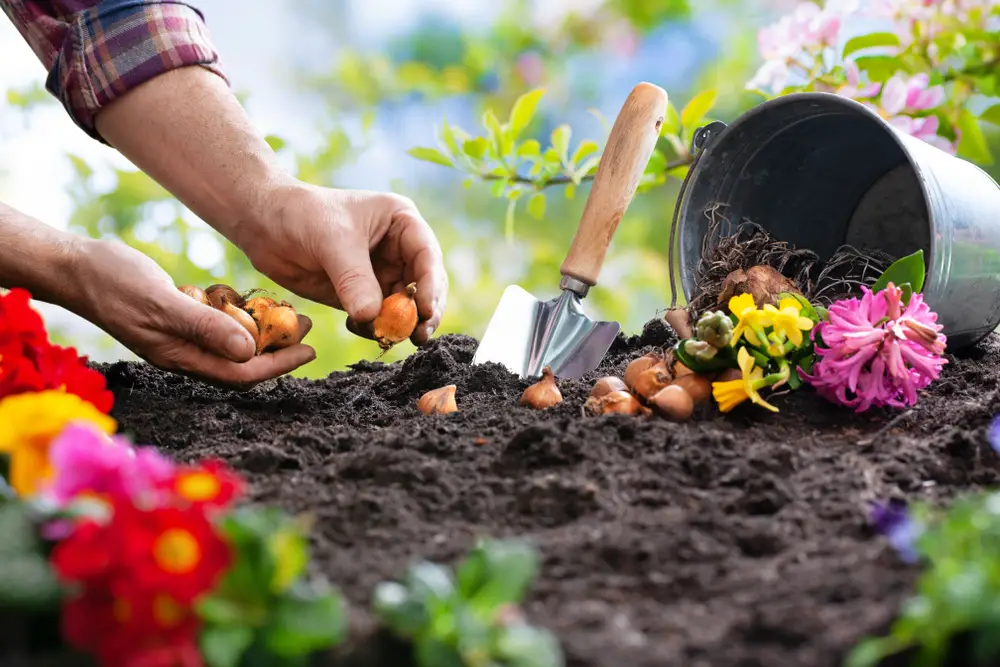
4 – Plant Your Bulbs
You’ll need to plant your summer-blooming bulbs in what is known as a full-sun area. This means they need at least 6 hours of direct sunlight per day to grow their best (more is better).
Be careful to read the packaging for each variety while planting. Not following directions can result in delayed blooming or flowers not blooming at all.
While the rule of thumb is that almost all of these varieties like to be planted about 5 inches deep, except for dahlias and tuberous begonias (which like to be just under the surface), requirements can vary significantly from species to species.
Also, landscape designers advise gardeners to plant bulbs in odd-numbered groupings. If planted in beds, situate the tallest plants toward the back and descend in height, with the shortest at the front.
If planting in pots, some people choose to plant a grouping of three of the tallest flowers in the middle and then surround them with shorter or hanging varieties to complement.
How
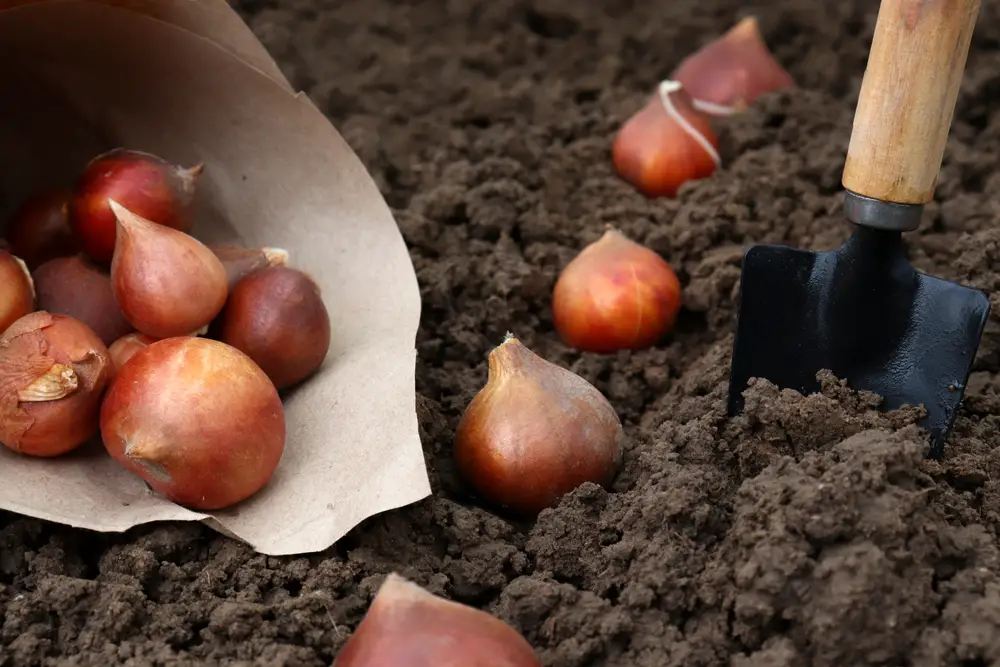
Once you have determined where each plant will go, dig holes of the size and depth required for that plant. Place each bulb (tuber, rhizome, or corm) inside, taking care to orient them as described.
Though many gardeners add a slow-release, bulb-specific fertilizer while planting, it is not necessary. Bulbs are themselves a store of energy and food and get the remainder of the nutrients they need from the sun and soil.
Water the entire area once you have backfilled the soil to cover your newly planted summer-blooming bulbs to the required depth.
Bulbs don’t like being overwatered or sitting in water (they like well-draining soil), so be mindful not to overdo it. Also, factor rainfall into account.
You can mix extra “grit” (sand or gravel) into your soil so water can drain away better.
As temperatures warm and your plants grow larger, their water needs will increase. However, your plants should be quite happy if they are getting about an inch of water per week in conditions that are moderate for your area. Increase watering if conditions get hotter and drier.
Record
Create a written record of what you planted and where.
You can even staple a package label into a garden notebook. You’ll want this information in the autumn when you are storing your bulbs.
The first indication of your plants’ growth will be little foliage shoots above the soil’s surface. The leaves and foliage will continue to develop and grow in strength and size.
At some point, likely in August, you will notice the plants send buds out, followed by magnificent flowers you can enjoy until the frost comes again.
If you live in a place where the ground freezes, you will need to dig the bulbs out and store them somewhere they can be spared from the cold.
Not doing so will kill them.
As long as you store the bulbs in temperatures above 36-45°F (2-7°C) and ensure appropriate moisture is maintained (not too dry or too wet), they will be ready for you to plant and enjoy again next year!