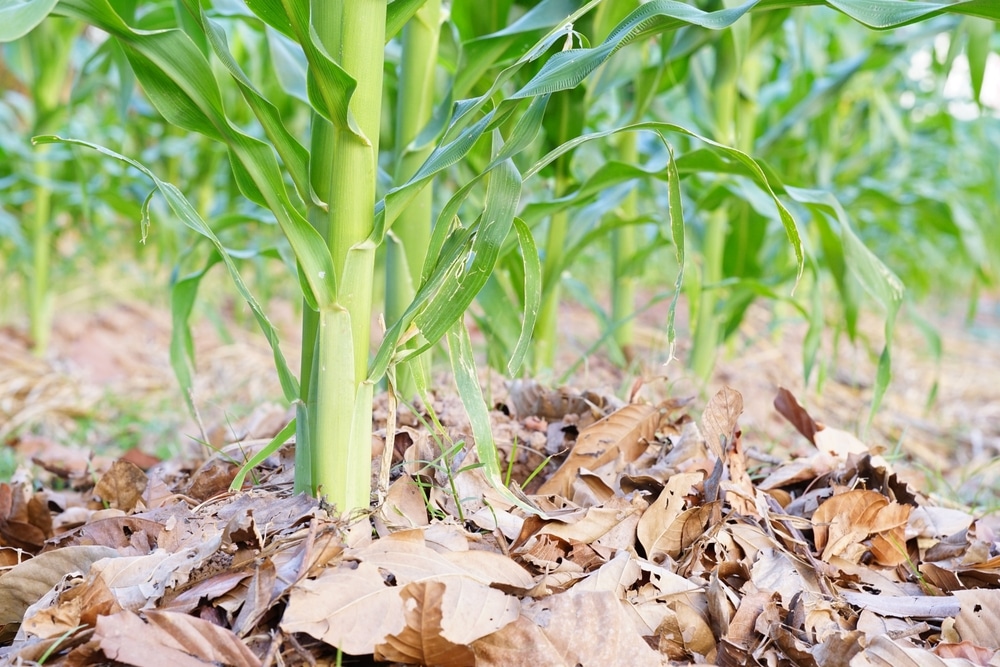
Dead leaves are very good for your garden. You can use dead leaves as mulch in your garden to protect your plants from hot and cold temperatures and add nutrients to the soil. Also, by gathering leaves, shredding them with a lawn mower, and applying them to your garden, you prevent leaves from ending up in landfills and save money.
You’ll need a few tools before you start shredding or laying mulch.
1 – Gather Needed Tools
To turn dead leaves into mulch for your garden, you will need the following:
2 – Follow Proper Safety Procedures
Using dead leaves as mulch in your garden requires a lawn mower. Wear the proper clothing and safety gear, such as the aforementioned safety glasses, a dust mask (which prevents you from inhaling fine leaf particles), and work gloves, but also long pants and close-toed shoes. Make sure you’re familiar with your lawn mower.
Before you mow, clear the area of rocks, sticks, toys, or other debris. Never leave your lawn mower running and unattended. Keep children and pets away from the area while you’re mowing. Never touch the engine cover or the blade; use extra caution if you are mowing a hill.
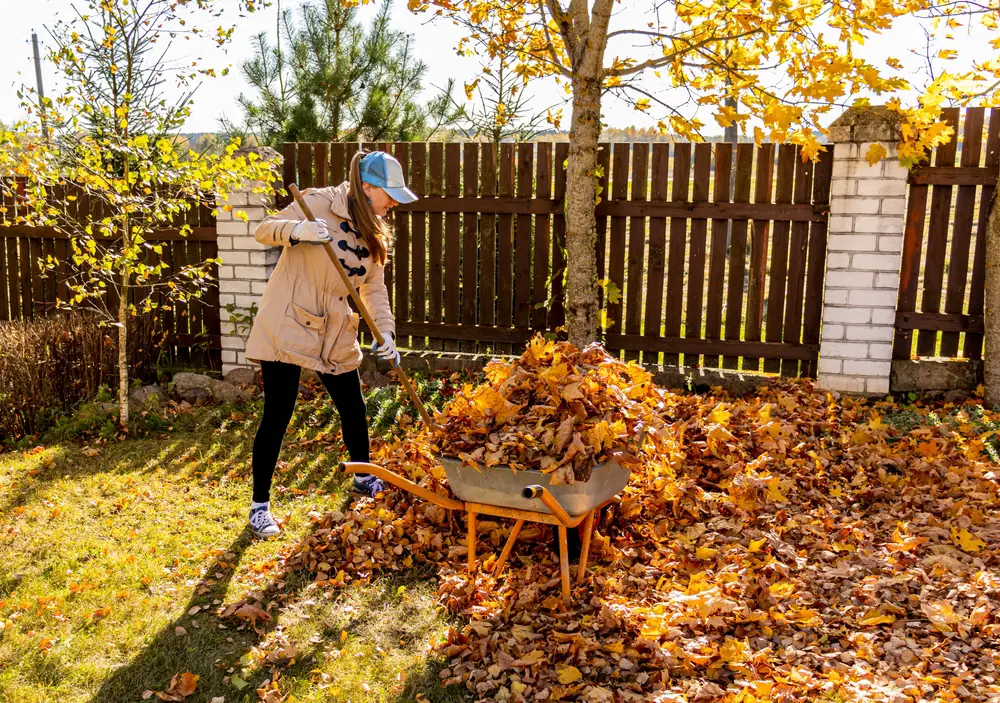
3 – Rake Leaves Into A Row
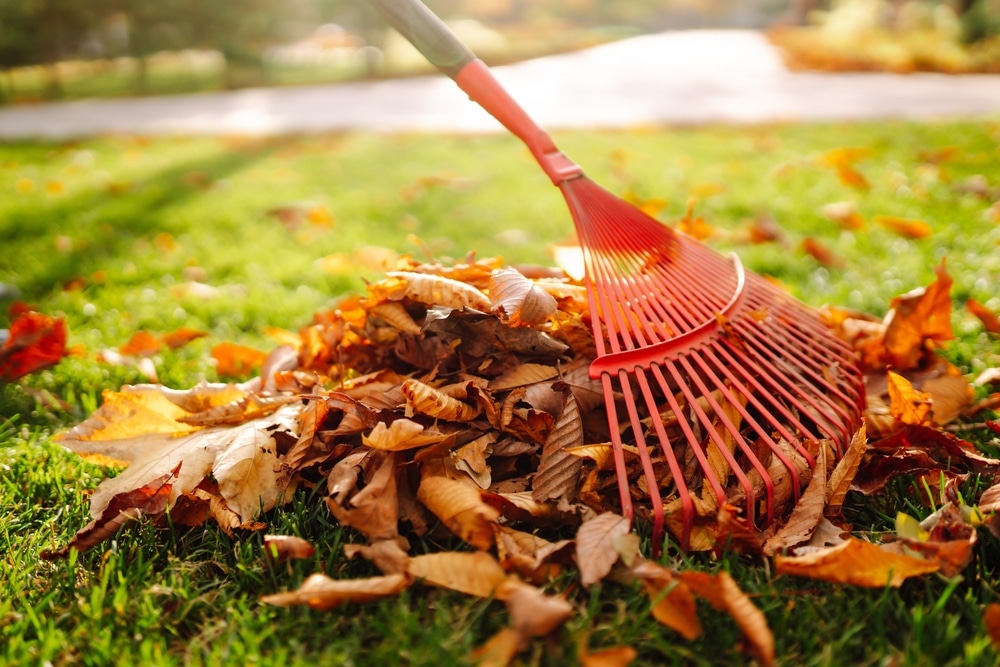
Once most of the leaves are brown and on the ground, use a rake to gather them into a wide row, around two feet wide and no more than a few inches thick, so that the lawn mower can go over it easily.
Dry leaves are easier to rake and shred than wet leaves. It’s best to rake your leaves before they get rained on or wait a few days after a rain to give the leaves a chance to dry out.
4 – Shred The Leaves

This is the fun part. Mow over your pile of leaves once or twice at your own pace until they are shredded into quarter-sized pieces.
Once the leaves are shredded, gather all the shreds into a garbage bag or container of your choice. You now have your leaf mulch!
5 – Add The Leaf Mulch To Your Plants
Your bag of leaf shreds will be a great mulch for your vegetable garden, flower beds, or orchard, but there are a few steps to take before laying your mulch that make it more effective.
Clean Out Your Garden Beds
Before adding leaf mulch to your garden beds, check them for weeds and other debris that may be lying around. Remove them. You may also want to remove any plant markers (the little sticks you use to label plants) so they don’t get buried under a layer of mulch.
A good leaf mulch can stop weeds from receiving light and growing into a problem. Weeding before you add mulch increases the chances of preventing new weeds from growing.
Water The Beds
Mulch is great at trapping moisture in your soil. The sun cannot penetrate the soil if there is a layer of mulch on top, preventing the evaporation of water in the topsoil. Mulch stops moisture from escaping from the soil by limiting the evaporation of water.
Unfortunately, a layer of mulch can also soak up a good rainfall, preventing water from penetrating as deeply into the soil. So, giving your beds a good, healthy watering is vital before covering them up.
Apply The Mulch
Once you water and weed your beds, it’s time to add your mulch. Spread a layer of dead leaf shreds about two inches thick around vegetable and flower beds and up to four inches around trees. Be careful not to make your mulch too thick, or it will act as a water barrier, and the soil will dry out.
Make sure the mulch is at least two inches out from the trunk for trees and shrubberies. Covering the base of a tree or shrub with mulch is not healthy for the plant and will cause problems down the road.
I also allow some space between mulch and my vegetables and flowers because it gives water easier access into the soil and roots of the plants.
Keep any leftover leaf shreds and save them for later. The longer they’re in the bag, the more they decompose, which is good for the soil.
When To Add Mulch To Your Plants
You can add and re-add mulch to your garden beds throughout the gardening season. Leaf mulch decomposes slowly over months, and you may need another layer to cover your topsoil.
For annual plants, I like to wait until seeds have germinated and the sprouts have a chance to grow for a few weeks before I mulch around them. That way, you know where your plants are and don’t accidentally smother them with leaf mulch.
Since mulch is a great way to protect soil and plants from big changes in temperature, mulching before a heat wave or a cold stretch is a great way to protect your plants and improve your garden.
My Experience With Dead Leaf Mulch
Ever since my zucchini, pea, and bean plants roasted in a week-long heat wave, I have used mulch in my vegetable gardens. I find it very effective in protecting plants from temperature changes, an invaluable tool for gardeners growing things in today’s erratic climate.
The first time I made and used my own leaf mulch, I applied a layer of mulch that I ultimately decided was too thin, which is an easy and relatively harmless mistake to make. Too thin is always better than too thick since too thin will simply work like a thin layer of compost, adding nutrients to the soil but not also protecting it from the elements.
Making my own leaf mulch is my go-to mulching method now. It takes a little more time than buying mulch from the store, but it is free, just as effective as store-bought products, and more sustainable.