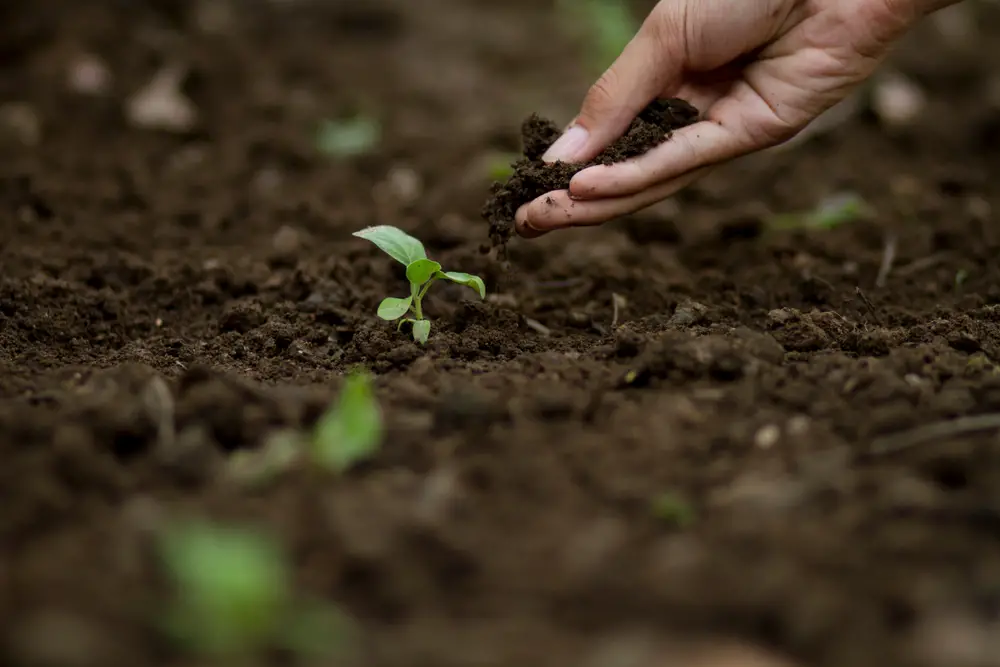
As gardeners, some of the most underrated skills we can develop are those we use to care for our soil. Effective soil-building methods for your garden will benefit you and your plants.
The best soil is a living ecosystem, supporting various decomposers who break down and recycle nutrients through the organic matter they consume.
Healthy soil is home to a variety of insects, microbes, and decaying organic matter and has room to easily accommodate water and oxygen. This soil is called loam. It’s relatively equal parts clay, sand, and silt (this refers to your soil’s particle size and structure).
Soil-building methods provide your plants with nutrients and water in plant-usable form and even immunological protection. Healthy soil allows you to grow the garden you want with confidence and ease.
Below are a series of organic gardening practices (AKA soil-building methods) to help you build your soil to become its best. Try, experiment, and see what appeals to you most.
I suggest incorporating one or two of them into your yearly gardening routine.
As you embark on learning how to effectively care for your soil, know that it will take some time for your efforts to take hold. This is because it takes time for organic material (such as leaves, twigs, grass clippings, etc.) to decay and become usable to plants again.
But also know that if you dedicate even a small amount of time and energy to soil care on an ongoing basis, you will undoubtedly notice a positive difference that will surpass your expectations.
1 – Composting
Add compost to your garden if you want to:
- Improve the soil structure
- Boost microbial activity
- Add nutrients
- Be flexible with how, when, and how much to add
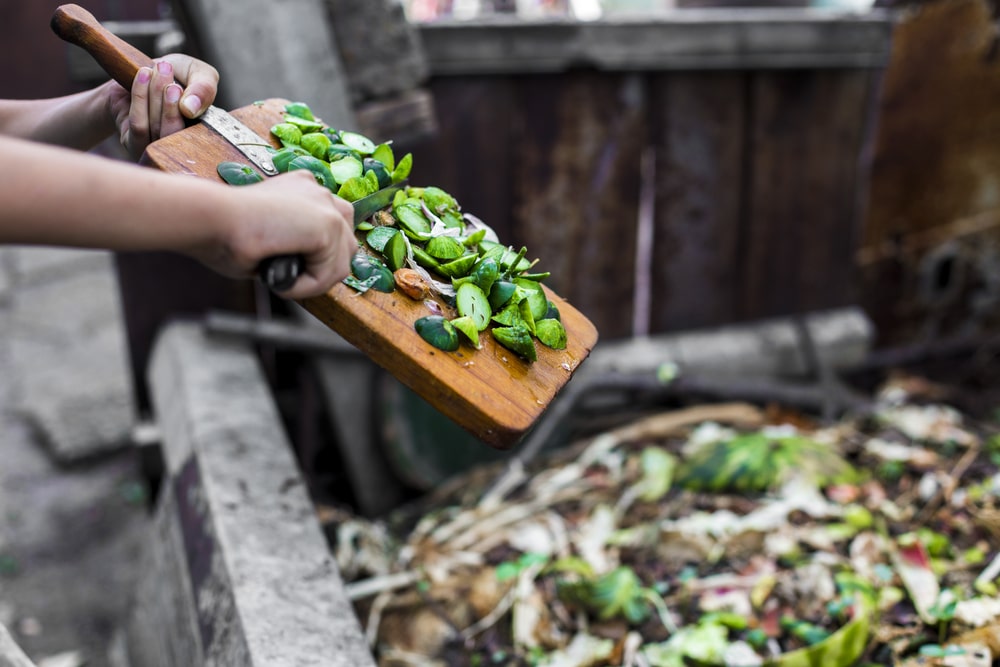
Composting is the process of deliberately recycling organic waste and is one of the key soil-building methods.
As gardeners, we use this process to accelerate the decay process that naturally happens and to add materials, so using the finished compost boosts our garden soil the most.
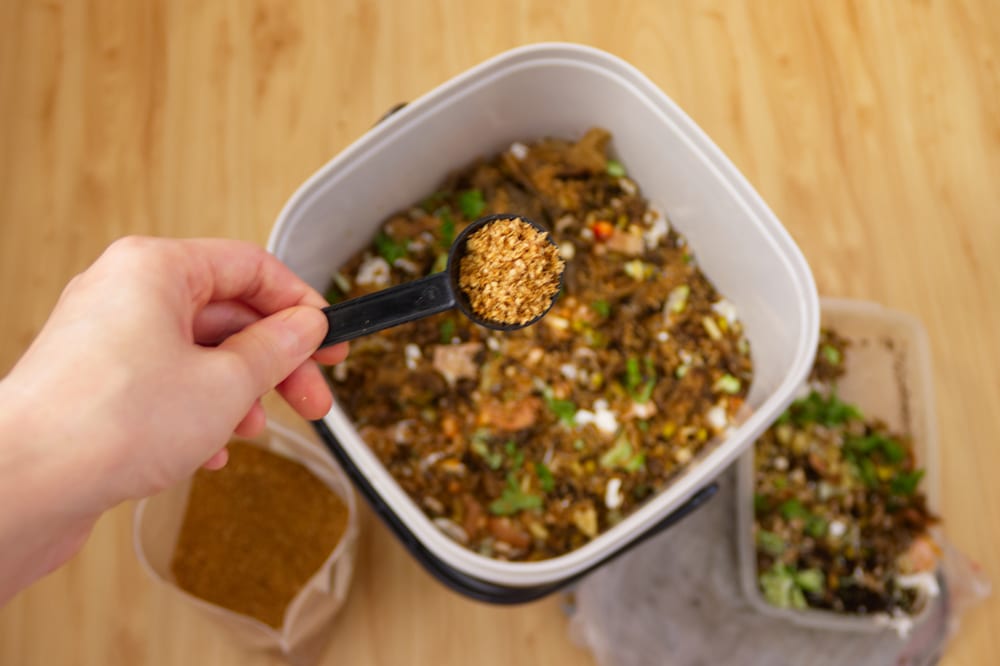
Composting means layering “browns” (carbon-rich materials) and “greens” (nitrogen-rich materials) in relatively equal amounts in some kind of container.
By the way, I don’t recommend compost tumblers as they become very heavy and will be difficult to turn when full.
However, I do recommend Speedibin. It’s not necessary, but it really does speed things up.
As the materials break down, you’ll need to ensure there is some moisture (but also drainage) and some air. Mixing achieves the latter, which also speeds the whole process along faster.
What To Compost
I compost all outdoor organic waste at my property apart from diseased plant material, invasive weeds, and wood ashes.
Though I don’t keep animals, I also add a blend of manures from my neighbor to my compost a few times a year. From my kitchen, I add mostly coffee and eggshells.
Sometimes, people ask me why I don’t add these things straight to my garden beds. You can if you want, but there are reasons why I don’t.
Manure and coffee are both very acidic. In addition to potentially burning my plants, I care about preserving and supporting the organisms in the soil.
I prefer to run whatever I am going to put into my garden soil through my compost first. This way, my compost acts as a kind of filter, and I have a nutritious, balanced, and mild product to add to my garden.
I use finished compost to add extra nutrients and more beneficial microorganisms to existing garden beds (in place of fertilizer) or to fill new beds or containers I want to plant in.
2 – Vermicomposting
Another one of the soil-building methods is adding worm castings to your garden. Add them if you want to:
- Improve the soil structure
- Add nutrients to your soil
- Boost microbial activity
- Be flexible with how, when, and how much to add
- Are interested in starting your own worm farm
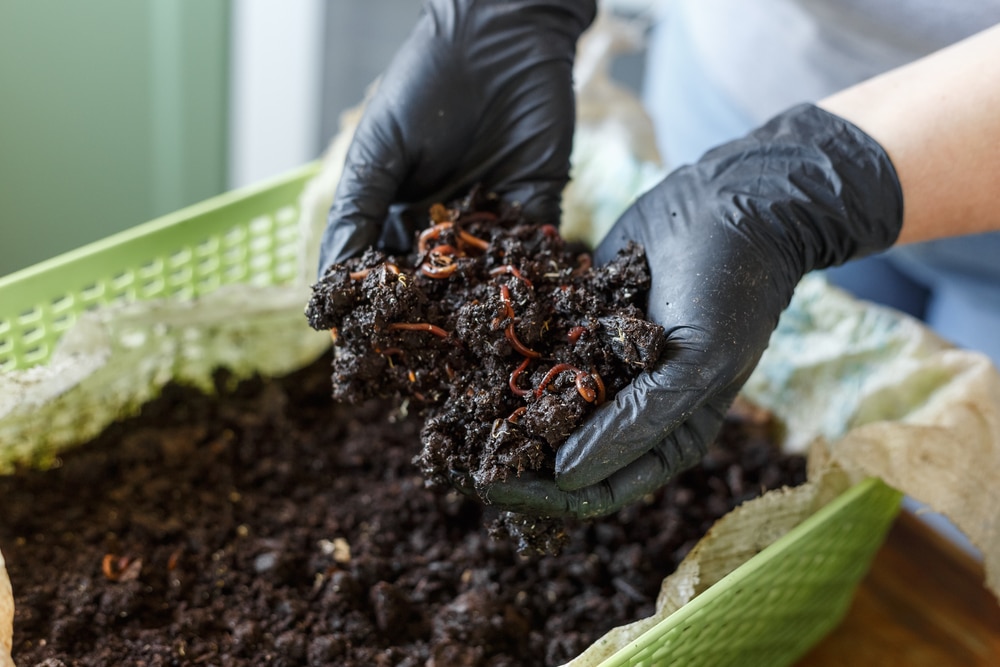
Vermicomposting is composting with worms, specifically red wigglers, in an enclosed environment.
Again, the purpose is to speed up the decomposing process of materials that would otherwise be taken to the landfill and to use the end product to boost the nutrients in your garden soil.
In the case of vermicomposting, the usable end product is known as worm castings (worm excrement). Worm castings are so good for gardens they are available to buy (for those who do not want to keep their own worms).
Worm Farm
I do keep my own worms, though. Specifically, I keep them in what is known as a “worm farm,” “worm tower,” or “worm bin,” indoors.
This is a lidded, multi-tiered container of stacked trays with holes in the bottom of each. The structure allows the worms to move to different trays in search of food.
With such a concentration of worms, in an enclosed space, decay happens very quickly.
We add many of our kitchen scraps to the worm bin, avoiding meat, dairy, oils, citrus, and onions. We avoid some because they aren’t good for the worms. And we avoid others due to personal preference.
Depending on the size of the items we add, within days, the worms turn it into some of the most effective plant fertilizer I know of.
When I want to harvest castings from a particular tray, I place food on other trays. While the worms go to their food source, I can take the fertilizer without disturbing them.
Instead of purchasing industrially produced fertilizers that can harm soil, I feed my garden beds with worm castings, sometimes just broadcasting (spreading) them over the surface.
I’ve put a handful in holes as I am transplanting, and let castings steep in a bucket of water for a day.
By the way, if you do this, make sure it is non-chlorinated water. However, if it has chlorine, make sure it’s been allowed to sit in an open container for a day to allow the chlorine to evaporate before using it. Not doing so means the chlorine will kill helpful microbes.
Afterward, I’ve sprayed this as a “compost tea” on the leaves of my plants.
Multi-use
I have even used castings indoors with my houseplants and find no matter where I use them or in what quantity, my plants always respond favorably.
I like the side benefit that a large bit of our food waste doesn’t go to landfill, and that because it is made from food scraps, this fertilizer adds other nutrients my yard-waste compost doesn’t.
3 – Sheet Composting
Use sheet composting if you want to
- Improve the soil structure
- Add nutrients to your soil
- Boost microbial activity
- Create a new gardening bed over sod or an old bed
- Avoid digging out grass
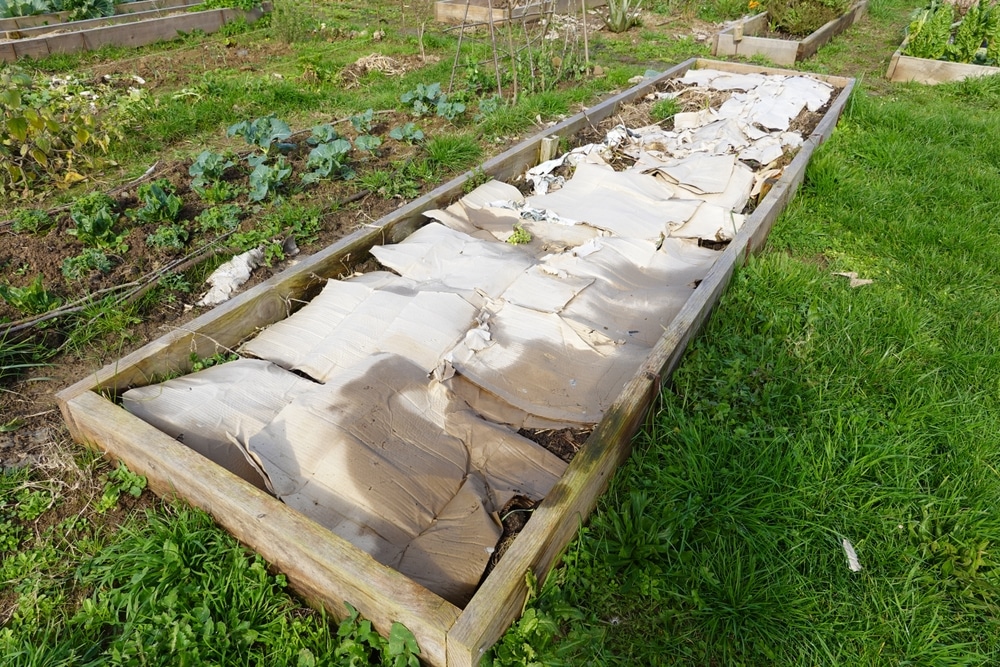
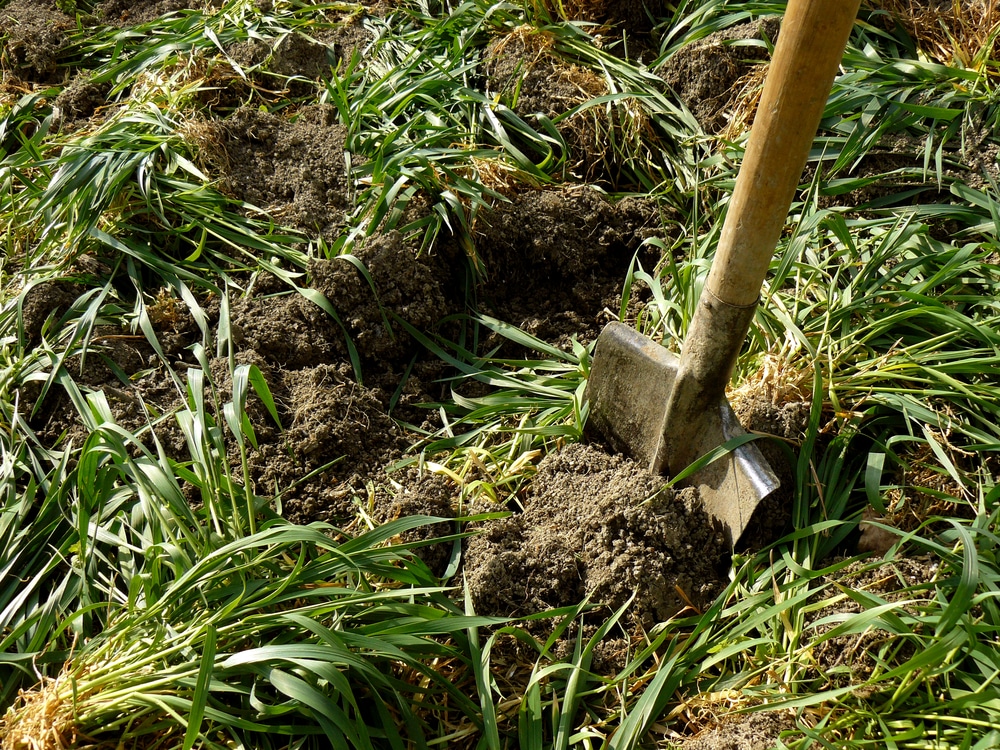
Sheet composting, or lasagna gardening, is a method where you put sheets of cardboard or layers of newspaper over top of existing sod. This becomes the foundation for your new garden bed. This also creates a barrier between your garden and the grass. It is another one of the soil-building methods.
Next, you layer whatever organics you have in the same alternating “browns” (carbon) and “greens” (nitrogen) pattern as you would in your compost bin (more or less equal ratios). This can include leaf mulch, grass clippings, small branches with finished compost, or, if you need a large quantity, pre-purchased soil. Do this to a depth of 8 to 12 inches (20.32 to 30.48 centimeters), depending on what you’re going to plant.
You can plant into this kind of bed right away. Some people prefer to start it in the fall and allow several months of decomposition first, though.
Whichever approach you choose allows you the flexibility of creating a new garden bed right over top of existing grass without doing the back-breaking work of digging it out. By the time the cardboard or newspaper breaks down, the grass has been choked out.
Additionally, you can expect whatever organisms already living there will quickly become part of your new bed, offering your new soil all of the support it needs to grow fantastic plants.
4 – Bokashi
Use Bokashi if you want to:
- Improve the soil structure
- Add nutrients to your soil
- Boost microbial activity
- Are looking for a way to manage kitchen scraps quickly
Bokashi is a composting system that allows you to compost all food waste quickly.
You alternate your food waste and their proprietary bran inside a lidded container. Once the container is full, leave it sealed for 2 weeks.
Once this period has passed, the contents have become so full of microbes you can safely plant them directly into your garden beds or compost.
Two weeks later, the contents are part of your soil ecosystem, and as they decompose fully, they fertilize your plants with a vast array of nutrients.
Again, this is another option that keeps food waste from landfills and one great soil-building methods.
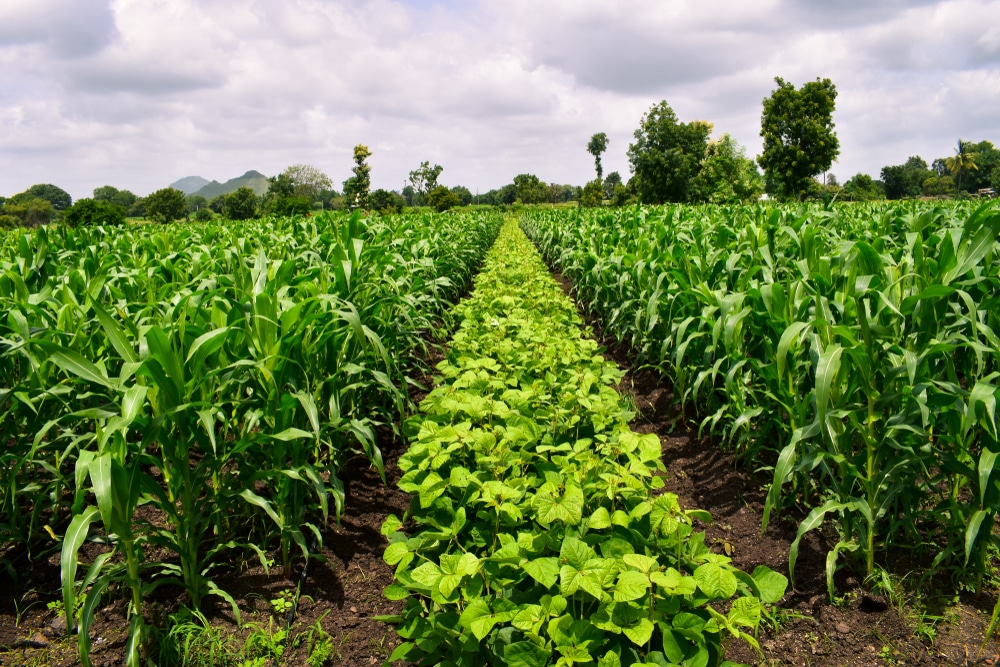
5 – Green Manure/Cover Cropping
Use this method if you want to:
- Add nitrogen to your soil
- Improve your soil structure
- Protect your soil from eroding
- Prevent weeds
Cover cropping, or planting “green manure,” is the practice of planting crops specifically to benefit the soil. Conventionally, farmers used this practice.
Cover cropping can fix nitrogen into the soil, boost organic material (for decomposers), suppress weed growth, and protect against erosion.
Often planted in the fall, popular choices are clover, vetch, winter rye, buckwheat, and alfalfa.
Cut the green manure and till it into the soil several weeks to a month before you’re ready to plant.
As for soil-building methods, I typically recommend this practice if your soil needs a deep rehab. After a few applications, I suggest going no-till (more on this later).
6 – Chop And Drop
This is one of the easiest soil-building methods. Use this method if you want to:
- Recycle nutrients back to the soil
- Retain moisture in the soil
The practice of chopping and dropping is exactly as it sounds. You are cutting plant material and then dropping it in place to decompose and return the nutrients back to the soil. It is composting in place.
Depending on how thick of a layer you leave, the organic material can also act the same way mulch does (as a weed suppressant, erosion protection, and to help with water conservation).
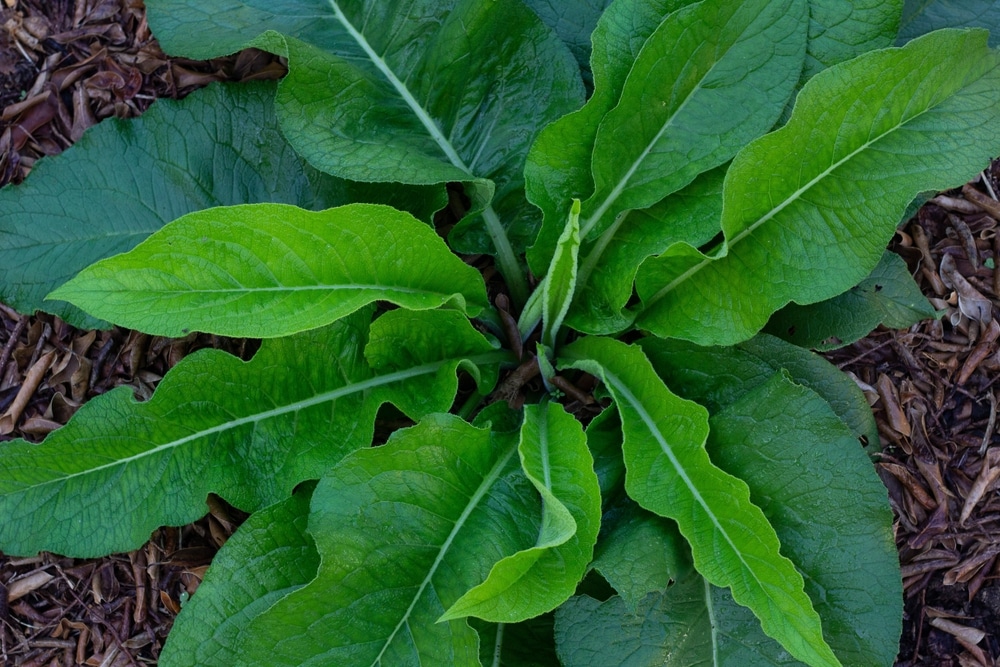
You can cut living or dead foliage to drop. Many people who use this method will plant comfrey in their yard. They cut its leaves right back once or twice in a season.
The smaller you cut the pieces, the quicker they will break down.
You can chop and drop any plant you wish but be mindful to clip seed heads or to chop plants before they develop seeds to prevent them from germinating where you don’t want them.
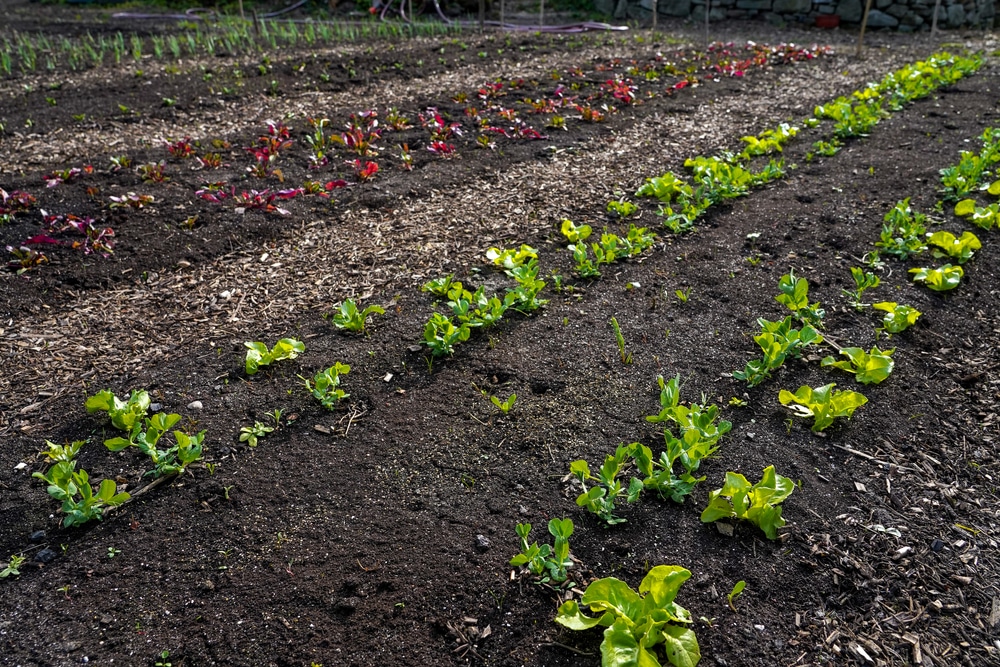
7 – Mulching
Another of the easy soil-building methods. Use this method if you want to:
- Cover your soil to protect it
- Boost nutrients
- Conserve water
- Prevent soil from splashing up on vegetables and fruit when watering (this can create disease)
Very similar to the “chop and drop” method, mulching is adding a layer of organic material to your garden to protect the soil in some way or another.
Materials
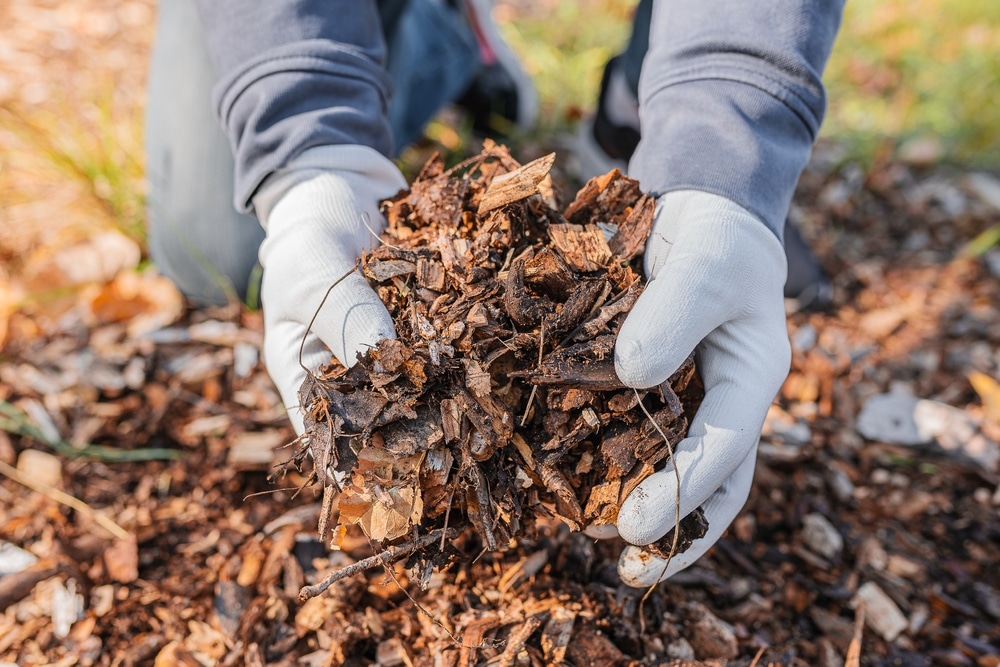
Different mulches have different effects. For example, I have a layer of wood chip mulch over the pathways in my garden. This is adjacent to the garden beds I grow in.
The wood mulch conserves water in the soil, it insulates against extreme temperatures, has enriched the fungal component of my garden, and is a great habitat for beetles that take care of harmful garden insects. As the wood breaks down, it adds nutrients back to my soil, and it keeps the weeds down.
I love using wood chips along pathways in my garden. However, I don’t use it in my garden beds because the pieces are too large and take a long time to break down, shifting the soil ecosystem too much.
Where my food is growing, I mulch only with materials that break down quickly to help the decay cycle continue to be beneficial for all.
Around my tomatoes, melons, or squash, I mulch with straw or grass clippings. This prevents soil from splashing up and potentially transmitting disease to my produce. It also provides a barrier between the soil and heavier fruit and vegetables as they grow on the ground.
If I am having a problem with any kind of pest, I prefer not to mulch in my beds at all during the growing season. Instead, I opt for good garden hygiene and removing potential habitat.
I always do my best to cover all soil over the winter, usually with a layer of compost and leaf mulch.
8 – No-Till Gardening
Use this method if you want to:
- Do less work
- Support everything living in your soil
- Boost soil resilience (nutrients, efficiency, water carrying capacity, and immunity against pests and disease)
In the practice of no-till gardening, gardeners do their best not to disturb the soil. Instead, they support the soil ecosystem.
Theoretically, this is great, and I do recommend this is what you work toward.
However, whether this will currently work for you really depends on the current quality of your soil.
If your soil is relatively healthy, employ a few of the suggestions given here, and you should experience success.
Or, if you aren’t happy with your current soil, but are willing to invest in bringing new soil in and layering it over top of what currently exists, no-till is the perfect approach.
But, let’s say you are determined to improve what you have, and your soil includes a lot of clay, for example. Clay is very dense and relatively impermeable. A no-till approach is going to take several years to make an appreciable difference in this situation.
In this case, the best thing you can do for your soil is balance its structure somewhat, perhaps by digging in some gypsum, compost, and maybe some other organic material.
You should plant something suitable for breaking up the soil. My go-to soil-building methods in this situation is potatoes to physically break up the soil and hairy vetch and crimson clover to fix nitrogen.
9 – Crop Rotation
Use this method if you want to:
- Protect against pests
- Avoid depleting soil
- Are seeking methodological solutions (as opposed to physical additives)
If you plant the same plants in the same locations, you can expect your soil to become deficient in the nutrients those plants draw most from the soil. Over time, this can put both the health of the soil and plants at risk.
To avoid deficiencies, in addition to regularly depositing organic matter on top of your soil, you can rotate your crops.
All this means is you do not plant the same crops in the same spot consecutively. Plant a different kind of plant with different needs there instead.
Crop rotation protects the nutrient profile of your soil and generally results in healthier plants less prone to disease. It can also help avert insect pests becoming too entrenched in one area as well.
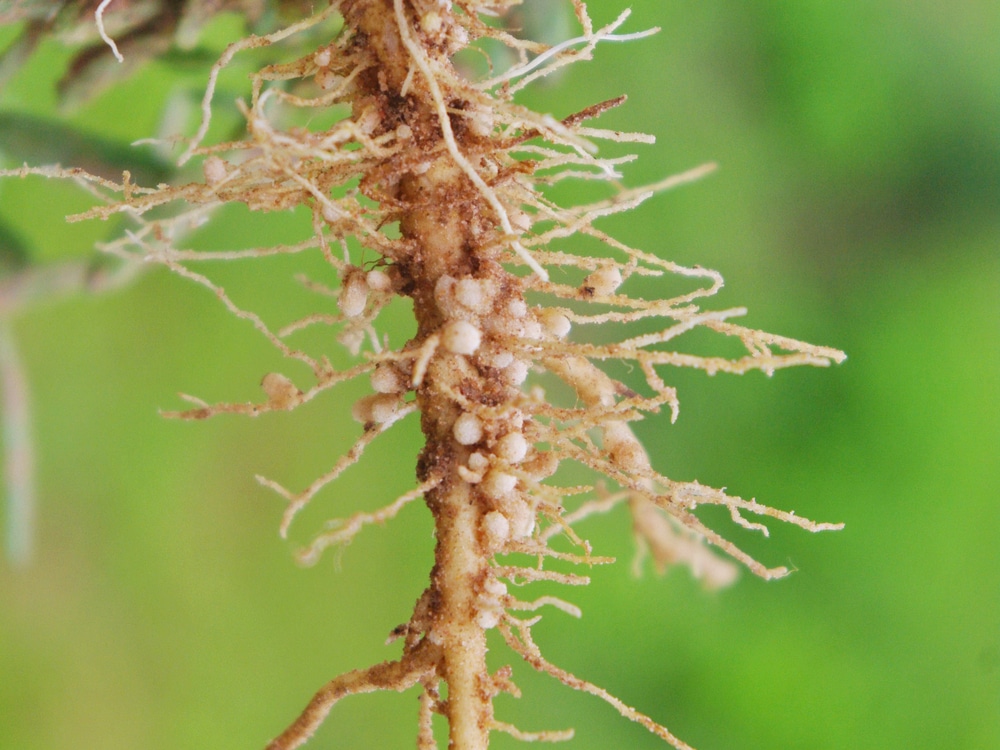
10 – Nitrogen-Fixing Plants
Use this method if you want to:
- Add nitrogen to your soil
- Improve your soil structure
Nitrogen is one of three primary element requirements for plant health (the others are phosphorus and potassium).
While nitrogen is readily available, most of it is not in a form usable for plants in soil.
To naturally increase nitrogen in soil, gardeners sometimes plant what is known as nitrogen-fixing plants.
A nitrogen-fixing plant is a plant the roots of which are inhabited by a soil bacteria that gathers nitrogen from the air.
When the bacteria are done with the nitrogen, it is released into the soil in a plant-usable form, where it stays until it is drawn up by a plant while growing.
Legumes (including beans, peas, clover, alfalfa, and vetches) are efficient nitrogen fixers and are planted in both home gardens and crop farms to sustainably boost nitrogen availability and overall fertility in soil.
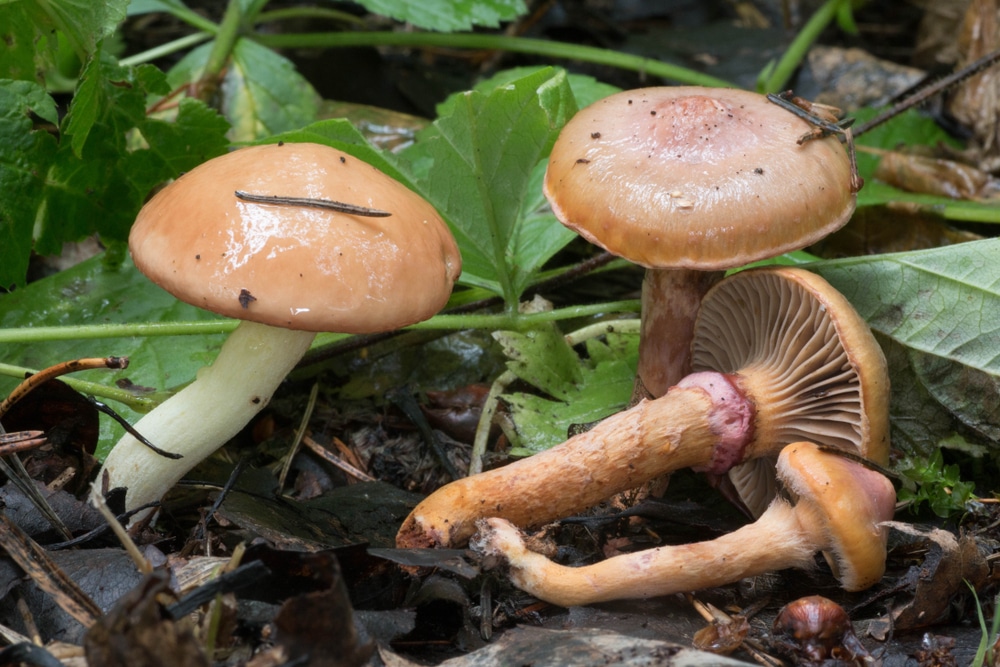
11 – Introducing Mycorrhizal Species
Use this method if you want to:
- Quickly add a beneficial fungal presence in your soil
- Benefit your plants by connecting them to the mycelial network (vast network of strand like fungi that connects plants to each other, allowing them to give and take what they need/can afford to give)
Mycorrhizal species are white strand-like fungi that naturally exist throughout undisturbed soils. They connect plants to each other and make nutrients available in the soil. They help improve soil quality and give plants a layer of resilience to diseases they may not otherwise have.
If introducing fungi to your garden sounds like a complicated step, it really isn’t.
Fungi are everywhere, even when you don’t see mushrooms (which are the fruiting bodies of the fungi). They are the largest decomposers of organic matter on Earth and play a vital role in cycling nutrients on our planet.
Ensuring the presence of fungi in your garden soil can be as simple as finding a decomposing stick and placing it in a low and somewhat shaded spot in your garden so it can continue to receive moisture and a bit of shade.
It can be using wood chips along a pathway. It can be applying one of the mycorrhizal inoculants you see at the garden center to your plants’ roots as you transplant them.
The truth is, the mycelial network is already part of your garden. The best thing you can do is help it along by adding organic matter to your garden, so it can help your soil and plants be their best.
The most effective thing you can do to encourage its growth, and the overall health of your soil, is to disturb it as little as possible.
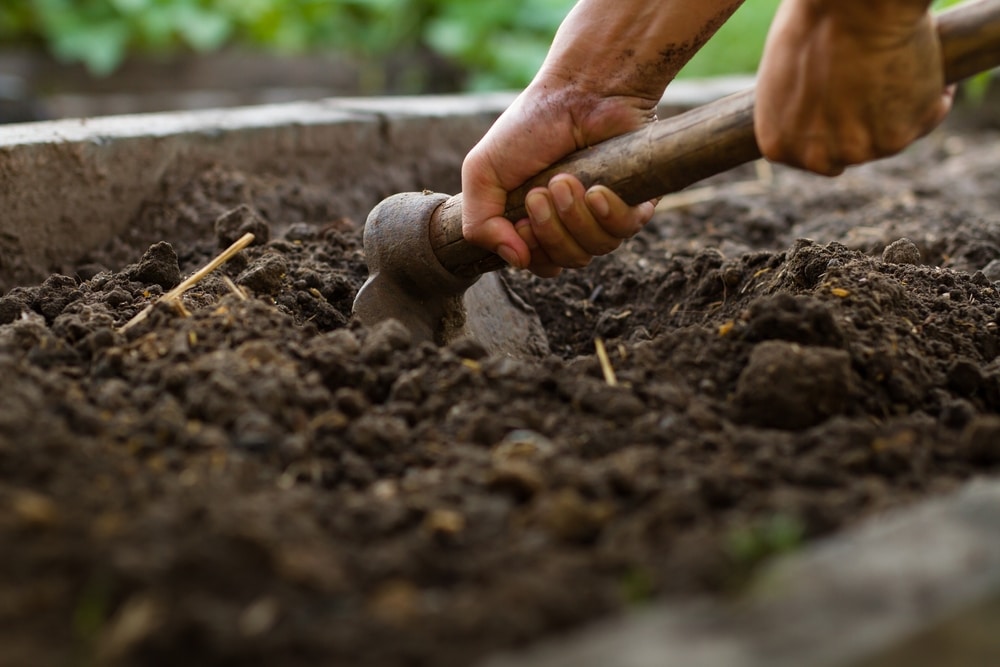
12 – Managing Soil Compaction
Use this method if you want to:
- Improve soil structure and permeability
- Improve water carrying capacity of soil
- Break up hard soil
- Grow in soil where you have previously had a hard time growing
If your soil is hard to dig into, doesn’t hold pockets of air, and has difficulty absorbing water, it is compacted soil.
It can be difficult to rehabilitate compacted soil, because just like you have a hard time breaking into it, so do plants and their roots. Without any space, where does the organic material you intend to add to feed the decomposers who cycle nutrients go?
There is no room for anything to go anywhere.
While I generally advocate for leaving soil alone, this is an instance where you need to intervene.
Adding all kinds of organic material, manure, compost, dried leaves, and grass clippings and manually working these things into the soil will start to make a difference in its structure.
Though it is a different situation than what I detailed above, the same solution applies here (potatoes to break up the soil, and a legume cover crop, crimson clover, vetch, or alfalfa). All these plants have deep taproots capable of drawing nutrients up as well as fixing nitrogen, and each will improve your soil.
As you come to rehabilitate your soil, there are a couple of rules I suggest to avoid compaction in the future. Namely, do not work in a wet garden and never walk on one.
When saturated with water, soil is extremely soft. It can take years to recover the soil structure lost once you put weight on a wet garden.
Plan how you will access your garden at the beginning of the year and stick to your plan to avoid further compacting the soil.