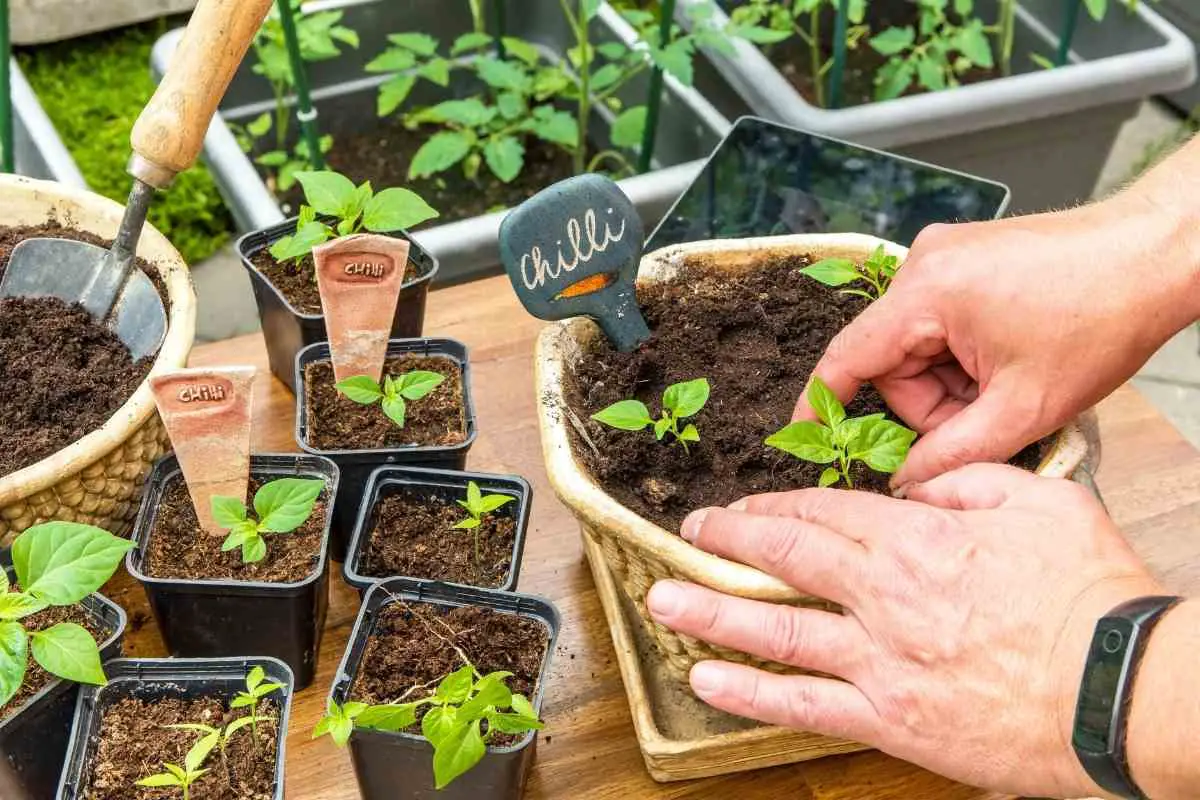
Growing pepper plants is not a time-consuming process but it is an art in its way.
It’s not like a lot of plants, where you can just grab a decent soil, slap it together with some water and sun and get any kind of productive value out of it.
The best soil for chili plants is soil that can breathe, loose yet stable at the same time. You want quality potting soil that isn’t too dense, that doesn’t clump up when it’s dry, and drains water well, rather than retaining it.
It also needs a lot of sunlight, warm temperatures—between 70°F and 90°F—and plenty of water.
The water, however, is where it gets a bit tricky, as you don’t want to oversaturate your pepper plants and promote root rot, but you do want to provide enough to quench the plant’s thirst.
Chili plants are thirsty plants and they crave a lot of sunshine, along with warmer climates. This is, of course, why soil choice is so important.
Whatever you choose to go with, it needs to be the kind that you can spray frequently, but won’t hold excess moisture at the bottom.
Soil Add-Ons For Your Chili Plants
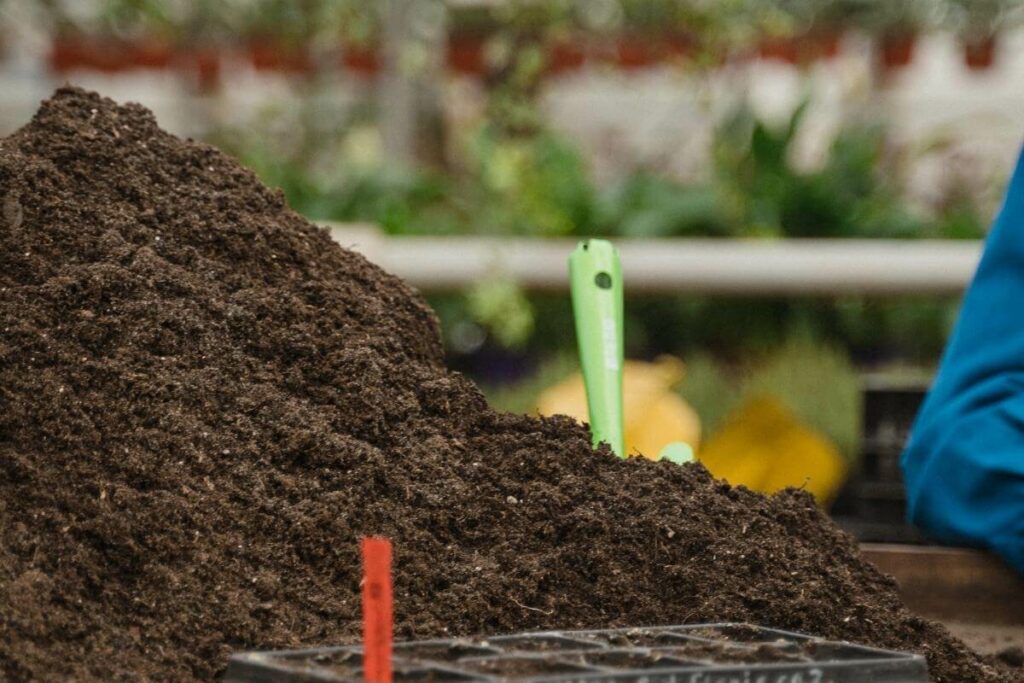
Now that we’ve established that you need a quality potting mix, plenty of sun with warmer temperatures, and a water supply that’s frequent but not overly abundant, soil additives come into play.
If you want the best soil for your pepper plants, it’s not a matter of buying quality potting soil, or at least not “just” buying quality potting soil, but also utilizing quality additions such as compost, Perlite, and Vermiculite.
Vermiculite
Vermiculite is a mineral that is often used as an addition to potting soil and expands when exposed to heat.
It’s an excellent additive because it aids the soil in retaining the water, nutrients, and minerals important for plant growth.
Organic Vermiculite by Perfect Plants – 8 Dry Quarts Natural Soil Additive for Potted Plants
It also aerates the soil, which just so happens to make chili plants happy. Chili peppers don’t grow well in dense, non-aerated, or compacted soils.
If you’re going to add vermiculite, it’s important to balance the ratio of vermiculite to potting soil at a 1:10 ratio, or 10%. If you have 48 ounces of potting soil, mix in roughly 5 ounces of vermiculite.
https://m.media-amazon.com/images/I/41u9s6xC7rL._SL500_.jpg
Make sure you mix it well because vermiculite’s ability to aerate the soil isn’t as effective unless it’s dispersed throughout the entire potting soil product.
Organic Vermiculite by Perfect Plants – 8 Dry Quarts Natural Soil Additive for Potted Plants
Perlite
Perlite is a good additive to consider because it helps the soil reach a level of density that is preferable to chili plants.
While vermiculite helps to aerate the soil and provide retention, Perlite helps by adding a level of porousness to the soil so that water doesn’t build up and create root rot.
If you’re using compost—which is highly recommended by the way—it has the tendency to make the soil too dense and compacted.
Perlite helps balance the compost and vermiculite with enough aeration to both retain nutrients, minerals, and water, while not retaining too much.
When you add perlite, you’ll either add it alone to a quality potting soil mixture, or you’ll add it with vermiculite already mixed in as well. Regardless, it’s also a 10% mixture and should be mixed accordingly.
Like the vermiculite, mix it well and throughout. In fact, one of the best ways to mix or throw in soil additives is to dump the potting soil into a wheelbarrow.
Mix in your vermiculite and perlite at 10% each, and hand mix it thoroughly before situating it in your garden or pots.
Compost, Bone Meal, and/or Epsom Salt
Organic compost is loaded with minerals and nutrients that jump-start plant growth and maintain it throughout its life cycle.
Compost is especially useful in new gardens when you’re getting started for the first time.
As far as mixing compost, you’ll want to add it as you did the perlite and vermiculite as a 10% ratio prior to planting. However, compost isn’t always the answer, especially if you’re growing indoors.
Instead of compost, substitute with Epsom salt and bone meal. If you’re a vegetarian and don’t prefer using bone meal, Epsom salt alone is suitable or you can add phosphates in with the Epsom salt.
Epsom salt gives you phosphorous and magnesium, two nutrients high on the list of productive nutrients for chili plants. This is especially true with magnesium as chili plants are voracious for magnesium.
Bone meal is crushed and powdered animal bones and it’s loaded with phosphorous, nitrogen, and potassium.
The best part about bone means is that it’s a slow-release fertilizer. Mixing in a bone meal grants some longevity for your potting soil mix.
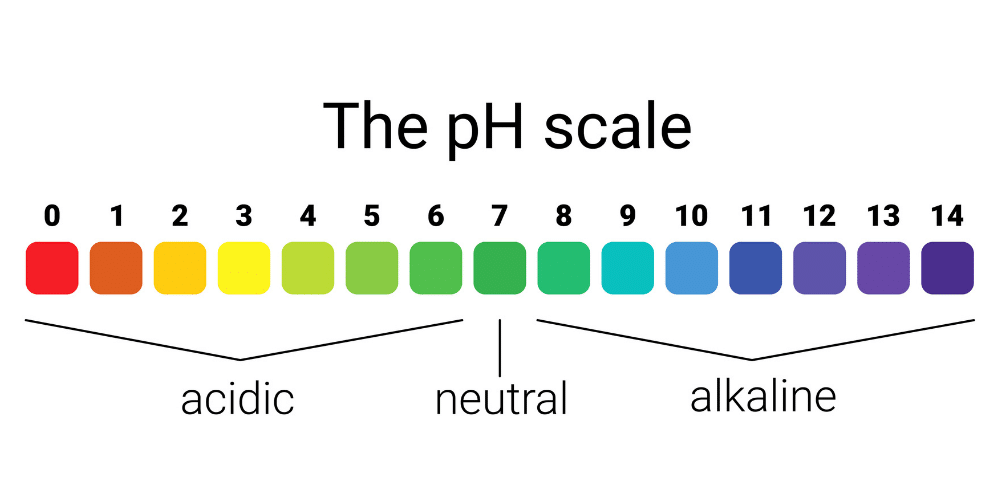
Maintaining The pH Level
The appropriate pH level of the soil for chili plants is anywhere between 5.5 and 6.5. The importance of the pH level cannot be understated, with the greatest contributor to pH reduction being rainfall.
When it rains, the soil is leached of the minerals and nutrients necessary for the chili plant to grow and successfully produce peppers.
This is why it’s also so important to use quality potting soil, perlite, vermiculite, and compost/bone meal/ Epsom salt.
The combination of quality fertilizers helps reduce too much water retention while also combatting too much water loss.
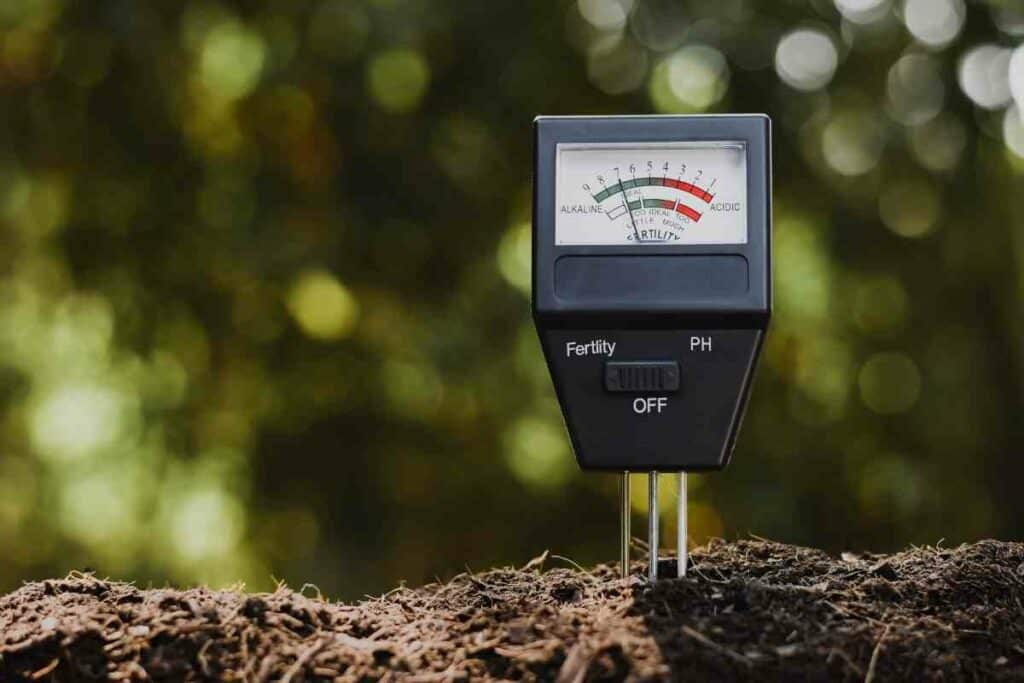
If the pH level gets too low, you’ll have to introduce lime to your garden or pot.
Depending on the type of lime you use—granulated, powder, hydrated, and pellets—the soil acidity will drop slower or faster.
Generally, if the lime that you use is a fine powder, it will reduce acidity rapidly, while pellet lime will reduce it slower.
If the pH level climbs too high, aluminum sulfate and/or sulfur will reverse it. Aluminum sulfate is a fast-response chemical that will elevate soil acidity quickly while sulfur is a more gradual increase, helping you control the level of the increase until it is nominal.
SONKIR Soil pH Meter, MS02 3-in-1 Soil Moisture/Light/pH Tester Gardening Tool Kits for Plant Care
How Often Do Chili Plants Need To Be Watered?
Since we’ve established the soil and fertilizer combinations that are best for both retention and drainage, now it’s important to understand the water requirements for what is ironically, a hot and spicy food source.
Chili pepper, like most peppers, is happiest when it is getting every bit as much water as it is sunlight and chili peppers require a good deal of sunlight. However, it’s important to not overwater them, but keep the soil maintained in a consistently moist, watering every other day.
Too much water is a formula for root rot, as the accumulated water at the bottom of the soil over-saturates before neutralizing the root and it rots where it sits.
The ideal method is to water it every other day and routinely check to see that the soil is moist, but not saturated.
You may find this a little difficult at first, seeing as chili peppers prefer a lot of direct sunlight, which has the unfortunate side effect of evaporating water.
But keep at it until you find a happy medium, spraying the soil rather than saturating it.
Final Word
It all sounds meticulous and extremely time-consuming, however, achieving the best soil, with good fertilizer ratios and adequate water ends up doing most of the hard work for you.
You’ll find that routinely watering your chili peppers and providing them with plenty of sunshine is more than enough to promote a healthy, fast-growing pepper for you, your family, and your friends to enjoy.
- Guide To Desert Plants: Types, Adaptations, And Landscaping Tips
- Philodendron Care, Varieties, And Aesthetic Home Arrangements
- Potato Bugs: Identification, Impact, And Control
- What Do Squirrels Eat? A Gardener’s Guide to Squirrel Diets
- Understanding Chipmunks In Your Garden: Behavior, Diet, And Tips For Gardeners