Key Takeaways
- A mason jar bee feeder is a great bee feeder to make.
- Mason jar bee feeders require a mason jar, strips of wood, sugar syrup, a hammer, small nails, and a deep box to put the finished result in.
- Poke small holes in the mason jar’s lid, fill it with sugar syrup, turn it over on some strips of wood, and set it in the box.
You can buy many bee feeders, but there’s something rewarding about making your own. Thankfully, making a bee feeder is also simple and easy. So, here’s how to make a bee feeder!
How To Make A Bee Feeder With Step-By-Step Instructions
Making a bee feeder is an excellent weekend task your whole family can help with. By following the steps below, you’ll finish in no time.
Here’s what to do.
Step 1 – Get The Supplies You Need
Mason jar bee feeders don’t require a lot of materials. You may even have many of them around your home already!
Here’s what you need:
- Mason jar (a quart jar (32 oz) is usually the best option)
- Hammer
- Some small nails
- Sugar syrup (you’ll need water and sugar for this)
- 1-inch x 12-inch strips of untreated wood
- An empty deep box (beehives are best for this)
Step 2 – Put Holes In The Mason Jar’s Lid
Remove the lid from your mason jar. Take one or more nails and use your hammer to drive them into the lid. You only need to hammer the tip in, though. Doing more than that makes the holes too wide, which makes the sugar syrup flow too fast.
Step 3 – Make And Add The Sugar Syrup
The most common recipe for sugar syrup is equal parts white sugar and water. Heat the mixture until it boils and the sugar dissolves. Let it cool before adding it to the feeder.
Fill the mason jar to the top and clean the outside of the jar if any liquid spills. Replace the lid and seal it tightly.
Step 4 – Test The Feeder
Once you have attached the lid, flip the jar over to see how quickly the syrup drips out. Ideally, the drip should be very slow and eventually stop once a vacuum has formed inside the jar.
While you might think this is counterproductive, the bees have their own way of extracting the sugar syrup from the holes, allowing for much more controlled feeding.
If you’re happy the feeder is performing well, it’s time to move on to the next step.
Step 5 – Install The Feeder
You’ll need an empty deep box (if you don’t have a hive) to install your feeder.
So that the bees can access the lid of the overturned mason jar, you’ll need to rest it on your two strips of 12” untreated wood inside the box. There’s no need to secure the jar, though. Once full, it’ll be pretty heavy, and there’s no chance of the bees knocking it over.
Leave a gap between the two supports for the bees to get underneath. You can also place a tray under the entire structure to capture any leaking syrup. It’s best to avoid leaks, as I will explain in the coming sections.
Tips When Making A Bee Feeder
As you can see from the above steps, making a bee feeder is simple and easy. Anyone can do it. However, there are a few things to remember if you want the bees to benefit most from your feeder.
Make Sure The Feeder Is Leak Proof
The whole point of making a bee feeder is to provide supplementary nutrition for your colony. But when a feeder starts leaking, this can attract the attention of robber bees that won’t think twice about coming in to see what’s on offer.
This is a problem because if these bees come from a colony with diseases or parasites, they can pass these on to your bees.
Moreover, a leaky bee feeder will attract the attention of ants, which may prey on any larvae within the hive.
Ensure The Feeder Is Safe For The Bees (Drown Proof)
Bees are not good swimmers, and I’ve read horror stories about beekeepers finding numerous bodies in a pool of sugar syrup.
This is why ensuring your feeder doesn’t pose any risk to your bees in terms of drowning is crucial. If you place a tray underneath the feeder, it’s vital to ensure the jar isn’t leaking and creating pools of water.
Unfortunately, many types of bee feeders (especially open-air ones) pose a serious risk of drowning. While mason jar feeders are generally one of the safest, checking them regularly and minimizing the risks is still essential.
What To Put In A Bee Feeder
Sugar syrup is a straightforward food to make for bees. Using only white granulated sugar is essential as it is deemed safest for bees. Things like brown or demerara sugar are rich in molasses, making it difficult for bees to digest and damaging their gut health.
You can make sugar syrup using a 1:1 white sugar and water ratio. Heat the liquid on the stove until it just begins to boil, and then remove it before allowing it to cool down. Any unused syrup can be stored in the fridge for up to three weeks.
Other options exist for those who don’t wish to make their own sugar syrup. It is possible to purchase ready-made liquid bee feed online or in stores. Of course, you must remember that this is a more expensive option.
What About Other Types Of Bee Feeders?
There are feeders you attach to a beehive and freestanding feeders. Of these, the most common is an entrance feeder. Typically, these feeders have a small tray you insert into a hive’s entrance. You place a mason jar on the tray, from which sugar syrup drips.
For this guide, I chose to show you how to make a mason jar feeder. The primary reason is this type of feeder prevents sugar syrup from freezing when the temperature drops.
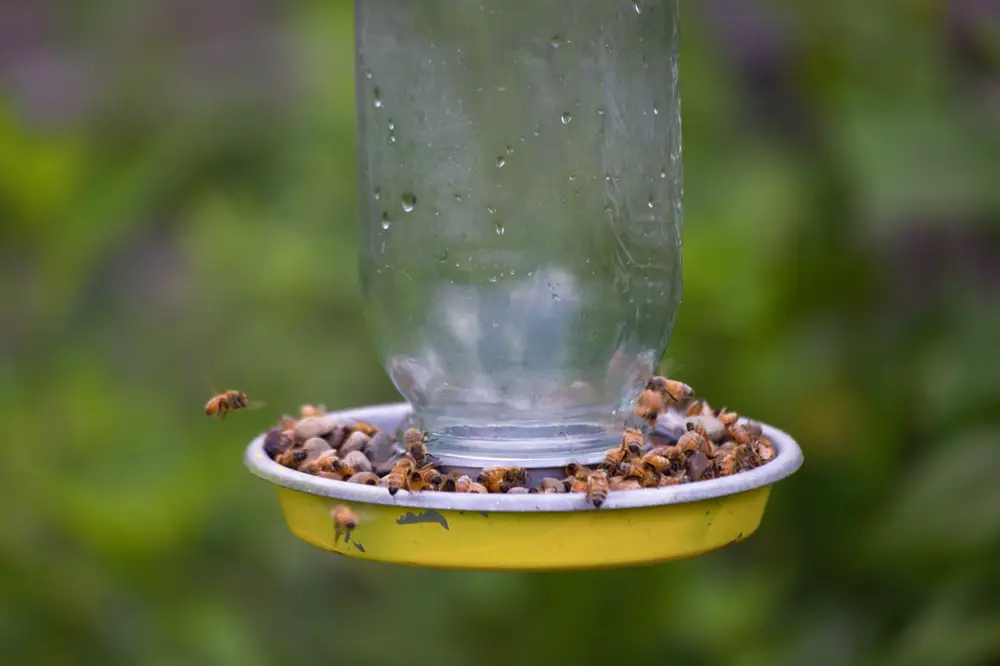
Also, mason jar feeders are versatile since you can hang them from a suitable spot in your garden.
Alternatively, you can hang a mason jar feeder in a suitable location in your garden to attract wild bees. But this does come with a word of caution. You must regularly clean your feeder as bees from different colonies will visit, and this could cause the spread of disease.
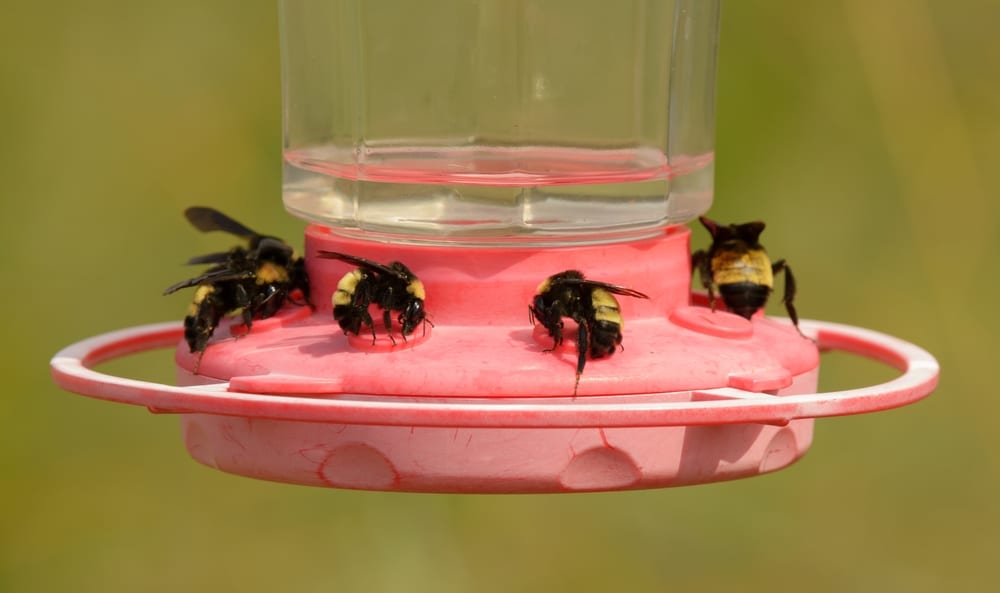
Moreover, it’s worth remembering that this type of installation will also attract other pollinators and insects. So, monitor this and make adjustments as needed.