Before we get into how to make the best soil for your vegetable garden, you should know: I’m very serious about my soil.
I know from experience you need to start with great soil to grow great vegetables. All year long, I am doing something or other to make sure my garden has good, healthy soil.
At the end of the season, other gardeners work to clean up and remove extra organic waste from their property. That’s not a bad practice, mind you, but I like to put it to use in various ways, such as:
- Piling it onto my garden beds
- Layering it into my compost bin
- Storing it for use next year
I do all of this because I deeply care about my soil.
I’m so serious I won’t add anything to my garden without considering how it affects the soil. I mean it.
For example, I once called back a soil delivery company and asked them to pick up the 4 cubic yard truckload of soil they’d already delivered on my driveway.
I’d ordered a garden mix, and they delivered something with a lot of clay. Adding that to my garden would have created problems that took several years to fix. No way.
As a quick side note, they did resolve the situation.
But I’m serious about my soil because I know healthy soil provides the nutrients and immunity for everything I want to grow, whether that’s vegetables or other plants.
I’m guessing if you weren’t serious about your soil before, you are now.
I love that.
But before we can get into how to make the best soil for your vegetable garden, we need to talk about the basics of soil science. After all, action without understanding is frivolous, right?
1 – Learn Soil Science Basics
All soil is a combination of sand, silt, and clay. These labels refer to the texture and individual particle sizes for each material.
Sand has the largest particles of the three, followed by silt and then clay. This is important to know because each soil type has its own capacities and limitations.
When you know how much of each kind of particle is included in your soil, you can predict how that soil will respond in a variety of situations.
For example, water runs right through sand. This can make it difficult for plants to access the water they need, so pure sand is not a desirable soil for gardening.
However, combining sand with silt or clay, which hold too much water on their own, creates the kind of soil that is desirable.
So, what is this ideal soil?
The Ideal Soil For Your Vegetable Garden
It should come as no surprise that the ideal soil for your vegetable garden is a balanced combination of all three textures. This balanced combination is loam, which is approximately 40% sand, 40% silt, and 20% clay.
A loamy soil absorbs water, holds onto some of it, and allows the excess to drain away. It has room for all the organisms it needs to hold, allows plant roots to move through easily, and includes pockets of air. It also holds nutrients required by plants.
So, the next step in making the best soil for your vegetable garden is determining what kind of soil you have.
2 – Get To Know Your Soil

There are two components you must know about your soil to grow great vegetables: the soil structure and chemical composition.
If you don’t already know your garden soil texture, these two simple tests will help you learn what kind of texture your soil is.
You can do either or both tests.
The important thing is for you to identify the texture of your garden soil. This allows you to predict how your soil will work in your vegetable garden. This also allows you to respond to your plants’ needs as you work to improve the soil structure.
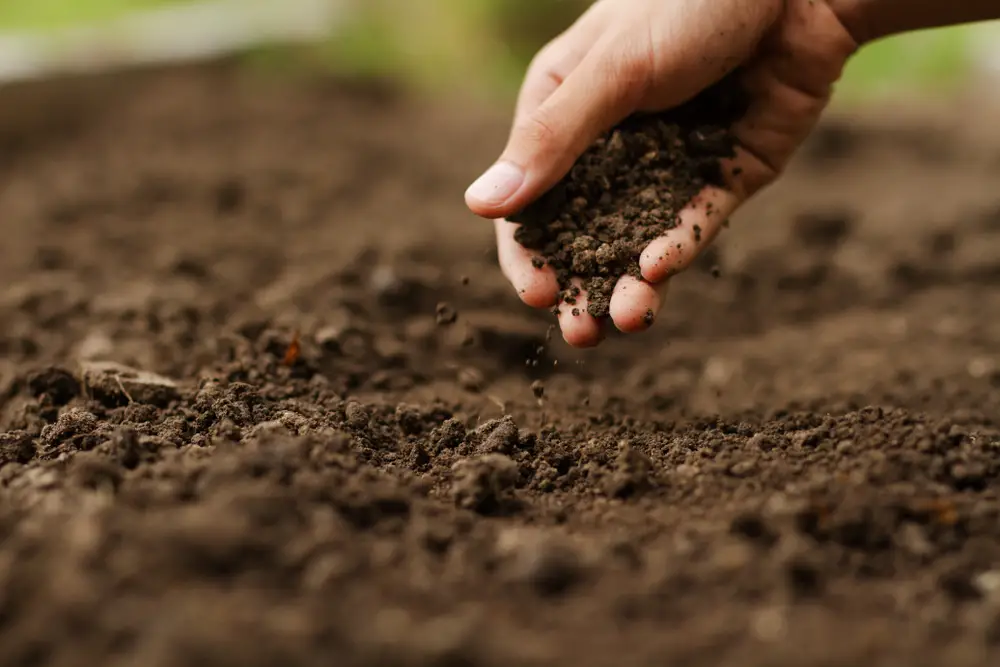
The first of the tests is the ball test. The ball test will show you if your soil is more sandy, silty, or clayey (yes, this is a word).
Use this test if you want a basic but near-immediate answer to what sort of soil structure you currently have in your garden.
The Ball Test
Take a sample of your soil from about 5 inches below the surface. About ¼ cup should be enough.
Spread the soil out and sort through it. You want to test only soil. Ensure this by picking out anything else (stones, branches, etc.). If some soil is clumping, break it apart before testing.
Wet the soil slightly and squeeze it into a small ball in the palm of one of your hands.
Some soil won’t hold a ball shape, even when wet. This indicates your soil is high in sand.
Soil has more clay if it has no problem sticking together.
A balanced soil will hold together when wetted and shaped but also easily come apart, especially as it dries or with any agitation.
The Jar Test
The jar test gives you a slightly more comprehensive soil profile. But it will take a day or two for you to have results.
Take a sample of your soil about 5 inches from the surface. Approximately 1 cup is enough.
Spread the soil out on a plate and remove any organic matter and stones. Separate the soil if any is sticking together.
Add the soil to a glass jar with a lid. Next, add double the amount of water (approximately 2 cups). Last, add a teaspoon (tsp) of Borax or Calgon. Put the lid on and shake vigorously for a couple of minutes.
Set the jar down and watch it settle into layers.
Your soil’s sand layer will be at the bottom and settle within minutes.
Your silt later will sit on top, which can take a couple of hours.
And your clay layer will be at the very top, but it can take a day or two to settle.
Once all layers have settled, you will be able to determine how much of each soil type and texture you have.
You can eyeball it if you want.
You can also convert each section to a percentage. To do this, use a ruler or measuring tape to measure the whole soil depth. Next, measure each of the sections.
Divide the number for each section by the whole and multiply it by 100. This number is the percentage of that specific texture in your soil.
Complete this step for all three particle sizes.
Once you have determined your soil structure, you can move on to testing its chemical makeup and how to best achieve great soil.
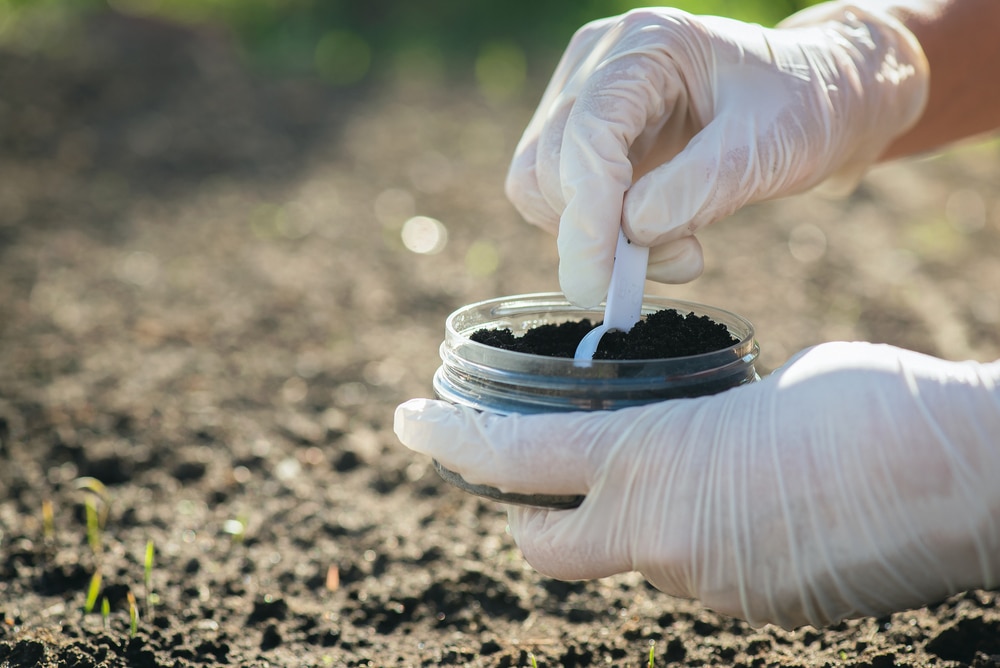
Soil Testing
By now, you know your soil texture. The other part of soil health is its chemical composition, or what nutrients are present and if the pH is ideal for growing vegetables (between pH 6.5 – 7 is best). You’ll get this information through a soil test.
In case you are tempted to skip this step, remember you’ll be eating whatever is present in your soil, so you’ll want to test for potential contaminants (unless you have a long-standing history with the land and know this information already).
You can choose a DIY soil test kit from your local hardware store or contact a government agricultural office or a soil lab to test your soil.
Equipped with your test results, you’ll be able to take any necessary steps to improve or balance your soil so that your vegetable plants can thrive year after year.
3 – Feed Your Soil
Ideal soil (that loamy composition we talked about earlier) holds enough water, air, and nutrients to nourish your plants and the microorganisms that break down and recycle those nutrients.
But let’s say your current soil isn’t that ideal mix.
Through your testing, you’ll have a good understanding of if you need to improve the structure or chemical aspects of your soil (or both).
Let’s start with your soil’s nutrients.
Soil Nutrients
Your plants need 17 nutrients to thrive.
Sun and water provide carbon, oxygen, and hydrogen.
Your soil provides the rest.
This includes the following primary macronutrients:
- Nitrogen
- Potassium
- Phosphorus
Synthetic fertilizers usually add these in varying amounts.
This also includes the following secondary macronutrients:
- Calcium
- Magnesium
- Sulfur
Lastly, this includes the following micronutrients in smaller amounts:
- Copper
- Zinc
- Manganese
- And more
Finding a way to provide these nutrients to your plants is essential if they’re not already available.
You can partially achieve this by adding synthetic fertilizers. However, adding them disrupts and hinders the growth of your soil ecosystem.
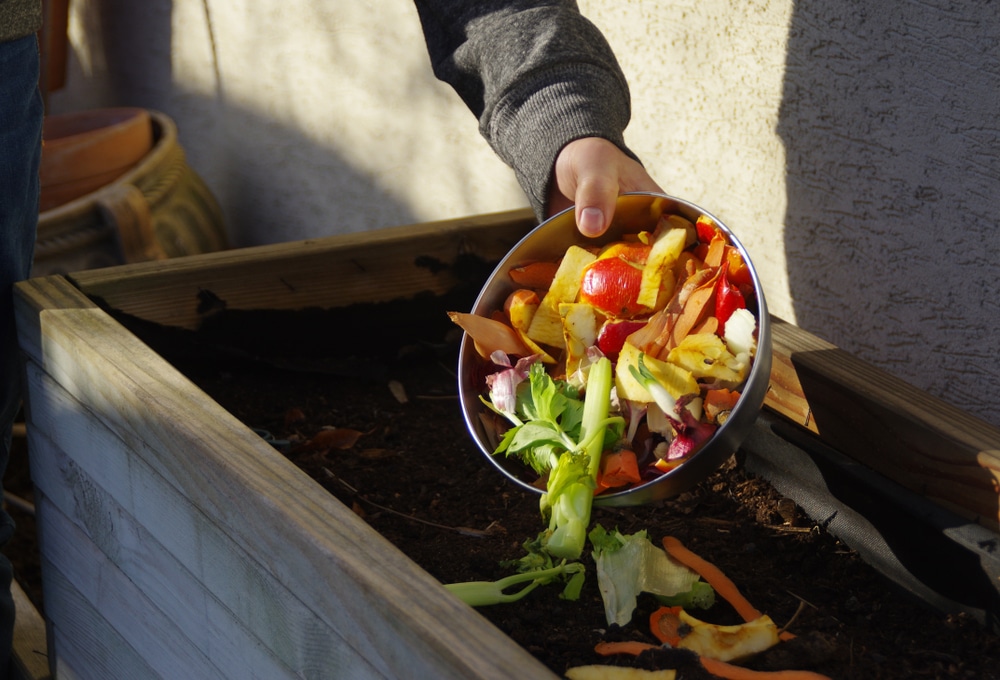
Your best approach is adding a variety of organic materials and letting the microbes living in healthy soil do their thing.
The process of this organic matter breaking down is essential to building a healthy soil ecosystem.
This process also takes time.
In the interim, your vegetable garden will need your help.
In other words, you’ll need to shift your soil’s structure. Doing so meets your plants’ needs better and creates an environment that feeds the microorganisms working to maintain your soil over time.
Remember that no approach will change your plants in a day. Like adding organic matter to your soil, what you do in the meantime takes time.
I like to tell gardeners to think of feeding their soil instead of feeding their plants.
Not only do gardens with the best quality soil grow the most and best tasting vegetables, but an investment in your soil is an investment in the success of future gardens, yours, and others.
Here’s what you can do to achieve just that.
Soil Structure
Sandy Soil
Everything runs through sandy soil. You’ll need to pay more attention to your soil in order to grow vegetables there. This means more frequent watering to make sure your plants and getting enough each day and some additional help for your plants to access nutrients.
I suggest adding some finished compost (with the ideal greens-to-browns ratio) or worm castings and mulching with grass or straw clippings during the growing season.
In the off-season, add leaf mulch or compost and consider planting green manure (a crop designed to be grown and then turned into the soil to add nutrients as it decomposes).
Silty Soil
Silty soil holds water and nutrients available to your plants. However, it can be difficult for liquid to enter these soils, and you may notice puddling on the surface.
Silty soil can quite easily become compacted, reducing space for air and water and making it very difficult to grow vegetables in.
Adding approximately 1 inch of organic matter each season helps improve and balance the structure.
I suggest adding some finished compost and perhaps mulching with grass clippings or straw during the growing season.
In the off-season, you can add leaf mulch, compost, or manures.
Clayey Soil
Though clay soil holds everything, your vegetables will find it difficult to grow their roots through it or to access the moisture and nutrients available. You may notice your vegetables are a bit smaller because they’ll have this kind of trouble.
During the growing season, I suggest planting a mixture of carrots, parsnips, potatoes, or daikon radishes (to break up the soil) and nitrogen-fixing plants (such as hairy vetch or red clover) that you can turn into (till into) the soil to add nutrients.
In the off-season, add 6-8 inches of a variety of organic materials and physically work this into the soil.