Summary
The steps for how to plant and grow vegetables the right way are the following:
- Choose a spot with ideal conditions (or make one)
- Create a garden map (to assess spacing, height, your access to your plants, succession planting, and what not to plant together)
- Decide what to grow
- Incorporate flowers
- Create and follow a seeding schedule
- Gather supplies
- Plant
- Maintain
- Harvest
Whether it is your first or twentieth time planting a vegetable garden, following a few key steps will guide the process and bring your vision to life.
In other words, here’s how to plant and grow vegetables the right way, starting with deciding what to grow!
And if it is your first time, trust me, vegetable gardens are definitely worth it.
1 – Choose A Spot With Ideal Conditions (Or Make One)
All plants have similar basic needs, whether you’re planting in containers, raised beds, or straight into the ground. So, finding a spot offering your chosen plants the best soil, good access to water, and plenty of sunlight is essential.
Let’s start with the soil and water.
Soil And Water
You’ll want to plant in the best quality soil you can.
If you are purchasing soil, a mix that includes compost is a good option. You can buy soil in bags or have it trucked in, a minimum amount being one cubic yard (0.76 cubic meters).
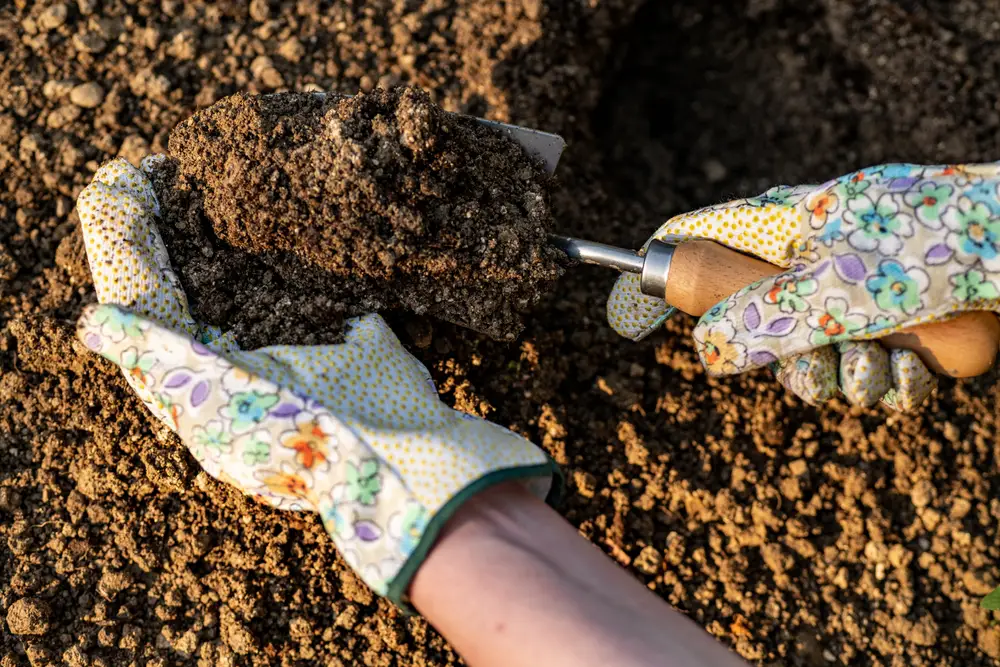
If you are planting in an existing garden, you will want to dig into it and observe what you are working with.
The best soil has some moisture and is relatively easy to dig through. This allows plants to spread their roots and take up all the water and nutrients they need.
If your soil is like this, great!
Otherwise, you may want to start by adding some compost (a much better choice than fertilizer), observing it through the season, and making further amendments in the autumn.
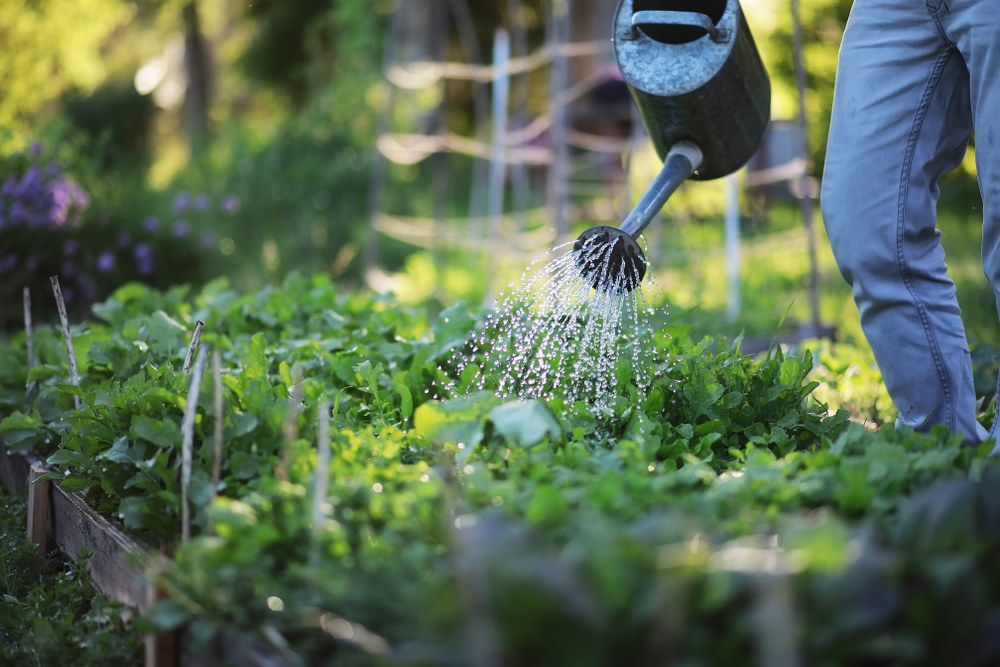
Access to water is also essential.
While the rain will water your garden sometimes, you should plan where you will get water from when it is dry.
Sunlight
Lastly, you’ll want to make sure your garden is in a spot where it gets plenty of sunlight throughout the day.
Your vegetable garden needs 6 hours of sunlight at a minimum, but more is better. However, exceptions always exist, so check your chosen plants’ sunlight needs and adjust as necessary.
2 – Create A Garden Map
Planting is always an exciting time!
It can be hard not to be swept away by your burgeoning garden dreams.
You know that advice to not go grocery shopping when you’re hungry? There is a similar effect among gardeners at plant nurseries.
So, before purchasing your seeds and seedlings, I suggest doing one more planning exercise.
I’ll share my process, but do what works for you!
Also, I spread the planning out over the winter months, so don’t feel as though you have to do it all at once. Plus, you’ll need those months to take care of a few essential winter gardening jobs as well, anyway, so spreading the planning out allows you time to take care of those important tasks.
And have some fun when you do go get your plants and seeds!
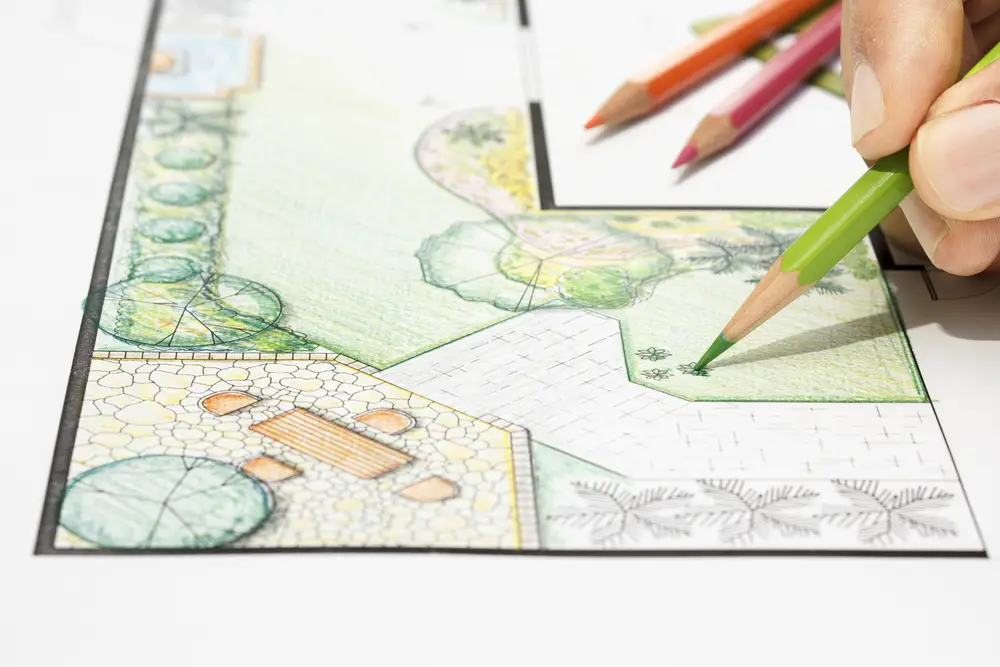
But create a garden map first.
Start with measuring your growing area.
I draw my beds out and sketch where I want to plant various things. Part of this is so I have a well-considered idea of what I need to buy and can avoid over-buying or making extra trips.
It’s even more helpful that through this process I usually realize I need to move something around for one reason or another.
I can tell you from experience it is much better to erase something on a drawing than to be halfway through planting and have to move it!
The things I keep in mind while developing a planting plan are:
- Spacing
- Height
- Roots
- Access
- Succession planting
- What not to plant together
By the time I finish this sketch, which I call my garden map, I know where I’m going to plant everything and what I need to buy at the garden center.
I also use the map as a working document for reference throughout the growing season.
Let’s start with spacing, height, and roots.
Spacing
It can be hard to envision how much space plants need as they grow and mature.
Planting your plants too close together forces them to compete for the same resources, meaning none will thrive.
Doing this can even invite disease because there isn’t good air circulation.
However, planting your plants too far apart wastes valuable growing space.
Height
Plants grow wider, and they grow taller, too. Some plants can even grow very tall and obstruct the light neighboring plants need.
As a result, it’s best to put tall plants at the back of your garden bed or off to one side.
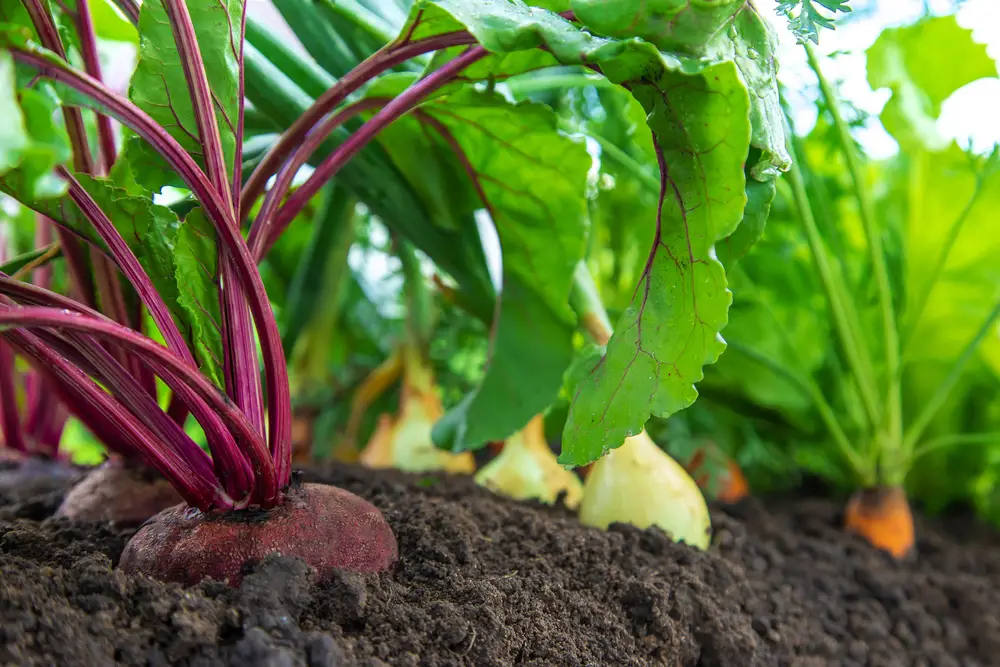
Roots
You’ll also need to consider your plants’ roots.
For instance, are they shallow roots like peas and lettuces? Or deeper and larger, like carrots or beets? Do they need even more room, such as potatoes?
Whatever you are growing, it is essential to accommodate for below-ground spacing needs.
Some people prefer to alternate shallow and deep-rooted plants.
Additionally, install structural supports while planting if you know your plant will need them as it grows.
This avoids later injuring root systems after they’ve grown throughout your soil.
Access
It will become harder to move through your garden as your plants grow. You’ll need to plan for this so you don’t potentially harm them or compact the soil they use, which reduces oxygen and water access.
You must decide if your kind of access will involve paths, stepping stones, or simply leaving a bit of space.
What you choose will depend on the shape and size of your garden bed.
For example, maybe you can reach everywhere you need from the bed’s edge.
A good rule of thumb is if the bed extends beyond 2 feet from one edge to the other and you don’t have access on the other side (such as a wall blocking you), you’ll want to plan to have some space for you to get into your garden.
For example, I have several 4-foot by 4-foot raised beds, but I can access them from any direction, so this follows the 2-foot rule.
As an example, maybe you have a long garden planted in rows. Following this rule, you should strategically place pathways approximately every 4 feet.
Pathways don’t have to be complicated, either. I mulch mine with wood chips. You get the picture.
In short, make sure to know where you will fit in your garden as it grows.
Succession Planting
Another way to plan to use space in your garden is to use the same space to grow different plants one after another.
This technique is called succession planting.
Let’s say you plant some leaf lettuce in a certain area. It becomes ready to eat in 3 weeks to a month.
You can “cut and come again,” which is when you cut the edible leaves off and wait for them to regrow, or you could decide to harvest the plant and plant something else there for the season.
Another great reason to incorporate succession plantings into your plan is that some crops really don’t thrive in heat.
Many greens fall into this category, so gardeners may plan to have them at the beginning and end of the growing season and use the space for a heat-loving plant in between.
What Not To Plant Together
Some plants support each other’s growth. Others don’t.
In other words, some plants hamper each other’s growth because they compete for the same resources or have the same vulnerabilities.
Companion planting is the system of understanding what plants offer each other support.
Though it has not been scientifically proven, it does make sense, for example, that plants that have the same susceptibilities to pests or disease would become more vulnerable when planted together in a clump instead of interspersed with variety.
Gardeners all come to have their preferences over time. Experiment and see what works for you.
Additionally, some plants are allelopathic. This means they release compounds that inhibit other plants’ growth.
Sunflowers and fennel are the two I commonly have in my vegetable garden.
I just keep them about a foot away from other plants to manage.
Now, let’s talk about the third step for how to plant and grow vegetables: deciding what to grow.
3 – Decide What To Grow
Deciding what vegetables to plant and grow in your vegetable garden (whether simple or ambitious) is an important step.
This step should be particularly fun! Let yourself dream a little bit here.
Think of it as if you could grow anything, you would grow _______________.
For example, maybe you had the most amazing cocktail tomatoes last year, and you’d like to try growing some. Maybe this is the year you grow a whole bunch of cucumbers and finally recreate the pickles that you love from your great aunt.
But maybe it’s not as simple as that. Maybe you’re not sure where to start.
This is where some healthy research comes in.
Visit a plant nursery and look at what’s available. Look up some seed companies in your area. Get a catalog or two (to me, these are the best resources).
Include what you like to eat, but explore a bit, too.
For example, grow a tri-color blend instead of regular carrots.
Taking all this time up front has another benefit, too. Vegetable gardening has its challenges no matter what you choose. Still, you can make those challenges easier by building the kind of garden and growing the kinds of vegetables that excite you.
In other words, create the kind of vegetable garden you’ll enjoy.
Once you figure this out, you can work on giving your vegetables the ideal conditions they need to grow.
4 – Incorporate Flowers
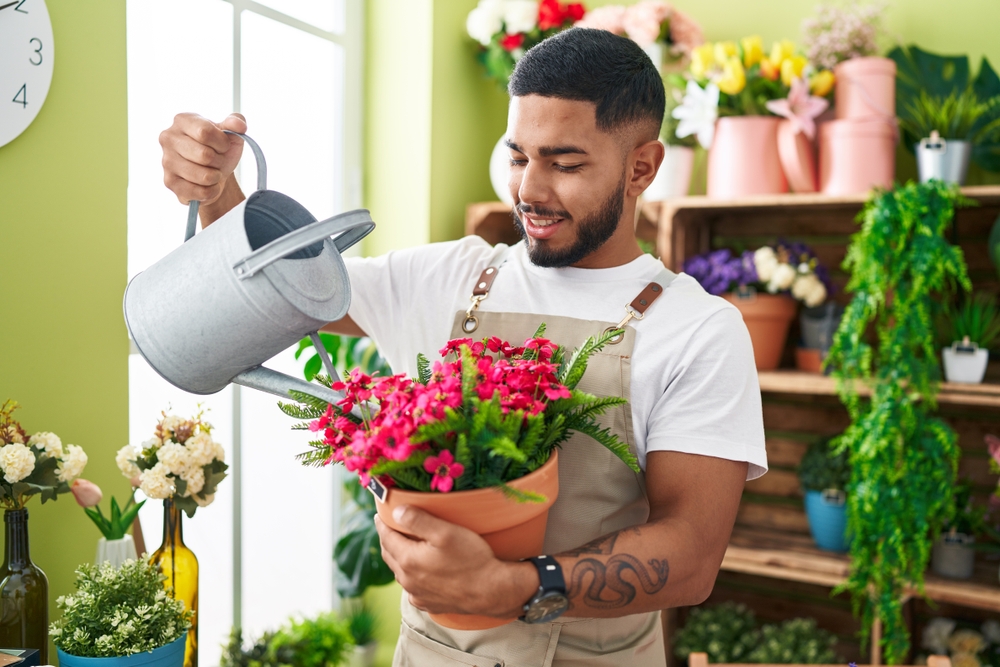
Unfortunately, many people (possibly including you) don’t consider incorporating flowers in their vegetable gardens.
But you really should!
Not only are flowers beautiful, but they also attract beneficial insects. Many of these are pollinators (necessary for plant reproduction), while others are predatory insects that help keep pests in check.
Some flowers act as deterrents to pest insects as well.
I like to plant flowers as borders or intersperse them throughout the rows of my vegetables.
I particularly enjoy calendula, zinnia, marigolds, nasturtiums, borage and cornflowers.
It’s no mistake all of these flowers happen to be edible.
Feel free to experiment and plant what you like.
5 – Create And Follow A Seeding Schedule
You need two pieces of information to know how to time your plantings properly:
- One is how many days it takes each kind of plant you are growing to mature and be ready for harvest. This information is on all seed packets and in seed catalogs.
- The other is what plant hardiness zone you live in. This helps you determine average temperature ranges and how long your growing season is. Plus, you can compare this against your plants to see if they can tolerate those temperatures.
You’ll also be able to decide if you want to sow seeds directly in your garden, start them earlier somewhere inside, or buy seedlings at your local plant nursery.
I usually do a combination.
My seeding schedule starts indoors in February with some of the slowest-growing plants (celery!), but I start most seeds inside in late March or April. I do use some growing lights.
If you are just getting into growing your own vegetables, you may want to buy seedlings from your garden center instead.
It is less complicated and less equipment, but this depends entirely on your gardening goals.
6 – Gather Supplies
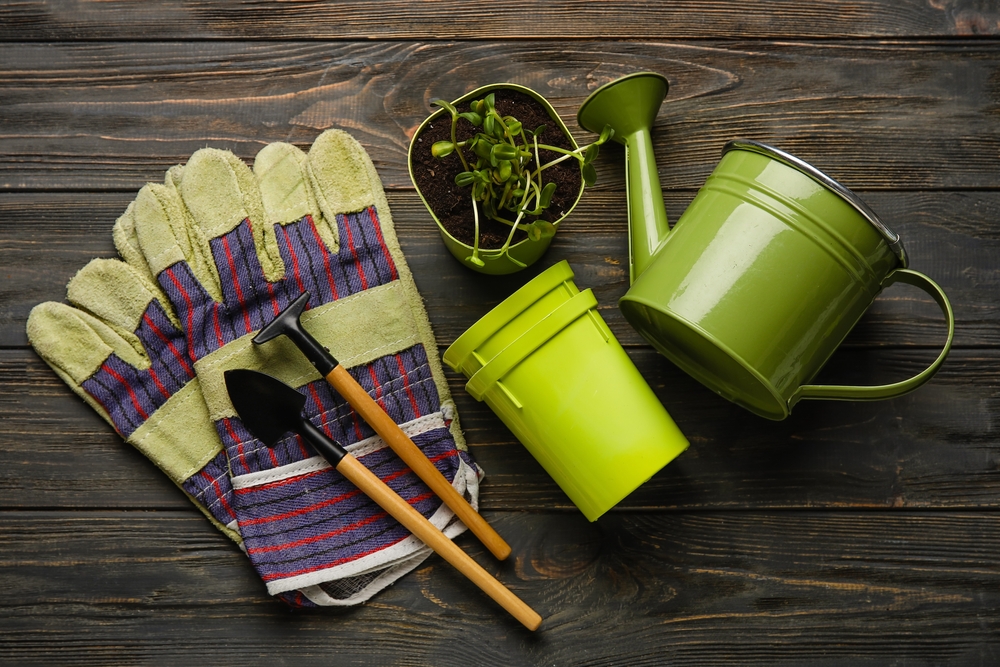
Once you’ve identified what vegetables you want to plant and grow and when you need to plant it, I suggest deciding what supplies you need.
Here’s a list of some you may find helpful to begin:
- Seeds
- Seedlings
- Trowel
- Shovel
- Pruners
- Gardening fork
- Hose
- Watering can
- Gloves
- Rake
- Trellis or stakes (if growing vining plants)
There are a lot of other handy gardening tools, but this is a basic list of what you need to do most things in the vegetable garden.
You are almost ready to get planting!
7 – Plant
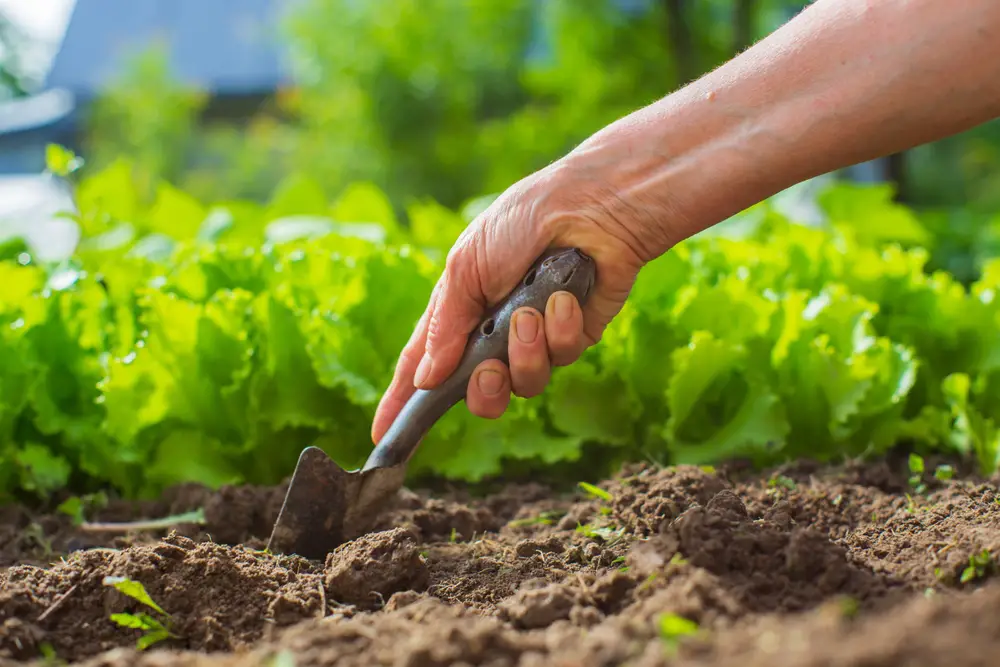
Do a thorough weeding of your garden before you start putting anything into the soil.
Before weeding, I take any seedlings I have and set them in a tray of water. An inch or two is fine. This allows them to take up lots of water before they go into the ground.
If possible, choose a moderate day to plant your garden.
After planting, I put the garden map into my garden notebook with the date I planted so I can refer to it if I need to.
Let’s start with seeds.
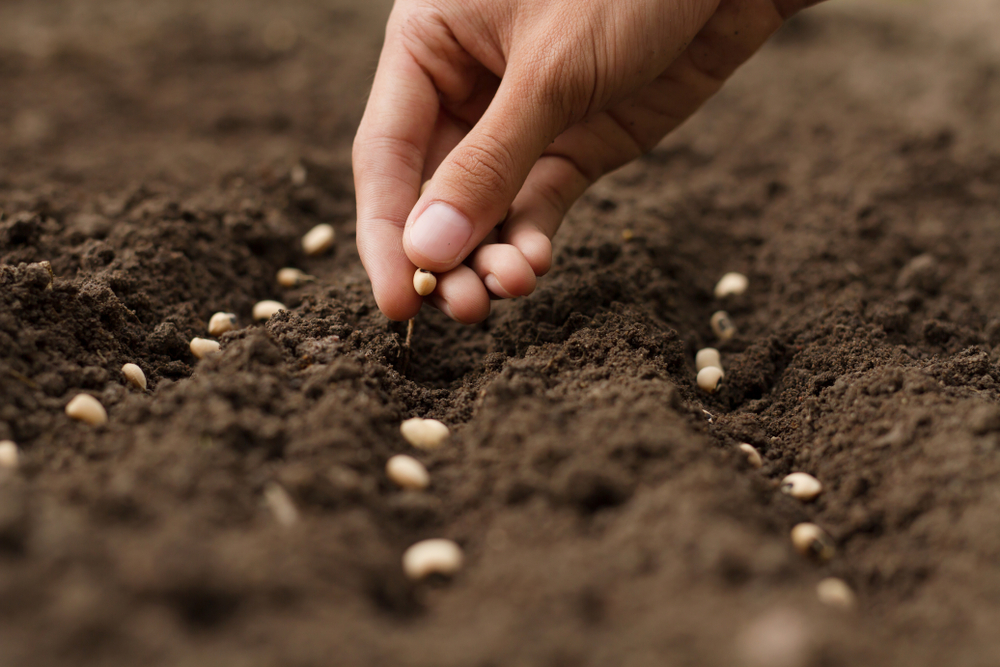
Seeds
I tend to plant seeds first because they aren’t as visible as seedlings once planted.
I start at one side of a bed and work my way across, planting in rows.
To plant a row of seeds, read the seed package and follow the planting instructions.
I like to use some sort of marker at the beginning and end of each row, so I know where I started and ended planting.
Then, I like to make a small trough with a trowel to the depth the seed requires and then drop the seeds in according to the spacing indicated on the package. I cover the seed back up with soil and gently pat it down.
Seedlings
You must harden off all seedlings before transplanting (planting out).
In this process, you’re slowly exposing plants grown inside to the outside elements. You do this in increasing increments.
For example, maybe some indirect sun with a breeze for a couple of hours the first day, a little bit longer before you bring them in the following day, etc.
Over the span of approximately two weeks, your plants should be ready to plant out.
Plants purchased at garden centers have typically been through this process.
Also, keep in mind that the planting should be on a moderate day from above.
Transplanting seedlings is somewhat stressful for the plants. Moderate temperatures, winds, etc., help mitigate transplant shock.
For seedlings, I dig holes large enough to accommodate each plant.
If the soil seems dry, I add water to each hole before placing the seedlings in it.
Once the seedlings are upright, I backfill the soil into the hole and pat it down.
Watering
I water a particular bed well after working my way across it entirely.
Ensure the spray of water over your seeds is light enough to not move them from where you placed them.
When I water seedlings, I water under their leaves and with pressure that avoids splashing the soil back up onto them.
8 – Maintain
Maintenance in your vegetable garden is straightforward and consists primarily of weeding and watering.
Check On Your Garden
Once I have planted, I like to visit each bed every day.
I remove any weeds that have sprouted.
I check on my seedlings. Many do not love being transplanted and may take a day or two to recover.
Water
If it hasn’t rained at this early stage, I will water every day or two.
Seeds need consistent moisture to germinate, so don’t let where you have sown dry out completely.
To assess water needs in the soil, simply dig in a bit and look. You want moisture to be consistent. If it is dry, water.
Mulch
You may also want to mulch around plants.
I often do, quite soon after planting. This prevents any soil-borne diseases from splashing up and maintains moisture as well.
I typically gather up grass clippings from my lawn and place a layer around the base of my plants, though at least an inch away from the stem. I then water over top of the mulch.
Weed
For weeding, I keep on top of it, removing them early and often. This makes the work easy and uncomplicated.
To effectively weed, knowing what you are dealing with is good.
Thistles and quack grass are two examples that I have struggled with before.
Thistles have a tap root, which is one long root that grows deeply. If you don’t get it all, the plant will likely regrow from where it snapped in the ground.
Quack grass is rhizomatic; if a piece is left in the soil, it will quickly take hold.
Both plants also propagate by seed, but you do not want to let them remain in your garden until that point of their life cycle.
Note: do not put invasive weeds in your home compost (such as after removing them).
The temperatures do not get hot enough to destroy reproductive parts. You will only propagate and reintroduce them to your soil.
Municipal composts reach much higher temperatures, so this may be an option for getting rid of invasive plants. Check with your municipality about laws and protocols.
Check For Pests And Diseases
Another routine job in your vegetable garden is checking for the presence of pests or diseases.
Each issue will present itself differently, but the sooner you can identify and treat anything attacking your plants, the easier it will be to manage.
Always remove dead, diseased, or damaged parts of plants as soon as you notice them and put them in the garbage.
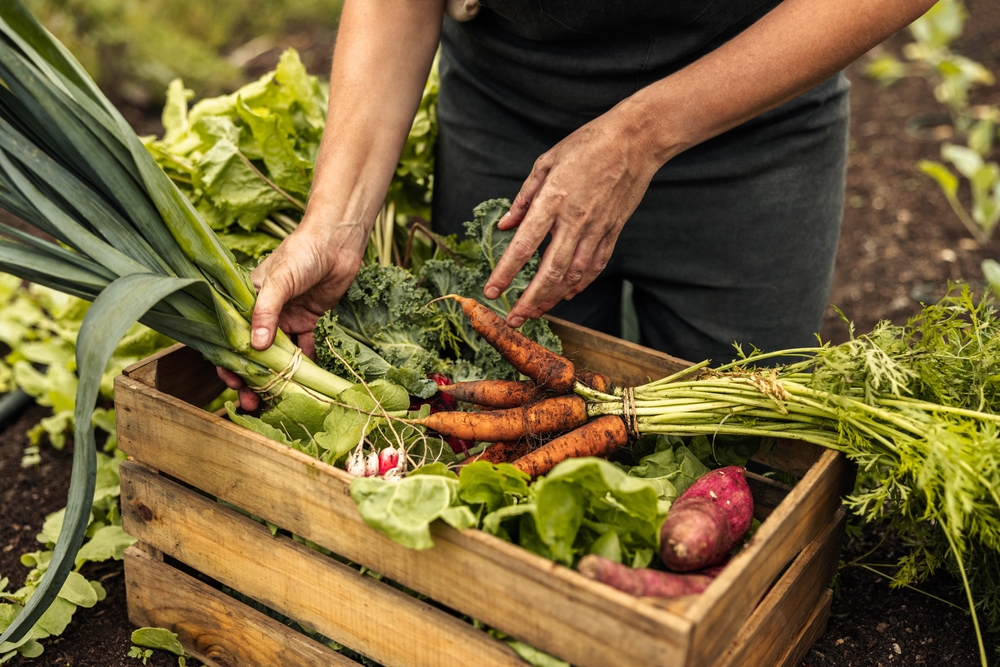
9 – Harvest
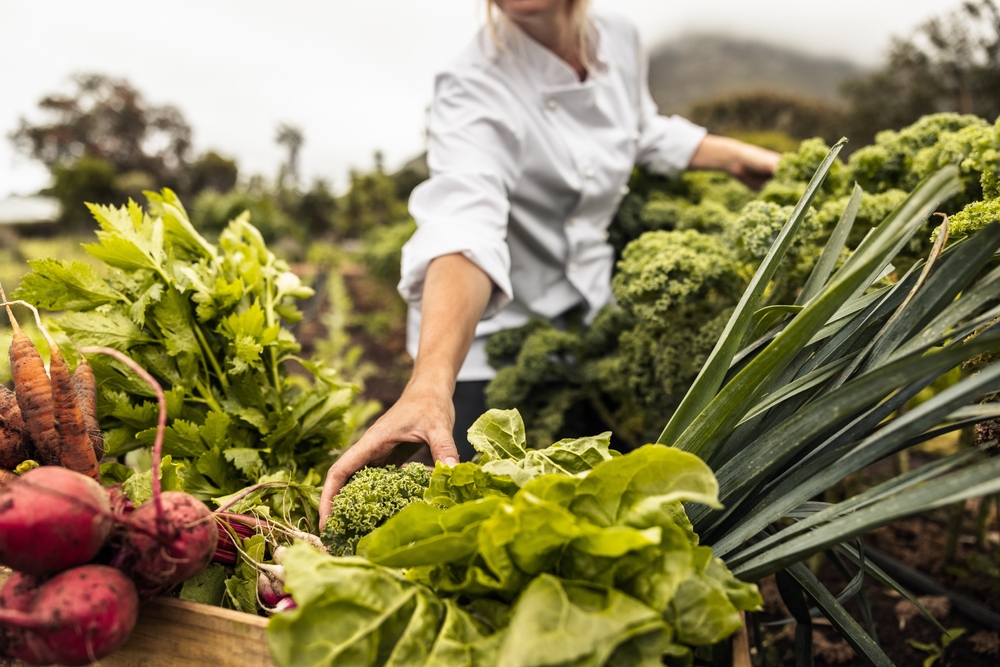
Some of your vegetables will be ready to eat as early as 3-4 weeks after you’ve planted your garden.
Radishes and all sorts of greens (leaf lettuce, arugula, and baby spinach) are the first plants ready at my house.
As soon as I see my radishes’ shoulders, I pull them up (and put the tops in my compost).
As for the greens, I start snipping the outside leaves (oldest) for my salads.
And it begins!
For the next several months (and well into the winter, should you choose to preserve), you will enjoy the fresh vegetables you have grown!