Summary
The eight essential winter gardening jobs you should do right away are the following:
- Maintain or improve your soil’s health with fallen, shredded leaves or compost
- Clean up by removing leaves and cutting and trimming your plants
- Plant for next year
- Add or reapply mulch
- Save your seeds
- Turn your compost (or start composting)
- Take care of your equipment and tools
- Do a seasonal review of everything you’ve done and learned to help you grow and plan for next year
By the time it’s October in the northern hemisphere, days get noticeably shorter, and temperatures dip. Like many gardeners, you have likely finished one of the busiest parts of your growing season and are ready for a slower pace.
However, don’t slow down too much. You still have a few tasks to help you have an even better garden next year.
To help, here are my top eight gardening jobs to prepare your garden for winter, starting with amending your soil.
1 – Maintain Or Improve Soil Health
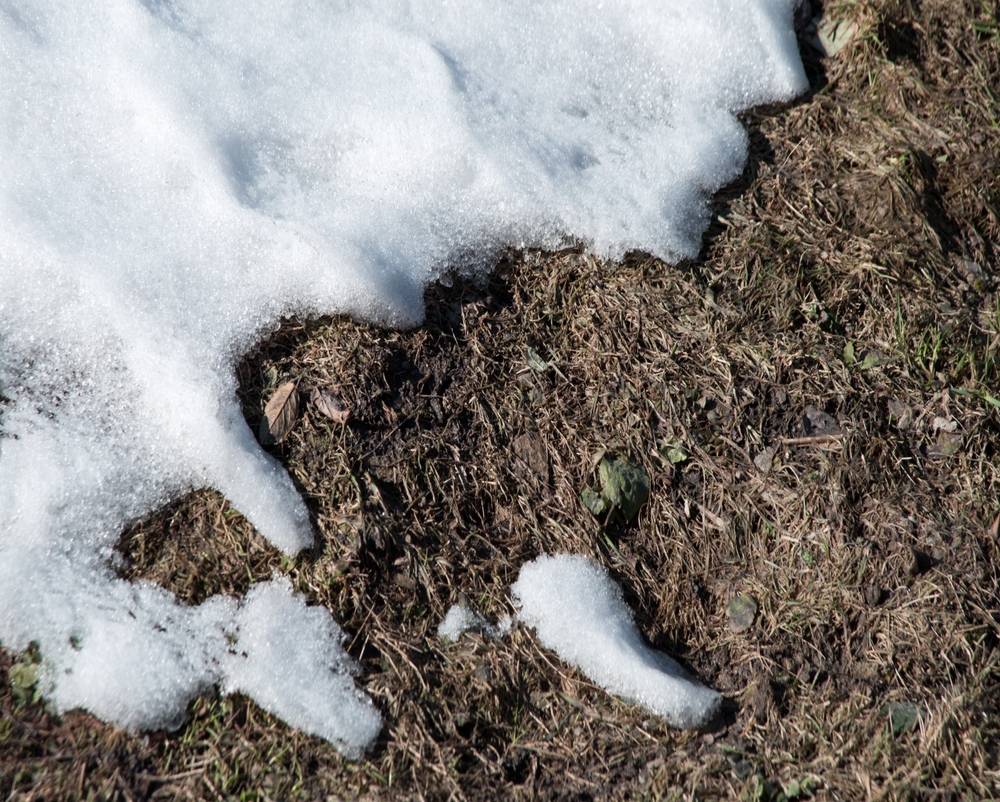
If you’ve ever looked at healthy soil under a microscope, there is no doubt it is complex. The ideal garden soil is a balance of minerals (like nitrogen, potassium, and phosphorus), broken-down organic matter, microorganisms, water, and oxygen.
Why is this important? While sunlight nourishes the above-ground parts of plants, the underground system works to take in what it can from your soil.
In other words, good soil means healthy plants, and your job as a gardener is managing this. Part of this is replenishing the soil’s nutrients regularly.
But how?
Your Options
You can keep purchasing new, conditioned soil or several additives (such as fertilizers or composts), but this can quickly become costly. However, with some planning and know-how, you can learn how to easily maintain your garden’s soil quality with materials you already have.
Most gardeners amend their soil in spring and autumn (just before or after the gardening season).
I happen to prefer autumn because the winter months allow any added organic materials to break down before it is time to grow again. Plus, I like to make use of the abundance of fallen leaves by mulching (breaking them down and spreading them) onto all of my beds.
I do this by raking leaves into a pile and then running over them once or twice with my lawn mower. Then, I gather them up and put them on the soil. Over the course of the winter, they will decay, adding nutrients back into the soil.
Additional benefits are a layer of protection for all microorganisms living in the soil and a habitat for various beneficial insects to shelter there over the winter.
If you want to use decomposing leaves but don’t live somewhere with trees, you can always ask a neighbor for a bag of theirs. And if you don’t have a lawn mower to mulch the leaves, just know they’ll break down anyway, although they’ll take a bit longer.
Another common practice to boost soil is applying compost. This is simply taking composted (broken down) organic materials and placing them on top of the soil you already have, called “top dressing,” or mixing them in. Over time, the compost just becomes part of your soil. Applying it in the fall simply gives the process more time to occur.
You can purchase compost, many municipalities offer it for free, or you can make it at home (more on this later). There’s also an ideal greens-to-browns ratio to follow for compost.
2 – Clean Up
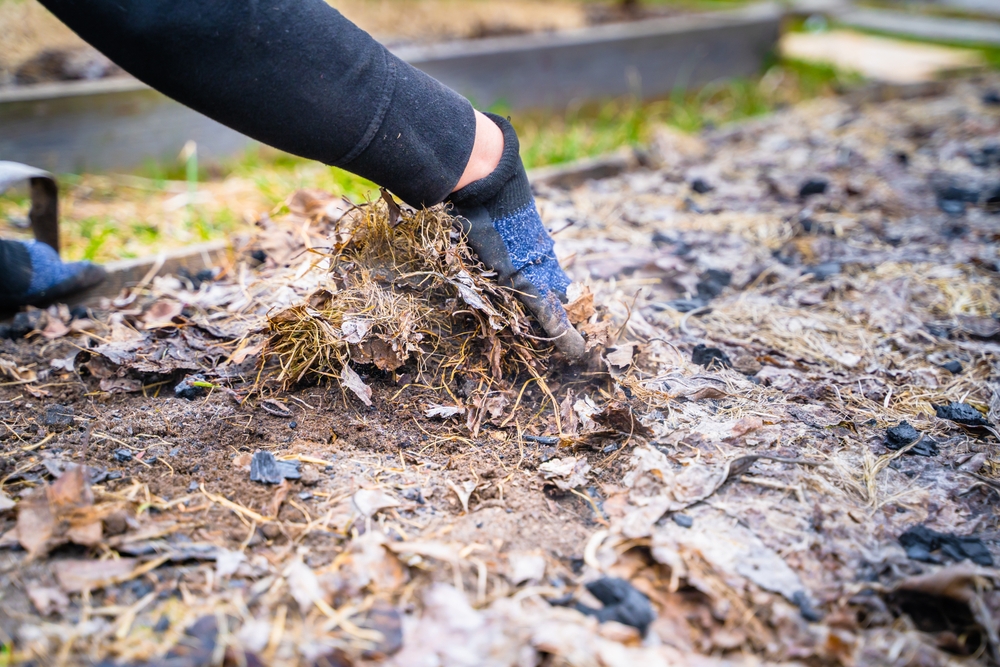
There are arguments in favor and against which tasks are best to undertake at the end of a season, but you’ve got to figure out what works best for you.
I’ve tried it all in my gardens. I’ve left everything as is until the spring and, in other years, removed all decomposing plant matter. Through experience, I have a task list that rests somewhere in the middle. Here’s what I recommend.
Remove Your Leaves
Remove the bulk of leaves from the grass to prevent it from forming a dense mat that will hinder turf growth. Dead leaves are a great resource for your garden. Use some for mulching beds, put some in the compost, and keep some bagged to use later in the compost or add to new beds, pathways, etc.
Maybe you don’t have room or just feel better when it is all taken away, but remember, whatever you can use at home saves on the energy it takes to transport and process it elsewhere.
There is only one time I advise you to get rid of your leaves: if they show disease.
To be sure, examine your leaves before using them in your yard. If they look normal, great. If they have spots, several holes, look burned, malformed, or strange in any way, I suggest gathering them up and removing them. Doing so prevents the spread of disease in your yard.
If you live in an area with a municipal “green bin” or composting program, it is fine for you to include these leaves, though. They are processed at high temperatures that eliminate all disease-causing pathogens.
Once the leaves are gone, determine which tree or shrub produced them and follow up with how you can treat it.
Cut And Trim Your Plants
Next, assess all trees and shrubs on your property for dead or broken branches. Prune them out.
You can chip healthy branches into wood mulch for use elsewhere in the yard, compost (the larger they are, the longer they will take to break down), set them aside to use in your fireplace/fire pit, or dispose of them.
Again, unless you find evidence of disease, you can cut back annual and perennial plants or leave them intact until the spring.
You may want to remove the seed heads of flowers to save for next year’s planting (more on seed saving below) or prevent them from self-sowing next season. I like to collect some for my seed stash, leave some for the birds who overwinter, and usually only plant varieties I don’t mind seeing pop up next year (they can always be pulled or dug out and moved elsewhere).
As leaves, stalks, and stems die back and break down, some of the nutrients they took up over the season return to the soil. This also provides habitats for all sorts of beneficial insects: ladybugs, moths, butterflies, beetles, and native species of bees, all of which can help your garden next year.
If you take this approach, you must be willing to leave the plant matter where it is until temperatures have warmed enough for these garden allies to become active again (when it is consistently 50°F (10°C)). Otherwise, you will just be getting rid of them.
3 – Plant For Next Year
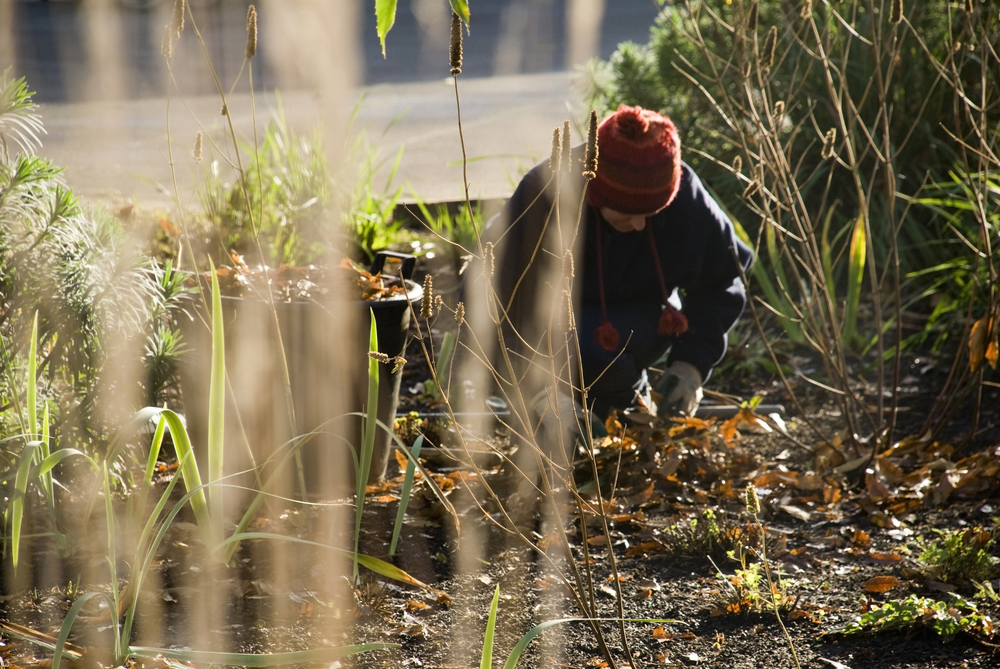
Fall is a great time to plant some things in your garden.
Temperatures are milder, and growth slows significantly. Since plant roots can still develop for a few months, take this opportunity to assess what may be a welcome addition next spring.
You may want to start by looking at your herbaceous (versus woody) perennial plants. How old are they? Are they quite large?
Many perennial plants benefit from being divided, which is exactly what it sounds like. You dig up a plant and cut it in half, working a sharp tool (I use a hori hori knife) through its roots vertically. Once the root ball has been cut into two, gently separate the remainder of the plant and pull it apart. Place each plant back into the ground, and cover the roots with soil and water. There you have it, two instead of one.
If you want to add plants you don’t already have, the autumn season sees garden centers and plant nurseries selling off extra stock at very reasonable prices. This is because plants don’t survive winter in pots very well.
The above-ground portion of the plants will not look its best at this point, but if you know what you are looking for and use your imagination, you can find great deals on trees, shrubs, and perennial plants.
Autumn also sees garden centers put out many bulbs. Plant them now and enjoy the flowers they produce in spring.
4 – Add Or Reapply Mulch
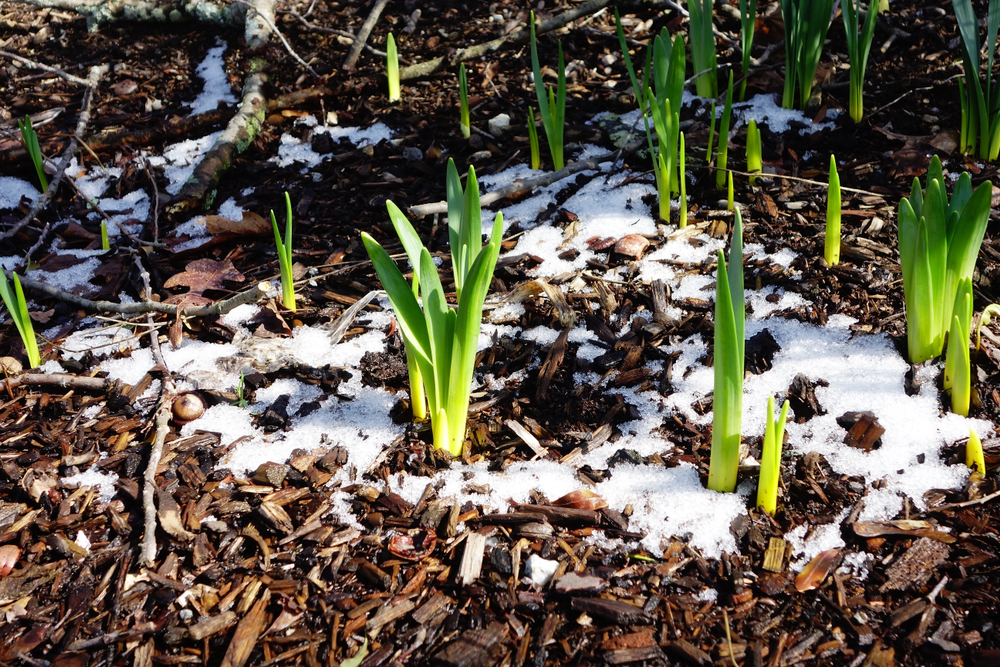
We have already discussed the practice of mulching in regard to soil building, but there are other benefits and applications.
Mulching protects your plants and soil. Whether you have just planted them or they are well established, winter can be stressful for plants. A layer of leaves, finished compost, straw, or wood chips can help insulate plants from reacting to temperature fluctuations.
Someone once described mulch to me as a blanket, and applying it is like pulling that blanket up and tucking your plants in for the winter.
It will also allow the soil below to retain moisture.
Truthfully, you can mulch at any time, though. I like to do it in the fall because I am less busy with other tasks, and there is such an abundance of materials already on hand to redistribute effectively.
It doesn’t hurt that temperatures are milder, either, so it is easier to be outside shoveling and moving a wheelbarrow around.
It’s also ideal because as plants die back, there is more room to work in your garden without inadvertently causing damage.
Design-wise, the look of mulch can be really attractive, too. Applied throughout, it unifies different beds and elements in a landscape.
If all of these benefits aren’t enough, know this: a thick enough layer of mulch prevents early spring weeds. So, if you decide to use mulch, know that while it is hard work, it will save you time next season.
Here are some materials you may want to use:
- Wood chips
- Grass clippings
- Leaves
- Compost
- Straw
I do not recommend using stone or rock for mulching around plants. While it can be visually appealing, it isn’t good for the plants, mainly because they absorb and retain a great deal of heat and do not hold water, bypassing two of the main reasons we take the trouble to mulch, to begin with!
5 – Save Your Seeds
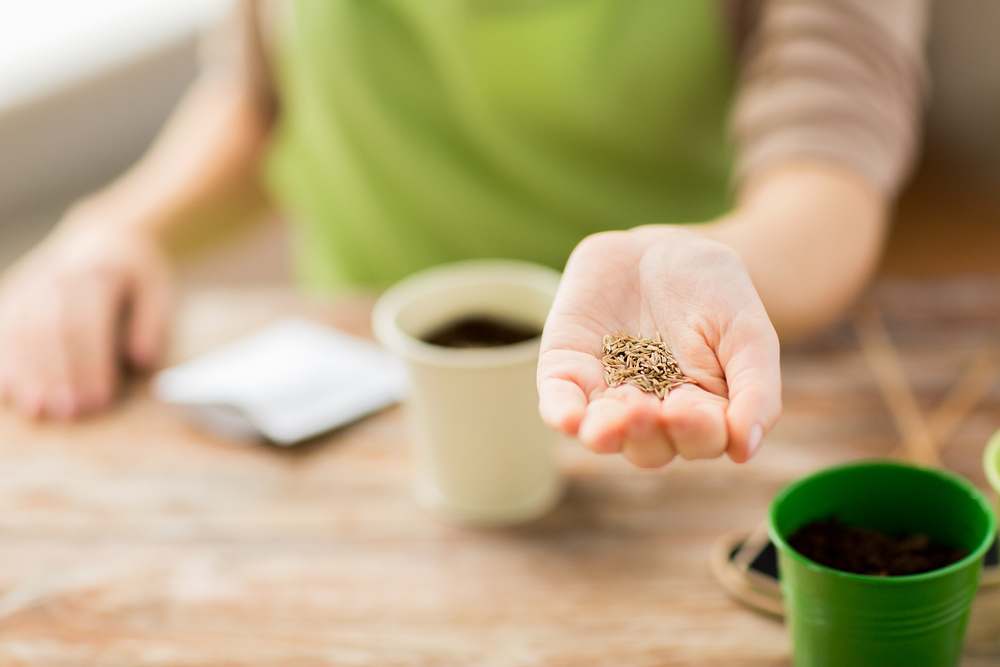
Seed saving is exactly what it sounds like: collecting seeds from your plants for later use.
The primary reasons people save their seeds are the opportunity to later grow plants that are best adapted to that particular environment and to preserve plant biodiversity.
Other reasons include:
- selecting for specific genetic traits
- understanding and identifying all aspects of a plant’s life cycle
- empowering/fostering a sense of independence
- convenience
- economic savings
For me, I came to the practice quite naturally.
Seeds are everywhere in the late summer and autumn garden. One day, I spotted some dill seeds right on top of the plant, waving back and forth in the wind. I remembered I had used all of my dill seed earlier in the season, so it just made sense to me. I clipped off a few seed heads, and a new hobby was born.
Since then, I have participated in seed-related citizen science projects, and now, most years, I save a portion of my garden for this.
One project I worked on included trying to germinate an old and otherwise unavailable variety of bush bean. I was sent ten seeds, got three plants to grow, and sent the organization doing this work back approximately 80 seeds. In a small sense, this is one way we can protect biodiversity.
In another project, I was tasked with growing a specific ground cherry plant and asked to choose seeds from the best fruit from one of the most upright plants. The goal was for growers to create seeds that would grow only upright ground cherry plants. This would happen over the course of several seasons and require a similar selection process each time.
Steps To Take
Though the seed-saving process can seem complicated, it’s a relatively simple and satisfying garden practice.
If you want to try it yourself, these are the basic steps:
- Decide which seeds you are going to collect.
- Know when and how you can collect the seed.
- Know how to process the collected seed.
- Label and store.
Additional Essential Seed Tips
You should do the following:
- Collect in the driest conditions possible.
- Let seeds dry on the plant before removing them. Exceptions would be tomatoes and peppers or seeds of any self-pollinating plant that has to be taken out of its fruit (known as “wet-fruited” seed).
- If you would like to save seeds in your garden, start with planting seeds you know to be “open-pollinated” instead of hybrids (which may produce sterile seeds).
- Many seeds need to be stratified (go through a period of cold exposure) before they can be germinated. Some people will refrigerate seeds. I store mine in a lidded container in my unheated garage.
- Not all seeds will stay “true to seed.” Seeds from cross-pollinated fruit (e.g., corn and vining fruit) cannot be used in further seasons because they become hybrids. This means the genetic information carried in the seed has been altered, and you won’t be able to control what you grow. For this reason, do not collect seeds from food plants that cross-pollinate. You may enjoy experimenting with floral hybrids.
6 – Turn Your Compost (Or Start Composting)
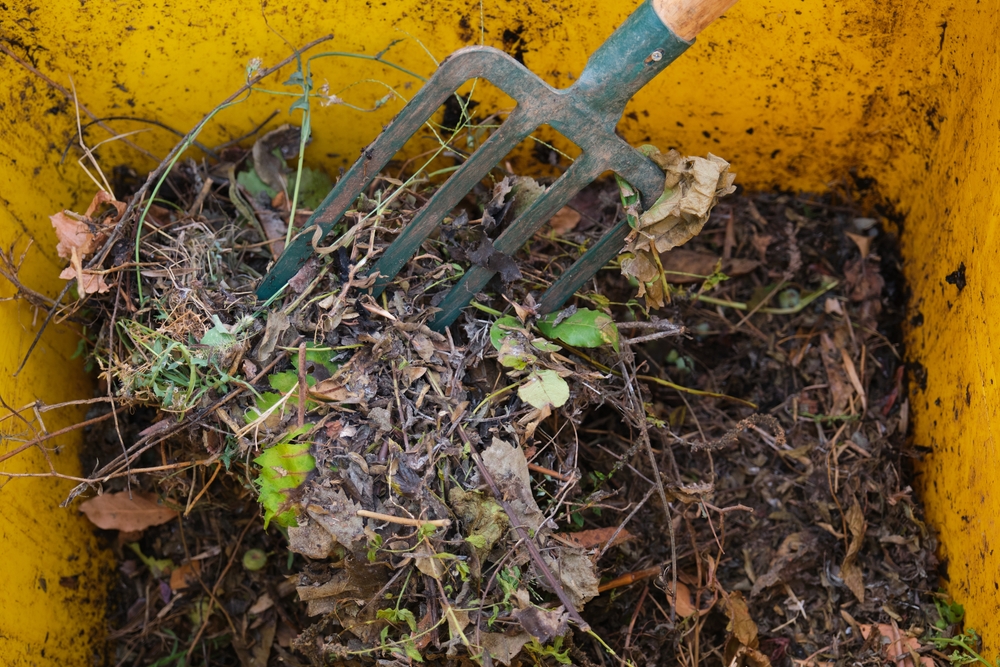
If you already have compost, here’s your reminder to go give it a good stir.
If you don’t have one, maybe you’re willing to try. The good news is composting is simple. Well, the composting we will cover here is simple since we’ll be going over composting yard and garden waste (and two great kitchen additions).
First, know that composting is the process of managing the decay of organic materials.
For example, in a backyard compost of yard waste, you may put in grass clippings, twigs, plants, leaves, etc. With a bit of care, these things become unrecognizable, making lovely, nutrient-dense compost you can use to benefit your yard.
There are four elements required to successfully compost:
- Browns: Carbon-rich materials such as dry leaves, twigs, stalks, and cardboard
- Greens: Nitrogen-rich materials such as most grass clippings and yard waste
- Water: Moisture
- Air: Oxygen
Steps To Take
To begin, simply choose where and in what container you will compost. You don’t need a container, but the process will take longer in the open air.
In terms of what you need for a container, I suggest choosing something with drainage and a lid. But, having free access to turn the pile once it has grown in size may be important to you.
Next, add your yard waste, alternating greens and browns, finishing with browns at the top. If you live somewhere dry, add some water. But otherwise, just put the lid on and wait.
Come back to your compost sometime over the next week, and you will likely see the pile has shrunk.
Grab a pitchfork or shovel and mix it up a bit to add some oxygen. Assess if there is enough moisture present. It should be damp, not wet.
If you have more materials to add, go ahead. Layer carbon-rich and nitrogen-rich materials in balance.
As the pile just starts to decompose, I turn it weekly. I do this all winter. If temperatures are warm or the pile is established, I turn every three to four days. This agitation isn’t necessary, though it helps the process speed up.
As long as you keep a good balance of browns, greens, and moisture in your compost, over time, you will notice the materials you have added break down enough to start taking on the appearance of soil. At this point, your compost will be ready to use throughout your garden by mixing it into the soil or adding it on top (also known as top dressing).
Additional Composting Tips
Here’s what to do:
- Avoid introducing diseased plants, plants infested with bugs, invasive plants, and seeds to your compost.
- If it smells bad, your compost is imbalanced. It is usually too many nitrogen-rich materials or too much water. Add more browns and mix (a good reason to store dry bagged leaves if you can).
- Eggshells are a great addition, as they add magnesium to your pile. I give mine a quick rinse and set them aside in my garage or garden shed. When I turn the pile, I crush up the shells (the finer, the better) and add.
- Coffee grounds are also a useful addition to your compost, but despite the dark brown color, they are very nitrogen-rich and considered “greens.”
7 – Take Care Of Your Equipment And Tools
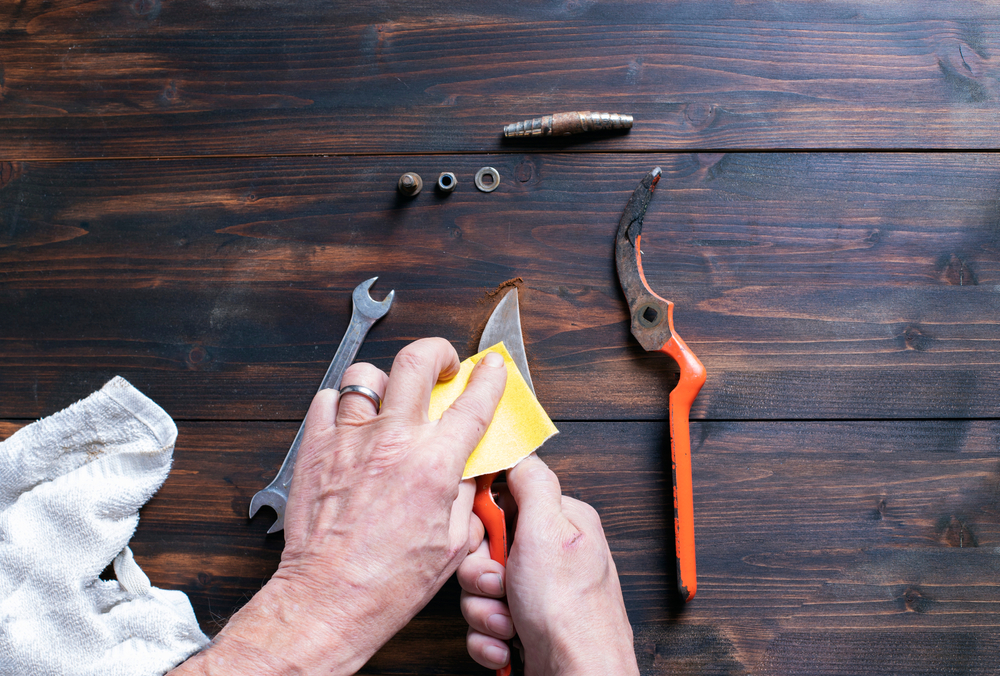
Now that you’ve finished preparing your garden for winter, the next task on your winter gardening jobs list is to care for your tools and equipment.
Here are the steps to take:
- Treat equipment at risk of being damaged if the water freezes and expands.
- Disconnect, drain, and store all hoses.
- Winterize your irrigation system if you have one by blowing water out of all parts.
- Empty any plant pots with water in them or store them somewhere they won’t freeze and crack.
- Clean and dry tools such as shovels, rakes, spades, hoes, trowels, knives, and pruners (dish soap and water are fine).
- Scrub your tools with steel wool or a steel brush if they are rusty.
- Once tools are clean and dried, select those you need to sharpen (ask someone to show you if you don’t have experience with this). I use a file to sharpen mine.
- After sharpening, give them a coat of oil to prevent rust formation, and then store them somewhere cool and dry.
- Whatever oil you use will be in contact with your plants. I use linseed oil (note that most linseed oil products say they’re for wood, but you can use them for metal as well). If tool handles are wood and looking dry, finish by oiling the handles as well.
- Leaving gasoline in a lawn mower over the winter can create issues as it degrades. To prevent this, either run the gas out of your lawn mower or ensure the tank is full of gas and fuel stabilizer.
- Remove batteries and battery packs and store them inside.
- I also like to do oil changes, change filters, and clean where necessary. This way, my equipment is ready when I am next year.
- If, like me, you aren’t a mechanically inclined person, enlist the help of others. Over time, you can learn how to do these things yourself.
8 – Do A Seasonal Review
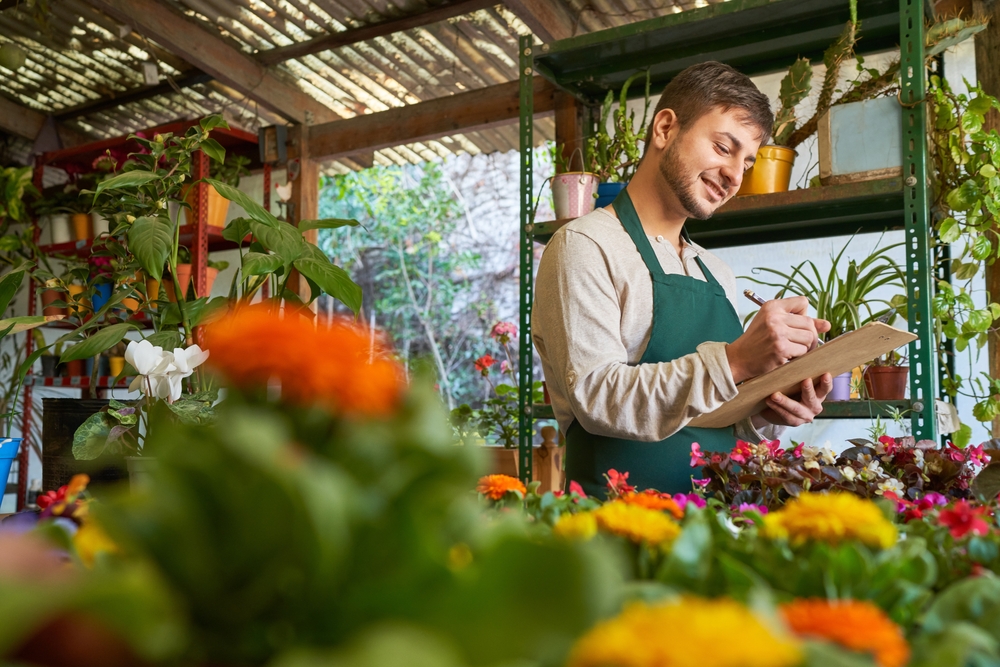
The last garden activity I suggest doing each year as part of your winter gardening jobs is some kind of yearly review.
The purpose is to look at the season as a whole, sort through what worked and what didn’t, recall what you’ve learned, and start planning for next year.
I like to write this information in a garden journal. Mostly because a lot happens throughout the course of one gardening season, and I like having a tailor-made resource I can refer back to later on.
I’ve learned that I think I will remember everything I want, but I don’t. So, I jot it all down for later (before I potentially forget).
A few months later, when I am planning for next year, I pull my journal out and can make adjustments where needed to get better as a gardener and achieve the particular goals I have.
What I Wrote This Year
Here are some things I wrote this year:
- I need to start my luffa seeds a few weeks earlier than I did.
- There is a particular variety of mini sweet peppers that were more seedy than anything else, and I don’t want to grow them again.
- I found a source for some locally made garden tools I really like.
- My lemon cucumbers were decimated by cucumber beetles this year, and I want to avoid planting all cucurbits in that bed next year.
- There is also a new super hot pepper I’d like to try growing, “pepper X,” where can I find seed? And so on.
Some of the questions I like to ask in my yearly review:
- What are some of the things I learned in my garden this year?
- What was I surprised by this year in my gardens?
- Is there anything I want to do differently next year?
- Favorite things?
- What was harder than I expected?
- What did I get the most joy from?
- What am I already excited about for next year?
This is just how I like to do things.
Your review doesn’t have to look any one way, and maybe you don’t even need to have one at all.
As you read through others’ experiences and suggestions for gardening, take what seems right and leave the rest.
The important thing is your garden is what you want it to be. The best way to achieve that is through gardening.
