A seed is the beginning and the end of your plant’s life cycle. So, learning how to save seeds may be for you if you like bringing things full circle.
Seed saving is also very practical since you’ll be stocking up for your garden next year.
Additionally, you’ll learn a new skill and experience plants at a stage you maybe hadn’t given much thought to before. Plus, the more you collect seeds from plants you’ve grown in your area, the more the new plants adapt to that area. Over time, your seeds should theoretically grow plants best suited to where you are growing.
Pretty amazing, isn’t it?
Before we get into how to save seeds, let’s talk about some things you’ll need to know.
Things To Know Before Starting
Annuals
Annuals are plants that complete their life cycle in one growing season.
This means the seed turns into a plant that flowers, seeds, and then dies off in one year.
Biennials
Biennials complete their life cycle in two years.
The roots and the leafy part of the plants grow during the first year, but it won’t be until the second year that the plant will flower and bear fruit.
How to save seeds from biennials means you will have to wait until its second year to gather seeds from these plants.
Perennials
Perennials have lengthier life cycles than annuals and biennials.
A life span for a perennial plant could be 3 years or upwards of 20 years. Each year, their herbaceous (leafy) parts die back and regrow from the same roots.
Once they are well established, perennials will produce flowers, set fruit, and seed each year. This means you may not see its reproductive parts (flowers, fruits, seeds) as a perennial develops its root system during its early years.
An example: if you transplanted a 2-year-old blackcurrant bush into your garden, you may not see it produce blackcurrants in the first season. You can attribute this to a young plant simply needing to mature or, if the lack of fruit were to continue beyond a year or two, as a response to its new growing conditions.
A gardener friend of mine transplanted a yellow peony to her garden, and it took 5 years before she saw her first flower. In her case, she needed to plant the roots a bit higher than she had and wait.
Pollination
Pollination is the process of transferring pollen from one flower to another, which leads to plant reproduction, also known as fruiting.
There are two kinds of pollination: self-pollination and cross-pollination.
Self-pollinating plants pollinate themselves. Cross-pollinated plants get pollen from flowers from another plant.
You need to consider this when seed saving because cross-pollinated plants are likely to develop seeds with characteristics from both plants involved. Though they look the same, they are genetically different from their parents.
A squash seed collected from a garden where 2 or more varieties of squash were present would become a squash that is some kind of unpredictable hybrid. I have yet to discover an inadvertent hybrid yielding something that tastes good. To avoid this, I buy new squash seeds each year.
Through collecting and planting your own flower seeds, on the other hand, you may enjoy seeing how cross-pollination can affect their appearance.
You can also save true seeds, which we’ll discuss in the section below.
1 – Select The Seeds You Want To Save
The advice I most commonly give people when they ask me what to focus on in their gardens is to start with what you like. This applies to how to save seeds as well.
In other words, collect seeds from your favorite plants so you can enjoy them for many seasons to come.
If you would like to try to save true seeds, you need to do the following things.
Begin with an open-pollinated variety instead of a hybrid (you can check on your seed package for this information), prevent pollinators from accessing the flowering plants, and pollinate the flowers yourself.
You can use covers over entire plants or flowers to do this. I have seen clothespins clamping squash flowers shut as another example. The important thing is to ensure pollinators cannot access the flowers.
To hand-pollinate the flower, you simply touch the inside of the male flower with a paintbrush, a cotton swab, a stick, or your finger and remove some pollen. It is the yellowish dust. Then, you will take some of the pollen granules you have gathered and put them inside the female flowers. That’s it!
Male flowers are attached to a stem, and female flowers are also attached to a stem, but where the stem attaches to the flower is a small, round growth called the ovule.
If the female plant is pollinated and the conditions can sustain reproduction, it will become a fruit.
2 – Collect The Seeds
The good news is that your plants have already done most of the work for you by the time the seeds are ready.
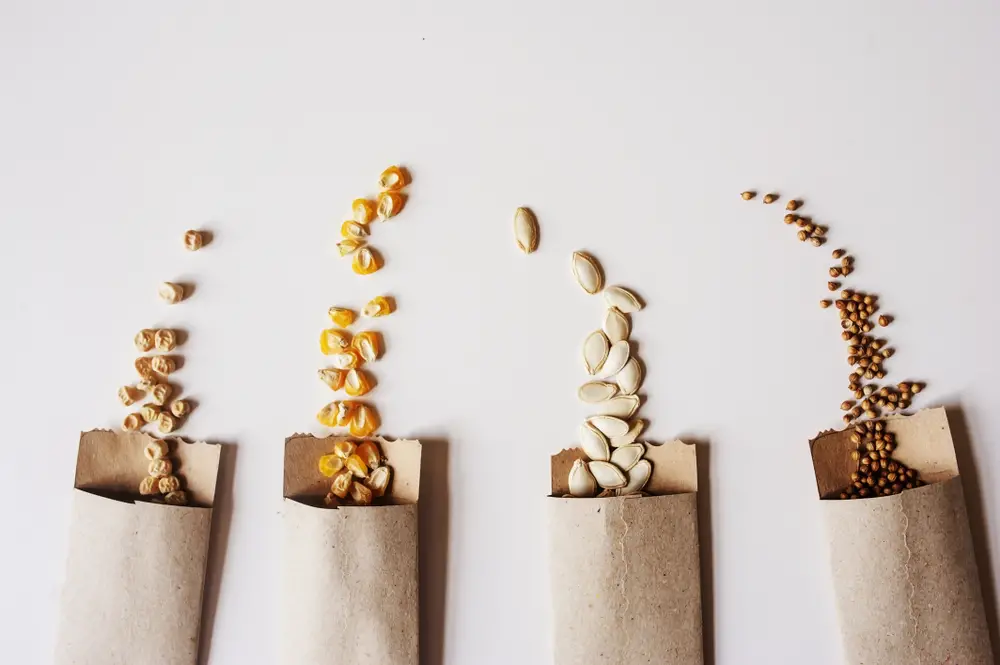
You’ll know seeds are mature when the flowers or pods they are in are brown, dry, and cracking.
Alternatively, if they’re inside mature fruit (in this regard, a fruit is simply the name of what a plant produces that carries its seeds, for example, a cucumber is a fruit), simply choose a few of the best-looking examples.
Look for large, healthy, and unblemished plants and fruit. Once you have chosen the fruit you will take seeds from, store them somewhere safe until you are ready to process them for their seeds.
Other than this, you only need your tools and a dry day.
Supplies You’ll Need For How To Save Seeds
When seeds are dry enough to collect, you can easily take them off the plant with your fingers.
However, I suggest using some type of clippers and separating the seed from its casing elsewhere.
Other than the clippers, you need a container to store each kind of seed in. And you’ll need labels if you cannot reliably identify the seed.
I use trays for 4-inch plant pots lined with paper coffee filters and write the plant’s name right on the filter. The trays are readily available and have holes in the bottom. The filter holds them but is permeable. One layer is best.
I ensure they are kept dry and get good airflow until I am ready to process them. Sometimes, I process them right away; other times, the seeds will sit in these trays for over a month.
Wet- And Dry-Fruited Seeds
The difference between wet-fruited seeds and dry-fruited seeds is quite literal.
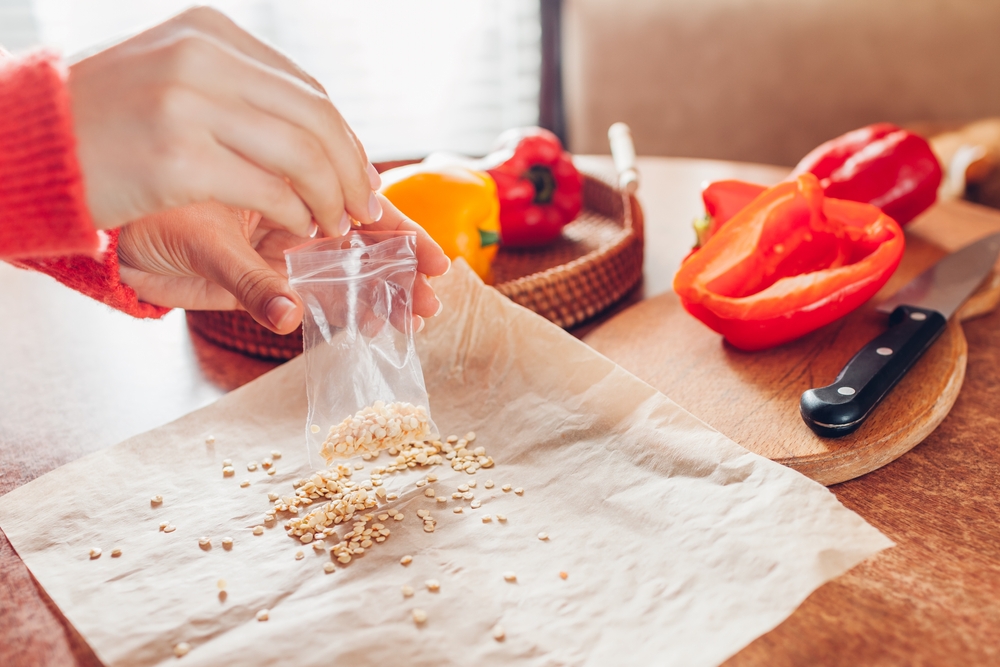
You must remove wet-fruited seeds from the fruit. It will be inside the fleshy casing, or what we typically call the fruit or vegetable(cucumbers and tomatoes are examples of foods we call vegetables but are technically fruits).
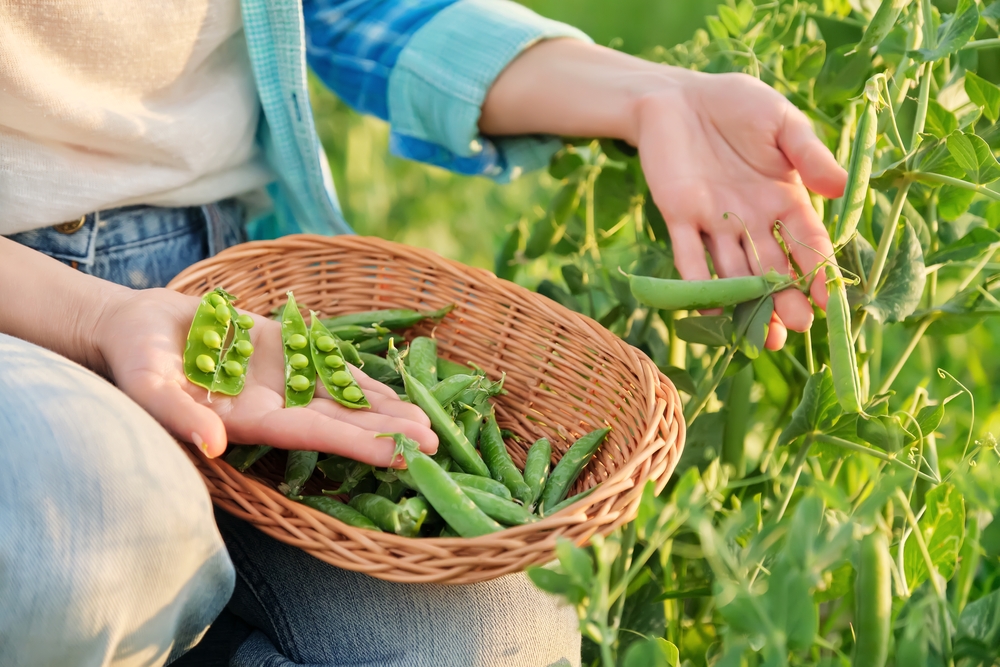
Dry-fruited seeds will be in a pod or the flowers they formed in.
Once you have collected your seeds, you can start separating them from their casings.
3 – Clean And Dry Your Seeds
You can easily shake or break a dry-fruited seed out of its casing.
The goal is to separate the seeds from any extra material, gather them, and label them. I use my fingers.
Depending on how long I left the collected seed to sit and dry out previously, I may put the seeds back into the coffee filter to dry out longer. I like them to dry out for at least a few weeks before packaging. One layer is important to ensure drying occurs, so feel free to expand the drying space as needed.
Simply remove wet-fruited seeds from the fruit they grew in and put them into a container of water.
I leave them in this water for the next day or so. When I happen to think of it, I will mix the solution. Viable seeds will settle at the bottom of the container, and the others will float to the surface.
At the end of two days, dispose of any floating seeds, water, and any other material. Put the seeds onto a dry piece of paper, paper towel, or paper plate and let them dry for a couple of weeks.
Don’t forget to label them at each step.
Once your seeds are thoroughly dry (it does not hurt to let them dry a bit longer), it is time to package them.
4 – Store And Label Them
What you store your seeds in depends mainly on their size and how many you have.
I store all my seeds except beans, legumes, and corn in small paper envelopes.
Beans, chickpeas, peanuts, popcorn, etc., go into jars.
Always label your seed packets. Include the name of the plant, the variety, and the year you harvested the seeds.
Note: Seeds do lose their viability over time. Generally speaking, it is good practice to use seeds within three years.
Help Your Seeds Experience Winter (Stratification)
Stratification is a process that mimics winter. Once seeds have been through a cold period and returned to a warm period, they will be ready to germinate.
Temperate climate seeds that are not cold-stratified have a much harder time germinating, if they will even germinate at all.
There is a lot of variable advice about cold stratification.
I keep all my seeds in a lidded container in my unheated garage. I have also used the freezer. Both have worked for me.
You should be successful as long as you are stratifying in an environment where your seeds will remain dry, and they are exposed to the cold for at least a month.
Note: You don’t have to pre-test the viability of your saved seeds. If you have followed these instructions, you can expect success.
I suggest writing down the date you plant each variety in a garden journal. This way, if you are significantly outside the window of when your seeds should be germinating, you can replant with other seeds if need be.
How To Save Seeds: Citizen Science, Seeds, And How You Can Help
Saving seeds from open-pollinated varieties of plants allows us to preserve the rich biodiversity of flora on the planet.
Local seed banks provide us with free or low-cost access to locally adapted plant seeds.
There are several seed-saving organizations (such as Seeds Of Diversity and Seed Savers Exchange) doing the work of collecting, cataloging, and reviving almost extinct varieties. These organizations often put out calls for citizens to participate and facilitate their work in their own gardens.
Whether you may be tasked with growing a specific plant and selecting for certain traits or working diligently to grow a rare heirloom variety, the seeds you produce will serve the greater good as a citizen scientist.
If this seems like it may be appealing, connect with your local seed saver and see what needs they may have this upcoming growing season.