When autumn approaches, planting in your garden may not be at the forefront of your garden tasks. But it should be!
It’s highly rewarding to plant and grow spring bulbs in the fall. No other addition will make the color impact to your garden that spring-blooming bulbs do.
So, when you see bulbs at your local garden center, consider getting yourself some.
Whether you opt for mass plantings of the same flower or select a wide variety, the flowers bulbs produce can work to stunning effect in your spring garden.
Either way, let’s start with the supplies you’ll need.
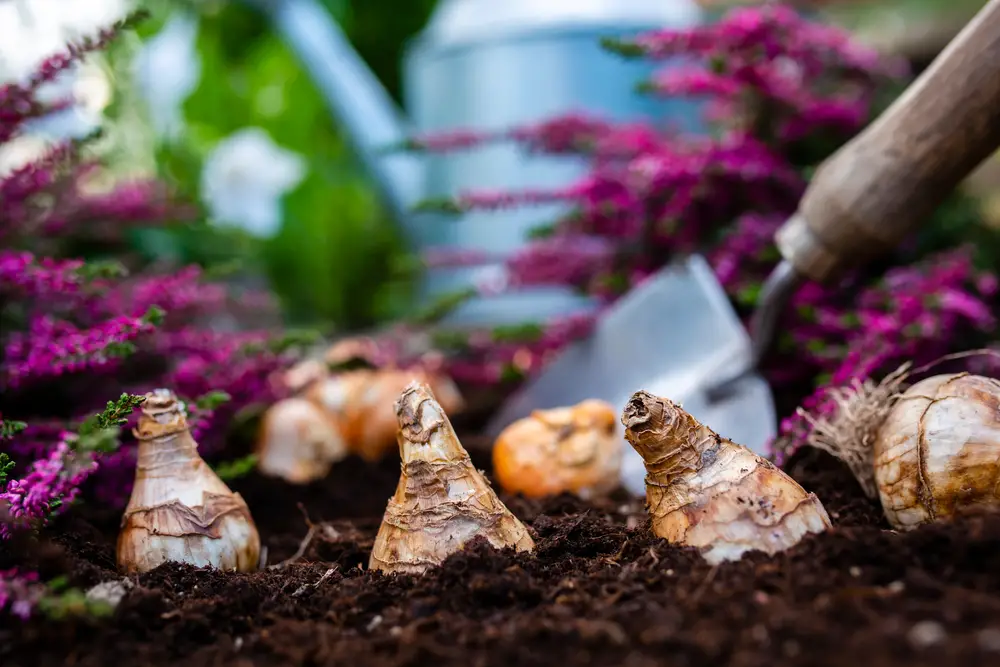
1 – Gather The Supplies You’ll Need
It’s very easy to plant and grow spring bulbs in the fall. All you need are the following things:
- The bulbs (see examples in the list below)
- A hand tool to dig with, such as a garden trowel
- Some gloves
- Water
- And compost, mulch such as dried leaves, or chicken wire to protect the bulbs
Popular bulb varieties for fall planting include:
- Hyacinths
- Tulips
- Alliums
- Crocuses
- Daffodils
- Irises
- Anemones
- Grape Hyacinths
- Snowdrops
There are specialized bulb-planting tools, but you don’t need them unless you plant a large number. A garden trowel works just fine.
Some people use dibbers to make holes in the soil (a dibber is a pointed wooden stick). If you have one, you could use it here, but you don’t need to.
Some gardeners also add bone meal or a slow-release bulb-specific fertilizer while planting. This is unnecessary. Bulbs are a storehouse of nutrients and have everything they need to bloom and thrive the first year.
When selecting material to protect your bulbs over the winter, you have two considerations.
The first is insulating your bulbs from fluctuating winter temperatures.
The second is protecting them from deer and squirrels (they’ll dig them up).
I use finished compost, dried leaves, and chicken wire.
There are chemical products you can purchase, but my preference is to avoid them.
Once you have gathered everything, you are ready to plant.
2 – Plant And Grow Your Bulbs
Plant bulbs in the cool of autumn once temperatures are consistently in the range of 40-50°F (5-10°C).
As long as they have around 4 weeks to grow roots before the ground freezes, you can expect your bulbs to produce some of the first flowers you will enjoy next spring.
Determine where you will plant each bulb. Shorter varieties should be situated at the front of your garden bed and larger varieties toward the back.
Planting bulbs in odd-numbered clusters (3 is fine) gives the most impact. Landscape designers advise using odd numbers because they appear more natural and to cluster them because it increases the visual impact of a specific plant.
When planting, follow the directions included for each bulb in terms of spacing. A good rule of thumb is to plant a bulb 3 times its size in depth. Feel free to eyeball or measure as you make holes in the soil.
Truthfully, while I do follow depth planting requirements, I plant my bulbs a bit closer together than recommended. Otherwise, I find they can look a bit sparse.
Whatever you do, remember you can always dig them up and adjust them according to your own preference next autumn.
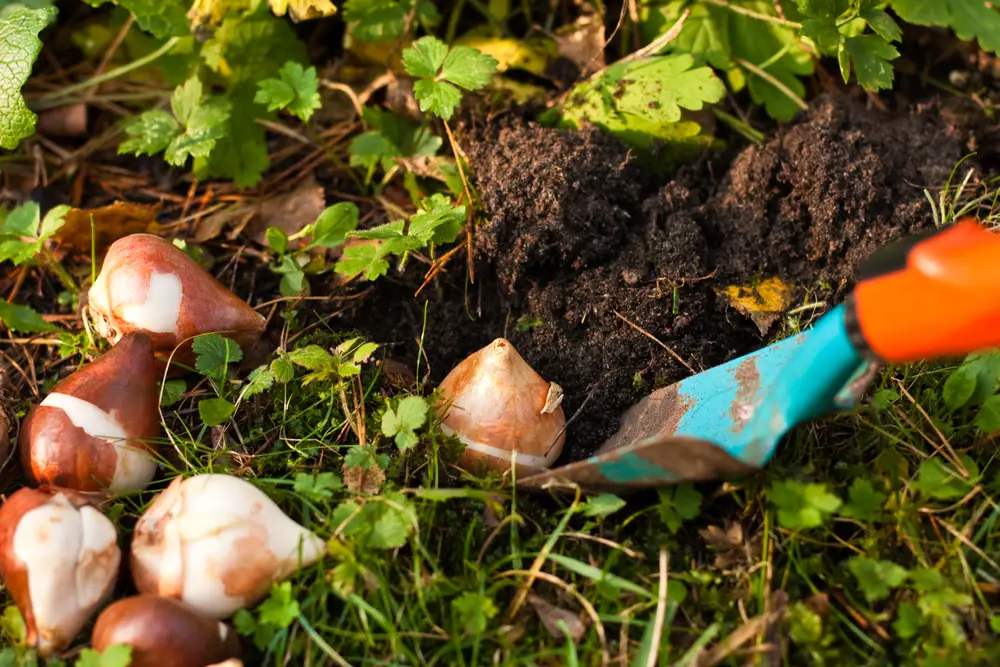
Once you have made the holes in your soil at appropriate distances, place your bulbs in them.
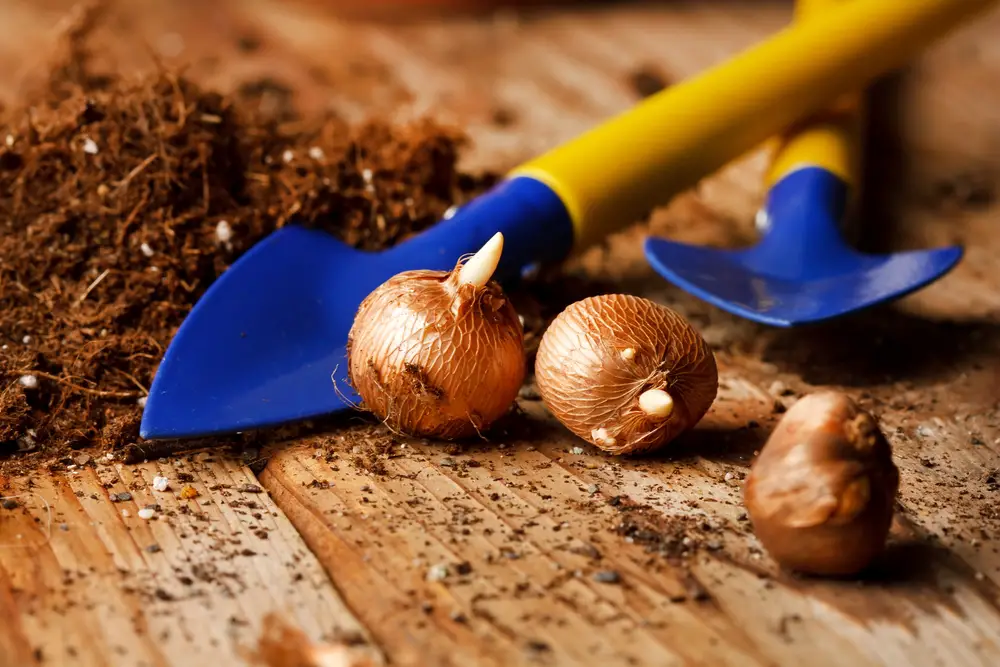
It’s important to make sure you place bulbs in the ground the right way up. Even if you don’t, they will eventually orient themselves the right way, but this will take time and could affect your floral display.
Take your time. Even with bulbs such as crocuses (where it is not immediately obvious which side is upright), a close look should indicate which side is the top and which is the bottom.
Each bulb’s bottom is the root side. Sometimes, there may even be a few roots attached. Bottoms can also be a little bit wider than tops.
Another way you can identify which way to plant your bulb is to look for an even somewhat pointed top. Most times, you will have at least one of these characteristics to help you identify a side.
Once you’ve placed your bulbs, backfill the soil into the holes.
Next, gather whatever you use to protect your bulbs over the winter and spread it across the entire area.
I like to apply a layer of compost and leaves over what I have planted. This will insulate the bulbs in case the temperature temporarily warms over the winter. It will prevent the bulbs from starting to grow and then being harmed once it gets cold again.
I also lay down a layer of chicken wire to prevent animals from digging the bulbs up for food.
Lastly, I water everything very well.
I make a note of what bulbs I’ve planted in my garden journal and look forward to spring!
Note: Once temperatures are warming in the spring, keep an eye out for the tips of green poking through the soil and remove the chicken wire.
A Note About Planting Garlic
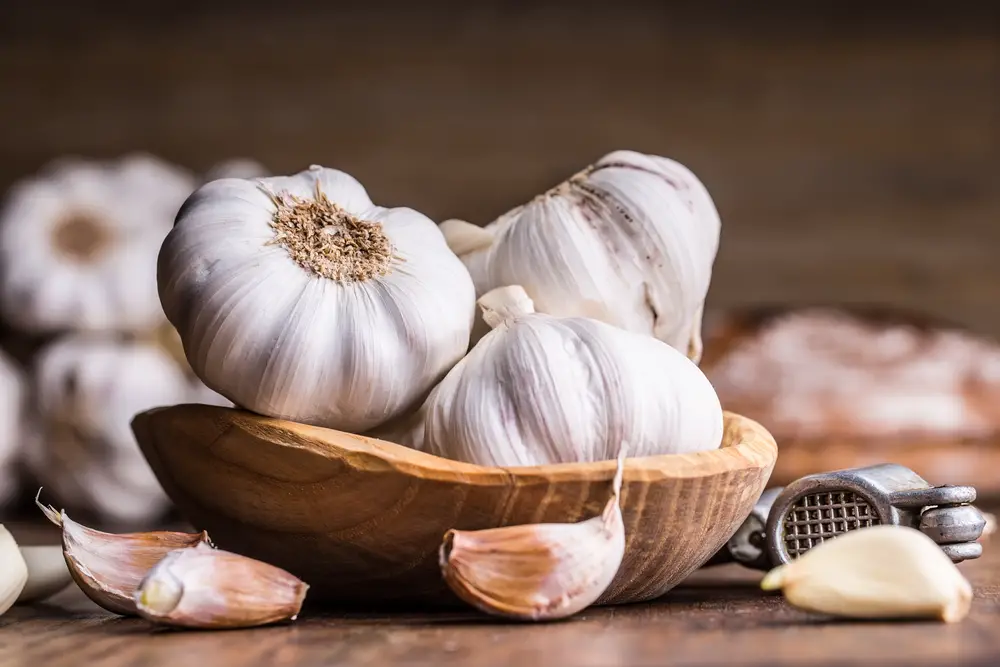
Another bulb you may want to plant but won’t have to protect from wildlife is garlic.
Once each head has been broken into cloves, you will follow the same planting rules as for the floral bulbs.
You’ll plant each clove into its own hole. It’ll mature into a full head of garlic next summer.
Growing garlic yields two edible elements per year: scapes and the bulbs.
The first harvest will come in the form of garlic scapes. A garlic scape is the edible flower each plant sends up past the leaves. Once the flower grows to bend and curls toward itself, it is time to clip it back at the base.
Simply follow the flower stalk down to where it meets the plant leaves and cleanly cut it off.
The removal of the flower allows the plant to direct all of its energy toward growing the bulb. This is the final stretch of growth. In approximately 4 weeks, the bulb bulks up until it has reached maturity.
Garlic scapes taste like garlic cloves do. The entire flower is edible.
I like blending mine with olive oil and serving it with pasta. Or I’ll cook it up with eggs for a nice summer brunch.