Making the shift to use naturally derived products to fertilize your garden is extremely easy. In fact, you can accomplish this in large part by using organic materials already present in your yard! Here we offer the steps to guide you through the easiest and most effective way of how and when to fertilize your vegetable garden naturally.
Fertilizing organically, or recycling nutrients to promote good plant growth in your vegetable garden, is one of the best investments you can make toward maintaining a healthy soil ecosystem for years to come.
By using naturally derived materials to fertilize your soil, you’ll also avoid eating the chemicals used in conventionally grown vegetables.
The best time to undertake the biggest improvements to your soil is early spring or during the fall, when your garden beds are not in use.
This timing allows you to work freely without damaging any of your vegetables. It also gives the organic matter you are adding the time it needs to break down into plant-usable form. So, by the time you are ready to plant your garden for the season, your soil will be in great shape.
1 – Gather Needed Supplies
- Gardening gloves
- Wheelbarrow or garden pull cart
- Shovel
- Rake
- Garden trowel
- Organic fertilizer of choice
- Hose and sprayer or watering can
- Soil test kit (or you can contact a local agency to have them conduct one)
2 – Follow Proper Safety Procedures
Be careful not to overexert yourself when shoveling or moving a full wheelbarrow.
Take steps to protect yourself from the sun. Wearing a hat and sunglasses and applying sunscreen should do the trick.
Wearing gardening gloves protects your hands.
Even so, don’t forget to wash your hands thoroughly when you’ve finished gardening. This helps you avoid transferring pathogens potentially present in the soil.
3 – Test Your Soil

The best thing you can do before adding anything to your soil is to test it.
The results will show you exactly what you need to improve to grow the best vegetable garden possible.
You can do soil testing by purchasing a DIY soil testing kit or contacting a local lab, extension office, or university to do it for you.
I test soil if I am growing vegetables in a spot I haven’t before. I do this to ensure no contaminants are present and to assess if I need to make any amendments to the soil.
Once I have tested, I tend to follow up with another test every 2 or 3 years. This helps me keep tabs on soil health and supports my yearly thriving vegetable garden.
Your soil test results will give you a clear path to choosing the best fertilizer for your vegetable garden.
4 – Choose The Right Fertilizer
If you are approaching your vegetable garden from an organic perspective, you will want to boost it with materials that will enhance the ecosystem in your soil.
This approach, where you focus on “feeding” or “building” your soil, gives your vegetable plants all the nutrients they need to produce delicious and healthy food.
This also makes your plants more resistant to common gardening challenges such as disease and pests.
The best part is that, over time, your organic soil care regimen will build upon itself and only get easier.
Sounds pretty great, doesn’t it?
It is!
To begin, you’ll start with the results of your soil test.
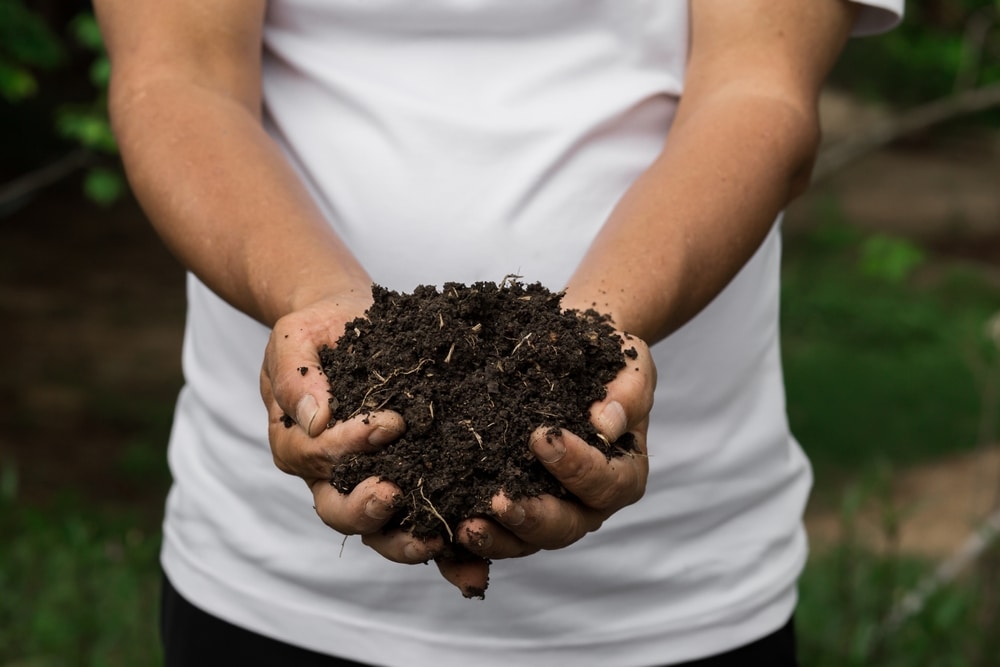
If you don’t want to test your soil, you are advised to use one of the “all-purpose” soil-enhancing options, such as compost, worm castings, leaf mulch, or fish emulsion. Each of these options will help improve your soil in every way and are difficult to over-apply to the extent that you will create damage.
Your plants need nitrogen, potassium, and phosphorus (known as macronutrients) and several other nutrients (called micronutrients), such as calcium, magnesium, iron, copper, manganese, etc., to grow to their potential.
It is best to focus on the macronutrients first.
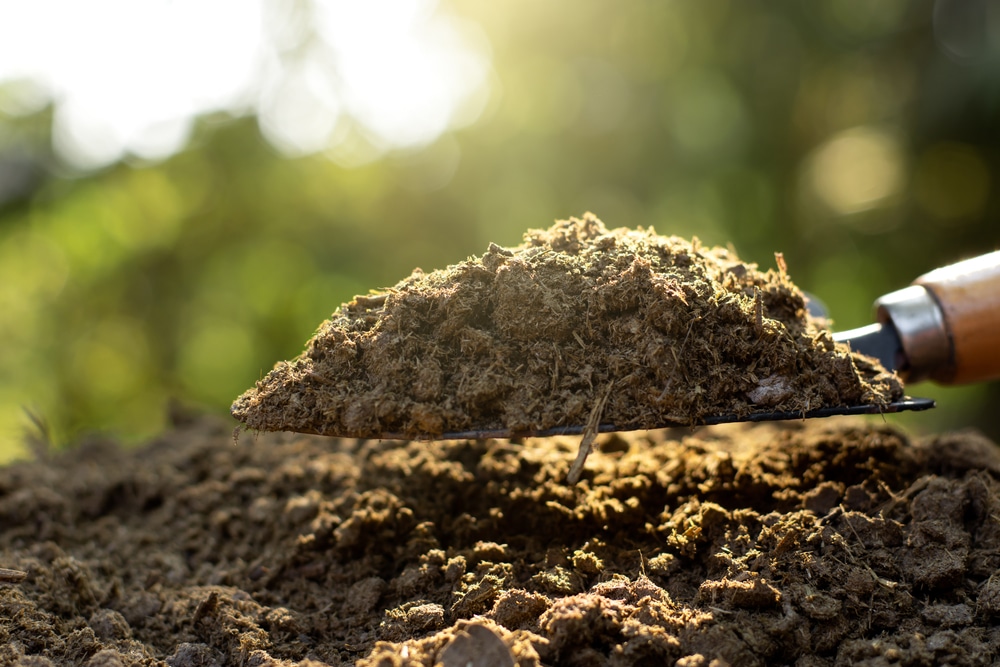
If your soil test revealed you don’t have enough nitrogen, you may want to consider using composted chicken manure or blood meal.
If you are seeking to bump potassium levels in your soil, kelp meal or greensand (a powder collected from the ocean floor) can help.
To increase phosphorus, you may want to look at adding bone meal or fish meal.
You can use any of these options on their own or with others to different effect.
Once you’ve chosen the kind(s) of fertilizer you will be using, you’ll set about applying it to the soil in your garden.
5 – Apply Fertilizer
When
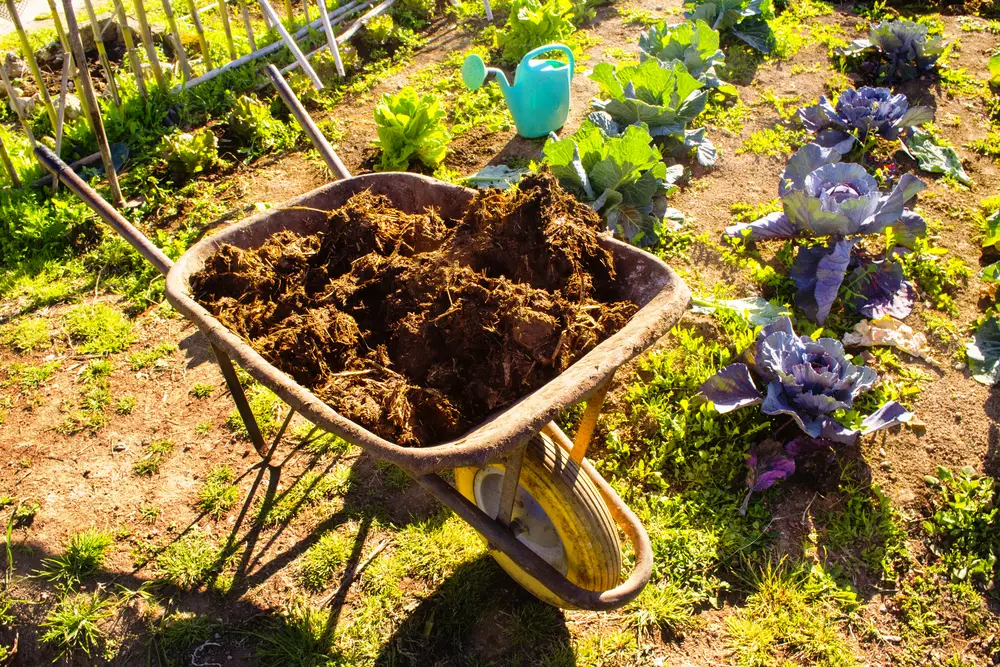
I usually do my soil amending in the autumn. But that is just my preference and based upon the materials I use (primarily manure, compost and leaf mulch, and sometimes cover crops).
Do your soil work in spring or fall.
These are the times your beds won’t likely have plants in them, and whatever organic materials you add will have the added benefit of time to break down into plant-usable form before you are planting next.
A good rule is to apply your fertilizer in the spring if it is fast-acting and prone to washing away (if it is in powder or liquid form). Apply it in the fall if it needs time to break down before your plants can benefit.
I suggest fertilizing on a dry day when the surface of your soil is also relatively dry, but underneath has some moisture.
Unless you are applying finished compost, worm castings, fish emulsion, or mulch (all of these are already at least partially decomposed and therefore mild, but still effective!), you’ll need to pay attention to how much of each fertilizer you are adding.
What you are using and the amount of garden space you need to fertilize dictates how you prepare and apply your fertilizer.
How
You can premix your fertilizers dry. I do this in my wheelbarrow or garden cart and generally with some finished compost. Then measure it out and add it directly to your garden beds. Make sure you mix it into the surface of the soil. Or mix it with water and then apply it to your garden while watering.
It’s important to use the correct amount. Sometimes, the packaging indicates this.
Amounts
Recommended amounts for organic fertilizers suggested above are the following:
- Bone meal: 1 tablespoon for every 2 square feet (0.18 square meters) of soil
- Blood Meal: 3 tablespoons for every 2 square feet (0.18 square meters) of soil
- Kelp meal: 1 – 2 tablespoons for every 2 square feet (0.18 square meters) of soil
- Greensand: 6 tablespoons for every 2 square feet (0.18 square meters) of soil
- Fish meal: 2 tablespoons for every 2 square feet (0.18 square meters) of soil
- Composted Chicken Manure: 2/3 cup for every 2 square feet (0.18 square meters) of soil
After calculating the appropriate amount of fertilizer for your garden based on how much space you need to cover, measure the fertilizer(s) into a wheelbarrow or garden cart.
Mix it all up with a garden trowel.
Then, move the wheelbarrow or garden cart to where you are going to add the fertilizer to your garden.
Use your shovel to move the fertilizer from your wheelbarrow or garden cart to the top of the garden soil. Once you’ve applied your intended amount, use a rake to spread the fertilizer evenly over top of the whole bed.
Use your rake to mix the fertilizer into the soil’s first few inches (centimeters).
Note: You may have a covering of leaves or other decomposing organic matter on your soil’s surface. I usually do, which is part of the reason I work with my soil in the fall before I’ve added the leaf mulch layer.
If you do, keep in mind that several beneficial garden insects live in this covering over the winter. If you must remove it (I let mine decompose in place), wait until temperatures are consistently in the 50°F and above (above 10°C).
6 – Water
Once you’ve applied the fertilizer, give the whole area a gentle but thorough watering to help it integrate into the soil structure.
If rain is in the forecast, you can skip this step.
How To Build Your Soil In The Fall
These are the autumn-specific fertilizing options I recommend:
- Cover Crops
- Leaf Mulch
Again, you can use both options as a stand-alone amendment or with others.
The reason I prefer to work on my soil in the autumn is three-fold.
One, autumn is when I have the best access to decomposing leaves.
Two, the extra months give the organisms in my soil longer to break down whatever I am adding into plant-usable form.
Three, a layer of organic matter on the soil surface protects the soil (and the beneficial organisms that live within it) over the winter.
Let’s start with cover crops.
Cover Crops
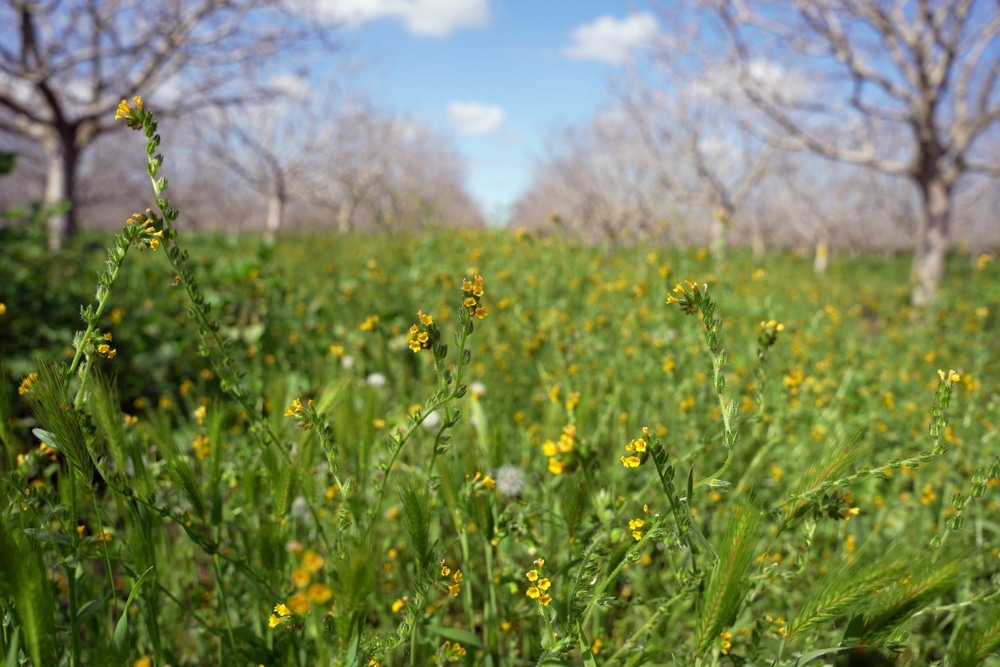
Cover cropping, or green manuring, is the practice of planting a crop with the intention of cutting it down and mixing it back into the soil.
It has several benefits, such as boosting the nutrients in your soil through adding organic matter, fixing nitrogen (depending on what crop you plant), protecting the soil against erosion, combating soil compaction, and suppressing weeds.
To add cover crops, I simply loosen the top of my soil (if necessary) with a rake and broadcast the seed by hand relatively evenly across the whole bed.
The seed package will explain spacing. From this, you will be able to determine how much seed to use. For this application, you won’t go wrong overseeding (using more than is typically recommended).
If I have a large seed concentration in one area, I’ll break it up by hand or with my rake and make sure the distribution is relatively even and that a good portion of the seed is worked into the soil’s surface.
I add this seed shortly after I have harvested my vegetables.
Depending on my timing and the weather that particular year, most of the growth will happen in the autumn or even the following spring. Regardless of when it grows, the key is to cut the crop and mix it back into the soil before it sets seed and reproduces.
Leaf Mulch
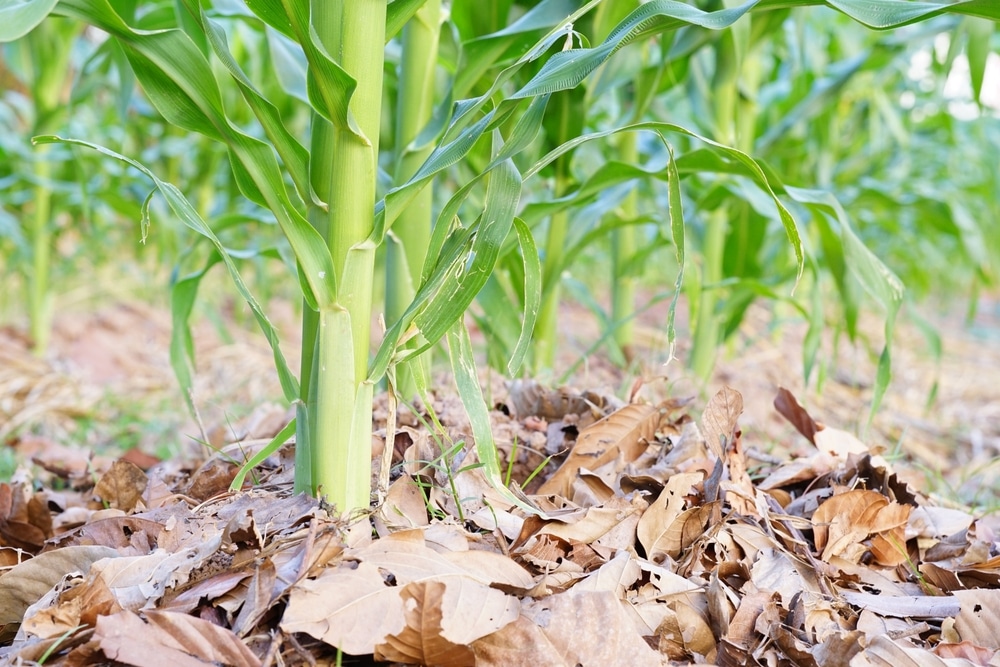
Leaves are abundant in autumn, as you well know. They are of incredible value for recycling nutrients and for soil building.
Applying the leaves to your garden is as simple as collecting them and adding a layer.
Ensure you are using only healthy leaves otherwise you may promote the spread of diseases. If you have a problem with pests living in your leaves over the winter, compost your leaves before adding them to your garden to avoid increasing pest populations.
To add leaf mulch to your garden, rake the leaves and add a layer over the entire bed surface.
A layer of leaves that is too thick can mat together and have trouble decomposing. Some gardeners prefer running their lawn mowers over the leaves to shred them first.
I admit I usually skip this step and haven’t had a problem.
As temperatures decline, beneficial insects find homes for the winter. Some of them choose decaying leaves. Running your lawn mower over them is to their detriment and yours.
I let whatever leaves I add to my garden beds decompose in place, mixing some in the soil as I plant the following spring. It may not look pretty, but I have very healthy soil, my plants grow quickly, become the focal point, and cover up the soil.
Almost all the leaves are gone by the following fall, having fed the decomposers that live in the soil and protect my plants from pests and disease.
Fertilizing or adding nutrients back to your vegetable garden soil is essential for maintaining a healthy vegetable garden over the long term. It’s also easier than you may think!
Test and get to know your soil. Dedicate some time at the beginning and end of every gardening season to replenish nutrients and watch how the simple practice of soil care will benefit you and your garden over time.