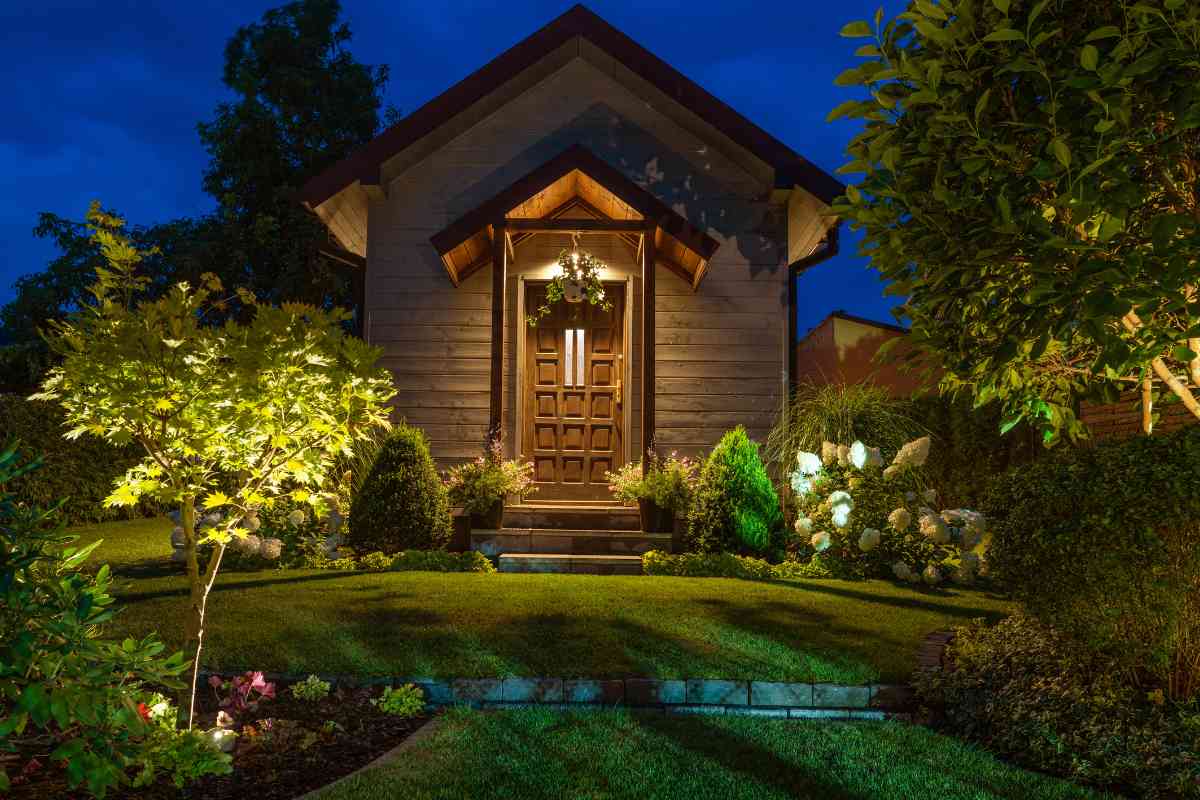
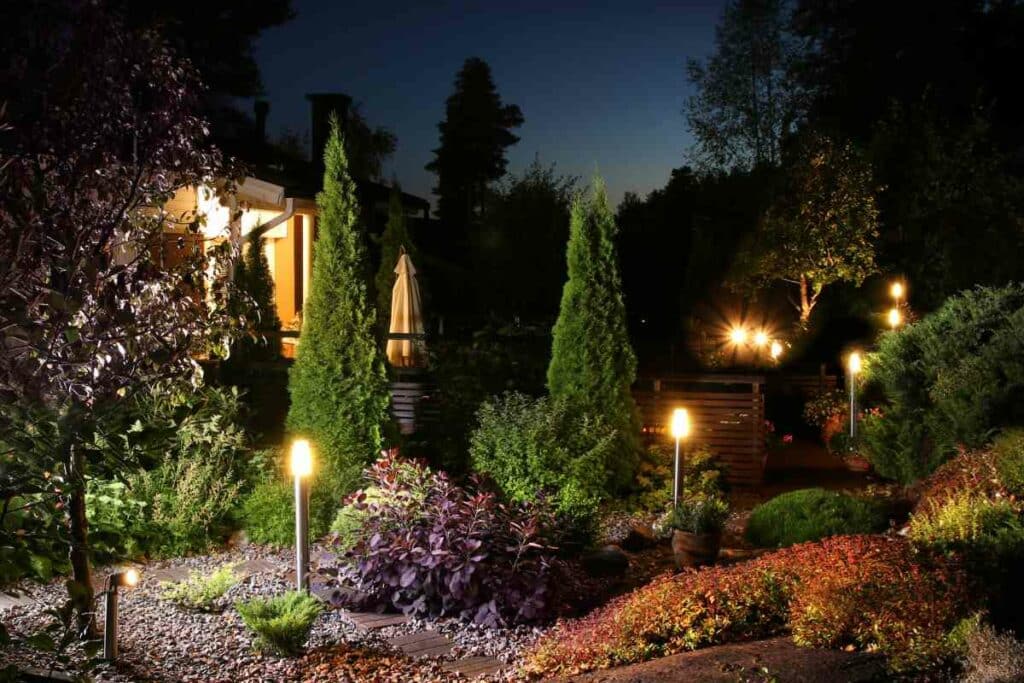
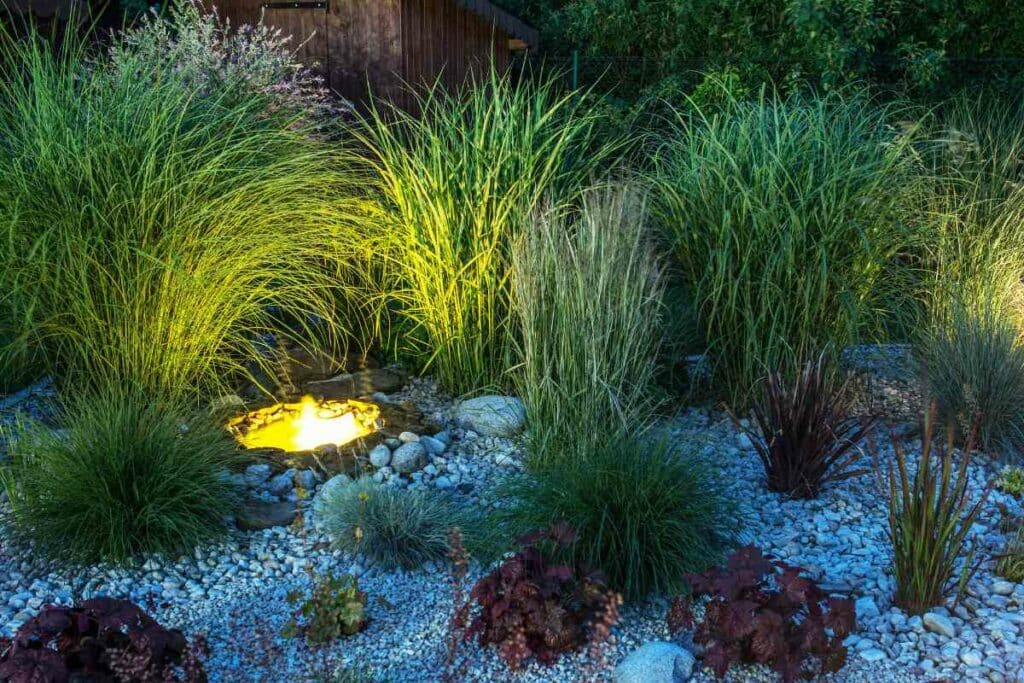
Outdoor lighting is a wonderful way to enhance your home’s exterior and create the desired atmosphere.
However, it’s important to ensure that your outdoor lights are protected from the elements, especially when the weather turns bad.
Waterproofing Requirements
Some controversy exists in the lighting industry regarding the entry of water into light fixtures.
Fortunately, nearly all lights marketed as “outdoor lights” are designed to be water-resistant to some extent. This applies not only to outdoor lighting fixtures but also to bistro lights.
The level of moisture they can handle depends on their Ingress Protection (IP) rating, which ranges from no to high moisture tolerance.
Some accommodate water build-up into the design providing proper drainage from the lamp compartment. Others enclose and seal all connection points to eliminate any avenues of water entry. Regardless all outdoor luminaires need to be as water-resistant as possible.
Waterproofing is important. It prevents internal corrosion of the fixture housing and parts such as the socket or lamp. When either or both fail, the light fixture will not work.
Cold water striking a hot lamp can crack the lamp jacket causing lamp failure. Water accumulation can corrode the lamp base, preventing a proper electrical connection. Incandescent and metal halide lamps are especially susceptible to corrosion and failure.
Each manufacturer will have a different approach to waterproofing. Consider how the manufacturer has addressed these issues and what materials have been used.
Examine & Seal Potential Openings
All potential openings into a luminaire need to be examined to determine whether they are waterproof.
Start by locating any areas where water may enter the light fixture. This will help you target the waterproofing more precisely. This includes the lens attached to the housing and the fixture faceplate or bezel.
Proper sealants must be used to make the fixtures watertight. The sealant should be capable of withstanding temperature fluctuations, UV rays, and inclement weather.
Look at the gasket type and material. Be sure that the material can stand the test of time. The gasket should not become crushed due to the pressure of the lamp closure. This would prevent a good seal as the fixture is opened and resealed.
Top pick
Waterproof Rayolon Solar Ground Lights
Editor’s choice
Waterproof Brightech Ambience Pro Solar
Using sealant
Apply a bead of silicone caulk around the edges of any openings; fill all cracks and crevices. This creates a watertight seal that prevents water from entering the fixture.
Make sure the caulk is evenly distributed and allow it to dry completely.
Use Weatherproof Sealant Tape
Another option is to use weatherproof sealant tape.
This tape comes in different widths and colors, allowing you to select the appropriate one for your application. Apply the tape around the light to create a barrier against moisture.
Waterproof Wire Connections
How are the wire connections into the lamp compartment sealed? Again, a sealant should fill the opening to prevent water entry.
Ensure that all connections between the lights are properly sealed to prevent moisture from entering.
Use gel-filled connectors or heat shrink tubing that are specifically designed to shield against water for all wire splices. Use waterproof boxes around outdoor sockets to protect them from the elements
Socket & Transformer protection
Have the ballast or transformer compartment been filled with a sealant to prevent water entry?
Use covers or waterproof boxes specifically labeled as suitable for damp locations to protect your outdoor receptacles from the elements.
Proper Installation & GFCI Outlets
Properly install your lights and plug them into a Ground Fault Circuit Interrupter (GFCI) outlet.
GFCI outlets cut off the power when current flows along an unintended path such as when the wire comes into contact with moisture. This prevents electrical current from flowing where it shouldn’t and provides a layer of safety.