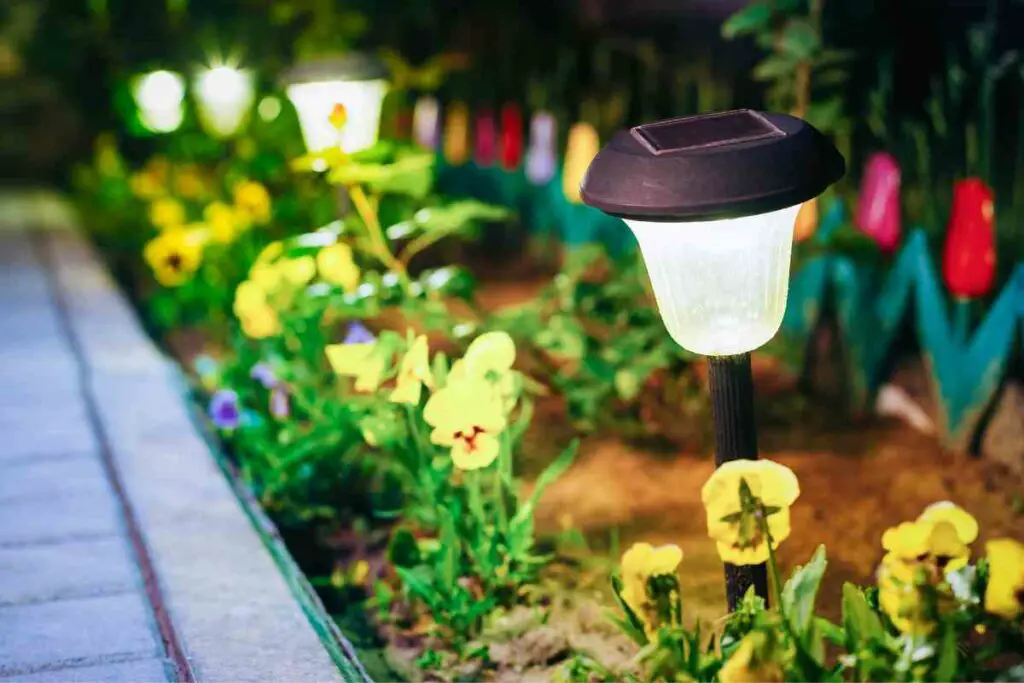
Solar lights have gained popularity for outdoor lighting due to their convenience and ease of installation. They are used to provide illumination for pathways and low-growing garden beds. However, like any other electrical device, solar lights can encounter problems, such as malfunctioning sensors.
The sensor is a crucial component that triggers the light to turn on or off by detecting light or darkness or through motion sensors.
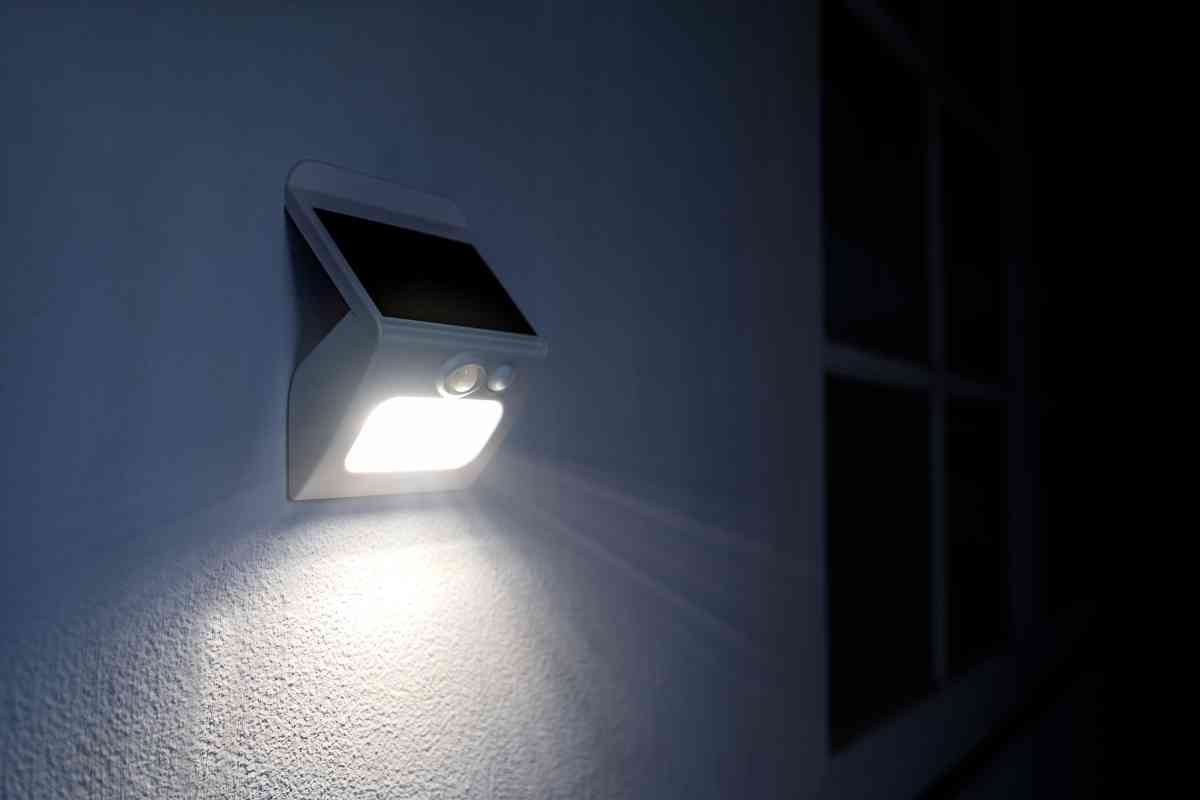
A photocell (light sensor) detects the light intensity in the surroundings and activates the light accordingly.
Some fixtures feature infrared detectors that turn on the light when they detect the heat of a passing body.
These sensors are regulated by control circuitry that processes information from the sensor, sending signals to turn the light on or off.
When either the sensor or control circuitry fails to function as it should, the light may not turn on or off as required. If the light turns on during the day or fails to turn on at dusk, it could indicate a problem with the sensor.
If you are dealing with a faulty sensor, worry not. This guide will help you troubleshoot and fix the problem using simple handy tools.
Clean the Panel & Sensor
Sometimes the panel and sensor may get covered with dirt and grime causing it to struggle in differentiating between day and night.
The cleaning process for solar lights typically involves the following steps:
- Remove screws: Depending on the solar light model, there may be screws on the top or bottom of the case. Unscrew them and keep track of their original positions.
- Remove casing: Inside the case, there may be housing for the batteries. Remove the screws securing the casing to access the electronic components.
- Clean the components: Use a moist cloth dipped in a cleaning solution to clean the case, panel, and sensor.
Check the Connections
Loose or corroded solder joints can cause issues.
Confirm that the wires are securely connected to both the solar panel, the sensor, and the battery. If any cable damage or corrosion is present, replace and resolder the affected cables.
Editor’s Choice
Tuffenough Solar Outdoor Lights
Minimize Light Interference
Nearby light sources, such as streetlights or porch lights, may interfere with the sensor, preventing the lights from turning on or off as required.
Relocate the solar lights to an area without nearby light sources or adjust the interfering light to reduce interference.
Replace the Sensor
If the previous steps do not resolve the issue, you may need to replace the sensor if it is faulty.
Here’s how;
- Turn off the lamp and remove the light head attached to the stake using either a threaded or grooved connector, depending on the light’s design.
- Unscrew the lamp head.
- Carefully separate the top and bottom housing of the light head.
- Remove the screws that hold the sensor to the housing. Follow the sensor wiring to locate the connection point and disconnect it from the control board.
- Assuming you can get a replacement part, install the new sensor, and resolder its wire to the appropriate joint as before.
- Reassemble the housing, ensuring there are no wires caught between the parts. Reattach the screws to secure the housing.
- Use your hand to block the sensor to simulate darkness. The light should turn on when the sensor is blocked and off when exposed to light.
- Place the head back on the stake and enjoy.
Please note that disassembling the device and replacing the sensor should be done if you can obtain a replacement part from the manufacturer and if the fixture is not covered by warranty. Disassembly may void your warranty.