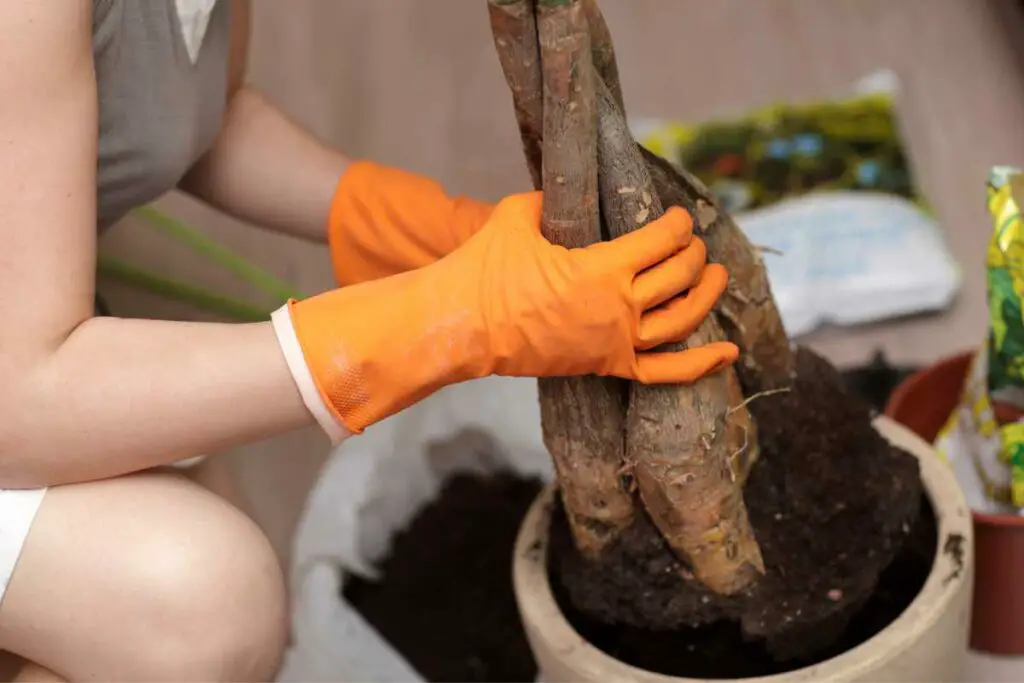
Air plants, also known as Tillandsias, are unique for the fact that they do not have roots.
That is pretty unorthodox when it comes to plants because roots play a pivotal role in the development and survival of plants. For Tillandsias, it is the leaves that absorb moisture and nutrients.
Besides being easy to take care of, air plants are popular because of the many ways people can display them in the house.
They are versatile when it comes to interior décor, and even better, they do not require soil to thrive.
So, one can easily attach them to surfaces such as the wall, wreaths, and wood. If you are looking to attach your air plants to wood, then this article is for you. We will show you how to attach air plants to wood in 6 quick steps. Two of the most popularly used wood for this purpose are Mopani wood and Grapevine wood.
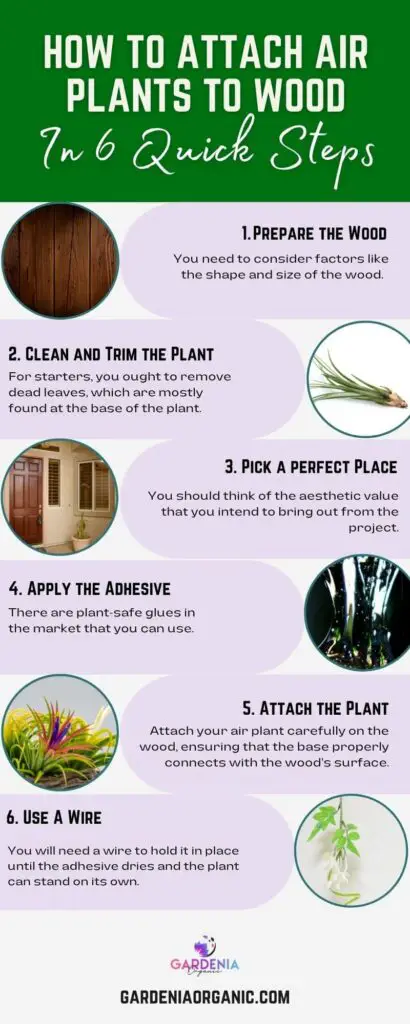
Step 1: Prepare the Wood
You ought to find the perfect wood for this purpose, keeping in mind that not every type of wood will form a good base.
You also need to consider factors like the shape and size of the wood. Remember that the wood should complement the look and feel of your home. Therefore, trim and reshape it if you have to.
Give It a Try: As we have already mentioned above, some of the best wood for this purpose are Grapevine wood and Mopani wood.
Step 2: Clean and Trim the Plant
There are different types of air plants, and each of them grows differently.
Before you attach it to the wood, look to ensure that the plant is in perfect condition. For starters, you ought to remove dead leaves, which are mostly found at the base of the plant.
Often, these leaves appear different from the living ones, and most of the time, they are yellowish. Still, be careful not to pull out healthy leaves.
Also, if the plant is bigger than you want it to be, you could trim it back to the size and design you want it to be before attaching it to the wood.
Most Importantly: You want to ensure that the adhesive has something solid to stick on.
Step 3: Work Out Where to Mount the Plant on The Wood
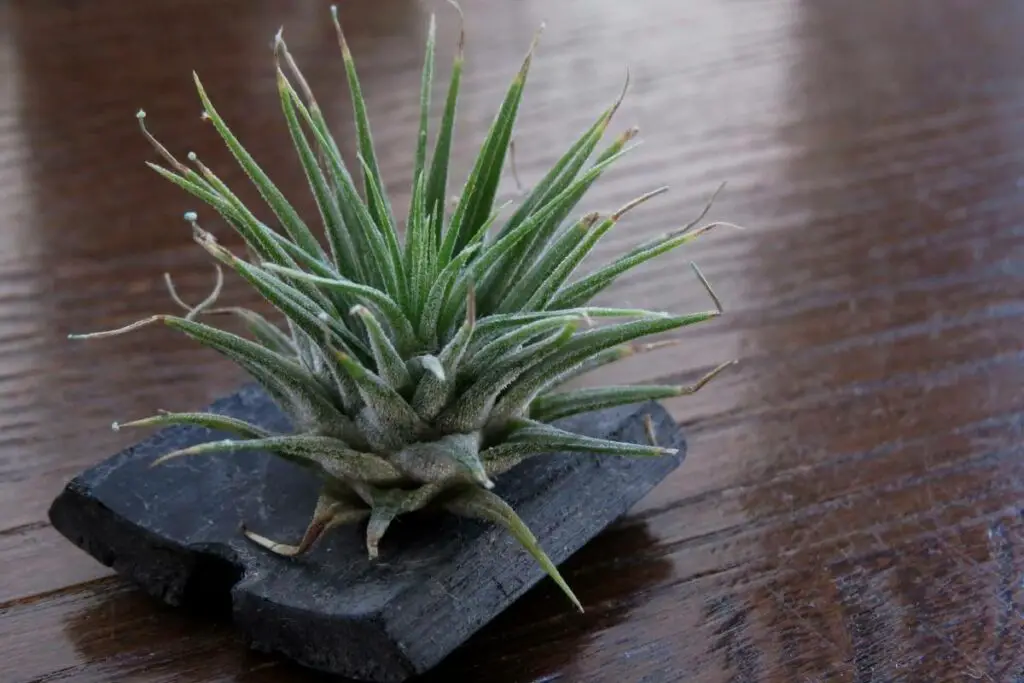
Chucks of wood come in different, irregular shapes. Some even have nooks and crannies.
Others have long branches. Depending on the number of air plants you intend to attach, you need to identify the spots where you will be attaching them on the wood.
In any case, you should not do it randomly. Strive to have a methodology- a system. You could set the plants a certain distance apart from each other or come up with an intriguing pattern.
In Other Words: you should think of the aesthetic value that you intend to bring out from the project.
Step 4: Apply the Adhesive and Give It Time to Dry
Most types of glue are not recommendable when it comes to attaching air plants to wood.
This is because they interfere with the plant watering process as the plants will not be able to soak in water effectively. Also, it can be difficult to detach the plants from the wood in case you want to move them.
Fortunately, there are plant-safe glues in the market that you can use. An example is formula E-6000, which is waterproof and will not interfere when you water the plants.
Even so, you need to be extra careful when applying glue to the plant in preparation for mounting it to the wood. For one, do not get glue on the leaves- keep to the base.
Quick Tip: Dab a little glue on the plant, and give it a few seconds- about ten- to dry before you mount it to the wood.
Step 5: Attach the Plant
Attach your air plant carefully on the wood, ensuring that the base properly connects with the wood’s surface.
You also want to ensure that the leaves and stems are not caught up when attaching the plant. Keep in mind that air plants depend on their leaves for moisture and nutrition, so you don’t want to interfere with that.
If you are mounting plants that have inflated or bulbous bases, it would be best if you positioned them horizontally or upside down. This is to prevent water from accumulating in their bases and causing decay.
Examples of these plants include:
- T. pseudobaileyi and
- T. caput medusae.
Step 6: Use A Wire to Hold The Plant in Place Until It Sticks Properly
Once you have attached your plant, don’t expect it to stick immediately.
This is why you will need a wire to hold it in place until the adhesive dries and the plant can stand on its own. Whatever you do, though, do not use a copper wire for this purpose.
This is because copper is toxic to air plants and may even kill them. Using a wire to hold an air plant in place is pretty simple as it sticks on the wood.
All you need to do is loop it through the bottom part of the plant and wrap it loosely around the branch or nooks and crannies of the wood, depending on the spot on which you have attached the plant.
Once the plant has attached properly, carefully remove the wire.
Nice Tip: The advantage of using wires to hold the plant in place as it sticks is that the alternative is doing it manually, which is bound to be time-consuming.
How Do You Take Care of Air Plants Mounted on Wood?
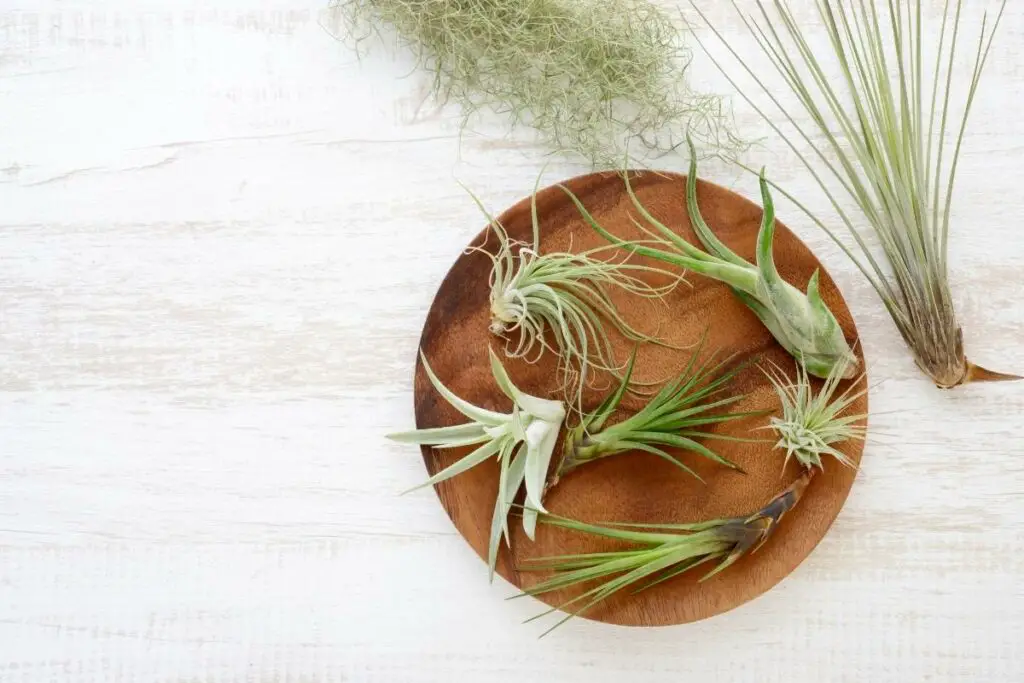
Air plants need an adequate amount of moisture to thrive. Since you have attached the plant to the wood using glue, avoid soaking it in water. Instead, spray the plant with water or dunk the leaves and shoot in water.
The big idea here is to keep the base as dry as possible. A wet base will result in the plant decaying on the mounting surface.
Also, while watering the plant, maintain it at such an angle that the water won’t trickle down to the base. You ought to ensure that the plant is dry before repositioning it on the wood.
The only time you can soak the plant is when you want to remove it from the mount. However, this only applies when the glue is not waterproof.
To pull this off, water the base every once in a while until the glue finally dissolves, at which point you can separate the plant from the wood.
If you are displaying the air plants on your front door, then ensure it is not in the path of direct sunlight. Like other tropical plants, tillandsias do well in a shaded environment, with bright but filtered light.
Protect Your Plant: Therefore, if you notice that the sun is hitting the plant at a particular time of the day, it would be best to bring the plants inside until it is safe to put them out again.
Final Words
Air plants are some of the most decorative plants there are.
They are aesthetically versatile, and you can display them in a thousand different ways. They are so easy to maneuver because they do not have roots and hence do not require soil to grow.
Mounting air plants on wood is one way of displaying them. This article has provided a step-by-step methodology of effectively attaching tillandsias on wood.
The best adhesive for this project is waterproof, plant-safe glue such as E-6000. Other types of glue may do more harm than good to your air plants.
