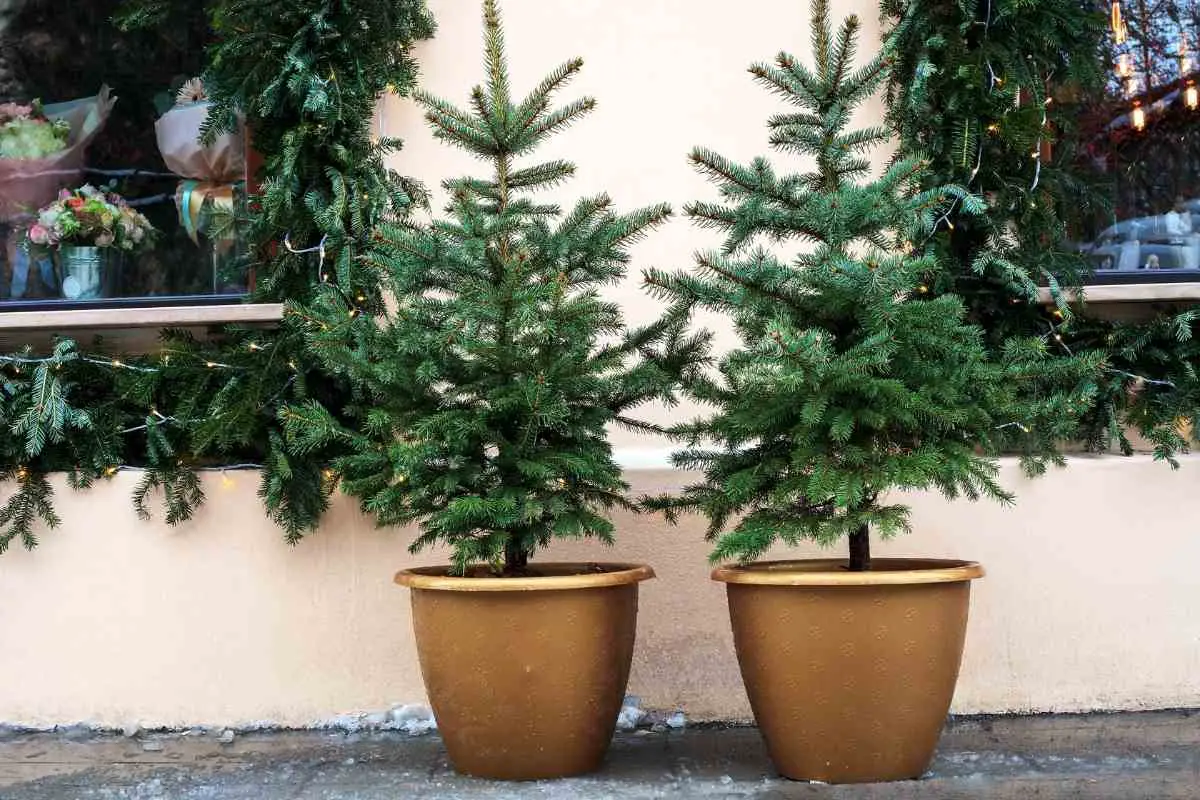
Winter is a tough time for plants, especially those that are not native to your area.
Potted evergreens can be particularly vulnerable in pots, as they don’t have the normal insulation they do from their roots being planted deep underground, but they certainly can survive cold falls and winters by following some steps to prepare your plant.
Aren’t Evergreens Supposed to be Ever Green?
If you live somewhere with cold winters, you’ve probably seen evergreen trees before.
They have needles instead of leaves and stay green all year round; the typical Christmas tree is an evergreen.
So yes, the evergreens should survive through cold falls and winters, but the key difference is the pot.
The dirt in the ground provides plenty of drainage and insulation for the trees.
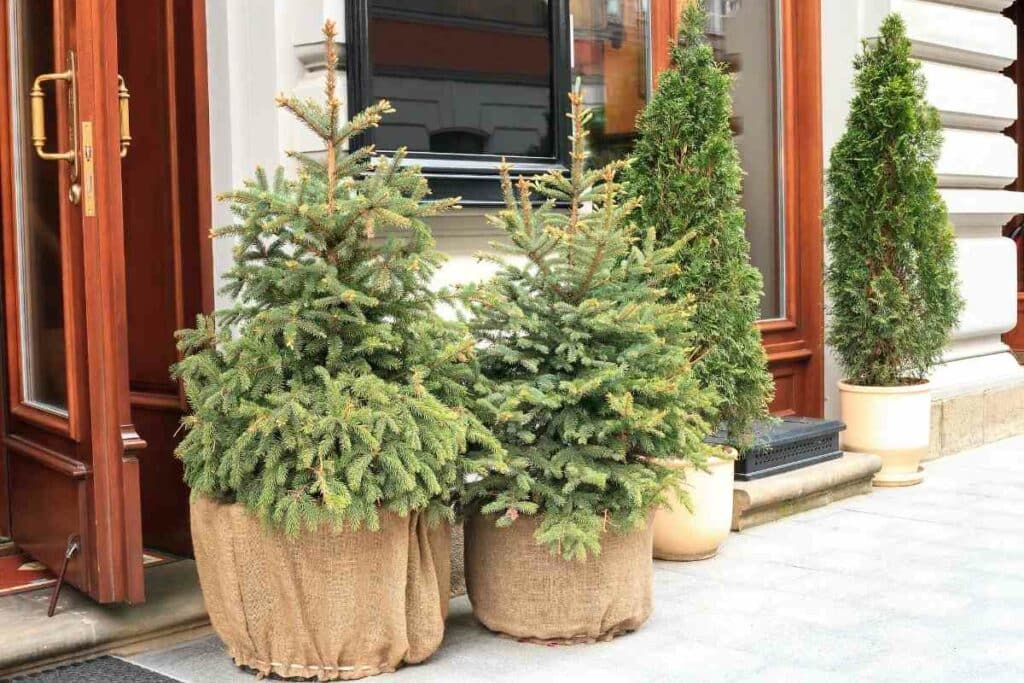
Paired with a blanket of needles that have fallen throughout the year, the roots aren’t exposed to freezing temperatures.
In a Pot – The roots don’t have nearly the same amount of insulation or drainage.
This is what provides the challenge. With too much water, the roots will start to rot and freeze. This stops the plant from being able to absorb the water and nutrients it needs.
This all sounds pretty doubtful that a potted evergreen will survive, but we mentioned steps you can take to prepare your plant, and here they are.
Step-By-Step Guide to Preparing a Potted Evergreen for Cold Falls and Winters
Here are all the steps you can take to help your potted evergreen survive the cold.
Step 1: Choose the Right Evergreen
There are plenty of evergreens available, but not too many will do well in a pot.
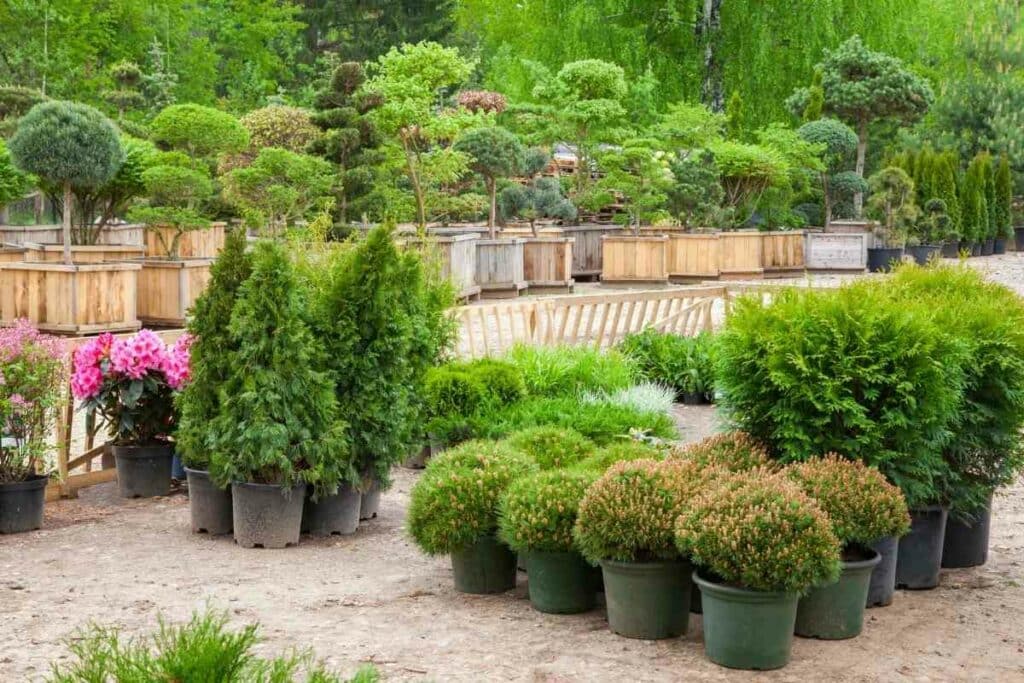
If you want your evergreen to survive the cold falls and winters in a pot, start with one of these evergreens:
- Arborvitae: USDA zones 3-8
- Boxwood: USDA zones 4-9
- Dwarf Blue Spruce: USDA zones 2-8
- Dwarf Mugo Pine: USDA zones 3-7
- Juniper: USDA zones 2-7
When deciding on an evergreen, pay special attention to what USDA growing zone they do the best in.
You’ll want to pick something that will survive in a lower USDA zone than what you are currently in.
For Example – If you live in zone 3, you should opt for the Dwarf Blue Spruce or Juniper evergreens. If you don’t know what USDA zone you live in, you can check that out here.
You should do this to help make up for the difference in temperature that the roots will be exposed to since they aren’t planted in the ground with that extra insulation.
Step 2: Choose the Right Pot
When you’ve decided on the right evergreen for your pot, it’s time to choose the right pot.
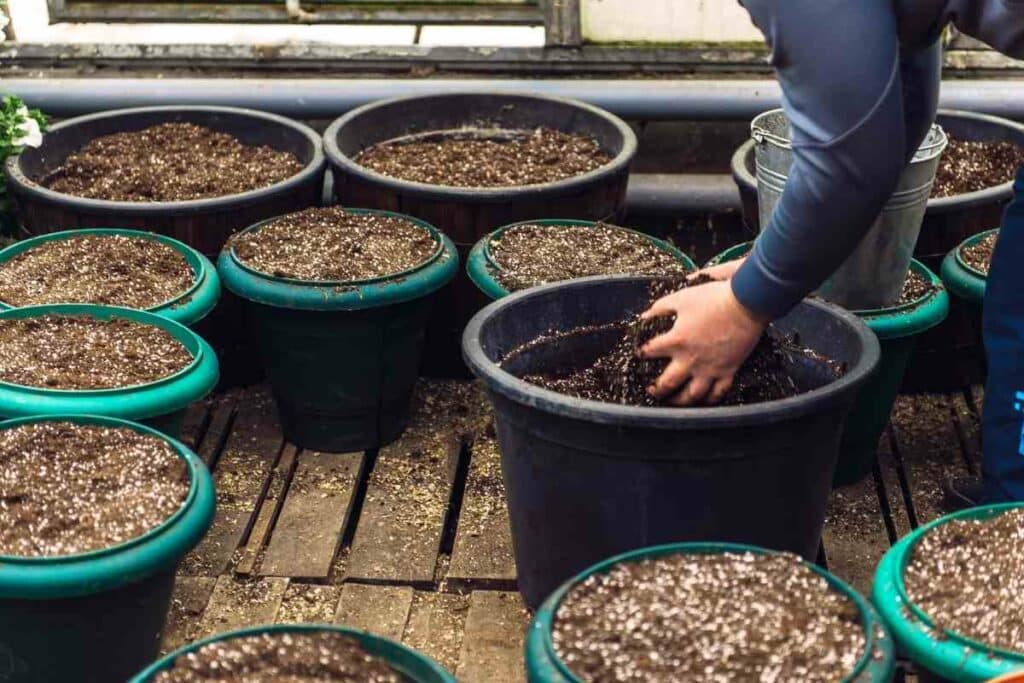
There are a few things you’ll want to consider when picking out the pot such as:
- Size: You’ll want to make sure the pot is big enough for the root ball of the tree. If it’s too small, the roots won’t have enough room to grow and could start to crowd each other. If it’s too big, the tree will have a harder time staying hydrated.
- Material: You’ll want to make sure the pot is made of a material that will help insulate the roots such as ceramic, metal, or stone. Avoid plastic or terracotta pots as they won’t do a good job of insulating the roots.
- Drainage: You’ll want to make sure the pot has drainage holes in the bottom. This will help ensure that the roots don’t get too wet and start to rot or leave any standing water that will freeze and damage the roots.
Step 3: Insulate Your Pot
Once you’ve chosen the right pot, it’s time to insulate it.
This will help to protect the roots from the cold fall and winter temperatures.
There are two great ways to do this.
- Add a layer of Styrofoam to the inside of the pot. You’ll want to make sure the bottom and sides are lined before adding dirt.
- Put your pot in a larger pot and then fill the extra space with straw.
Step 4: Add a Heavy Layer of Mulch
Now that your pot is insulated, and your plant is in the pot, it’s time to add a layer of mulch to the top of the dirt.
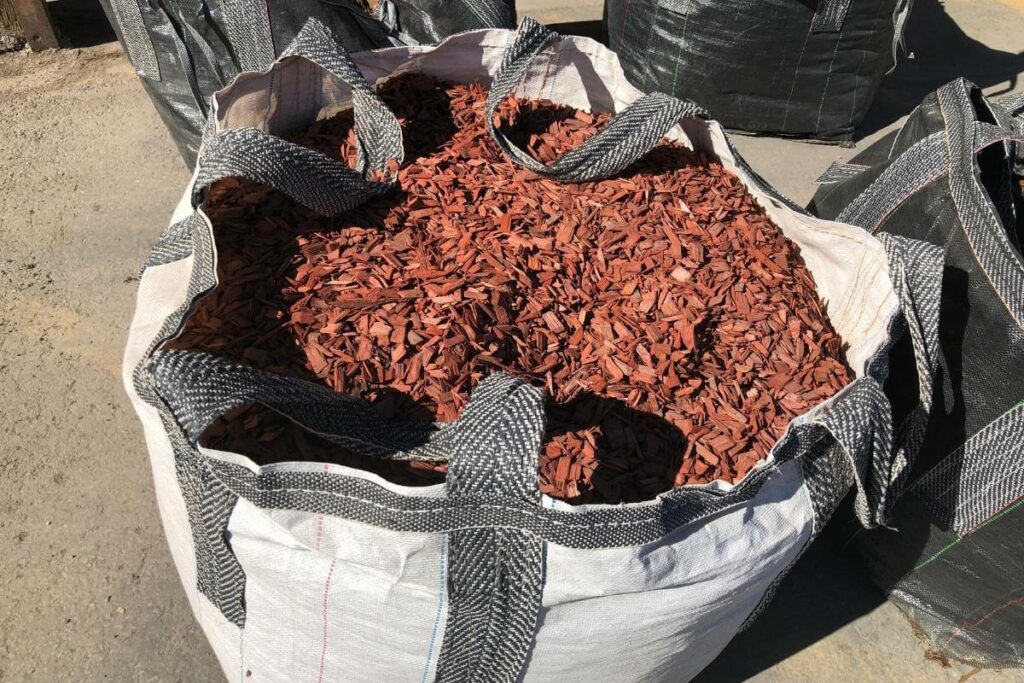
If you’ve ever walked a trail through the forest of evergreens, you may have noticed a heavy layer of pine needles on the ground.
This is to help protect the roots of the trees from cold temperatures. You’ll want to do the same thing with your potted evergreen.
A layer of mulch will help to insulate the roots and keep them warm throughout the winter.
Step 5: Water When Dry on Warm Days
Evergreens are still going to need water, even if it’s below freezing outside.
The cold makes watering the plant a little tricky, but luckily you won’t need to do it often. When it’s cold, there’s usually a blanket of moisture on the plant already in the form of snow.
The dirt in your very well-insulated pot will give off small amounts of heat.

As it heats up, the layer of snow against the mulch will start to melt slowly, giving your plant a small amount of moisture.
The conditions need to be just right before you water the evergreen.
There shouldn’t be any snow left, the soil should be dry, and it should be a fairly mild winter day (not one of those days that are so cold you have ‘snotsicles’).
A quick, light watering is all your plant will need until the next time conditions are favorable.
Step 6: Do Not Bring Inside
As tempting as it is, do not bring your evergreens inside.
Evergreens need a period of cold to go through their dormant period to continue to grow the following year.
If you bring your evergreen inside, not only will it not get the dormancy it needs, but the drastic temperature change will shock the plant and could cause it to die.
Final Thoughts
So, if you live in an area that experiences cold winters, don’t worry!
You can still enjoy the beauty of evergreens by planting them in suitable pots and making sure the roots don’t freeze.
By following these simple steps, you can ensure that your potted evergreen will survive the cold weather and continue to thrive for years to come.
