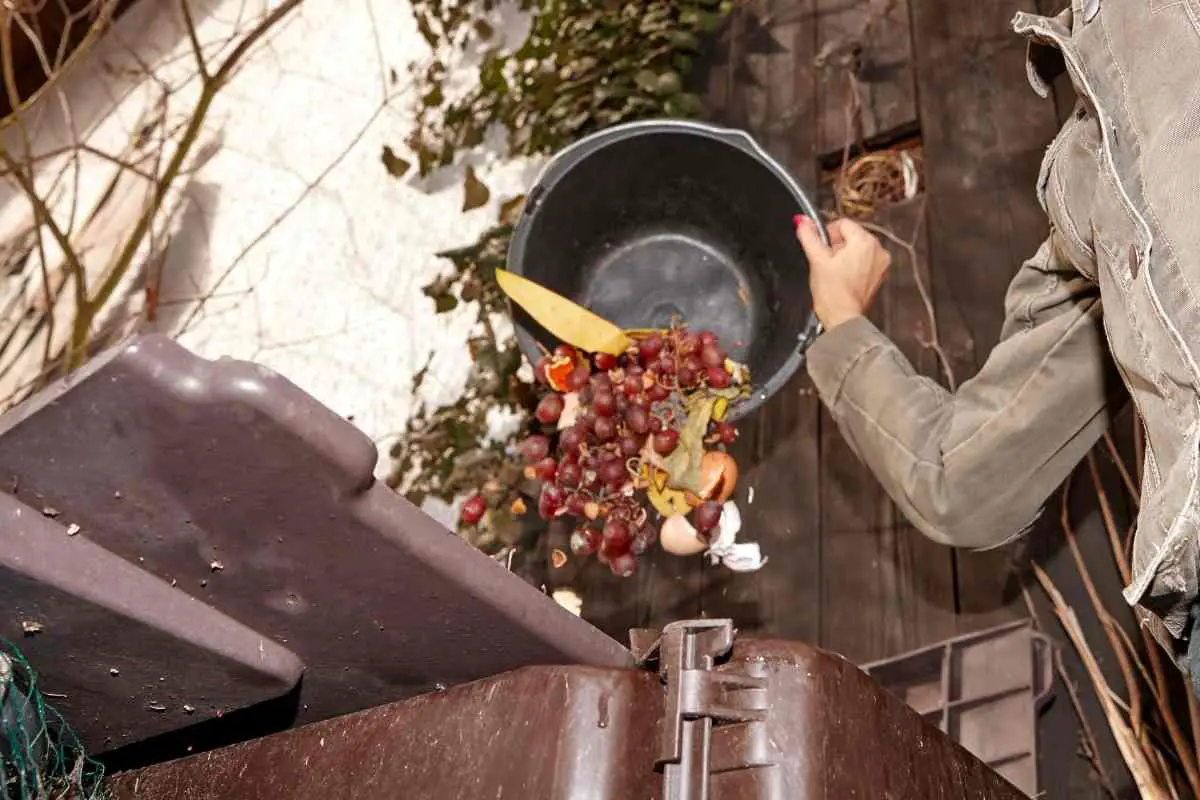
If you’ve been making compost in your garden, you might be wondering how you actually deal with it and get the finished product.
Compost is very important for gardening and you don’t want it to just sit on the pile forever, but how do you harvest compost and make use of your black gold?
You can harvest compost by leaving the pile until it has finished composting, and then simply turning it out into a container. At this point, you may need to put some parts of the compost pile back into a new compost bin, but you should be able to harvest the rest and use it for your plants.
Step One – Check It’s Ready
You don’t want to be using compost that isn’t ready yet, because this will strip nutrients out of the soil and could damage your plants if you use a lot of it.
Therefore, when harvesting compost, the first thing that you need to do is check the compost is ready. As a side note, it’s best to harvest compost in the fall if possible.
This allows any unfinished compost to continue breaking down over the winter, before the new growth of spring starts, and reduces the risk of it damaging your plants.
Use a stick or garden fork to stir the compost up. If it’s ready, it should be medium brown and crumbly, much like the stuff that you buy from a garden center or nursery.
There should not be patches of mold, or big piles of intact compost material throughout the heap.
There might be some small sticks and a few bits of harder materials (such as nutshells, corn cobs, fruit pits, etc.), but most of the material should be gone completely, and no mold should remain.
You might also notice that the compost is cool in the center. When compost is decomposing, it is being processed by bacteria, which produce heat as they work.
When the compost has finished decomposing:
- it will be cool because no active bacteria will be in the heap (or at least, very few)
- you should also be able to smell when compost is ready, because it will smell like earth, rather than any food matter
If your compost smells strongly of rotten food or anything other than earth, it is not yet ready.
Ready for Next Step? if you think your compost is good to go, let’s move on to step two!
Step Two – Empty The Bin
How you do this will depend on the kind of composter that you have, but you want to transfer all your compost onto a big sheet of plastic or something similar so that you can sort it.
If you have a Dalek composter, you may be able to just turn the whole bin over and tip its contents out.
Compost Bin by GEOBIN – Expandable & Easy Assembly
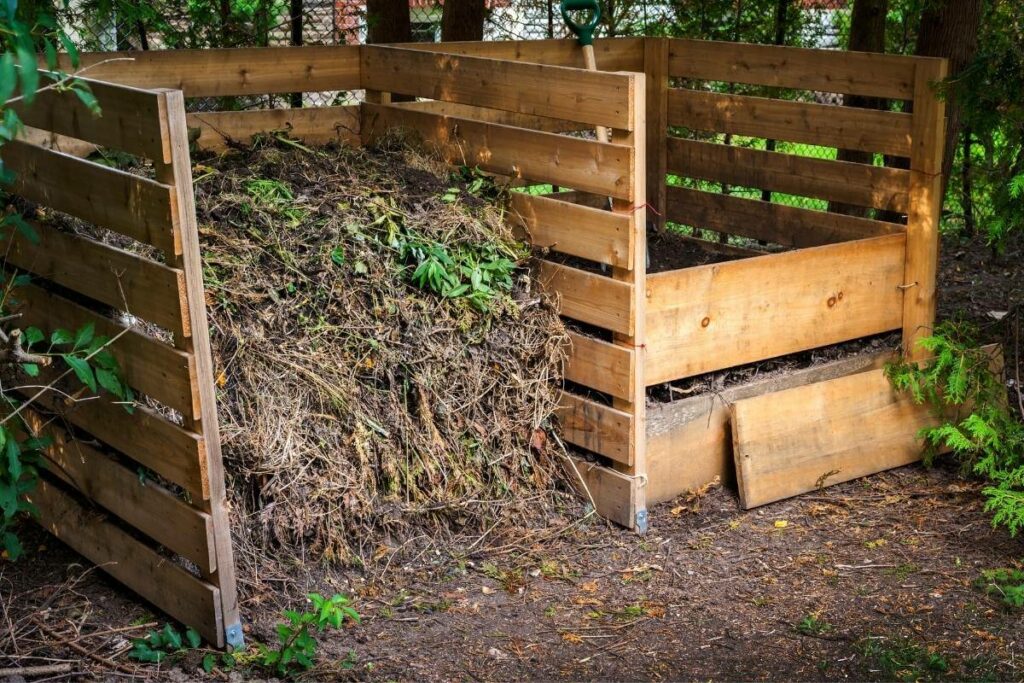
If you have built a pile of compost, you might have to use a shovel to transfer it to the sheet.
However you do it, you need to end up with most of the compost in a pile near your compost bin.
Step Three – Sort It
Using a rake or fork, start sorting through the compost to remove any big pieces.
Sticks, fruit pits, and any other hard material can be put to one side; this is not yet ready to be used as compost, and it wants to be added back into the compost bin for further processing later.
Remove any bits that should not be in the compost, such as teabag leftovers, or escaped plastics or other materials. Put them aside to be disposed of.
Next, sort your compost into three piles. You want a pile of compost that is done and ready to use, and then a pile for almost finished compost and a pile for compost that needs a lot more processing.
Toss any food or garden waste scraps into the latter pile.
The compost that is nearly ready can be used in your garden as a mulch around bushes and shrubs, or to keep weeds at bay, but do not put it around tender plants that you want to encourage.
VIVOSUN Tumbling Composter Dual Rotating
It will take up nitrogen in the soil as it rots, leaving some plants unable to access this vital nutrient.
It works fine as a mulch, however.
If you do not want to use it as a mulch, you don’t need to separate compost that is not ready at all from compost that is almost ready – because all of this will be going back into the bin.
Simply make a pile for compost that is ready, and a pile of material to return to your bin.
Step Four – Screen It
Many people find that screening their compost really helps to give them good quality, easy to handle soil.
You may be able to buy a screen, or you can probably make one if you are handy with tools.
Simply tip the compost into the screen a little at a time and shake it through. This will help to break the compost up into small, crumbly, usable bits.
If you spot any more ingredients that should not be in your compost or that need further composting, remove them and put them in the appropriate place.
This is the last “sort” that your compost will get, so be thorough!
The end product when you harvest compost should look rich, healthy, and brown/black.
From Experience: You should not see many worms in it, if any at all, as these live on food scraps and will have moved to other parts of your bin when the compost finished processing.
Step Five – Bag It Up
It’s a good idea to save some bags from commercially bought compost for this, but if you don’t have anything, you can buy some rubble sacks or something similar.
You will need something to fill when you harvest compost from your compost bin.
Using reasonably small bags can reduce the amount of heavy lifting and make this job a lot easier if you don’t have much help.
Garden Compost Bin from BPA Free Material
You will also find these easier to move around in the garden and use when you need them.
Move the bags to a cool, dry place, and stand them up:
- If you are storing them in a damp environment, make sure you have sealed the tops to keep the compost dry – or at least reasonably dry.
- Once you have bagged up compost, it’s a good idea to leave it for a few weeks before you use it. This gives it time to mature, and should help to ensure it is actually ready to use.
Remember, compost that hasn’t finished composting is bad for the soil because it takes all the nitrogen out of it for a while.
Watch Out: If you really need the compost in a hurry, you don’t have to wait, but make sure you are only bagging compost that is ready to use, and try not to use it around plants that require a lot of nitrogen, or you may have a disaster.
Step Six – Use It On Your Garden
After a few weeks have passed, all that’s left to do is to use the compost on your garden!
In most cases, you won’t want to use neat compost, but instead, you should mix some soil in. This will stop the rich compost from burning your plant’s roots.
If you are planting seedlings, it is particularly important not to put them in neat compost if they are to survive.
When you have added compost to a plant’s soil, it’s a good idea to water it in, helping the nutrients to soak into the ground.
Compost holds moisture well, so this should give your plants access to plenty of water in the coming days as well.
You can plant new plants with a mixture of compost and soil, or you can use compost to dress the surface around established plants.
Over time, the nutrients will seep down to the plant’s roots and help to feed it.
Step Seven – Restart Your Bin
When you have harvested your compost, you should reset one of your compost bins.
You might want to clean it out, or you may wish to simply start tossing things back in.
Taking a bit of the finished compost is a good idea; a few handfuls should help to get the new batch going. Don’t forget, your compost will need worms!
Large Dual Chamber Compost Tumbler
Toss back all the things that failed to compost last time, even if they seem like they will never break down. Eventually, with enough work, they will return to the soil and provide valuable nutrients to it.
Always Good Idea: Remember to build your compost bin up with a good mix of greens and browns so that it is operating effectively, and then all you need to do is look forward to harvesting the next batch.
Conclusion
Harvesting your compost bin should be a joy, and a recognition of the hard work you have put in to create this valuable commodity for your garden.
Make sure you use plastic sheeting so you don’t get compost all over your lawn, and toss back any bits of unfinished compost so it can’t damage your plants.
Also Helpful
- Can Compost Go Bad?
- Compost Tea Feeding Schedule: How Often Should You Feed Your Plants?
- Where to Place a Compost Tumbler