
The watercress is a ridiculously easy plant to grow.
In fact, most schools will likely teach children how to grow watercress (along with sunflowers), because there is little that can actually go wrong.
You can’t overwater them, and they will pretty much grow in any environment. However, in those cases, you will always be growing them from seeds.
On this page, we want to focus on growing them from cuttings.
In order to grow watercress from cuttings, all you need to do is pick up some watercress from your local store, plant in a waterlogged pot, and just wait. Ensure that the watercress has sunlight, and you will end up with a huge amount of watercress.
Let’s expand upon this a little bit. We want to take you through, step-by-step, the actual process that you need to follow.
The Best Time to Plant Watercress
Watercress has such a long growing season that there isn’t really a ‘best’ time to plant it.
You can plant it pretty much any time of the year.

The only times it doesn’t really grow is December and January, but we are sure that you may be able to get around that if you keep the plants indoors.
Obtaining Watercress Cuttings
We are sure that a garden center would likely have watercress cuttings to purchase.
This would be expensive. There is a far cheaper source of watercress, and that is your local store.
Head to your local store and pick up some watercress.
There are two things that you will want to be sure of here:
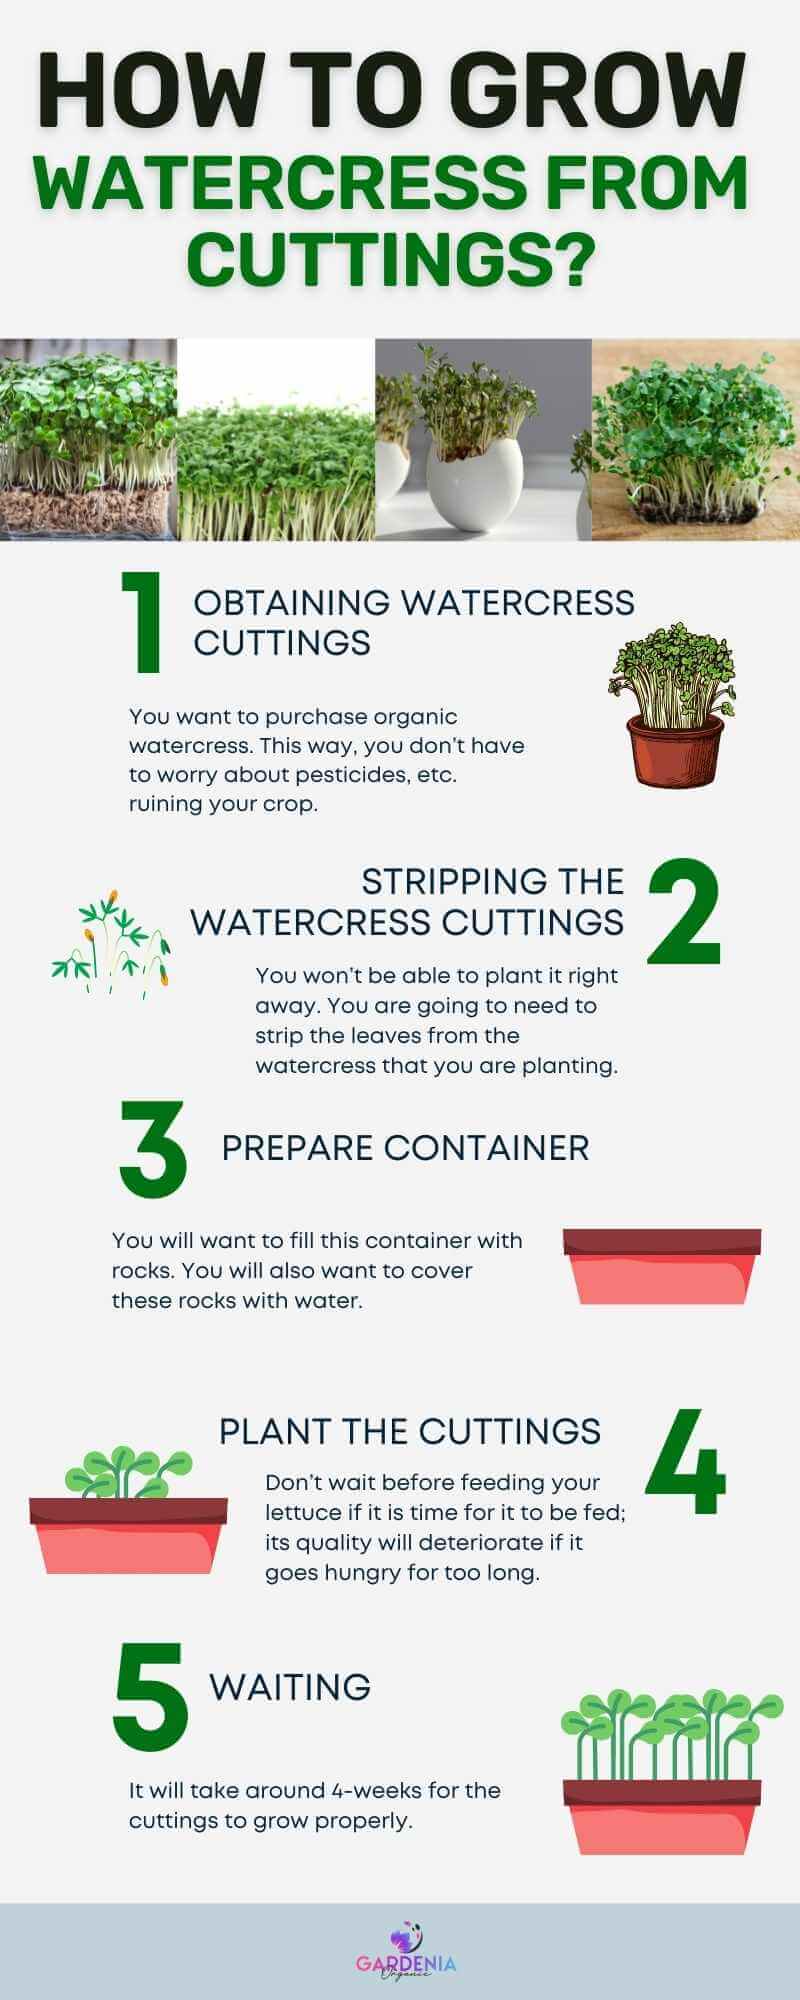
- Firstly, you want to purchase organic watercress. This way, you don’t have to worry about pesticides, etc. ruining your crop.
- You will also want to ensure that the watercress still has roots. These will be white. You do not want there to be any visible rot or browning on the roots. This would make it difficult to grow them.
Stripping the Watercress Cuttings
Once you have your watercress, take it home.
You won’t be able to plant it right away. You are going to need to strip the leaves from the watercress that you are planting.
Now, having the leaves on the watercress is not actually going to stop your cuttings from growing.
It is just that the watercress leaves will start to rot when they come into contact with water, and it isn’t that pleasant.
Plus: If you leave the leaves on the watercress, you won’t actually be able to tell when your cuttings are successfully growing.
Preparing Your Growth Container: Initial Growth
Find yourself a shallow container.
You will want to fill this container with rocks. You will also want to cover these rocks with water.
You can then place your watercress cuttings onto the rocks.
You will want to ensure that the roots of the watercress are fully covered. If they are not, then pour more water in.

Take good care to ensure that the top of the plant isn’t covered in water. While it won’t pose that much of a problem, growth will be a little bit slower.
You now want to wait until the watercress starts to grow. If you have cut the leaves off, then you will notice new leaves starting to sprout.
You should try to change the water every 2-3 days. Once you have noticed that the watercress is growing, you can move on to the next stage.
Plant the Cuttings
Your next step is to plant the cuttings.
You will need a new pot for this one. Ensure that the pot has decent drainage because you are going to be using a lot of water here.
The pot can be filled with compost. However, try to ensure that it is a soilless compost. This means husk, or something similar to that. You can even use your own compost if you have been making that!
In the compost, plant your watercress. Now, you can water them. You will want to ensure that the soil is pretty wet.
Remember, you can’t really overwater your watercress, however, you don’t want there to be so much water in the pot that you are ‘drowning’ the top of the plant.
The water only needs to be in the soil i.e. covering the roots.
You should now leave the cuttings in direct sunlight. It doesn’t have to be outdoors. You should be fine growing the watercress in the comfort of your own home.
Just make sure that sunlight is hitting them.
Works Best: You will need to water regularly. It will be about 4-weeks before your cuttings are ready to harvest.
Wait for Them to Grow
As we said, it will take around 4-weeks for the cuttings to grow properly.
You can harvest the watercress leaves before this, but they will be undersized.
In our opinion, the best time to harvest your watercress will be when the stem is about 5″ long.

If you are harvesting your watercress, it is important that you do not rip the plant out at the roots. That means that you will have to go through the rigmarole of planting the cuttings again.
Instead, you will want to harvest just the top part of the plant.
You will want to leave the roots and some of the lower leaves in place. This will ensure that the watercress can continue to grow.
Remember, the plants may be dropping seeds at this point.
This means that you may end up with more watercress than you initially planted. If this is the case, do not be afraid to separate the watercress out into multiple pots.
If you are going to be growing the watercress from a seed, then the process will take a small amount of time longer, but since you will still have your cuttings producing, we are sure that this will not be that much of a problem.
Conclusion
Growing watercress from cuttings is dreadfully easy, and there is very little that can go wrong.
As long as you ensure that the watercress has access to sunlight and ample amounts of water, then you can enjoy a steady stream of watercress.