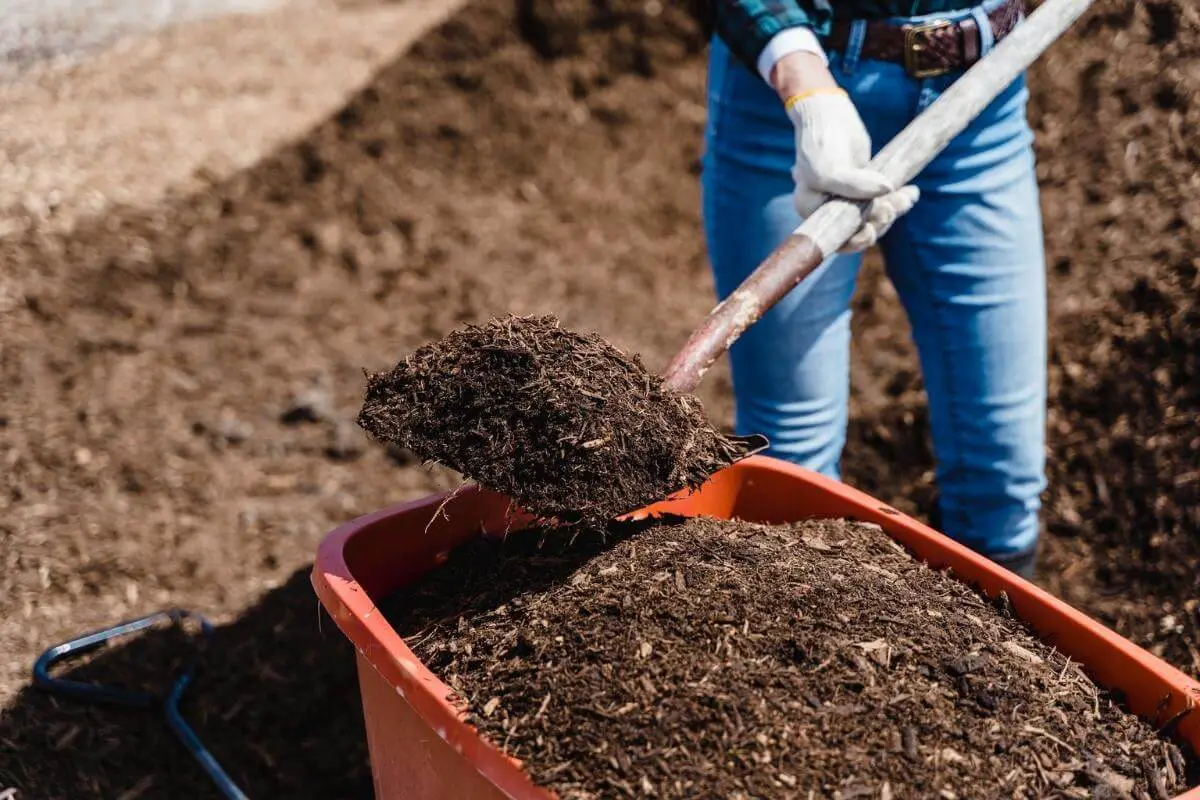
Aerobic composting is the process of facilitating the process of organic decomposition by using oxygen.
It expedites the process of decomposition, without having to wait a year or more like you would for anaerobic composting.
There are four types of aerobic composting: Aerated Static Pile, In-Vessel, Aerated Turned Windrow, and Vermicomposting. Somehow, vermicomposting seldom makes it into the aerobic composting conversation, though by definition, it certainly is.
Aerated Static Pile Composting
Also known as the Beltsville Method—because it was developed by the Department of Agriculture in Beltsville, Maryland—the Aerated Static Pile has a recipe, like any other composting process. It is piled in an enclosed area and aerated from the outside.
The recipe involves a precise mixture of browns, greens, and moisture.
No matter what aerated composting method you choose to go with, the mix ratio remains the same.
| Specification | Fair | Best |
|---|---|---|
| Material Size | 1” to 3” | 1” to 2” |
| Carbon to Nitrogen Ratio | Between 20:1 and 40:1 | 30:1 |
| Bulk Size/Density | 15-25lbs/5-gallon bucket | 20lbs/5-gallon bucket |
| Air Space/Porous | 25% to 60% | 50% |
| Moisture Level | 55% to 70% | 60% |
| pH | 5.0 to 8.0 | 7.0 to 8.0 |
The idea behind aerated static pile composting is to either push or pull air through the composting material—or both.
Once your material is put together, with the correct ratio of browns to greens, and your moisture level is up to spec, you’ll place it so that air can either be introduced or drawn through the mixture at certain periods throughout the day.
What you’re basically trying to put together is an air delivery system, such as an aerated PVC pipe connected to a compressor, that delivers air at predetermined times.
Those predetermined times should be around every thirty minutes, with the air blowing for 15 seconds.
Now, this process goes on around the clock, so if you’re composting at home, prepare for some sleepless nights, unless you can get your air delivery system automated.
Your aerated static pile should consist of your perforated PVC pipe(s) at the bottom, completely covered by a pile of mulch (wood chips).
The wood chips are called the plenum layer, and it’s designed to diffuse the air, rather than letting it dry the compost, or blow it around.
Above the plenum layer is the “active layer,” which is the material you’re trying to compost. The last part is a container to enclose the composting, plenum, and PVC material.
The Pros of Aerated Static Pile Composting
- Takes far less effort as the material doesn’t require turning
- Can be done indoors as there are no vapors are nasty odors
- An automated system takes the labor intensiveness out of the equation
The Cons of Aerated Static Pile Composting
- The material may get too dry, so it requires moisture more than other systems
- Heavy cost upfront
If you can get a system like this setup and get it automated, it’s one of the simplest ways to compost.
It’s a little costly upfront as far as obtaining the right equipment—compressor, automated system, PVC pipes, drills—but it costs nearly zero over the long term.
In-Vessel Composting
Imagine how the fermentation process that goes into making a good whiskey or a good Scotch. That’s kind of the angle you’re looking at with in-vessel composting. The material is sealed inside of a container, where it remains throughout the process.
An in-vessel system is wholly automated, with the only exception being the moments you put the composting material in and the moment you pull out the result.
Typically, in-vessel composting is done at the industrial level.
A composting vessel required for in-vessel composting is essentially a standing cylinder with multiple parts:
- Feeder Bin Frame/Escalator: Transportation up and down and where the material is fed into the system
- Insulation Materials: The body of the cylinder is insulated so that internal temperatures are easily controlled
- Mixing Plate: An industrial-sized version of a mechanism for distributing and “turning” the active material
- Dirven House: Holds the machinery for turning the mixing plate
- Air Inlet/Valves: Automated system of timely delivery of air and or moisture
That basically makes up the definition of a standard, in-vessel composting system.
As aforementioned, you won’t be setting this up at home. Its usually done at the industrial level with large, industrial equipment.
The Pros In-Vessel Composting
- Low loss rate with 90% of composting material maintained
- Low cost to operate
- High level of production
- Completely automated
The Cons of In-Vessel Composting
- Extremely high start-up and construction costs
- Not suitable for the DIY composter
While it would be great to have your very own, in-vessel composter in your back yard, its definitely not feasible for anything outside of an industrial process.
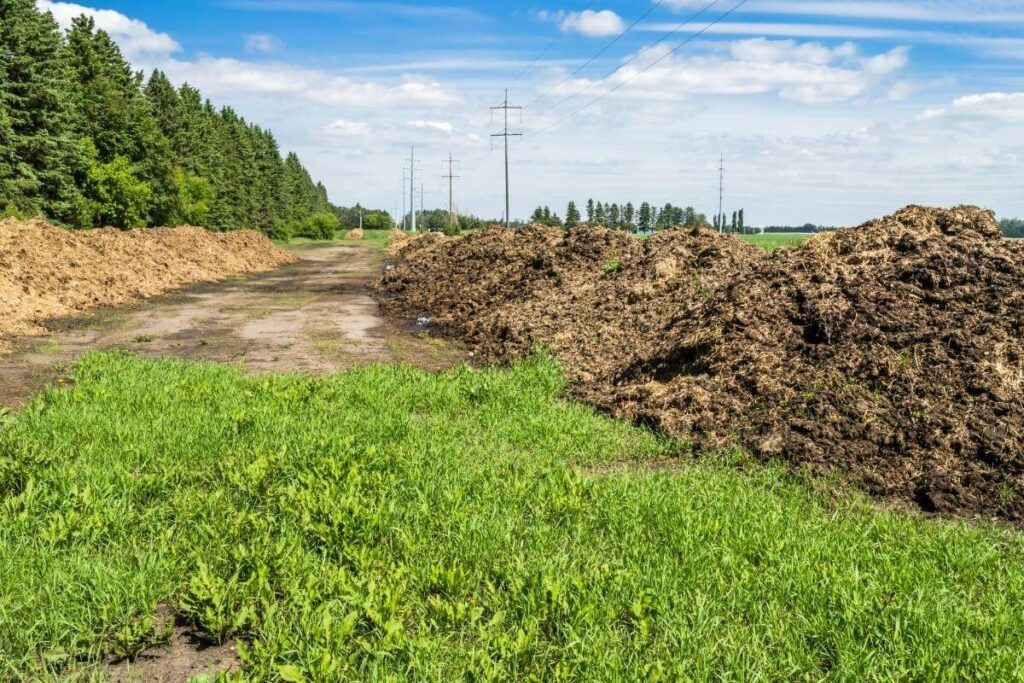
Aerated Turned Windrow Composting
Turned windrow composting is, like in-vessel composting, not generally meant for the DIY composter. Windrow composting is normally done on a large farmer scale, with bulldozers or other heavy farm equipment, by laying out rows.
A windrow is essentially a long pile of compost material laid out in several rows and is turned by heavy equipment. Composting on a smaller scale means that the rows can be turned by hand.
There are two phases involved in aerated turned windrow composting:
- The active phase
- The curing phase
During the active phase, the materials to be composted are mixed and laid out in their respective rows.
The compost material is heat-treated for a period of three days, maintaining a temperature of roughly 130°F to 140°F.
After the three days, the compost will continue to be turned at allocated periods for around 9 months.
The curing process begins once the 9 months are up.
The Windrows are shored up and stacked closer together while they are aerated via convection.
The Pros of Turned Windrow Composting
- Extremely efficient when done correctly
- Large scale equals high composting production
- Can be done year-round
- Usually made available to local residents at a low cost
The Cons of Turned Windrow Composting
- Exposed to the outside and therefore it’s vulnerable to random climate
- The poisonous byproduct has to be carefully monitored and collected
Vermicomposting
Vermicomposting is a method of composting that uses certain types of worms that basically aerate the composting material through their own breathing and expiration means.
The worm’s means of digestion facilitates aerobic micro-organism breakdown of the compost materials. It also generates its own heat.
Redworms are the common ground worm used for vermicomposting as they consume a lot and rapidly breed.
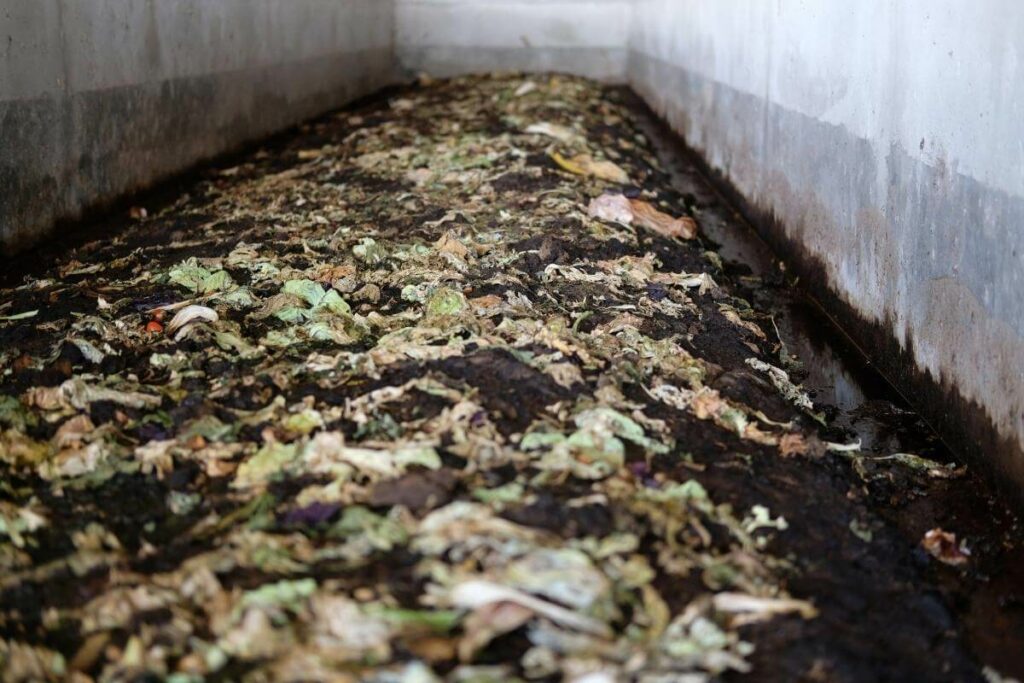
The worms have to be maintained in their own habitat—prior to starting the composting process—which is usually a bin filled with moist, shredded paper and garden soil.
What you feed the worms are made up of typical green and brown components that go into composting, such as coffee grounds, banana peels, etc.
All you have to do is go behind the worms once every few months and scrape the results from the container, which is cured composting material that is ready for use.
The Pros of Vermicomposting
- Easy method for small scale composting
- The worms are self-sustained by the compost materials you feed them
- The material is aerated through the digestion process
- You can keep and store as many active, composting bins as you like
The Cons of Vermicomposting
- Once a week, it has to be harvested, which requires separating the worms.
- It can get pretty smelly so the bins should be stored accordingly
- Worm loss is common
Final Word
Out of the four methods of aerobic composting, two are viable for DIY composting.
Those two, vermicomposting and aerated static pile composting are great composting methods in their own right, so long as you understand the methodology and have plenty of patience.
Conclusion
- What Is Black Bag Composting?
- Composting Pasta: Do’s and Dont’s
- Can You Compost Dryer Sheets? (13 Things You Can or Can’t Compost)