Hanging baskets are a wonderful way to grow food out of reach of predators, but growing cucamelon in hanging baskets isn’t always easy, and you need to know what you’re doing before you start.
We are going to explore the best methods today.
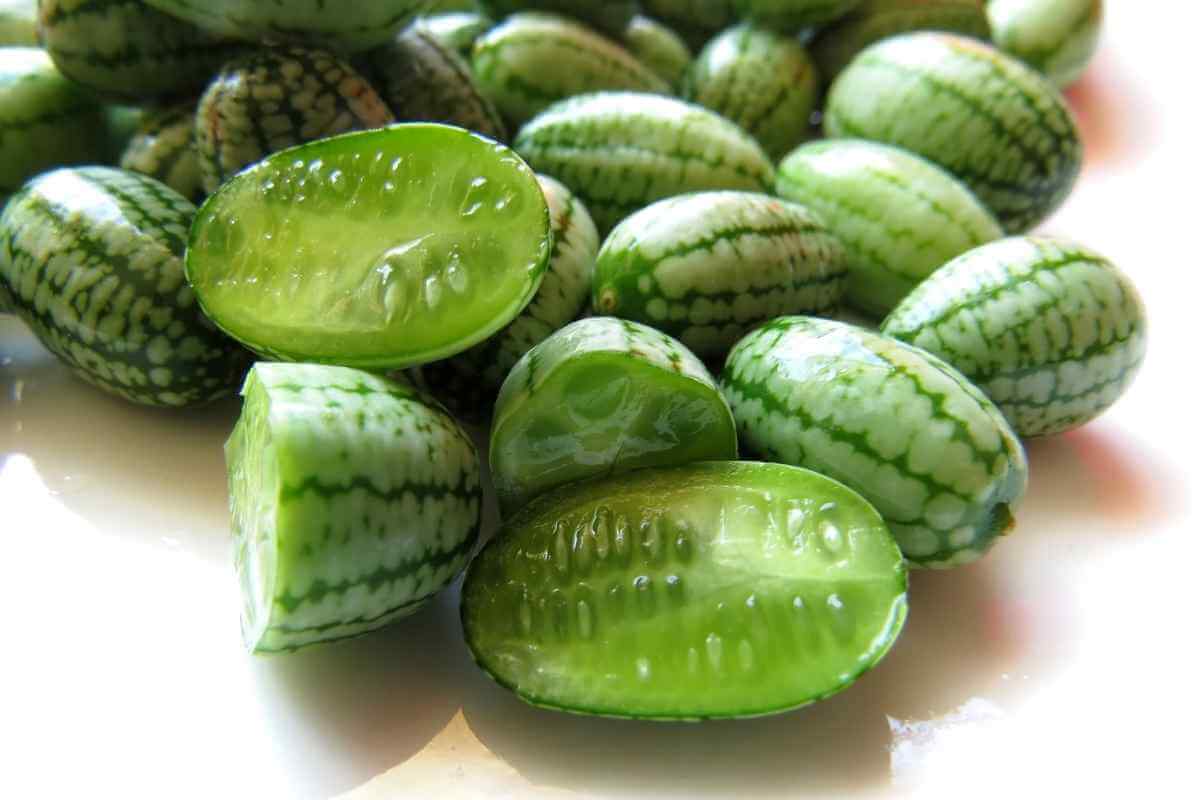
Cucamelons are adorable little fruits that come from Mexico, and they will grow beautifully in hanging baskets. You will need to start the seeds off somewhere warm (71-75 degrees F) and then put them in the hanging baskets once they are strong enough. If you just sow them outdoors, they won’t grow.
How To Grow Cucamelons In Hanging Baskets
Step 1 – Set Up Your Indoor Space
Unless you live in a very warm climate, you will need to start off your cucamelon seeds inside your house, or get a propagator or clear a space in a greenhouse to give the seeds the warmth they need to germinate.

At temperatures below 71 degrees F, they probably will not grow, so unless you live somewhere with warm springs, a propagator will be necessary, or you can grow them on a sunny windowsill indoors.
Usually, you want to propagate cucamelons about six weeks before the last expected frost in your part of the world.
This gives them time to get established before you move them outside.
Excellent Advice: Clear a space before you start, and prepare a tray with four to five inches of soft compost for the seeds to grow in.
Step 2 – Plant The Seeds
Take one of your seeds and inspect it.
Cucamelon seeds have one blunt end and one pointed end, and you want to plant the seed with the blunt end facing down into the soil.

If you bury it the wrong way up, the plant may not grow, or might have to turn itself over within the soil.
Make some little trenches around half an inch deep, and sow the seeds into these. Space them out a little so that the plants have enough room to grow.
You will be transplanting them into hanging baskets soon, so they don’t need lots of space, but an inch or two will be necessary.
Cover the seeds up and water them lightly.
Over the next few weeks, you should see them germinate and start to grow. Continue to water lightly.
Step 3 – Harden Off The Plants
As the seedlings get larger and the weather warms up, it’s time to start thinking about moving them outside.
However, you can’t do this straight away, especially if you live in a cold part of the world.

Frost will kill the young plants quickly, and even cold chills above freezing can have a big impact on a plant used to the warmth of a propagator or windowsill.
To overcome this issue:
- Start taking your seedlings outdoors during the day, and bringing them inside at night. This will help them to get used to the cooler conditions and toughen up.
- When all risk of frost has passed, it’s time to move them outside, but you don’t want to do this until the weather is consistently warm, even overnight.
- When conditions are right and the plants have had about a week of hardening off, you can move on to the next step.
You may be able to skip some of this if the weather is warm where you are, but you don’t want to take the risk of unexpected frosts killing off your seedlings, so be careful.
Always Good Idea: Hardening them off is a good way to help increase the chances of the plant surviving.
Step 4 – Prepare The Baskets
Prepare your hanging baskets with rich compost and some drainage material such as perlite.
You want large hanging baskets, as cucuamelons are not small plants, and can grow to ten feet long.

They have long, trailing tendrils that will sprawl down from the basket toward the ground, or will climb a trellis if you provide one.
Either setup will be fine, but you will probably find it is easier to let them trail if you have them in a hanging basket.
Step 5 – Plant The Seedlings Out
It’s time to plant the baskets up:
- Handle the seedlings gently, and take the time to disentangle any that have got intertwined.
- Dig a few holes in the hanging basket compost to place them in.
- You should give them a reasonable amount of space, with several inches between each, to reduce the tangling and encourage the plants to flourish.
Overcrowding them could lead to issues with watering and food (and each plant struggling to get enough water and nutrients).
Don’t put too many cucuamelons in a single basket.
They are heavy fruiters, so you probably won’t need too many of the plants to be successful, and they may get tangled up and become hard to harvest if they are crowded.
Step 6 – Hang Up The Baskets
It’s time to position your baskets!
You want a nice, sunny spot because cucamelons thrive with lots of sunlight.
You should position the baskets at least five feet up, preferably higher, or you may find that the plant trails on the ground.
Of course, you need to be able to reach to water the plants, so this is a bit of a tricky balance, but you should be able to find the right spot.
If the tendrils do touch the ground, it shouldn’t hurt them.
Step 7 – Tend to The Plants
Pinch out the tips of any side shoots when they reach around sixteen inches long.

When your cucamelons reach around eight feet, pinch out the growing tip of the main stem. Water your plants regularly, and feed them with tomato food.
They should start to fruit in the middle of summer through to the start of fall, and you can pick the fruits once they reach around the size of the grape, while they are still firm.
Enjoy the taste of your hard work!
Conclusion
Growing a cucamelon in hanging baskets is a great way to make these plants low maintenance, and it looks fun too!
Forget the hassle of trellises; suspend your plants and watch them trail.