Robotic lawnmowers are dependent on an installed charging station to keep their battery topped up so that they can carry out their automated mowing schedule.
The perimeter wire that forms a boundary for the mower is connected to the charging station too.
Without a charging station, your robotic mower is going nowhere, so correct installation in a safe and accessible position is essential.
By following the correct steps for installing a robotic mower charging station, you can quickly get your new robot lawnmower up and running and ensure that it operates properly long term.
In This Quick Article – We explain how to install a robotic mower charging station, outlining steps that are common to most conventional models of robot mower.
How the charging station works with your robotic mower
The charging station will send out a unique frequency that only the robotic mower can recognise it is paired with.
For most robot mowers there are two options for returning to its base:
- Following the signal in a straight line back to the charging station
- Following the perimeter wire round to its connection at the charging station
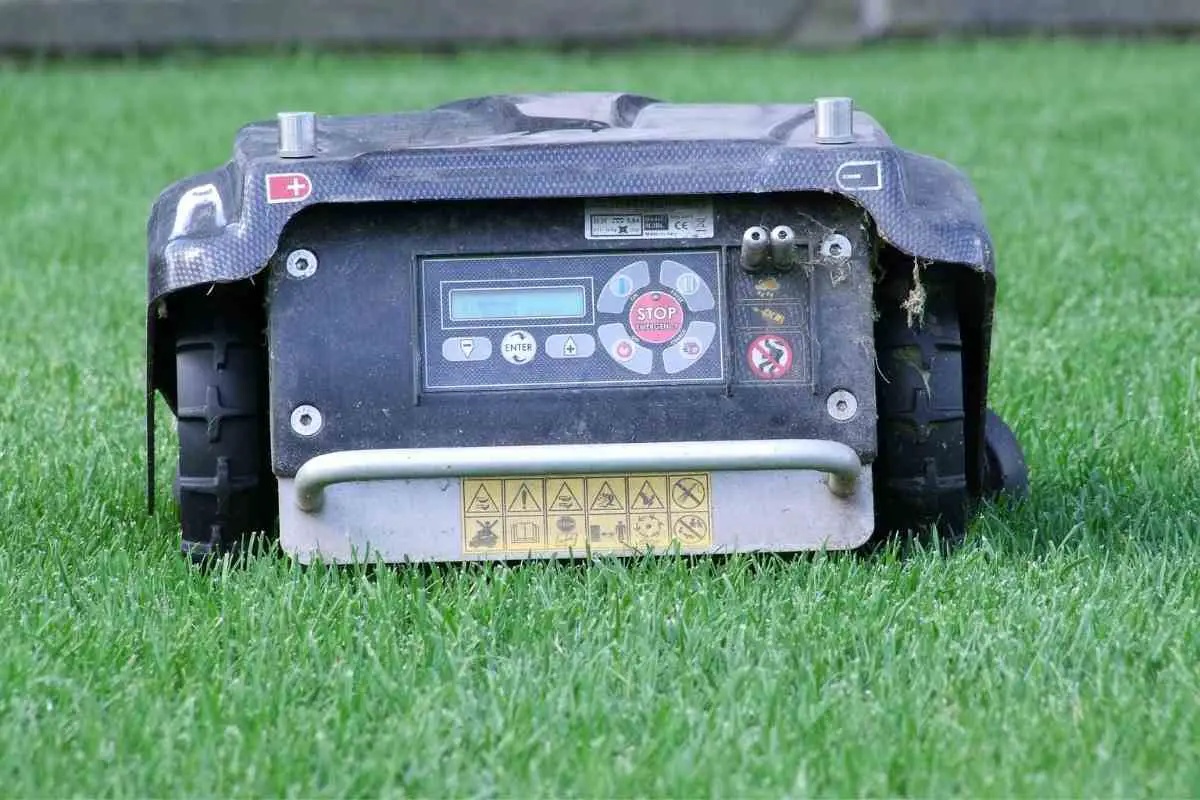
After working on your lawn, once the mower battery gets low, the robot will automatically return to the ramped station and dock there to recharge its battery.
Once fully charged, it will head out again and continue mowing.
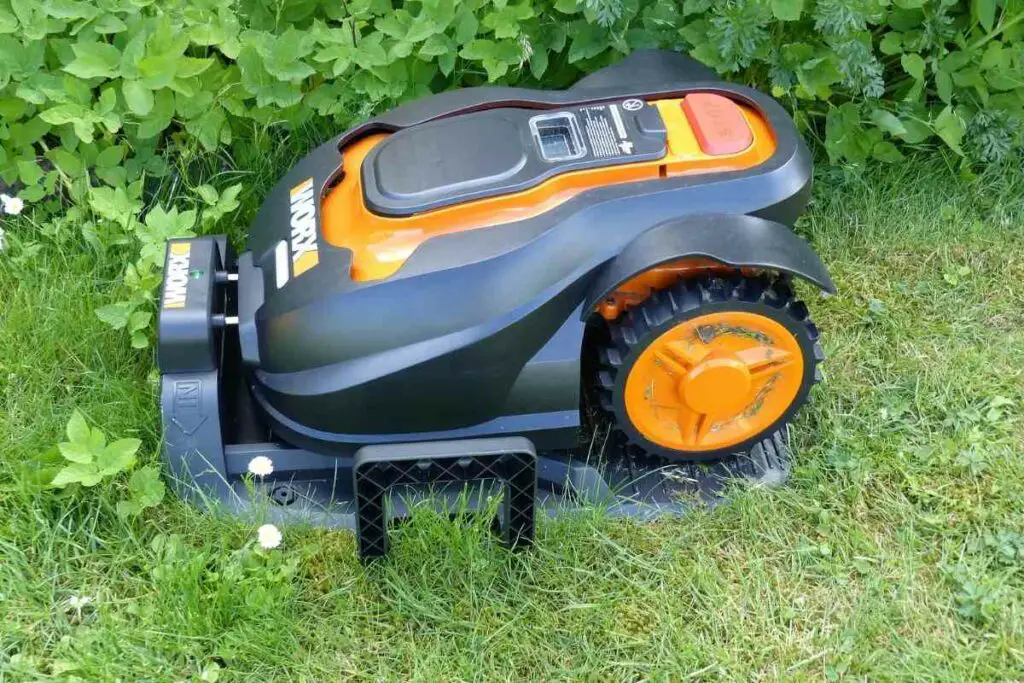
The first step is to choose a location for the charging station
Selecting a location that is suitable for your robotic mower is essential as the robot needs easy level access to dock itself for charging several times per day.
The location also needs to be free of objects that may block or interfere with the radio signal the charging station emits to guide the robotic mower.
Here are the key things to remember about the location:
- Choose a level, central location that provides a 3-meter radius of clear space around it that can form an approach for the robot mower.
- The flat surface should ideally be within the lawn area so that the robotic mower is not damaged by running on gravel or other unsuitable surfaces.
- Avoid locating the charging station near ponds, sprinklers or other areas where it could be exposed to water. Penetrating water can damage the inner electronics and charging plates.
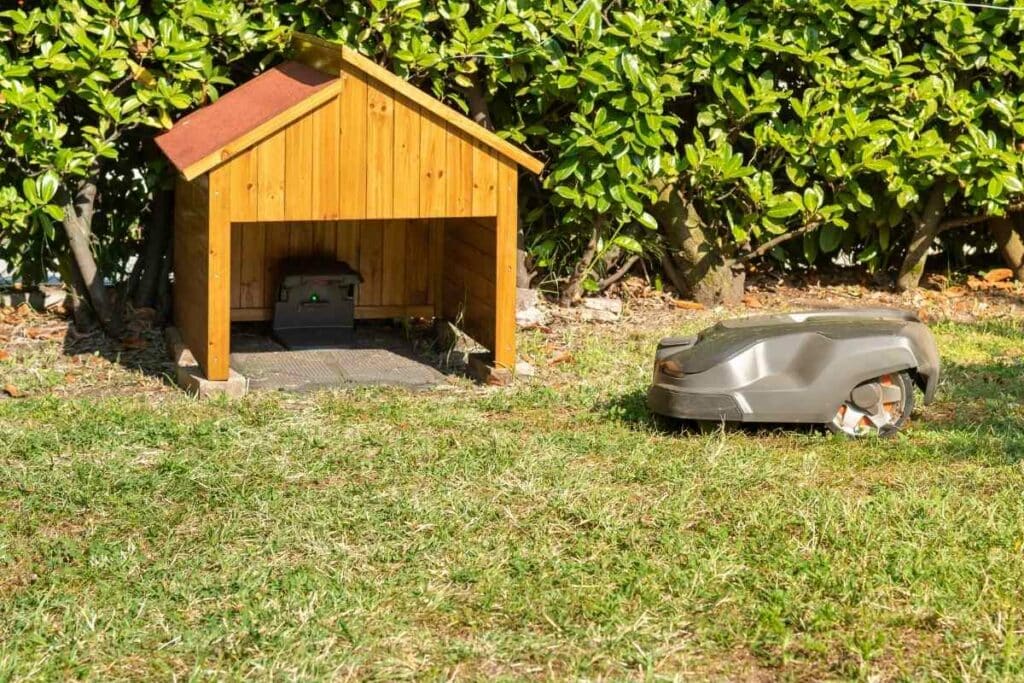
- You should also avoid positioning the charging station direct sunlight as it can age the plastic housing of the charging station and cause it to overheat. Consider sheltering the charging station to protect it.
- Ensure that the charging station location has access to a nearby mains power outlet the changing station can connect to with a cable that is not excessively long. If the mains power outlet is outside, it will need to be suitably waterproofed.
- The boundary wire that is connected to the charging station should have room to exit its connection points on the charging station straight, rather than being angled or bent which can cause signal problems for a robot mower that is attempting to dock.
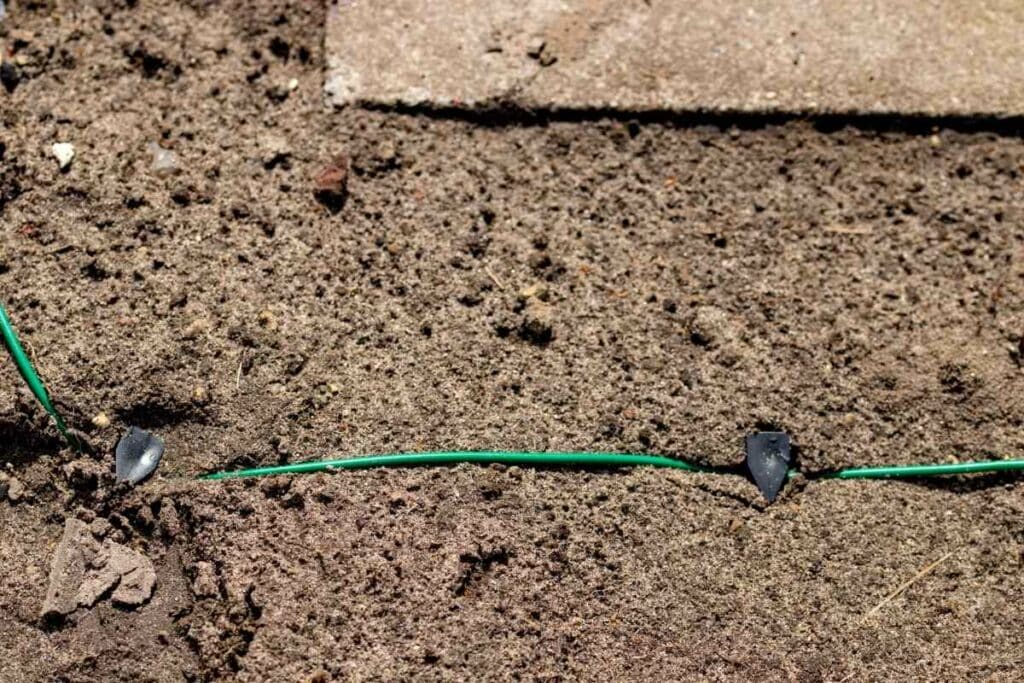
Next, get your perimeter wire in place
The perimeter wire acts like a great big antenna that determines the boundaries of your lawn.
Installing this accurately helps your robotic mower deliver its best performance as the robot will know the areas to mow and those that should be avoided.
As the perimeter wire is connected to the charging station, it should be laid at the same time as the charging station instal.
Connect the perimeter wire to its connector on one side of the charging station and then run the wire around the perimeter of your lawn, connecting it into the connector on the opposite side of the charging station.
This forms a complete loop and a strong magnetic field with a signal that the robot mower detects and uses for its navigation. The wire must not touch or cross itself at any point in the loop.
Excellent Advice: You can cover the wire with stones or even bury the wire if you prefer, which can protect it from damage.
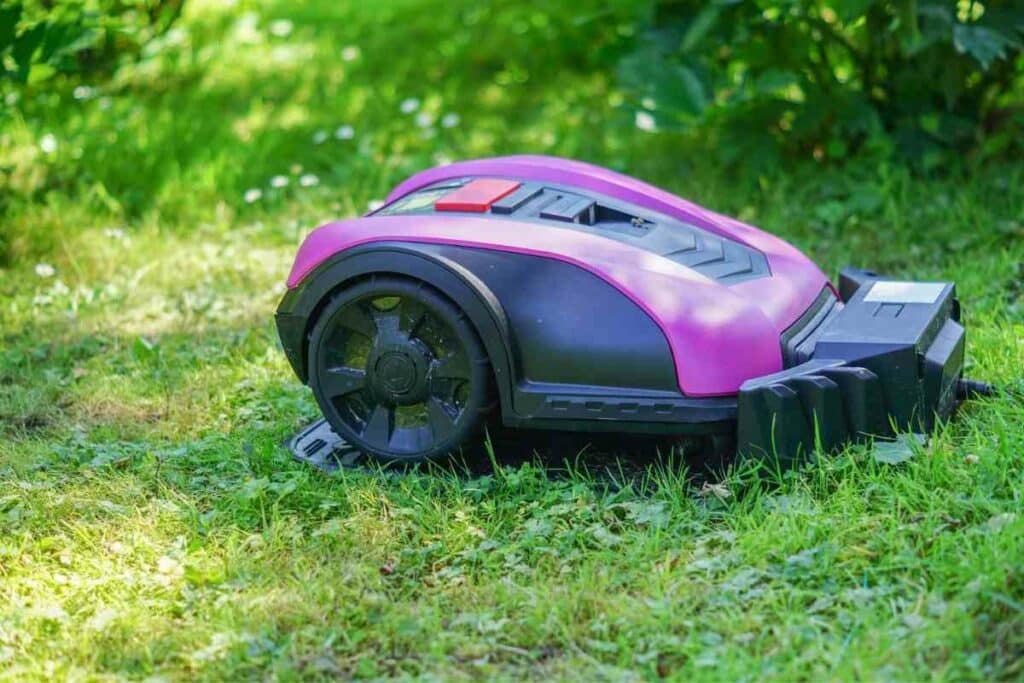
Connect your charging station so it is ready to operate
With your location set, you can now set up the charging station and connect it to its power supply.
The charging station comes with a low-voltage cable that can run from the charging station to the transformer.
You can then connect the transformer to the mains outlet.
Once the perimeter wire is in place, you can attach the plate of the charging station with any final adjustment to the cables.
Switch on your robotic lawn mower to test the system
You can park the lawnmower in its station to charge its battery for the first time, which you configure its settings and program a mowing schedule with features like zoning and multiple start points.
This is also a great juncture to test the wireless connectivity with a smartphone app.
Once your mower is fully charged, it is ready to activate for a test run where you can check that you have completed the setup correctly.
Test and readjust your charging station setup
It’s time to get your robot mower up and running!
This allows you to observe and troubleshoot any issues with connectivity or functioning of the lawnmower and correct the installation of the charging station and perimeter wire where necessary.
Rounding up
With some spare time and patience, setting up a robotic lawnmower is simple.
For some complex lawns or extremely large gardens, getting professional assistance with the setup may be helpful.
Once everything is in place, it’s time to relax and let your robot mower tackle the hard yard work!