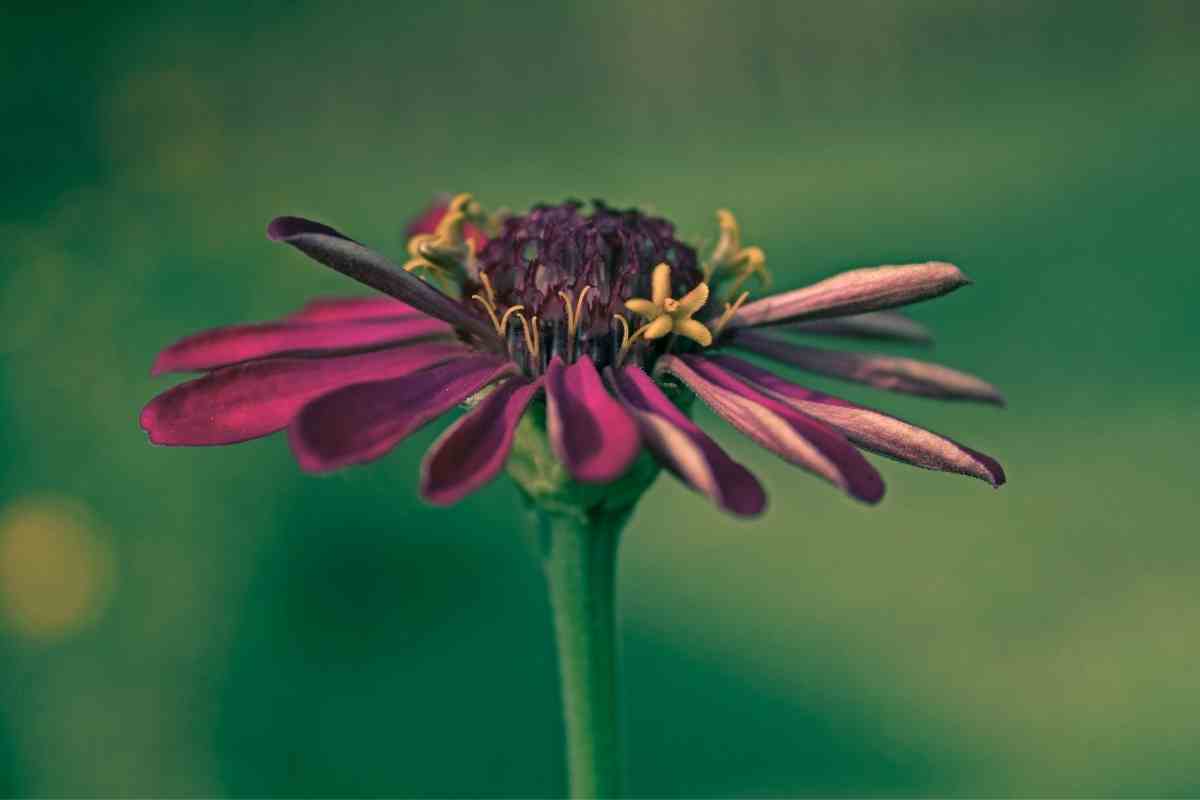
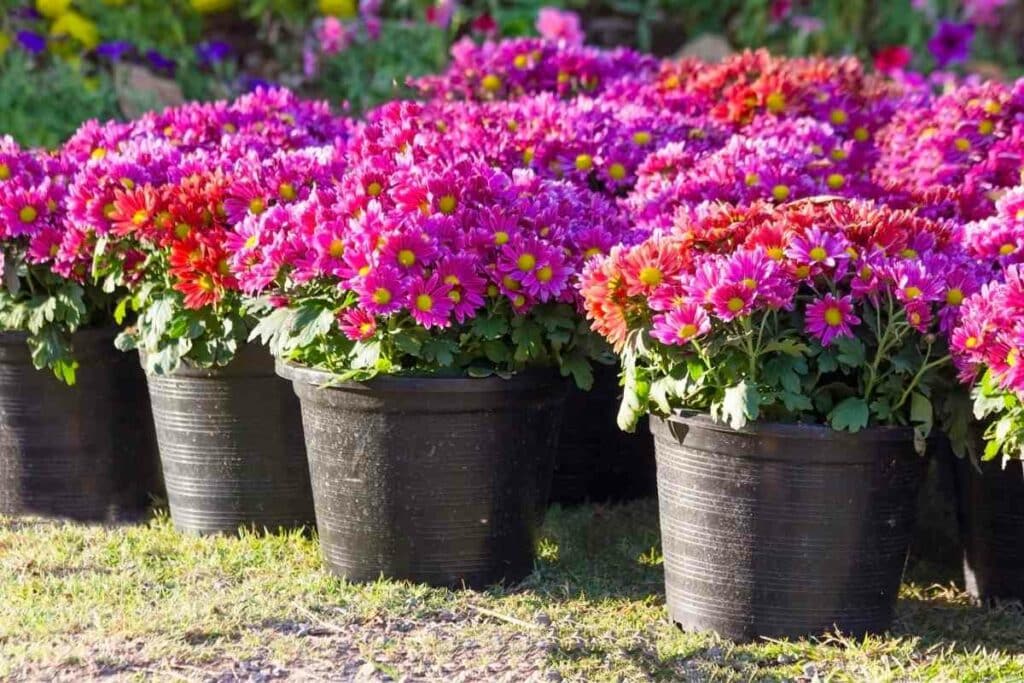
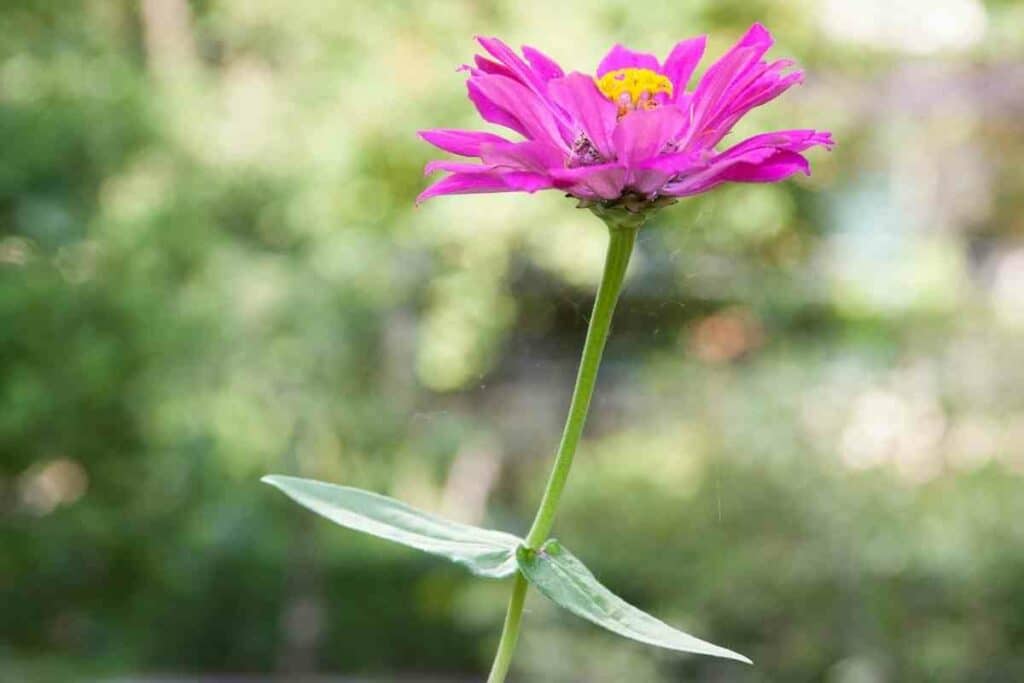
Zinnias are one of the most beautiful and popular household flowers and they can elevate the look of any garden.
The best thing about these flowers is that you can easily grow them in pots and keep them indoors.
In This Article – We’ll discuss a detailed method to help you understand the correct way to grow zinnias in pots. It’ll allow you to make your indoor surroundings attractive with these colorful flowers.
What’s the Best Time to Grow Zinnias?
While zinnia is an easy plant to grow, you’ll need to choose the timing wisely.
Zinnias plants need a complete year to complete their growth cycle. It means you’ll need to start early.
You can start growing these plants about four to six weeks before the last spring frost.
However, you’ll need to keep them indoors for a few weeks and move the pots outdoors once the spring season has started.
It’ll provide you with enough time to take care of the zinnia seedlings so that they can develop before you move them outdoors.
However, if you’re planning to grow zinnias outdoors, you’ll need to wait until all the dangers of frost have passed.
While these plants can grow if the outside temperature is about 60 degrees Fahrenheit, they thrive in warmer weather. The ideal temperature range for these plants is 75 to 85 degrees Fahrenheit.
Step by Step Method to Grow Zinnias in Pots
As mentioned, zinnias are easy to plant in pots but you need to follow the correct technique and pay attention to several details.
Use the steps listed below to plant these flowers in pots.
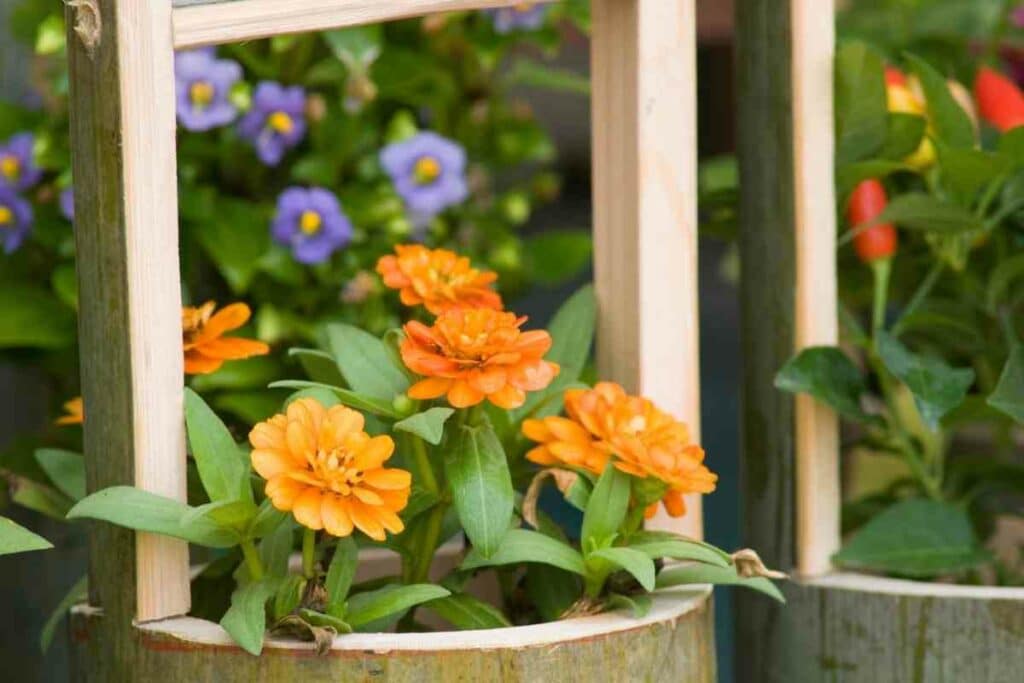
Step 1: Choose the Correct Zinnias Type
Although you can plant and grow almost all types of zinnias in pots, using hybrid and short varieties is the safest choice.
These types include:
- Sollecito cultivars
- raspberry lemonade mix
- star orange
- and zahara
Step 2: Choose Pots Wisely
It’s important to choose the correct pots for zinnia plants.
Ideally, you should go with a pot that’s at least six inches wide for a single plant. If you want to place two to three plants together, you’ll need a 10-inch-wide pot.
Drainage is another important factor to consider while buying pot for your zinnia plants.
Buy pots that come with built-in drainage holes at the bottom to allow excess water to escape easily. You don’t want soggy soil for these plants as it can damage them.
Important to Remember – If you’re using old pots that you’ve used for some other types of plants, consider sterilizing them. It’ll ensure that no fungal spores or diseases are transferred to your zinnias.
Step 3: Select the Right Soil
You want to add nutrient-rich and well-draining soil to the pots in which you’re planning to plant zinnias.
If you have typical gardening soil, consider adding peat moss and perlite, along with some compost.
It’ll make the soil nutrient-rich and improve its drainage.

You should also get the pH of your soil checked by a local garden center or nursery. Ideally, it should be between 5.5 to 7.5 for growing zinnias.
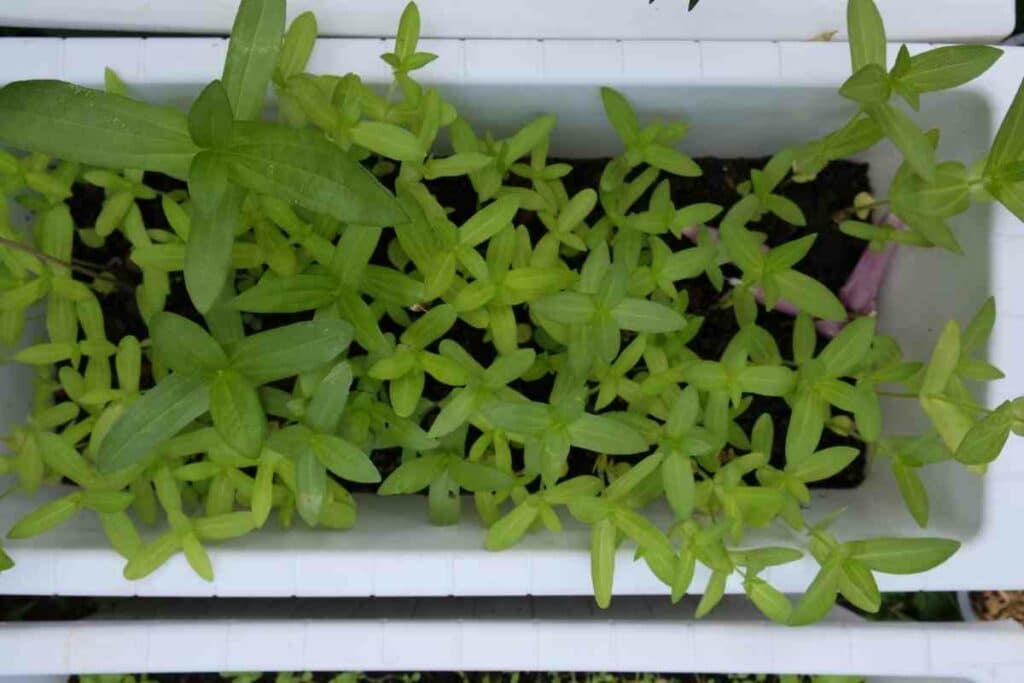
Step 4: Start Planting Zinnias
Unlike other plants with ornamental flowers, zinnias grow well from seeds.
The plants also produce seeds that you can save for the next season for propagating zinnias as well.
Choose a warm spot for your pots indoors so that the seeds can germinate easily. The surrounding temperature should be between 75 to 85 degrees Fahrenheit.
After placing the pots in the right spot, plant a few seeds right in the middle.
Cover the seeds with a quarter to half an inch of soil and spritz them with some water.
The seeds will start emerging from the soil within a week or so.
You’ll need to make sure that you keep the soil moist all the time so that the zinnia seeds can develop properly.
Don’t Forget – If you have a pot for a single plant, you’ll need to thin the seeds once they’ve become about three to four inches tall.
Choose the healthiest and strongest seedling to cultivate and remove the rest from the pot. Wait for about five to six weeks and then move the pots outdoors if you want.
If you want to directly plant seedlings, you’ll need to wait for the weather to become warm. Then, you’ll need to plant them outdoors.
Step 5: Ensure Proper Care
Once you have planted your zinnias, you’ll need to take care of them properly to help them stay healthy.
Follow the practices listed below to ensure proper care for your plants.
Water Plants Timely
Zinnia plants need plenty of water to produce colorful and healthy flowers.
Keep in mind that these plants are very thirsty and you’ll need to keep the soil moist all the time.
It certainly doesn’t mean that you should start over-watering these plants.
It’ll lead to fungal problems and rotting root issues that can stunt the growth of zinnias.
Generally – You’ll need to provide your zinnia pots with about an inch of water every four to seven days, depending on the weather conditions of your area.
You might need to water the plant more frequently if you live in an area with an extremely hot climate.
Make sure that you add water to the soil. Never direct the stream of water to the stem, leaves, or flowers as it’ll allow fungal spores to take hold.
Provide Sufficient Sunlight
You want to choose a spot for your zinnia pots that receives direct sunlight for at least six hours a day.
Otherwise, your plants will show fewer blossoms, stunted growth, and affected health.
It’ll also increase the risk of several plant diseases that can kill your zinnias.
If you’re keeping your zinnias indoors, you’ll need to place them on windowsills facing toward the south.
It’ll allow them to get a sufficient amount of sunlight during the day.
Ensure Good Air Circulation
One of the most common problems that many gardeners experience while growing zinnias is a fungal infection.
It usually happens because of poor air circulation that doesn’t allow excess water to evaporate from the soil.
Key Takeaway – You want to make sure that you don’t place your zinnia plants too close to one another. Ensure proper spacing between pots so that the plants can breathe easily.
It’s especially true if you can’t provide the plants with sunlight for at least six hours during the day.
Good air circulation will allow excess water to evaporate easily and it’ll keep the soil from turning soggy.
Fertilize Zinnias
Zinnia plants can benefit greatly from fertilization. It ensures proper development and growth and allows the plants to produce flowers with vibrant colors.
However, you’ll need to use a light fertilizer because these plants grow faster than other flowers.
They’re prolific producers and an overdose of fertilizer will lead to overgrowth.
Use a water-soluble fertilizer that’s low in potassium and nitrogen and high in phosphorus. It’ll allow zinnias to convert all the available nutrients into usable energy.
Young zinnia plants benefit from the fertilizer the most. So, apply a light fertilizer when your plant is about four to five inches tall.
You can provide the plants with a second dose of fertilizer during the mid of summer season. It’ll provide the plants with more energy and nutrients so that they continue to bloom.
Control Pest and Disease
Pests that are commonly found in gardens can damage the blooms and foliage of zinnia plants.
The best way to get rid of this problem is to spray neem oil around the plants.
Harris Neem Oil Spray for Plants, Cold Pressed Ready to Use, 20oz
Make sure that you don’t make the leaves and stems of your zinnias wet as it can lead to bacterial wilt, powdery mildew, and fungal spots.
Step 6: Prune Zinnia Plants
Zinnias are annual plants, which means they die out after a year and you need to regrow them using seeds or seedlings.
Therefore, pruning these plants isn’t a big concern.
However, you can do some pruning as it’ll allow you to control the way your plants utilize the available energy.
Deadheading is the most effective way to prune zinnia plants.
It’s the process of trimming flowers from the plant that have already died off.
You’ll need to wait until a flower wilts after blooming. Then, trim the bud once the flower is about to fall.
It’s an excellent way to extend the flowering cycle and make a zinnia plant produce more flowers. Additionally, it allows you to make your zinnias look neater and cleaner.
From Experience – Pruning also allows you to change how a tall zinnia plant grows. When your plant is still young, pinch its tip to prevent it from getting too tall.
This way the plant will utilize the available nutrients to grow more side branches and have a better look.
How Much Zinnia Plants Take to Bloom?
As mentioned earlier, zinnia seeds take about a week to germinate.
These plants don’t take a long time to reach maturity and usually take about a couple of months to start blooming after the germination of seeds.
Zinnia plants continue to produce flowers with vibrant colors until autumn starts (or until the first frost). Zinnias thrive in the USDA hardiness zones of 3 to 10.
Can Zinnias Self Seed?
Zinnia plants start to produce seeds as soon as their flowers start to fall off and fade.
It’s important to note that deadheading allows these plants to produce more flowers but it can affect seed production negatively.

Seeds drop from the dying flowers and fall on the ground. Then, these seeds germinate in spring and grow into new zinnia plants as the weather begins to warm up.
You can collect the seeds from the strongest flowers with the most vibrant colors and transfer them to an envelope.
Place the envelope in an airtight glass jar and store it in a dry, dark, and cool spot that doesn’t receive sunlight.
Then In the Next Season – You can use the same method discussed in this guide to growing zinnia plants in pots.
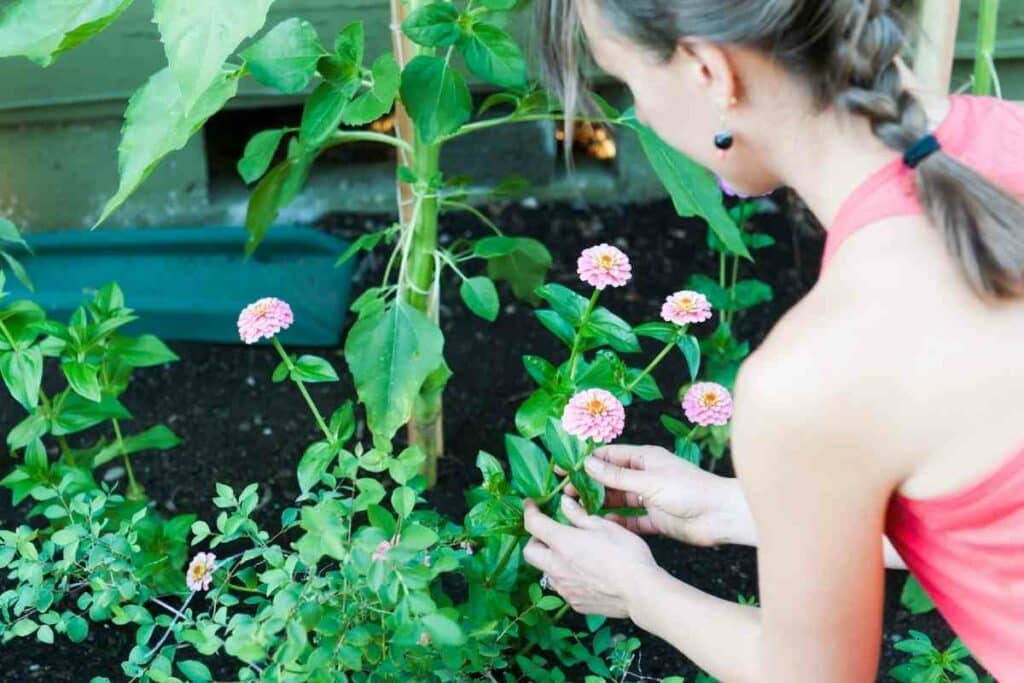
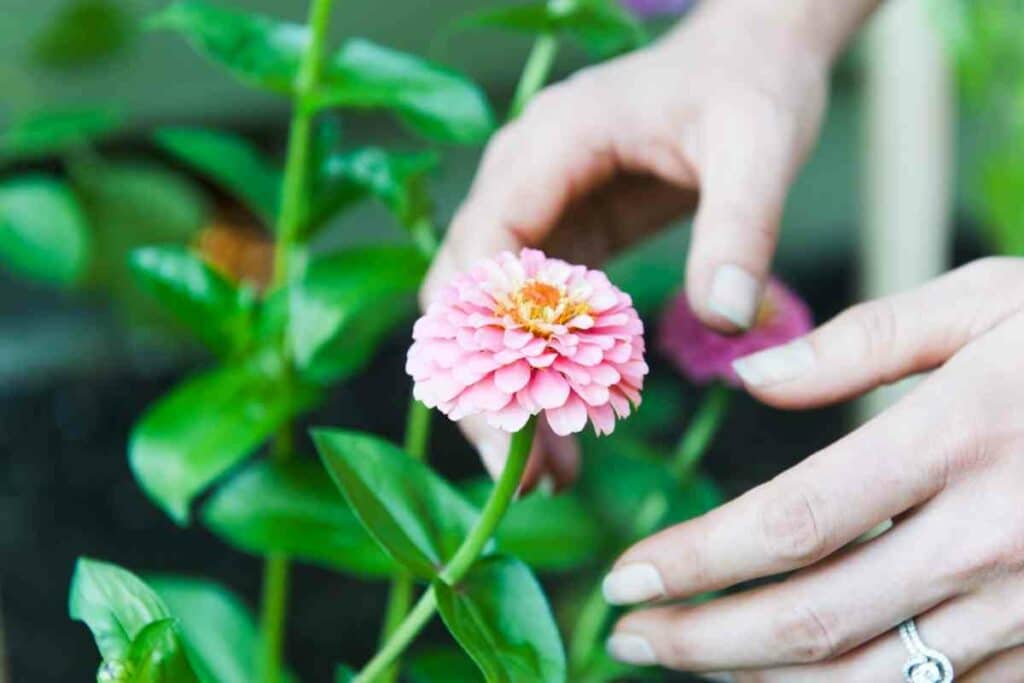
How Do You Transplant Zinnia Seedling?
When you’re in a nursery or garden center to buy zinnia plants, make sure that you choose the bushiest ones.
You want to steer clear of the plants that are lanky and tall and they’ll be weak growers.
Additionally, inspect the plant thoroughly for pests and other problems such as fungal infection.
The plant that you choose should have dark green leaves without curled edges, white spots, or holes.
Once you have taken your zinnia plants home, consider using the steps listed below to transplant them safely:
- Add well-draining and nutrient-rich soil to the pot that you want to use for your new plant.
- Remove some of the soil from the top, leaving sufficient room for the new plant’s bottom. You want to keep it a little bit higher than the soil surface.
- Hold the seedling from the base of its stem with your dominant hand.
- Turn the pot over and pull the seedling gently. You might need to tap the bottom of the pot a few times.
- Once the seedling is removed from the pot, remove excess soil from its bottom and place it inside the pot you prepared.
- Add some more soil around the base of the seedling to make sure it stays in place.
- Water the soil to make it moist and place the pot in a place that receives direct sunlight.
We recommend you quarantine your new zinnia seedling for about seven to 10 days after bringing it home.
It’ll allow you to make sure that it’s disease and pest-free. It’ll also protect your other plants if the new zinnia is infected.
Final Words
Planting zinnia plants in pots is an easy process.
You just need to make sure that you use the correct pot size and soil type and keep your plant in a well-ventilated spot that receives plenty of sunlight.
Keep the soil moist and protect your zinnia plants from pests and diseases.
They’ll start blooming within a couple of months and add more character and beauty to your house with their colorful flowers.