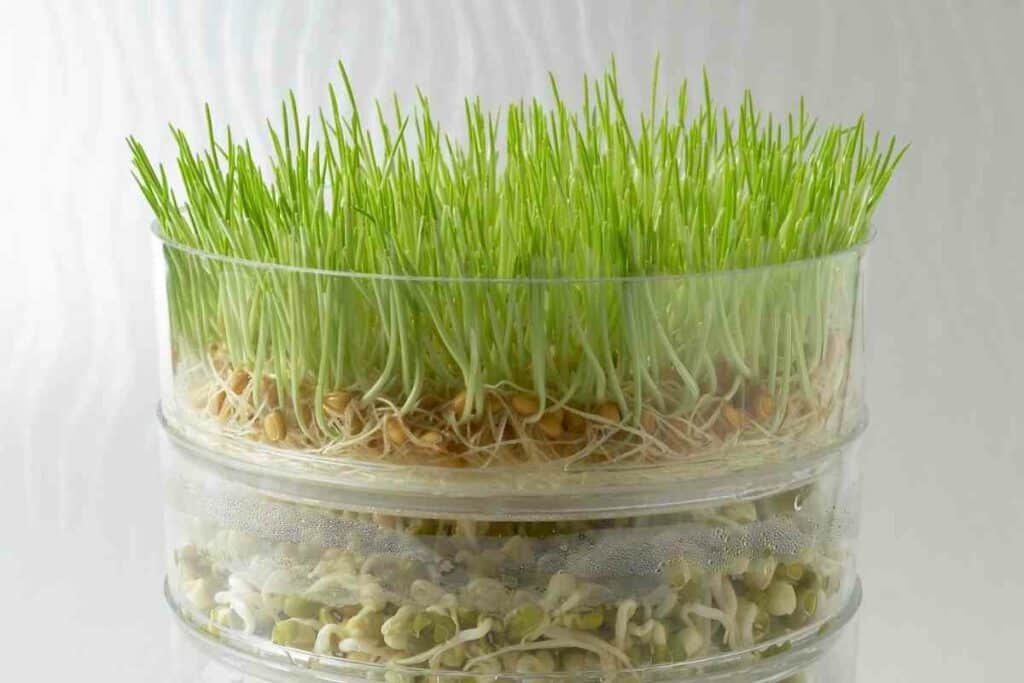
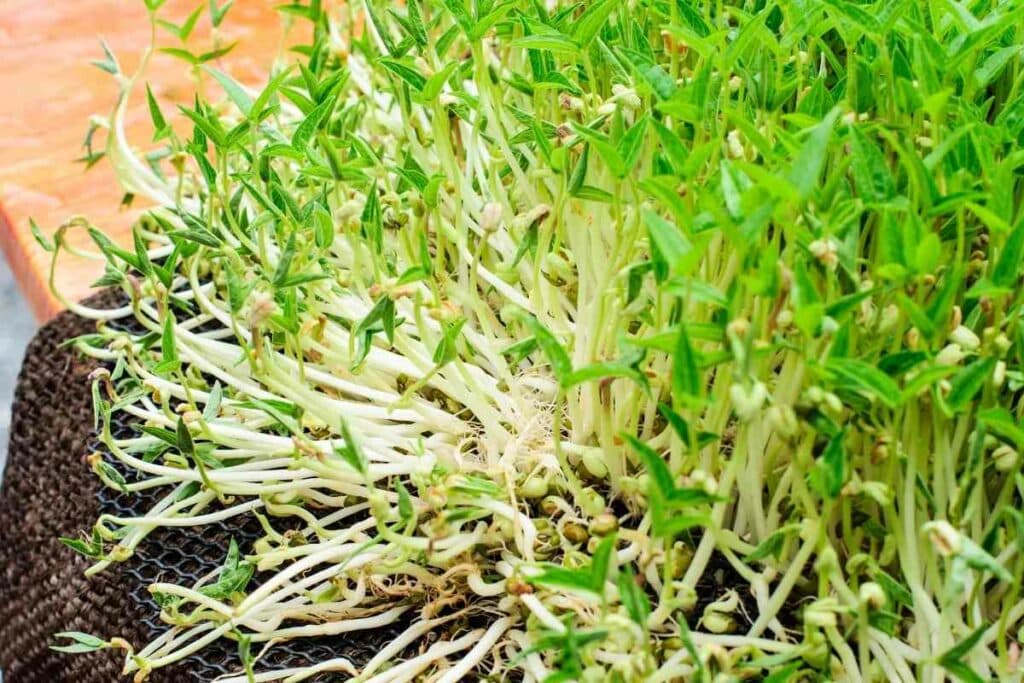
As a little kid, you probably enjoyed watching seeds grow.
It was as simple as putting seeds on damp paper filled with soil, exposing them to the sun, and voila! – Sprouts emerge after a few days.
As an adult, sprouts have much more value than excitement.
What to Expect? Sprouting beans is an easy and inexpensive way of adding nutrient-rich foods to your meals. These legumes are also tasty and highly digestible.
Here’s a quick start guide to sprouting beans and other legumes.
What You Need to Know before Sprouting Beans
You must know the following before starting your sprouting project.
Which beans can you sprout?
You can sprout most beans.
The easiest sprouting varieties include garbanzo beans (chickpeas), lentils and mung beans.

Others, like black beans and navy beans, take longer and require more care to sprout.
Heads Up! Please avoid sprouting broad beans, kidney beans and Lima beans. These contain toxic compounds that are only removable through cooking.
Do you need special seeds?
When sprouting beans, you can use regular seeds or special sprouting seeds.
Regular seeds are the ones you could buy for cooking.
These are dried legumes without any additional treatment or modification.
On the other hand, sprouting seeds undergo special cleaning and treatment.
These seeds are less susceptible to pathogens that thrive in moist conditions, like E. coli and salmonella.
The 5 Best Bean Sprouter Kits For Home Growing
Below are the best bean sprouter kits available in the market.
1. Gardens Alive Seed Sprouter Kit
The Gardens Alive Seed Sprouter Kit allows you to grow healthy and tasty bean sprouts at home, at school, or office.
Its beautiful design means that it can fit in any space without looking out of place.
You can grow two varieties of beans simultaneously using this kit, as it comes with two trays.
Its stackable design allows growers to add four more, meaning you can have six growing containers at a go.
Pros
- Beautiful design
- Two-tiered, with support for up to six growing trays
- Optimal sprouting conditions
- BPA-free food-grade plastic
Cons
- Small growing trays
Interestingly, using this product, you don’t need sunlight or soil to sprout seeds. It has a hydroponic setup that guarantees optimal sprouting conditions.
Your legumes can grow up to 20 times faster, provided the water supply is adequate and timely.
2. OYSIR Beans Sprout Machine
Although sprouting isn’t challenging, you can make it easier by investing in the OYSIR Beans Sprout Machine.
This smart device comes with several useful features to streamline the sprouting process.
First, the machine has a powerful sprouting seeds function.
Depending on the prevailing conditions, you can choose from three season modes; Autumn/Spring, summer, and Winter.
Once you select the right mode, the device configures the optimal sprouting conditions for your seeds.
Second, it has a Time Control LED Display.
After setting the time, you can monitor your setup through a small screen. The machine shuts down once the time elapses.
The OYSIR Beans Sprout Machine has a 360-degree rotating sprinkler to prevent uneven spraying of seeds. This ensures that the seeds grow at a uniform rate.
Pros
- Odorless non-toxic plastic
- Easy to operate
- Smart functionality
- Excellent safety features
Cons
- Unsuitable for small seeds
Lastly, this smart device has a power-off memory function. If the power goes off before the set time elapses, the machine will restore normalcy when power becomes available.
3. SOLIGT Stackable Stainless Steel Seed Sprouting Kit
If you want a sturdy and durable seed sprouter, the SOLIGT Stackable Stainless Steel kit is your best choice. Also, the entire kit is BPA-free and non-toxic.
The sprouting kits have three growing trays and a cover. You can stack these trays on top of each other to save space.
You don’t have to be an expert to sprout beans using this kit, as it comes with a step-by-step guide on how to sprout various legumes and microgreens.
Pros
- Sturdy and durable design
- BPA-free material
- 3-year unlimited warranty
- Easy to use
Cons
- Harvesting is hard
If you’re unhappy with your purchase, SOLIGT offers a 3-year unlimited warranty for this product. During this time, one can ask for a refund or a replacement for the faulty kit.
On the downside, the trays are deep, which makes harvesting difficult.
4. ABEL Seed Sprouter
The ABEL Seed Sprouter kit has three components; a transparent lid, a white meshed inner tray, and a solid green outer tray.
The transparent lid covers the trays and helps with heat and moisture preservation. As a result, the sprouts emerge faster.
Moreover, the kit is made from BPA-free polypropylene plastic, guaranteeing a chemical-free growing environment.
Pros
- Large capacity
- Optimal growing conditions
- BPA-free plastic
- Easy to use
Cons
- Unsuitable for large seeds
Unfortunately, the holes in the meshed tray are too big and allow small seeds to penetrate. For this reason, you need to invest in a cheesecloth.
5. IUME Seeds Sprouting Kit
The IUME Seeds Sprouting Kit is ideal for people who love classic sprouting jars. It comprises two mason jars made of food-grade glass with stainless steel lids. Two sturdy stands hold the jars in position.
The two jars are independent – you can grow different sprouts simultaneously. Each has a hole on its lid to allow drainage and facilitate free airflow.
These conditions promote fast sprouting; your plants can be ready within three days after planting.
Pros
- Easy to use and clean
- BPA-free glass and stainless steel
Cons
- Glass is brittle
Washing this kit is easy. You can use your hands or place it in a dishwasher after every sprouting cycle to get rid of dirt.
How to Sprout Beans
Sprouting beans is a straightforward process that needs minimal equipment.
Here are the steps to follow.
Purchase sprouting beans
As mentioned above, sprouting seeds grow faster and healthier than regular beans.
You’ll also have an easier time growing varieties like:
- chickpeas
- lentils
- mung beans
Rinse and soak the seeds
After unpacking, place the beans in a strainer and run water through them.
Do this until the seeds are clean and free of any unwanted material.
Then, soak them for at least eight hours. The best time to do this is overnight.
When soaking, add three cups of water for every cup of beans. Ensure that you cover the container once you add the water.
After eight hours (or in the morning), the seeds will absorb most water and grow bigger.
Drain the beans
Your sprouting container must have holes to allow drainage of excess water.
The holes also aid in aeration.
Once the seeds drain, refill the container with water. Repeat this until the seeds are moist enough.
Cover the Jar
Next, move the growing container to a dark and humid spot.
Cover it with a porous material that prevents light but allows air to penetrate.
The type of beans you sprout determines the length of the sprouting process.
Some can take as few as two days, while others might be ready after five days.
Harvest your sprouts
Your bean sprouts are ready for harvesting once they are 1¼ to 1½ inches tall.
After removing them from the container, place them on a flat surface on an absorbent material like kitchen or paper towels.
Leave the sprouts in a warm and dry spot to eliminate the excess moisture.
How to Sprout Beans Faster
The most effective way to sprout your beans faster is to increase the humidity and temperature in your growing container.
This approach shortens the process by up to two days.
Alternatively – You can sprout varieties that grow fast. These include green peas, lentils, and mung beans.
Black beans, black-eyed peas, and chickpeas sprout after five days.
How to Use Sprouted Beans
Sprouted beans are a healthier substitute for regular beans when cooking meals.
Here are some possible use cases for sprouted beans:
- Dips – you can use sprouted chickpeas instead of regular chickpeas when preparing hummus.
- Sandwiches – sprouted beans add crunchiness to sandwiches.
- Snacks – you can consume sprouted beans as a snack, either raw or roasting them before salting.
- Soups – sprouted beans make soups tastier.
- Stir-fry dishes – mung beans are popular ingredients in many Asian stir-fry recipes.
What are the Benefits of Sprouting Beans?
The following are the top benefits of sprouting beans.
Better nutrition
Sprouting increases the nutritional value of the starch in beans.
It also increases the protein content and the amount of:
- vitamin C
- folate
- iron
- magnesium
- zinc
Additionally, sprouted legumes break down phytate when ingested. Phytate is known to limit nutrient absorption in the gut.

Ease of digestion
When sprouting, legumes break down complex starches into simple sugars.
These are easier to digest, especially for individuals who experience indigestion problems.
An inexpensive source of food
Sprouting beans at home is an intelligent way of reducing dependence on grocery stores.
The process is easy and doesn’t require a lot of money.
You get ready food at a fraction of what you’d have spent if you went to a local store.
Sprouting FAQs
Here are some frequently asked questions about sprouting beans.
Is sprouting safe?
Sprouts are safe for consumption, provided you grow them in a sterile environment.
However, it’s impossible to achieve such conditions because most plants thrive in humid surroundings.
The best you can do is cook the sprouts before consumption to remove pathogens.
How do you protect against mold?
High humidity and poor aeration are the leading causes of mold.
Ensure that you rinse your seeds thoroughly after soaking. Also, your equipment must have adequate drainage holes.
Are raw beans harmful?
Some beans are harmful if eaten raw.
Watch Out! These include broad beans, kidney beans, and Lima beans.
Wrapping Up
Sprouting beans at home transcends convenience – homegrown foods are healthier and cheaper.
With the right bean sprouter kits for home growing and a little care, you won’t be making regular trips to your grocer!
