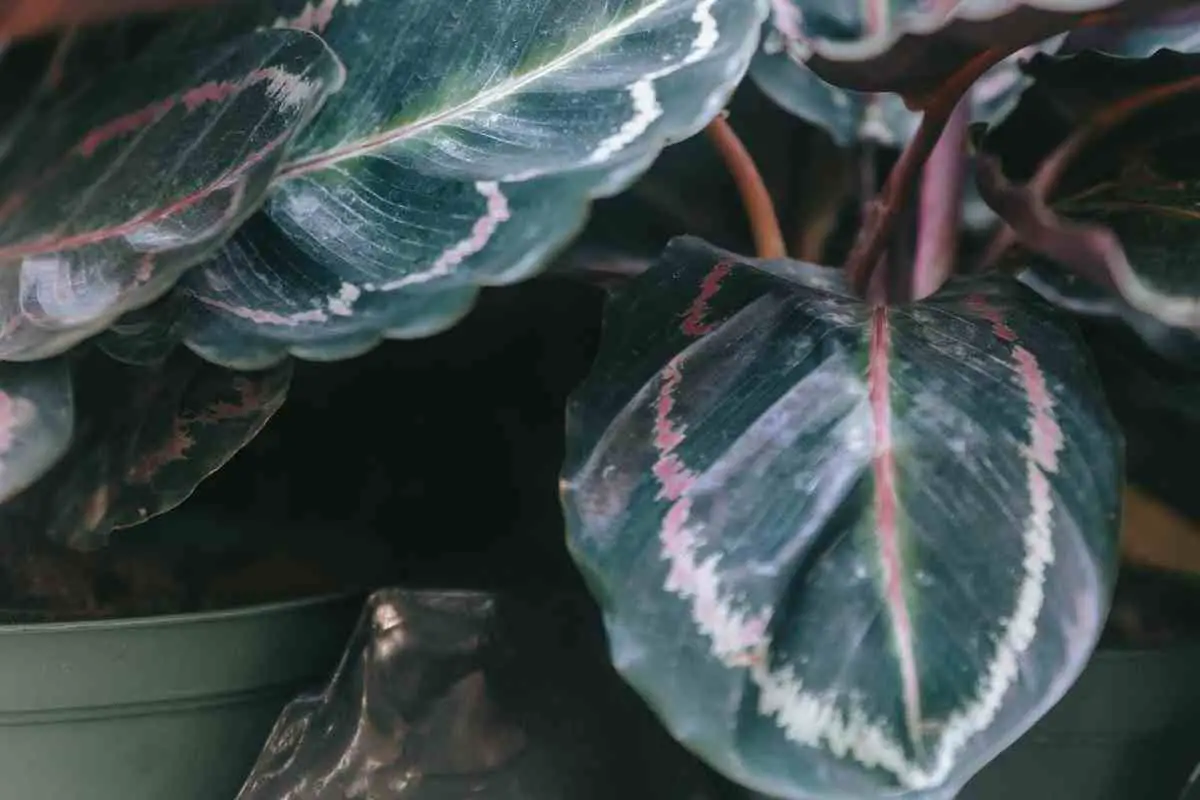
Growing Calathea Dottie is quite easy. You can start by planting the seeds in the early spring or late summer.
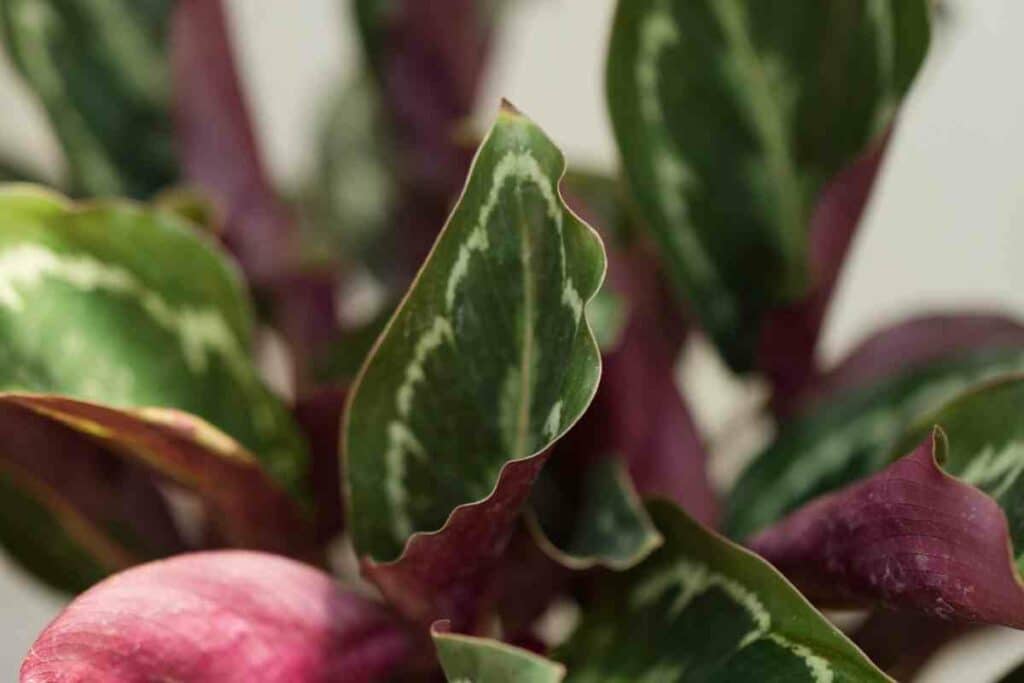
If you don’t have seeds you can grow the plant through propagation instead of growing it from scratch. This is done when repotting in spring.
Calathea Roseopicta Dottie Care and Growing
For the Dottie plant to thrive, it needs to be kept in a consistently warm spot with bright indirect light.
Provide average room temperatures between 60-80 degrees. It will not tolerate temperatures below 55 degrees.
Keep the soil evenly moist (but not soaking wet) at all times from spring to autumn.
Try watering once a week whenever the top 2 inches of soil has dried up or when the soil meter reading is between 1 and 3.
Also, remember to use distilled water or rainwater as the plant is sensitive to tap water chemicals.
Repot it every 1 to 2 years in spring into a pot 1 to 2 inches larger than the original.
| Origin | Tropical Americas |
| Scientific Name | Calathea Roseopicta Dottie |
| Common Name | Calathea Dottie, Rose-painted Prayer Plant Dottie. Rose Painted Calathea Dottie. |
| Soil | Likes light, airy, well-draining mix. |
| Light | Medium to bright (but indirect) light. |
| Humidity | Ideal humidity is between 50% to 60% levels. |
| Watering | Whenever the top 2 inches of soil has dried up |
| Propagation | By division |
| Pruning | Prun all old and dying leaves |
| Fertilizer | Balanced diluted solution every 2 weeks. |
| Repotting | Every 1 to 2 years in spring |
| Favorable climate | Tropical climate |
| Height and growth rate | Moderately fast growing plant, ultimately reaching heights of 40cm-60cm |
Positioning
Dottie can be grown indoors and outdoors, though the temperature is important.
For you to grow it outside, you’ll need to live in a climate that does not fall below 60 degrees Fahrenheit or rises above 90 degrees Fahrenheit.
You also need the area to maintain a humidity level of at least 50%. This is because the plant is used in tropical climates.
If you intend to grow the plant indoors, place it in front of a window with bright but indirect light, preferably with western or eastern exposure.
Growing Options Seed
Calathea Dottie grows well in a light, airy, well-draining mix.
This type of mix enables the roots to receive adequate oxygen and moisture while draining any excess liquid to avoid overwatering or waterlogging.
Works Well – Try mixing 50% potting soil, 20% orchid bark, 20% charcoal, and 10% perlite to achieve this.
Fill a seed starter tray to about 3/4 capacity with potting soil. Firm up the soil’s surface by lightly packing it.
Spread the seeds over the tamped soil with a 14-inch layer of soil. Mist but do not saturate the soil.
Propagating
Calathea Dottie can be propagated in various ways.
The most common of which is by division. This is something that can be done when repotting.
When you remove the plant from its pot for repotting, you will notice a natural separation of the root pattern as well as the appearance of new shoots.
Look for thickened tubers with two leaves. Gently pull apart the root ball, with a clump from each side naturally coming away.
A portion of the root system should be present in each clump. Place the division in a pot and plant it a few inches deep in well-drained soil.
Maintain a slightly moist and warm environment until new growth appears.
Humidity
Humidity is another aspect of Calathea Dottie that requires special attention.
The ideal humidity for it is between 50% to 60% levels. This puts it above most household levels (30% to 50%).
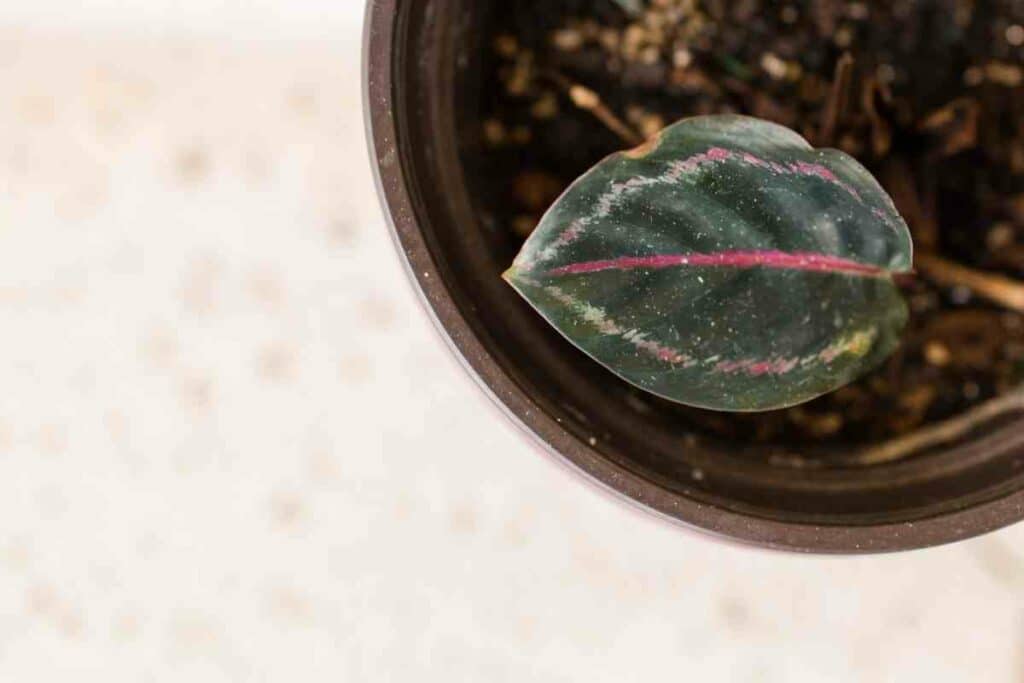
You’ll also need to keep these specifications in mind if you intend to grow the plant outdoors.
You can use a hygrometer to monitor the room temperature and humidity levels near the plant.
If your Calathea Dottie has brown crispy tips or edges, the humidity is probably too low for it.
Frequent misting on a regular daily schedule will improve the humidity conditions. However, misted leaves can be hosting spots for bacteria and fungi.
Have You Noticed? If the leaves show viral or bacterial spots on them, your humidity may be too high. This can also be a sign of unhealthy roots. Try reducing it by keeping an eye on the watering.
Watering
Calathea Dottie is sensitive to both overwatering and under watering, so its watering schedule must be considered.
They prefer moist but not soggy soil. As a general rule,give it one inch of water once a week or whenever the top 2 inches of soil has dried up or water it when the soil meter reading is between 1 and 3.
In dormant winter months, reduce the watering frequency to once every two weeks and water it when the soil meter reads barely dry.
Droopy and curling leaves are the first signs of a Calathea Dottie that has been under-watered.
If left to dry for an extended period, the leaves may turn yellow or crispy brown at the tips and edges. Water your plant until you see water coming out of the drainage holes.
If your plant is overwatered, it will quickly develop yellow leaves. Its leaf stems may become droopy, and the soil on top may develop mold or fungus, leading to root rot over time.
Remove all the dead roots and old soil, then repot it with fresh potting soil.
Light
When caring for your Calathea, keep in mind that they require the proper amount of light to thrive.
This small houseplant thrives in medium to bright (but indirect) light. Give it at least 8 to 10 hours of bright light per day, followed by 8 hours of darkness.
They will thrive in this balance of light and darkness.
If this plant is placed in direct sunlight, the leaves will turn yellow and brown, and the plant will suffer damage.
Instead: Locate it in an area that receives medium-intensity light shaded from the sun. As a result, a room facing west or east can be an excellent choice.
Fertilizer
Fertilizer can benefit Calathea Dottie, but it is not required all year.
Feed them during their peak growth periods in the spring, summer, and early fall.
However, you should avoid using fertilizer during the winter months because there will be little or no growth, and, quite simply, your plant will not require the extra nutrients.
You can use organic or inorganic.
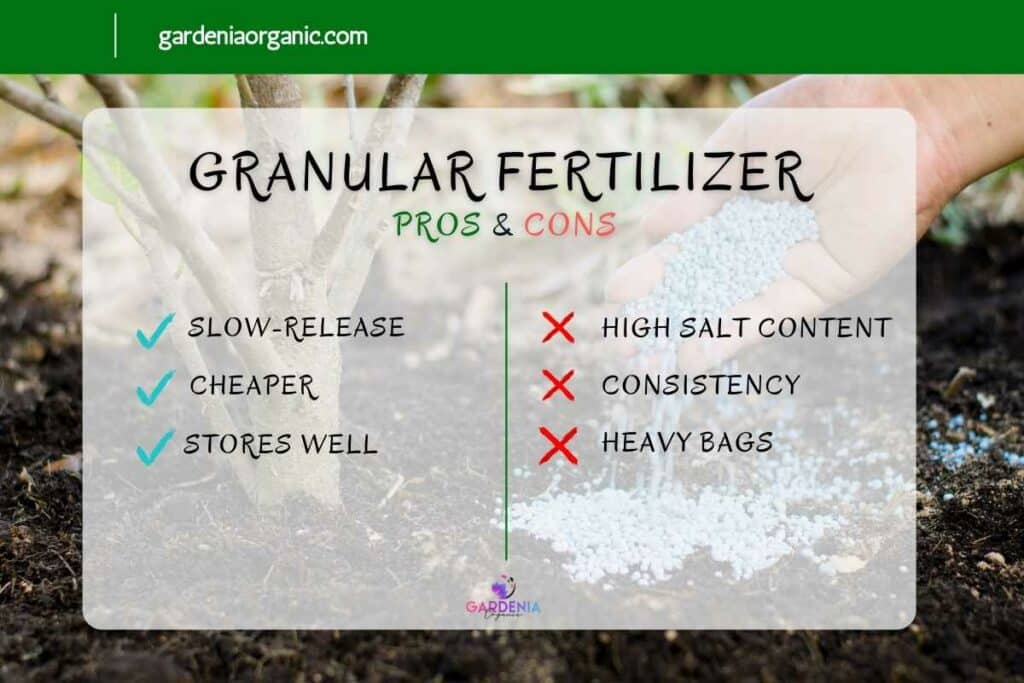
However, if you use synthetic fertilizers, always remember the roots of Dottie are extremely sensitive, so each time you apply it, dilute it to half or quarter strength of the amount recommended.
This will keep too much salt residue from accumulating in the soil.
If you prefer the natural route, you can use organic fertilizers from natural ingredients such as blood meal, worm castings, and fish emulsion to boost fertility organically.
These are generally safe for the plant and contribute to a healthy soil environment.
Keep In Mind: Only fertilize when the plant can absorb the nutrients during the growing season. In the fall or winter, fertilizing may cause a toxic buildup in the soil from the unused formula.
Common Pests and Diseases
The soil and high humidity requirements for this plant create an ideal setting for many pests.
The Thrips is the most common pest, but other insects such as spider mites, aphids, scale, and whiteflies can also attack it.
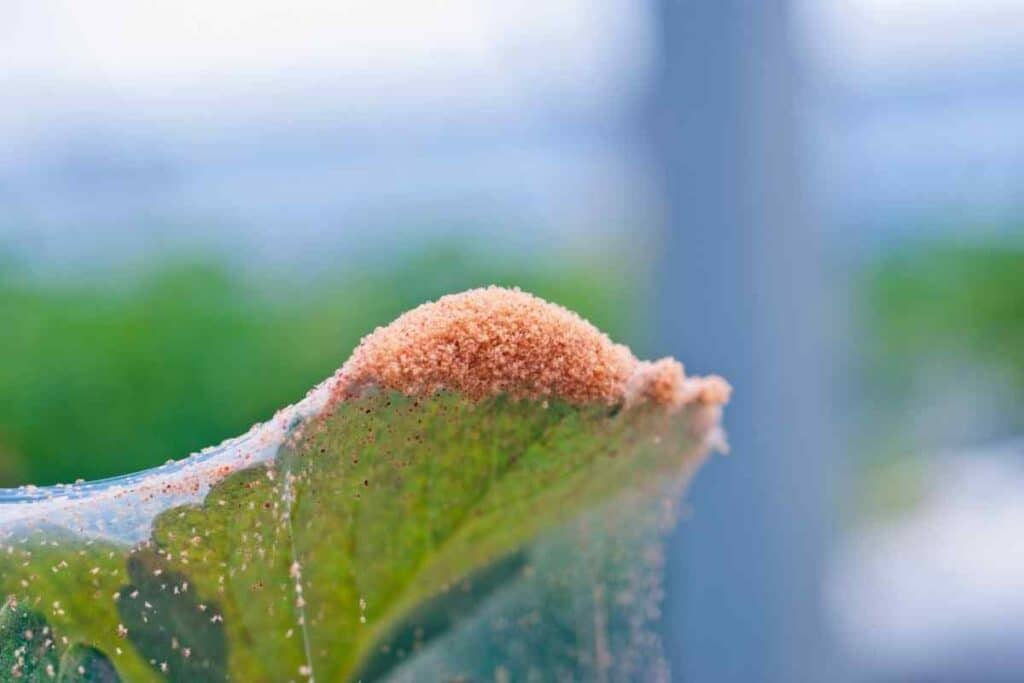
Fungus and nematodes are also threats to the plant. These diseases have the potential to cause your plant to wilt and die.
Spraying neem oil on your plant’s leaves, spraying the leaves and soil with dish soap and water mixture, and watering your plants from the bottom are all effective ways to control these pests.
Leaf Care
For the best care, wash your Calathea Dottie occasionally leaves (monthly) with Neem oil leaf shine and water.
This helps keep the stomata (leaf pores) open for plant respiration. Healthy leaves with a good clean surface are most able to resist pests.
Furthermore – This gives you an opportunity for early pest intervention since you closely examine your plant. At this, check for pests, watering issues, and how you’re feeding your plant.
Pruning
Some of the leaves on your Calathea Dottie will turn brown or yellow on the edges from time to time; this does not necessarily indicate that the plant is dying.
You need to cut some of these dead leaves to stimulate growth with healthy new leaves.
Depending on what you want to achieve with your plant, you can approach it in various ways.
Removing the Leaves Completely
If you have some leaves in poor condition, you may be better off cutting the entire leaf off so that the plant can focus on growing new healthy leaves.
Trim them using sterilized trimming scissors and cut them near the stem with a sharp knife or a pair of scissors, and discard the damaged leaf.
Removing Only Damage Leaves
If you caught the problem early enough, there should be no need to remove the entire leaf.
If you notice that the edges of the leaves have become crispy and discolored, trim the edges of the leaves and cut off the dying edges with your scissors.
This will help save the leaves without causing additional damage or increasing the risk of the entire leaf dying.
Repotting
Because it is a fairly fast grower, you’ll need to repot it every 1 to 2 years in spring.
The best time to do this is when it is actively growing, usually in May or June.
At this point, the plant will have outgrown its container, and you will see roots coming out of the drainage holes.
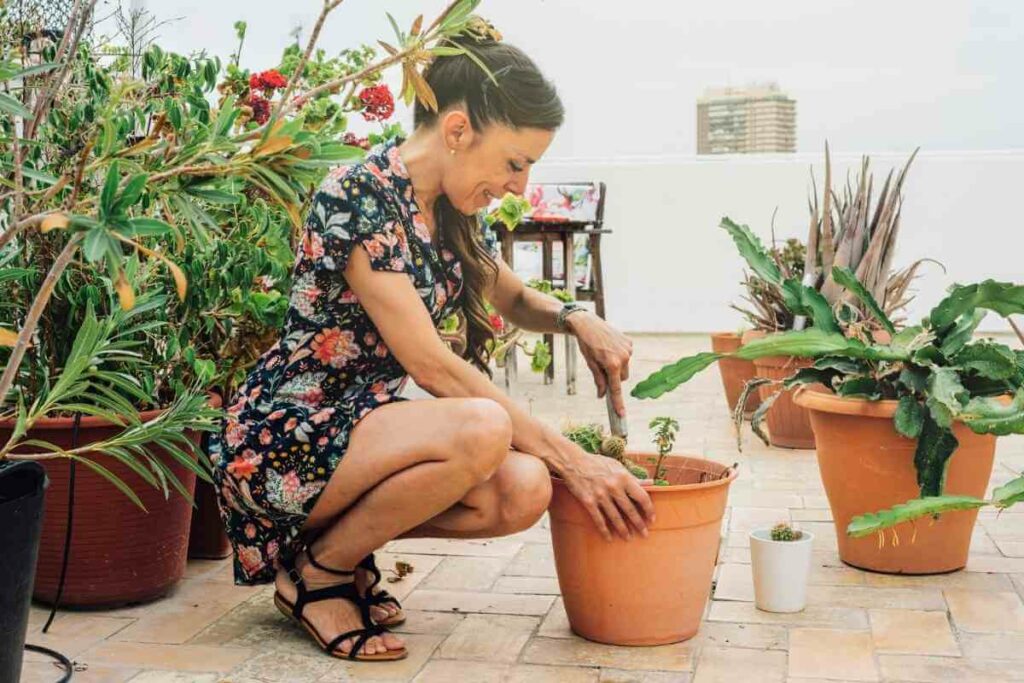
Although it is a simple process, repotting Calathea Dottie can only be done correctly if you use a Calathea potting mix and the appropriate planter, as both will help prevent root rot and other fungal diseases.
Here is the process:
- Examine your plant carefully to see if it is generally healthy. A few brown leaf edges or yellow leaves are acceptable, but if your plant is struggling, figure out why and nurse it back to health before repotting.
- To help reduce stress on the plant, water it thoroughly the day before repotting.
- Use plastic or glazed ceramic pot with at least two drainage holes at the bottom. The pot should be 1 to 2 inches larger than the original.
- If you’re using a plastic pot, gently squeeze the sides of the pot to loosen the soil. Examine the pot’s base to see if any roots are growing through the drainage holes. Loosen these as needed to make removing the plant from the pot easier.
- Fill the new container with ⅓ of your potting mix. Sprinkle a little water on the soil and stir it around to slightly moisten it. Then scoot it into the pot’s bottom and tamp it down gently. Don’t compact the soil; instead, assist it in settling into place.
- Take your plant out of its original pot. Grasp the stems just above the soil, carefully turn the pot upside down to loosen the root ball, and then jiggle it. If the plant refuses to budge, smack the pot’s base a few times. Remove the plant from the pot gently, without yanking on the stems or leaves.
- Examine the roots for any signs of infection or fertilizer burn. Rotting roots will be dark brown, black, or grey and have a mushy, slimy feel. Roots dehydrated by fertilizer salts will be crispy, shriveled, and brown. Prune away any rotting roots.
- Place your plant in the new pot so that its roots are touching the soil’s surface and the base of the stems is just below the top edge of the pot. Fill in the remaining space with lightly moistened potting mix, patting it down gently to keep the roots in place but not packing it too tightly. Lightly water the plant and position it in its original spot.
Final Thoughts
The Calathea Dottie plant is a fairly easy-to-grow and care for indoor and outdoor plant as long as you follow these steps.
Ensure the plant has wet, well-drained soil and plenty of light so it can grow healthy and strong.
You can feed your Calathea Dottie with organic or inorganic fertilizer during their peak growth periods in the spring, summer, and early fall.
