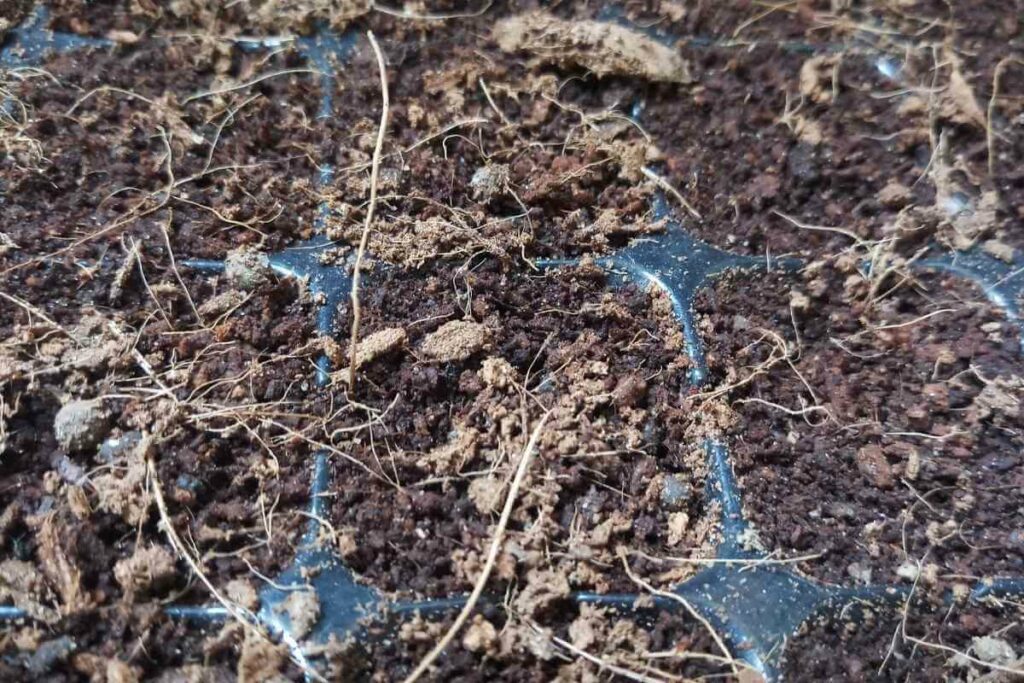
Sterilizing the soil can be accomplished through heat processes such as an oven, microwave, steaming, and boiling water.
These are quick and easy and are applicable only when sterilizing small amounts of potting soil.
To sterilize larger areas of garden beds outdoors, you need to use the solarization method. However, this can take a long time.
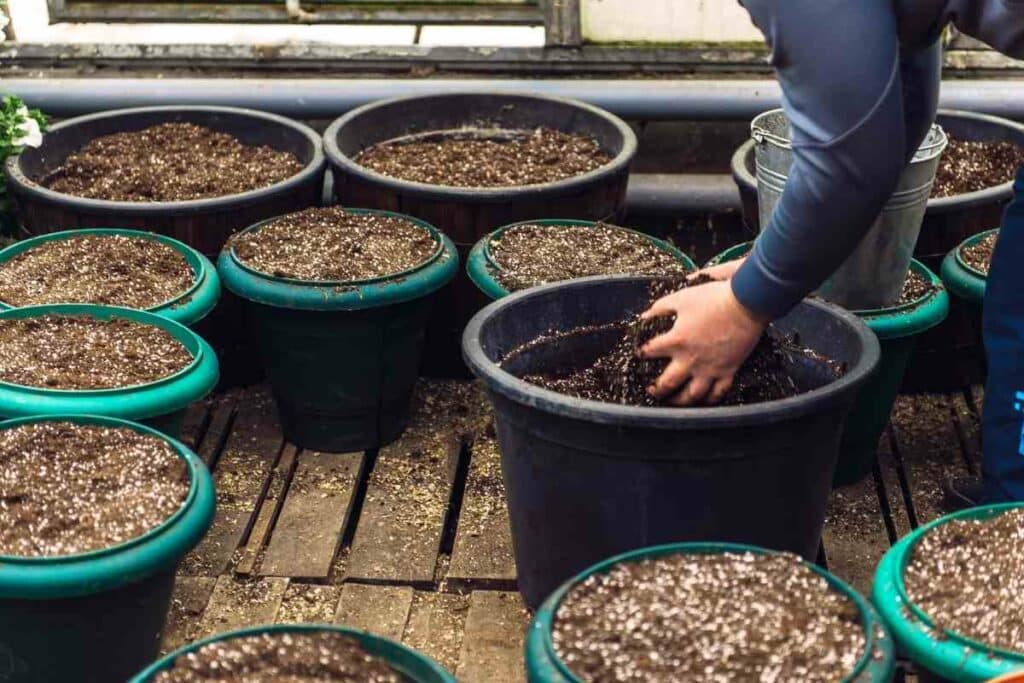
Sterilized soil is critical, and it may be the only way to grow healthy and strong seedlings.
Through this practice, a gardener is able to destroy pathogenic bacteria, insect eggs, fungal spores, nematodes and protect plants against various diseases.
In General – No matter which of the above methods a gardener chooses, the results are still desirable.
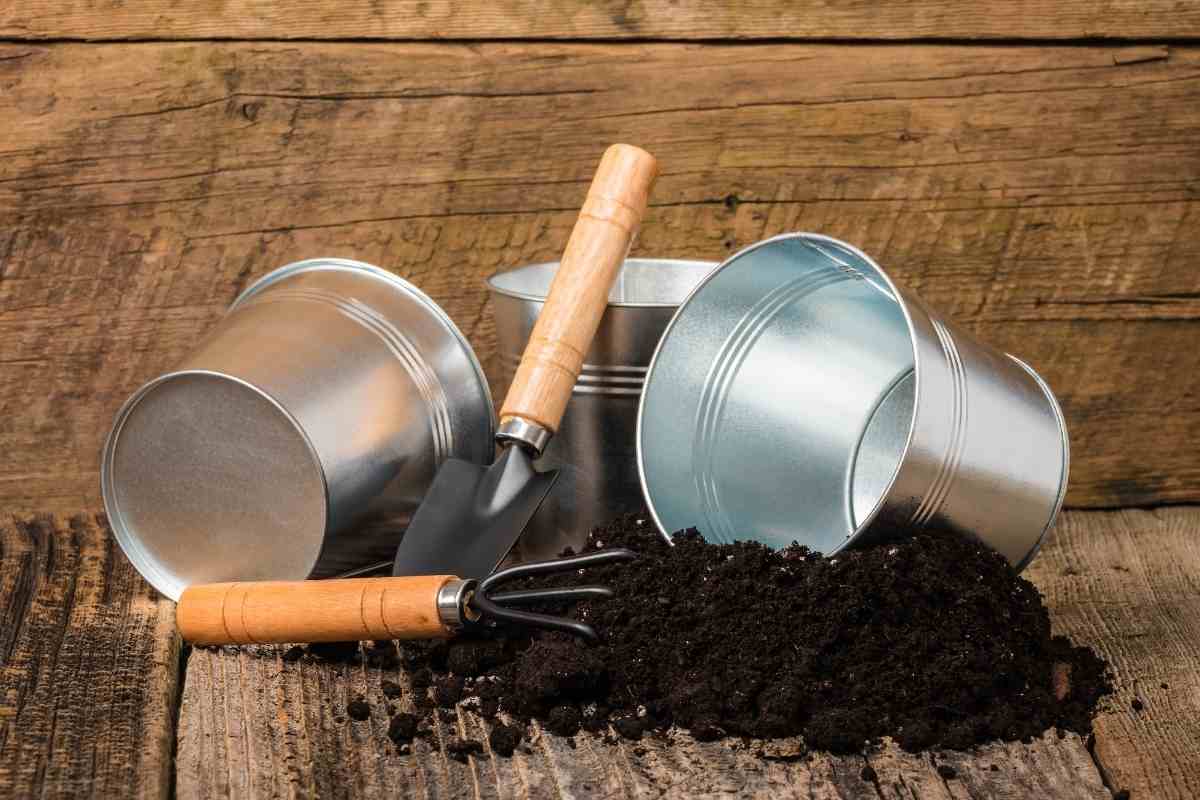
Methods of Sterilizing Potting Soil
1. Steaming
This is an effective and simple method of sterilizing the soil.
Step 1: Pour 3 or 4 cups of water in a steamer pot that is perforated and has a pot suspended inside it. If you do not have a steamer pot, place a wire cooling rack on the bottom of a standard soup pot, just above the water level. You can close the lid to speed up the boiling process.
Step 2: Place the soil to be sterilized on a rack above the pan (this pan or container must fit inside your steamer pot). Keep the soil at a depth of no more than 4 inches and avoid packing or pressing it down. This ensures that sufficient steam and heat penetrate.
Step 3: Cover the pan with aluminum foil to help contain the steam, then place it on the stove and bring the water to a boil. Set a timer for 30 minutes until the water in the pot boils. During this time, the heat and steam from the pot will circulate to the soil container, killing any pests present in the soil mix.
Step 4: Turn off your stove after 30 minutes of boiling and allow the pot to cool completely before working with it to avoid burning.
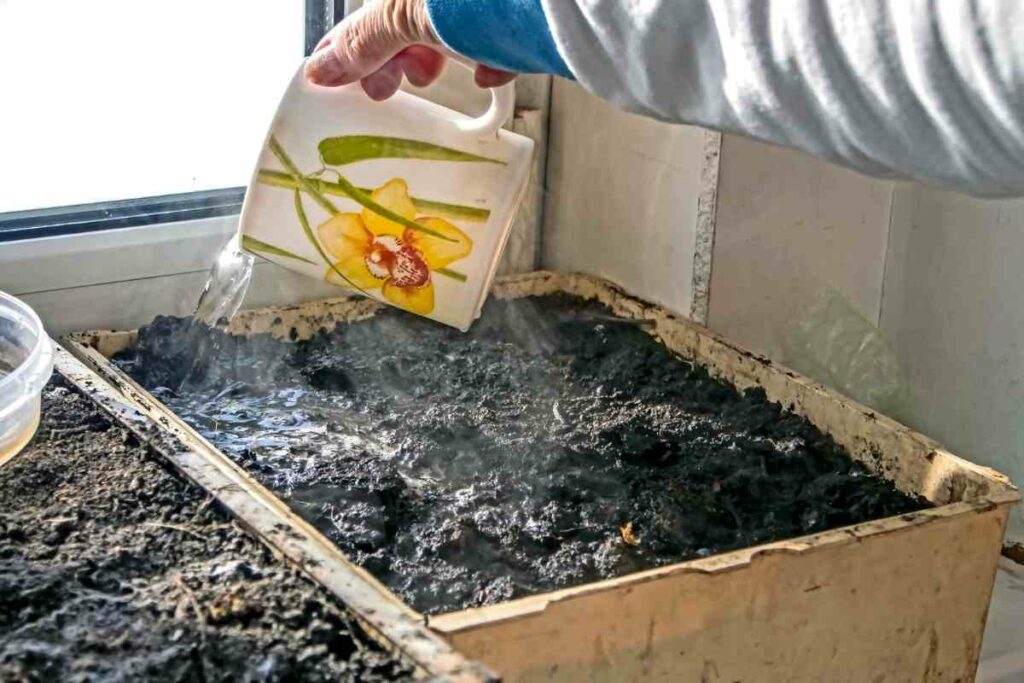
2. Boiling Water
Boiling is done in the same way that steaming is done.
Step 1: Collect a large bucket or heat-resistant container. Fill the bucket halfway with the soil you want to sterilize.
Step 2: Fill your kettle halfway with water and heat it until it boils. Temperatures can reach a maximum of 212 degrees Fahrenheit in order to kill heat-resistant viruses and weed seeds. The amount of water you use should equal the amount of potting soil.
Step 3: Carefully pour hot water into the soil bowl until it is moist but not saturated. Work the water into the soil with a wooden spoon or other suitable tools until the soil begins to clump. The hot water kills the insects and their eggs in the soil, leaving it clean and ready for planting.
Step 4: Let the soil cool before planting.
3. Microwave
A microwave in soil sterilization has numerous advantages over other methods.
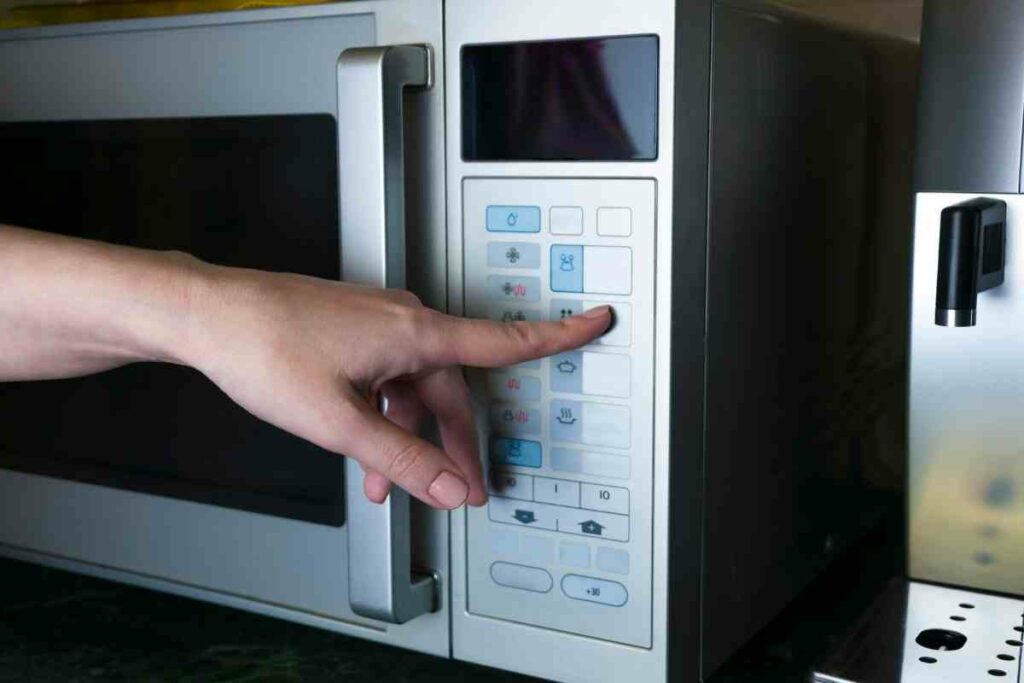
It is more efficient, purely thermal, and highly controllable, and it leaves more nutrients for better plant growth.
Step 1: The soil you are sterilizing mustn’t be too dry. If dry, use a spray bottle to moisten it, then mix it to evenly distribute the water.
Step 2: Place up to 2 pounds (approximately 1 kg) of the moist soil in microwave-safe containers with lids. You don’t need to use foil to cover the soil, but you should use lids with ventilation holes to allow steam to escape.
Step 3: Place the container with the soil in the microwave oven’s center.
Step 4: Preheat it to 200°F (93 C.). Cook the soil for another 30 seconds after the steam appears. The amount of soil, the initial temperature of the soil, the level of moisture in the soil, and the power of your microwave oven will all influence how long this takes. This should take between one and five minutes in most cases.
Step 5: Remove the soil from the microwave oven and allow it to cool slightly.
Step 6: After cooling, the sterilized soil is ready to use.
Note: It’s important to note that you’ll need a microwave that can evenly heat the soil, or else you’ll end up with soil that isn’t completely sterilized. A small area of pathogenic bacteria can repopulate the rest of the soil with undesirable organisms. Look for one with a turntable to help with even heating.
4. Oven
You can also use oven to sterilize soil.
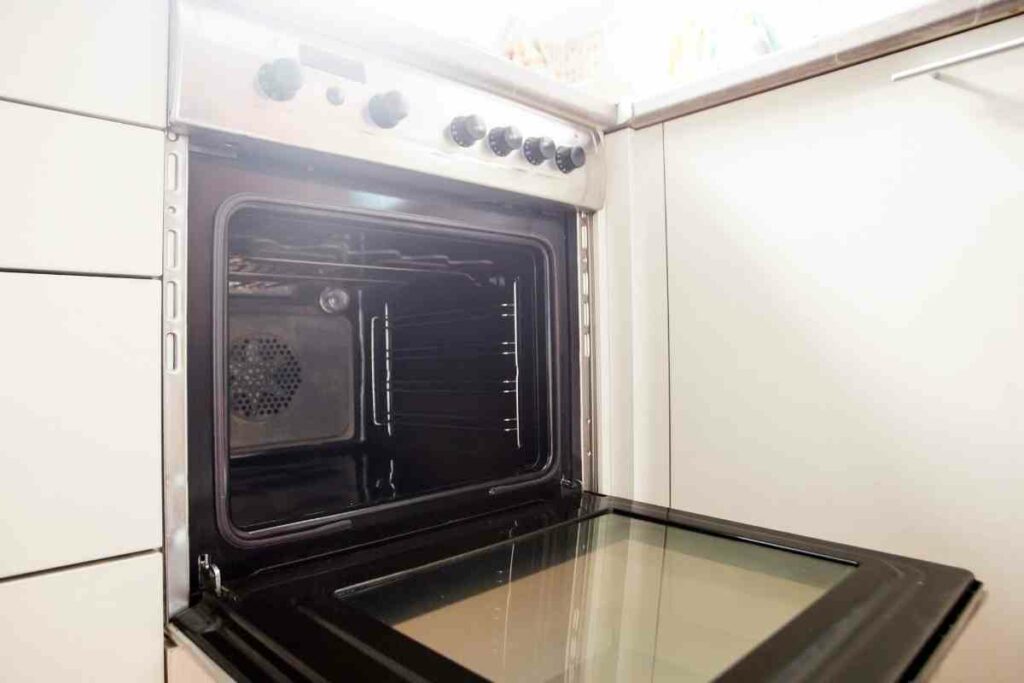
Step 1: If the soil is dry, sprinkle it with little water and avoid getting it muddy. Moisture is required for the soil to steam during the sterilization process. Then fill a large bucket halfway with soil.
Step 2: Preheat the oven to 200 degrees F. In an oven-safe baking dish, evenly distribute 4 inches of potting soil. Do not compact the soil; instead, leave it loose. Wrap aluminum foil around the baking pan.
Step 3: Insert a thermometer into the potting soil in the center of the pan through the tin foil. Ascertain that the thermometer is positioned in the center of the soil. Place the pan in the oven and monitor the soil temperature. Allow the soil to reach a 160 to 180 degrees Fahrenheit temperature for at least 30 minutes before removing it.
Step 4: Do not uncover the soil properly. After 30 minutes, remove the foil and set it aside. Use the soil when it has cooled down and is at room temperature.
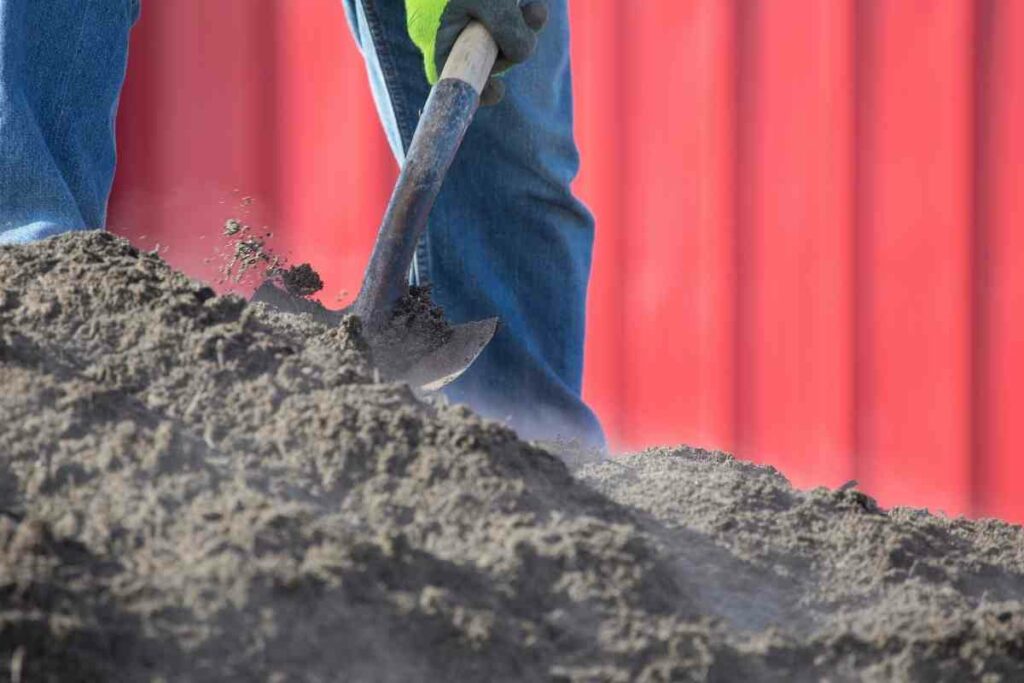
Sterilizing Outdoor Gardening Soil
Solarization
For outdoor garden soil, the only practical method to use is polarization.
The heat from the sun is used to sterilize soil and kill any pathogens that may be present.

This method necessitates some patience, as it requires a few weeks of hot sunshine to complete the process effectively.
Step 1: Get a large sheet of clear plastic to cover the area to be sterilized. Ensure that the plastic is strong enough to withstand the sun’s rays.
Step 2: Clear away any plant debris or stones that could rip the plastic once it’s in place. Also, any clumps should be broken up.
Step 3: Spread soil evenly over the layer of plastic, keeping it 6 inches away from the edges to allow for border securing.
Step 4: Water the soil thoroughly, ensuring that the top 12 inches are completely moist. This will aid in the sterilization procedure.
Step 5: Cover the soil with another sheet of plastic and secure the edges with bricks, rocks, or lengths of wood. Make sure the plastic is completely flat so that the heat buildup is trapped.
Step 6: Ensure that the plastic is securely fastened and will not blow away in the event of a strong gust of wind.
Step 7: Keep the plastic in place for four to six weeks. This ensures that the soil has been effectively sterilized and ready for planting.
Why You Should Sterilize Soil
Sterilizing soil comes with plenty of benefits including;
It kills fungus gnats and nematodes
These small insects that live in the soil can harm your plants.
They’re so common and you’ll probably find them even in store-bought potting soil.
These insects will live and lay their eggs in the soil. Plants may suffer as a result of this.
Sterilizing the soil kills this insects thus promoting the growth of healthier plants.
It kills pathogens
Unsterilized soil contains many harmful bacteria, viruses, and other microorganisms.
They can be passed from plant to plant, causing continued harm to your plants, and they can live in the soil for a long time.
Instead of putting your delicate plants’ health at risk, eliminate them by sterilizing your potting soil before planting.
Weeds are less likely
Weeds suck up all the nutrients from the soil, leaving plants nutrient-deficient.
Sterilizing your soil reduces the likelihood of weeds sprouting, ensuring optimal soil nutrients necessary for plant growth.
Other benefits include:
- Generates high-quality produce.
- Increases crop yields significantly.
- Blocked nutritive substances in the soil are tapped and made available to plants.
Final Thoughts
Soil sterilization is critical in gardening. It will provide your plants with a clean and fresh growth medium.
You will remove weed seeds, pathogens, and harmful microorganisms from the soil using this method.