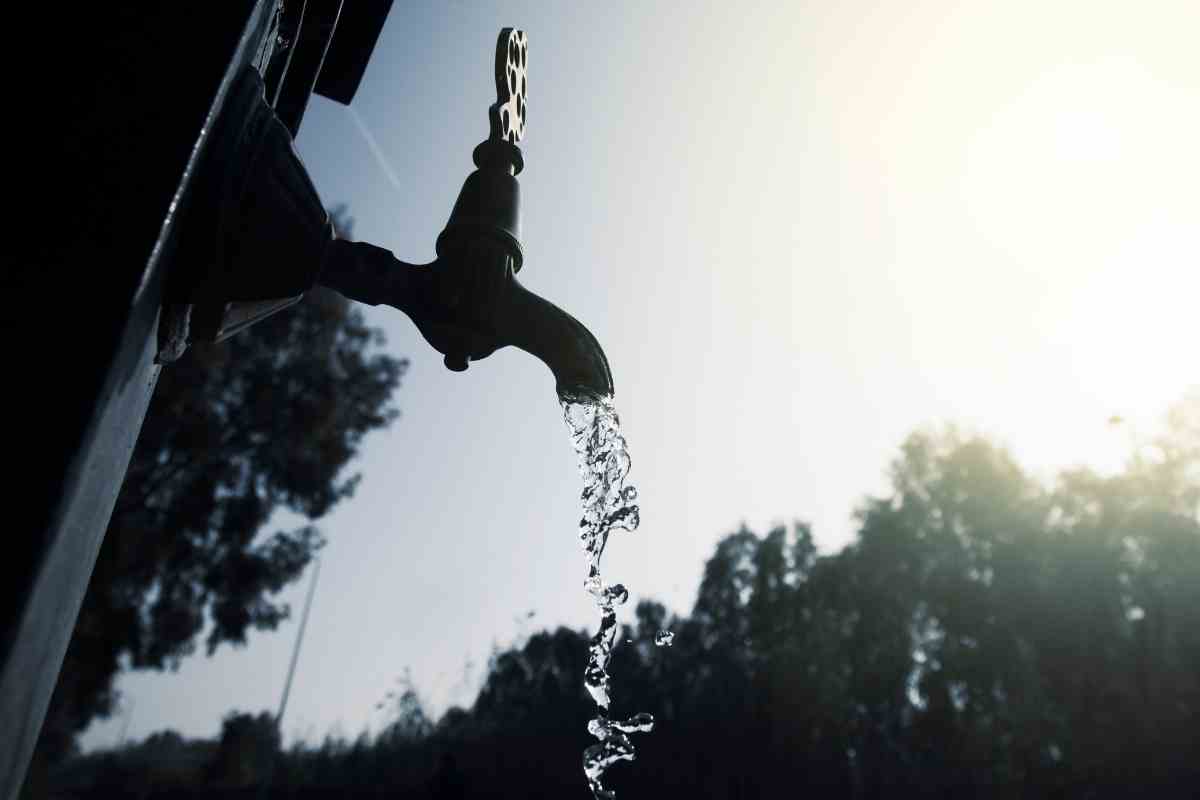
Many modern houses are preinstalled with an incredibly useful and versatile outdoor faucet.
From connecting a hose to it and watering the plants in your garden, to filling up the outdoor pool in Summer – having an externally located water outlet can be highly beneficial, specifically for gardeners.
The original tap dates as far back as the 16th century and the first spigot-type, screw-in tap was patented way back in 1845.
Nowadays, this is something that many in the western world take for granted, when there was a time in which even the luxury of clean, flowing water was an incredibly rare thing.
Should you, however, find yourself in need of an exterior faucet – then you’ve come to the right place!
In This Guide: We will overview the different types, from your everyday spigot to an anti-freezing garden hydrant and we will also provide some brief, step-by-step, installation instructions, hints and tips.
Legalities – Water Regulations
In both the UK and the US, fitting an outdoor faucet is regulated by law and failing to follow these regulations can result in costly ramifications.
Resultantly, anyone found not adhering to them can also be prosecuted. Every faucet or hydrant must only flow one way: outward.
As obvious as this seems, be sure to check that your purchase has a double check valve.
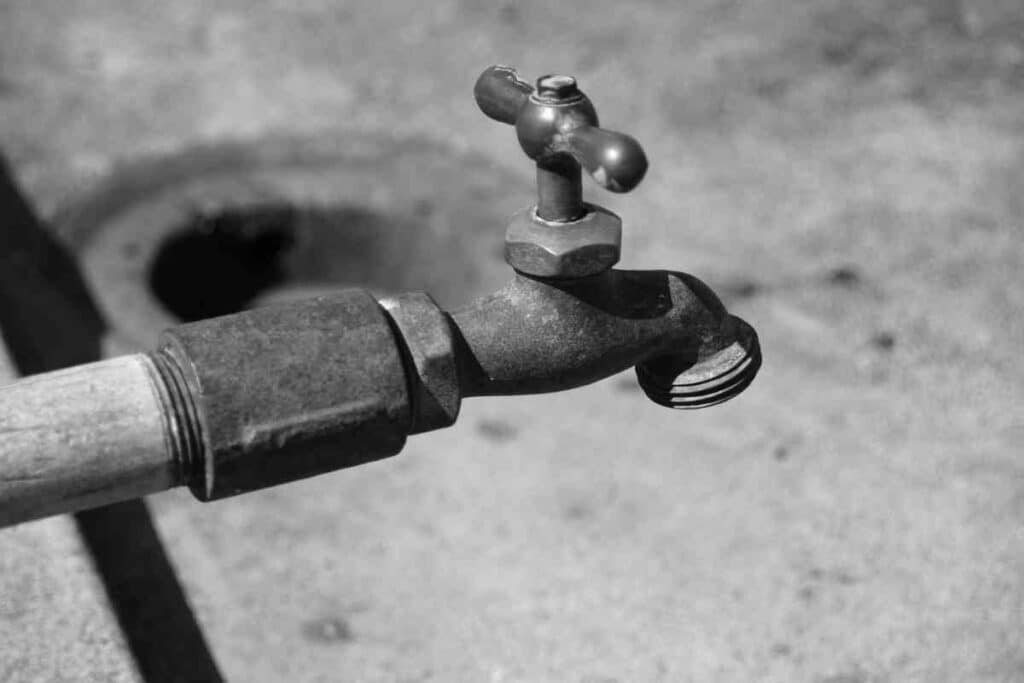
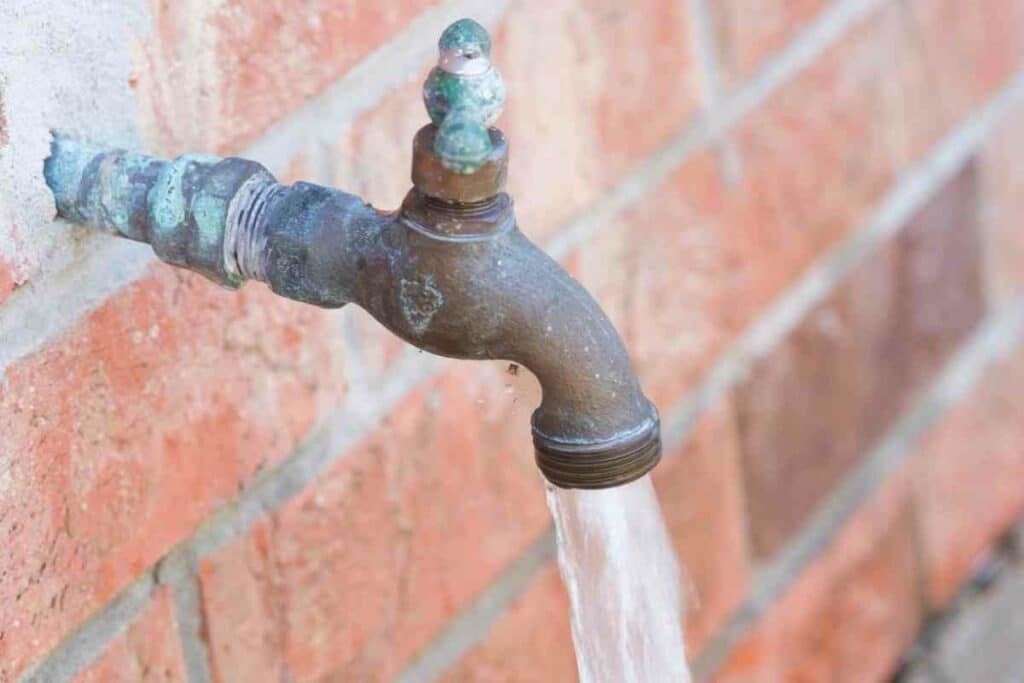
Common Spigot
Also referred to as the Traditional Compression Valve, the most commonly used and installed exterior faucet is the Spigot.
This nifty little invention has a wide variety of uses. As a water source, they are adaptable, are made from a range of different metals and are designed in some varied styles.
A standard tap, the Spigot is a simple device to both use and install but mistakes can lead to devastating ramifications.
Should you have little experience or knowledge of home plumbing, be sure to read carefully and research well.
Or hire a professional to install it.
One would not want to cause their own home to flood. These would be pretty much useless in continually freezing temperatures.
The further north that you are, the more likely it is that you will be best purchasing a frost-free spigot: designed for ice, frost, snow, and freezing winds.
What to Expect? Prices range from as low as just a few dollars each, for the standalone faucet but there are actual kits that can include all the materials that you need for the job; leaving you to provide the tools, depending on which and how you intend to install.
Ball-Valve Spigot
With a simpler design, this type of tap can be a little cheaper than most, but it provides very little control over the water flow due to its ball valve.
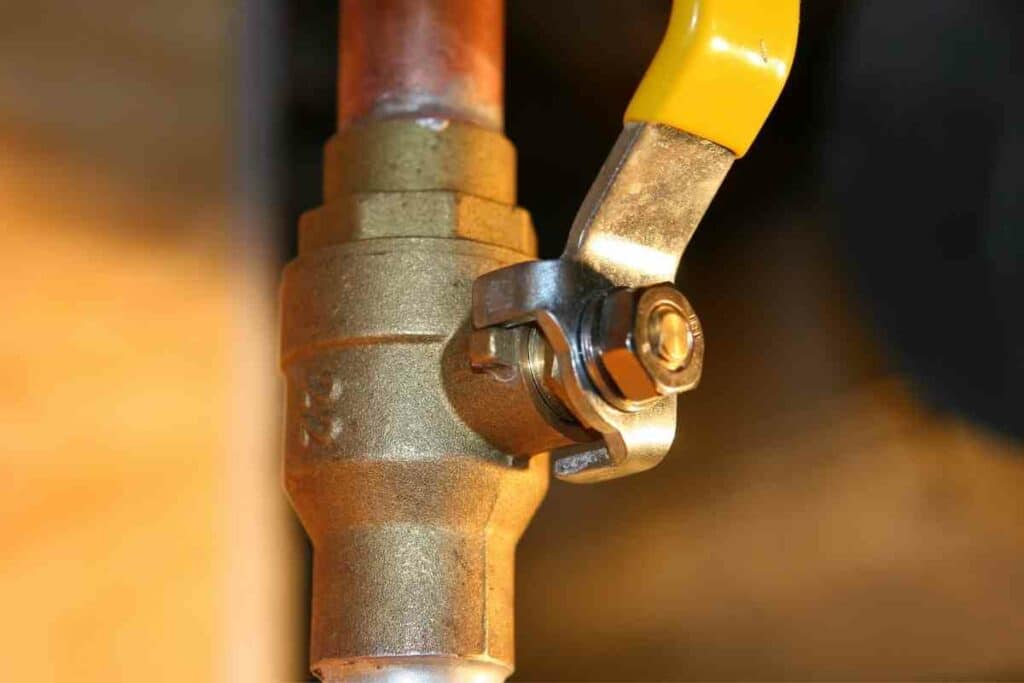
The lever opens a hole through the sphere, which produces a consistent stream. Similar to a go-kart, these are just stop-and-go.
If all you need is for your water to run at the same rate – then this might be the outdoor water outlet for you.
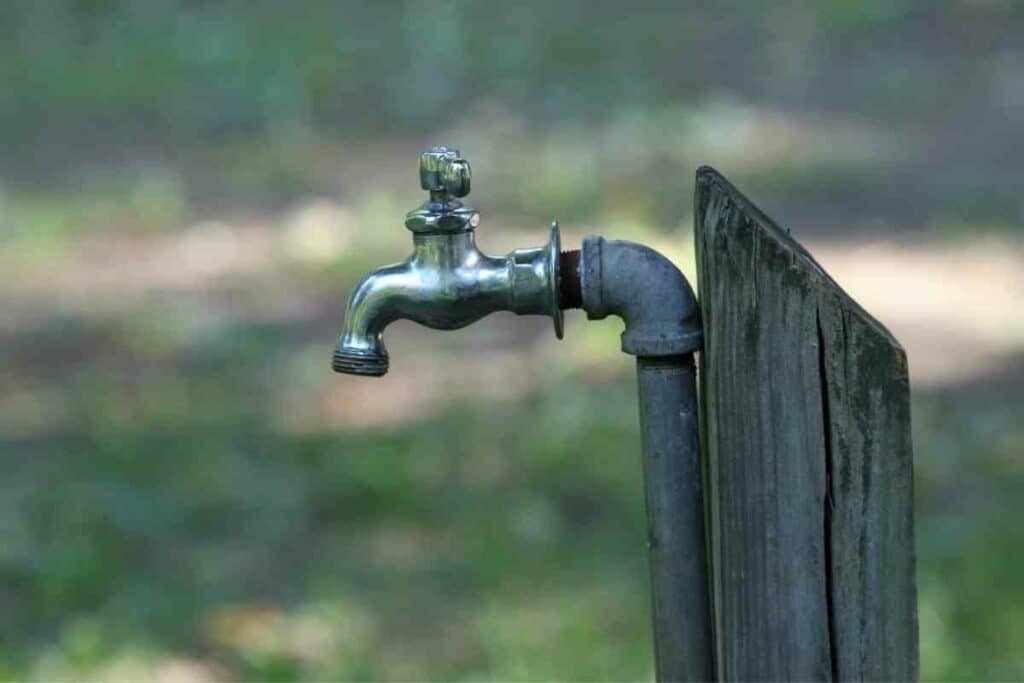
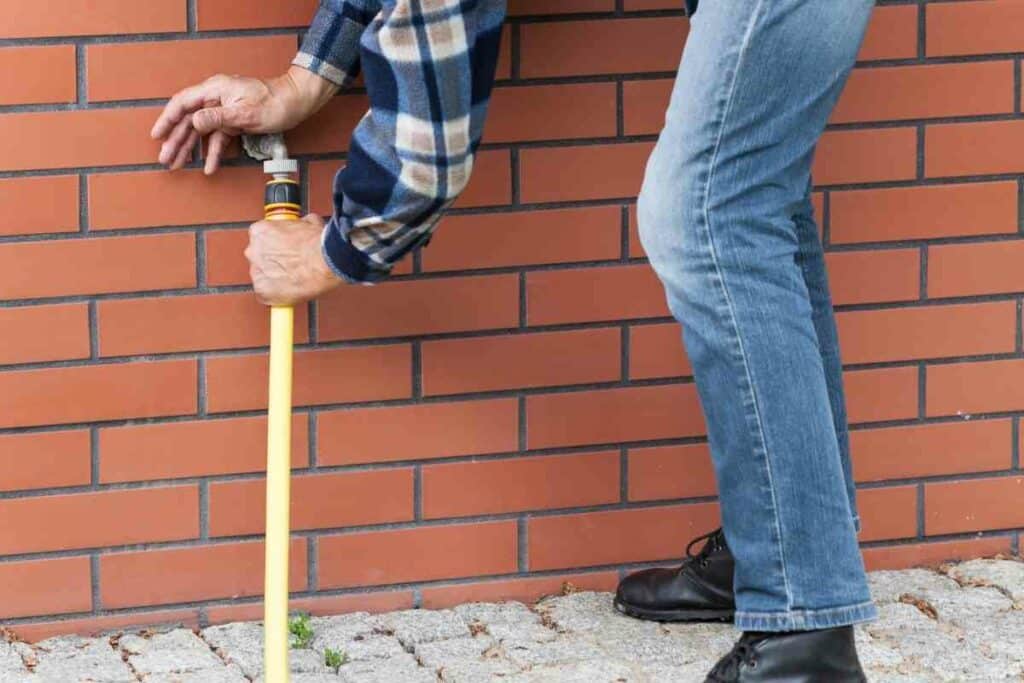
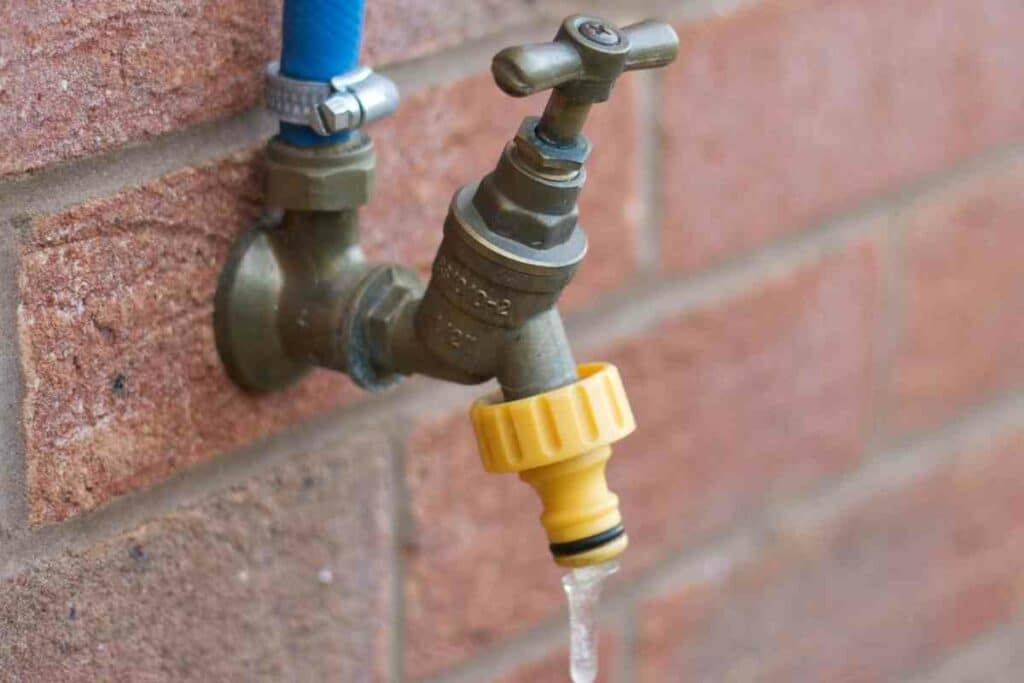
Hose-ready Spigot
In this day and age, hose-ready faucets are generally fitted to the external wall of all newly built homes in many countries around the world.
Basically, this is a spigot with a spout that is already edged with a screwable tip.
Being a standard size, hose attachments can be directly screwed onto them – making them a little more of a convenience in the garden.
One thing to consider when using these is that they are easily overtightened, and they can break in the cold and frosty weather.
Try not to put too much force into the closing. That way, you will never need to use a gripping tool to loosen them.
They can also seize, if you do not use them often, but this is true of any faucet.
Should you need to, just keep in mind that they all open anti-clockwise and close clockwise. Left for loose; right for tight…
Installation Through an External Wall – What Will I Need?
Some companies sell full installation kits, with and without a faucet included.
An installation kit will usually include:
- the tap
- a copper
- through-wall pipe and flange
- an isolating T-junction
- screws
- wall plugs
- and some thread tape
Be sure to measure the distance from the pipe connector to the outside of the external wall, so that you can choose an appropriate length.
Kits can range from as little as around $30.00 to $50.00. Some have lengthier flanges; others include a 45-degree bend connection and a pipe sleeve.
You will need to assess if a bend is needed, but a pipe sleeve is recommended.
This is due to the fact that the pipe itself naturally expands and contracts and a sleeve provides necessary room and some protection.
At the very least you will need:
- A digital detection device to check your wall.
- A regulation-compliant faucet with a double check valve.
- A through-wall pipe at the appropriate length.
- A flange/wall plate for the end of that pipe.
- A T-junction connector (an isolating one with compression joints is recommended).
- Screws & Wall Plugs.
- Pipe Sealing Tape (PTFE).
- A pipe sleeve, appropriately sized.
- An electric drill with a masonry drill bit at the appropriate circumference and length.
- A spanner (Adjustable or fixed).
- Pipe Cutter or Hacksaw.
- Some wire wool.
- Protective goggles.
- The location of your property’s main water faucet which is used in emergencies.
Installation Location – Where Should I Drill?
Usually, the easiest way to install any standard spigot is to locate the faucet on the wall which backs on to the kitchen sink.
Beneath, lie both the hot and cold mains water pipes. Outdoor taps are attached to the cold mains pipe, which is usually easy enough to access, from this point.
Sometimes this can be difficult due to unused or old, unremoved pipes but as long as you are attaching your spigot to the main supply pipe, you will be in the right place.
Some homes require a more complex approach, by exploring behind cupboards and detecting pipes in the walls.
Should you find locating a pipe is more difficult – it may be best to consult a plumber.
However, should you find a pipe with enough room to fit a ‘T’ junction connector and is manageable, you are ready to consider turning off the property’s main water tap.
If you feel confident enough to install yourself, follow these 8 steps.
Step 1
Drilling through the exterior wall of your home could be quite a daunting prospect.
There are, however, some simple steps that you can take in order to ensure that this is done safely.
Walls contain wires and pipes, and you need to steer clear of any of them. A digital detection device is your safest bet.
These can be as cheap as $20.00 and are a worthwhile investment if you cannot borrow one.
Ensure the wall is clear to drill on both sides and it would be wise to use some tape on the drill bit, to mark the depth and be sure that you do not push through too far.
Bosch GMS120 Digital Multi-Scanner with Modes for Wood, Metal, and Live Wiring
Standard pipes are 15mm, but it is best to check this and use a drill bit a couple of millimeters wider than the pipe, to allow for temperature-induced expansion.
If you are using a pipe sleeve, make sure that you account for that extra diameter.
Anything above 20mm and most would recommend a core drill bit, which removes a cylindrical section.
Use a pencil and the flange’s screw holes to mark out sites for the mounting wall plugs.
Using a smaller drill bit – equivalent to the size of the plugs – drill the mounting holes for the screws.
Step 2
TURN OFF the main water supply.
Sometimes under the kitchen sink, this can also be located outside a property, under the stairs, in a bathroom or boiler room.
Make sure that you run the cold tap until whatever is left is gone.
Not only will this confirm that the water is in fact off but making a cut into a full pipe has very clear and obvious consequences.
Step 3
Use a pencil to mark the area you wish to cut.
And use the pipe cutter or hacksaw to remove the desired piece.
A pipe cutter is much simpler to use but it can be more costly.
Should you use a hacksaw, simply wrap the pipe in a piece of masking tape, using the edge to guide your cutting.
Use some wire wool to clean around each cut site, to remove any rough edges or dirt.
BEETRO Handsaw for Metal, Wood, PVC Pipes
Step 4
Wrap 5 layers of PTFE tape around each pipe end, before attaching your T-junction.
Add this to the through-wall pipe, too.
Once in place, use a spanner to tighten the nuts on both sides, ensuring that the outlet is facing in the right direction – towards where you want the faucet to be situated.
With compression joints, this is easily rectifiable but Solder-ring, Capillary, or End-feed joints, the seals are permanent, and so this is crucial to remember.
Step 5
Insert the through-wall pipe and attach it to the T-junction, using the spanner once again to tighten, having already applied tape earlier.
You may need to adjust the size of this pipe before fitting.
Step 6
Mount the through-wall pipe to the external wall, using the screws.
Step 7
Attach the faucet to the mounted pipe, ensuring a tight fit, and presto!
You are almost done. You can even secure further with expanding foam, at either end of the drill hole.
Step 8
Finally, double-check the connections and ensure that everything is secure.
Now, you can test it by turning on the water again.
Check immediately for any leaks so that you can act quickly and turn off the water once more, should you need to.
It would be prudent to ask a second person to stay close to the new connections and signal with any problems, for you to turn the water back off.
Yard Hydrant
Anti-freezing, and available in different designs and varying styles, the garden hydrant is more suitable for larger areas of land.
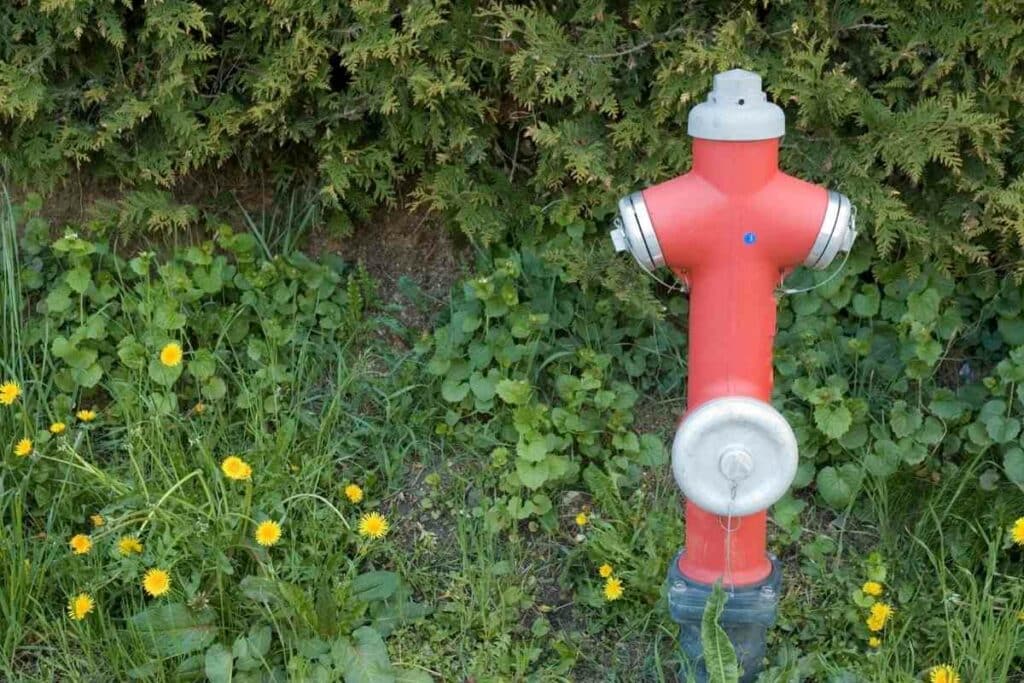
They can extend further from the property since they are attached to an underground water source and have a higher volume of water flow.
These are required for more advanced sprinkler systems, hydrating livestock and they provide a great deal of control over the rate of the flow of water.
Valve handles are lifted to release the water and the higher it is lifted, the faster the water flows.
Designed so that water is not contained within it, when it is not in use, the yard hydrant will not freeze in Winter.
Price Range
For high-quality and reliability, you are best spending from around $135.00, up to and around $350.00 but delivery charges can also range from $100.00, anywhere up to $200.00.
Woodford Y34-4 Y34-4 Yard Hydrant Freezeless,4 ft bury depth, 84.5 inch overall length
At the top of this price range, coming highly recommended with hundreds of 5-star reviews on Amazon, alone, is the Woodford Y34-4 but there are many brands including:
- Simmons Manufacturing
- Everbit
- Merrill
- Water Source
- and many others
Shopping around, you can even source a small 2ft hydrant from PROFLO, for as little as just over a hundred dollars.
Installing – Underground Water Source
The best way to do this would be to hire a professional but should you have the confidence to install one yourself, you will first need to locate a subterranean cold mains water pipe.
Following from your home and physically digging to find it, is one method. You will have to dig anyway, to cut the pipe and install the hydrant.
There are state-of-the-art tracing devices that are used by water companies to track the routes of pipes but there are companies that will do this for you, should you need to.

Methods are available, such as radar detection, but these can be very costly.
If you want to install a hydrant, not too far away from your property, then digging is the only way to go.
The process is pretty much the same as installing a spigot, but pipes can often be wider, and the work is a bit more extensive.
You must dig out enough soil to provide ample space to complete the pipework and then replace it once you have completed the installation.
Some people also use a small amount of concrete to secure the hydrant in place.
Final Thoughts
Depending on your intended purpose will depend on the type of faucet you purchase and the method of installation.
If you’re still unsure then please speak to your local tradesman for more advice.
We hope that our Faucet guide has given you a little insight into the type of equipment you’ll need for installation and maintenance.
You Might Also Read