Planting and maintaining your chia microgreens are only part of the journey of getting delicious vegetables.
After growing microgreens, you will need to harvest them, which can be a bit challenging if you have never harvested them before.
That begs the question: how do you harvest chai microgreens?
For harvesting, simply confirm that they are ready to harvest, grab your supplies, and decide on what time of day you want to harvest. After that, uproot the entire clump, trim the roots from the greens, and gently rinse and dry directly before serving.
For a more comprehensive guide to harvesting your chai microgreens, read on.
Below, we detail every step in the harvesting process in six simple steps, including what you will need, picking the right time, and preparation directly after harvesting.
Scroll down for more.
Harvesting Chai Microgreens In 6 Easy Steps
Here are the six simple steps to harvesting microgreens.

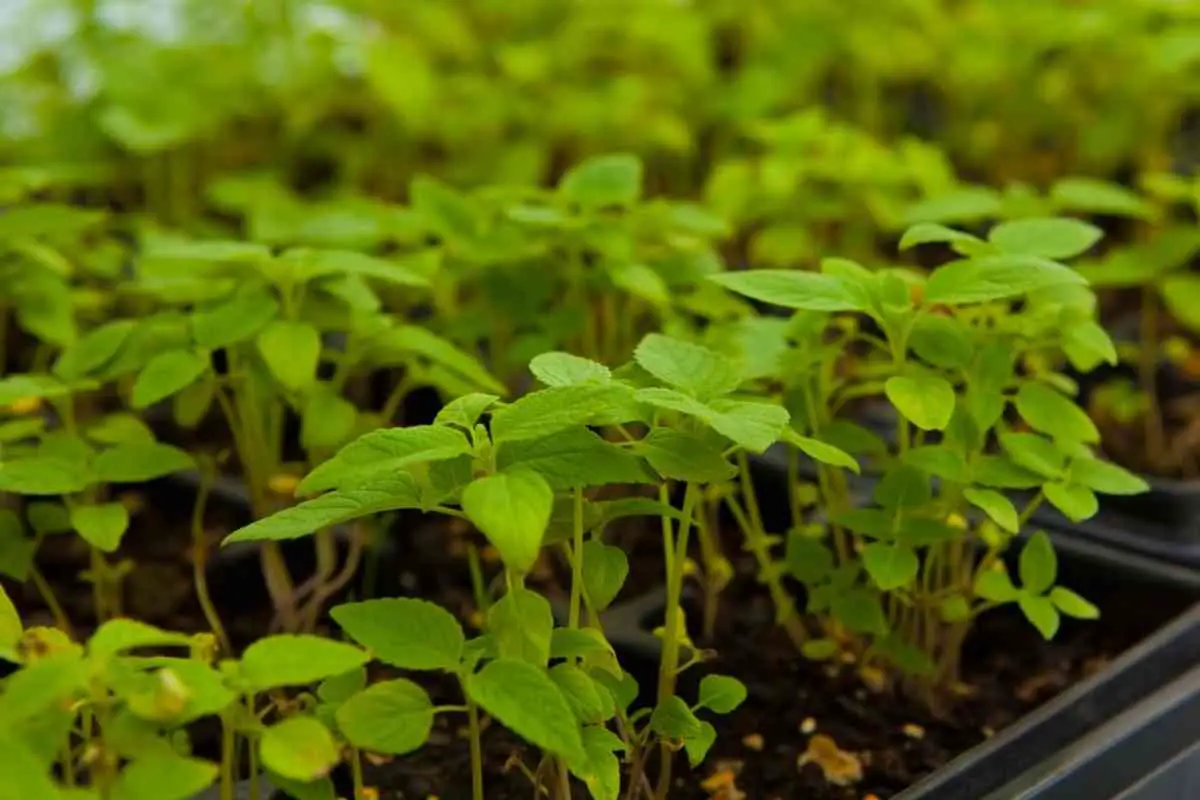
1. Confirm Your Chai Microgreens Are Ready To Harvest
The first step of harvesting any plant is to confirm that they are ready to harvest.
Microgreens grow very quickly, which means the harvesting period will be shortly after planting. For microgreens, you only need to wait between 5 and 12 days.
When you are sure that your microgreens are ready to harvest, simply look at their height.
Works Best: Once the microgreens are between one and three inches tall, they can be harvested. Do not wait any longer because the flavor profile will gradually turn more bitter.
2. Get Your Supplies
What you’ll need:
- Scissors
- Colander
- Paper towels
- Cold water
- Gardening gloves (optional but recommended)
- Large bowl
- Refrigerator
Once you’ve confirmed that your microgreens are ready to harvest, it’s time to get your supplies.
The only supply you actually need for the direct harvesting process is scissors.
You might want to wear gardening gloves as well, but the decision to wear gloves is up to you.
Some other tools you will need are a colander, paper towel, and cold water.
Even though these tools are not directly related to harvesting your microgreens, they relate to rinsing and drying them.
As you will learn below, we highly recommend rinsing and drying the sprouts directly after harvesting. You will also need a large bowl.
This large bowl is used to store the microgreens inside a refrigerator while you are waiting to serve and use said microgreens.
3. Harvest at The Right Time In The Day
Next, you need to decide the right time of day to harvest your microgreens.
There are two factors you need to consider when selecting the right time to harvest your microgreens:
- Firstly, microgreens are best harvested whenever it is cool and shady. You might want to wait until sundown or right before sunrise to harvest the microgreens. If you have your microgreens in a portable planter, you can always bring the entire tray to a cool shady place, regardless of the time of day.
- Secondly, microgreens taste the best if you harvest, rinse, and dry them directly before serving.
Because of this fact, you will want to harvest the microgreens right before you plan to eat them. Keep this fact in mind whenever you are deciding when to harvest.
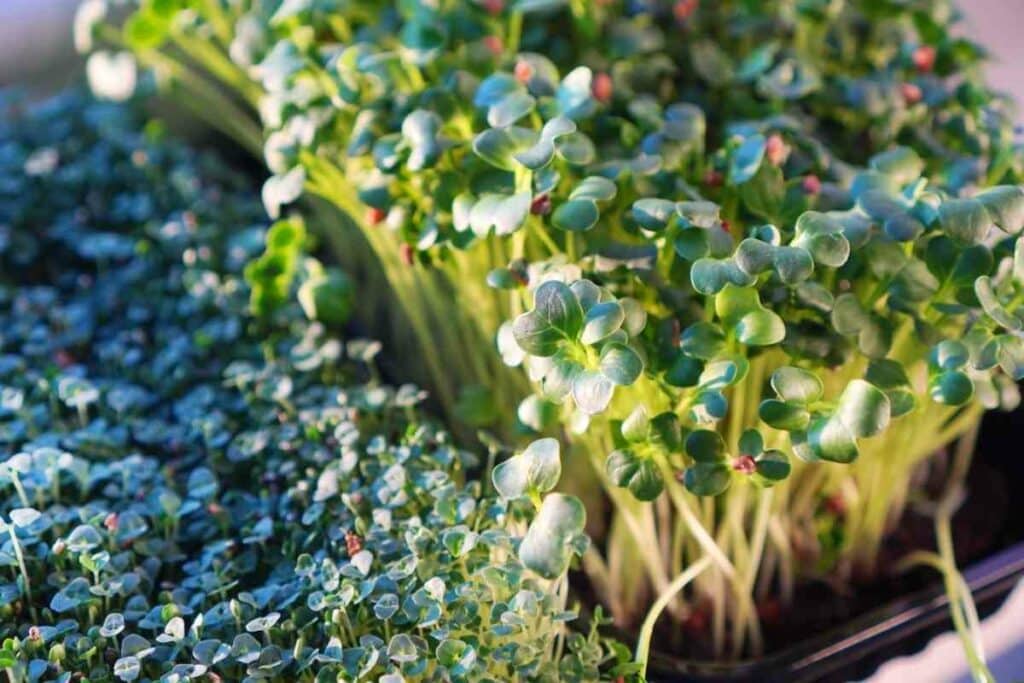
4. Uproot The Entire Clump
Whenever it is time to harvest your microgreens, you will do so by uprooting the entire clump.
To uproot the clump, gently grab a fistful of your microgreens. Carefully pull upwards to uproot the entire clump from the soil.
If you do not feel comfortable uprooting the entire clump, you can move on to step five.
Although skipping this step is an option, we recommend uprooting the clump because it often results in the best-tasting microgreens.
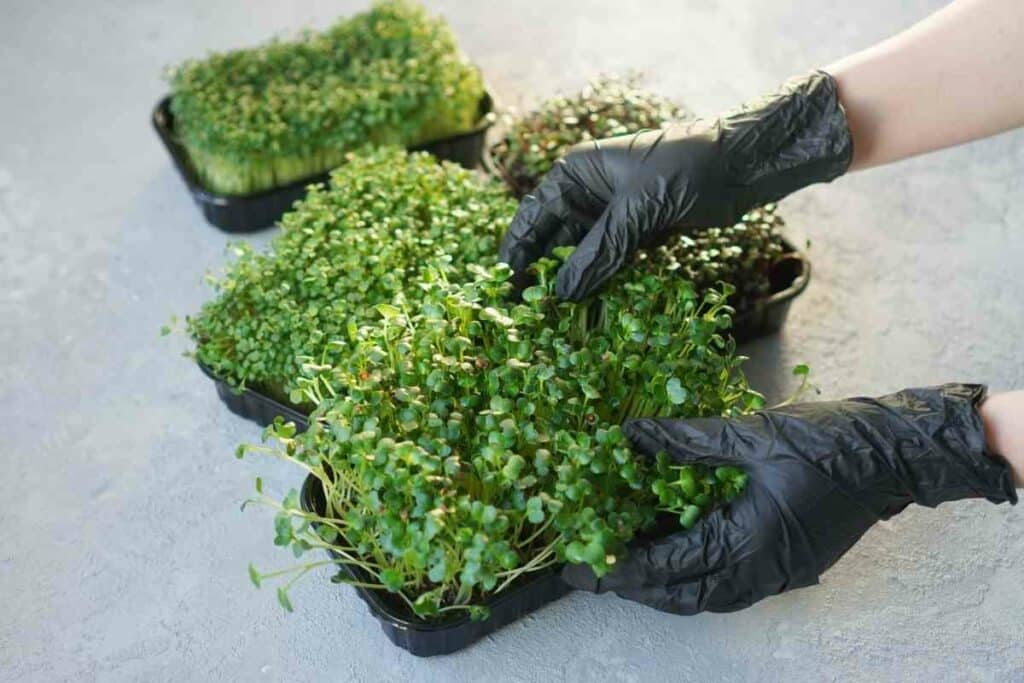
5. Trim Roots From Greens
If you uprooted the entire clump, use your scissors to cut the roots away from the greens.
Simply set the greens to the side as you are completing this step.
For people who skipped step four and went straight to trimming the roots from the greens, all you need to do is cut the microgreens from the growing pad directly.
It may be helpful to think of this step as giving your microgreens a haircut.
Regardless of whether you skipped step four or not, it’s important to cut all of the microgreens at once.
Although you may want to let some of the microgreens continue growing, we advise against it.
If you let the microgreens continue growing, they will end up having a different flavor, often bitter.
Always Good Idea: To ensure that all of your microgreens are tasty, cut all of them at once. Even if you end up not using them all, it’s often better than waiting for your microgreens to turn bitter.
6. Rinse And Dry Before Serving
Once again, the best time to harvest microgreens is right before serving.
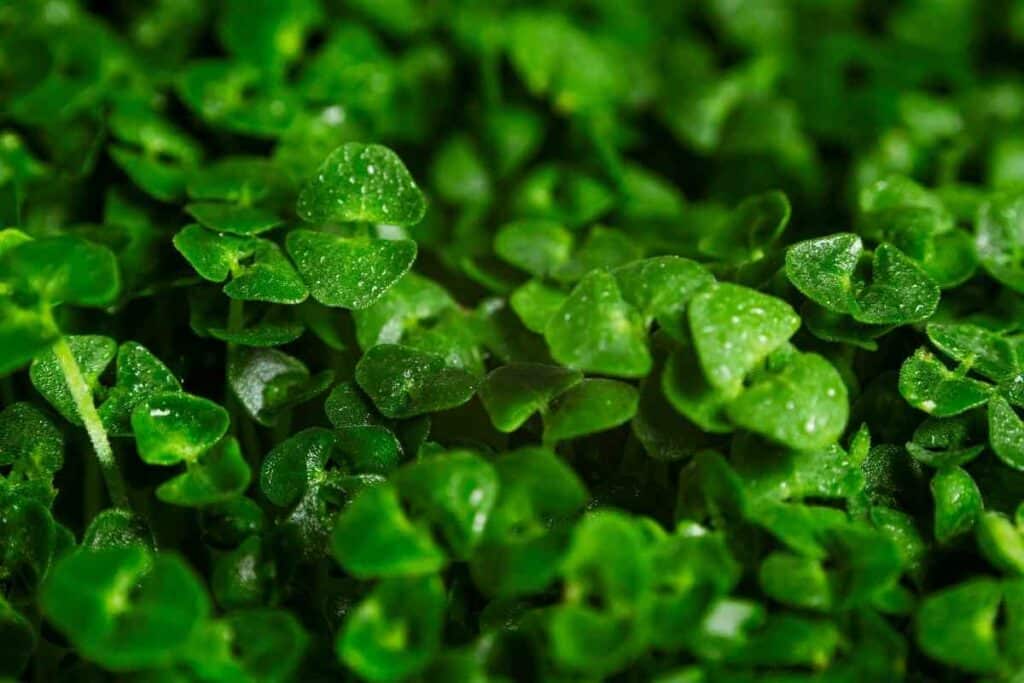
Assuming you took that advice to heart, all you need to do now is rinse and dry the microgreens.
To rinse your microgreens, place the plant inside a colander. Allow cold water to stream over the microgreens so that they are completely cleaned before eating.
Once you have thoroughly rinsed off the microgreens, allow them to air dry by placing the sprouts over a paper towel.
If you do not eat all of your microgreens at once, you can simply put them inside a large bowl for refrigeration.
Microgreens often last several days when refrigerated. Make sure not to put microgreens inside the refrigerator if they are not dry yet.
Conclusion
As you can see, harvesting chia microgreens is super simple.
The most difficult part is knowing when you should harvest the microgreens, including on the right day and at the right time. For most people, harvesting 10 days after results in the best-tasting microgreens.
We recommend harvesting right before serving the microgreens for the best tasting results as well. Likewise, try to rinse and dry the microgreens directly after harvesting. Doing so will result in the best flavor possible.
We hope that this article has helped you harvest your microgreens quickly and efficiently.
Good luck!