Compost tumblers are critical to DIY at home composting.
They’re designed to turn and mix the materials while heat is generated to expedite the composting process.
If it’s not heating up properly, the composting process grinds to a halt.
There are several variables that go into composting to maximize the heating process. If you’re not doing one or more of them, then you may not be getting the ideal temperature necessary. It’s important to get the mixture right as well as having a well-maintained compost tumbler.
There are also a number of things you shouldn’t put in a compost tumbler, as well as a certain ratio of greens to browns you should follow.
Action To Be Taken: Another important component is insulation. If too much heat is escaping, the composting process is wasted.
How Well Is the Mix Broken Down?

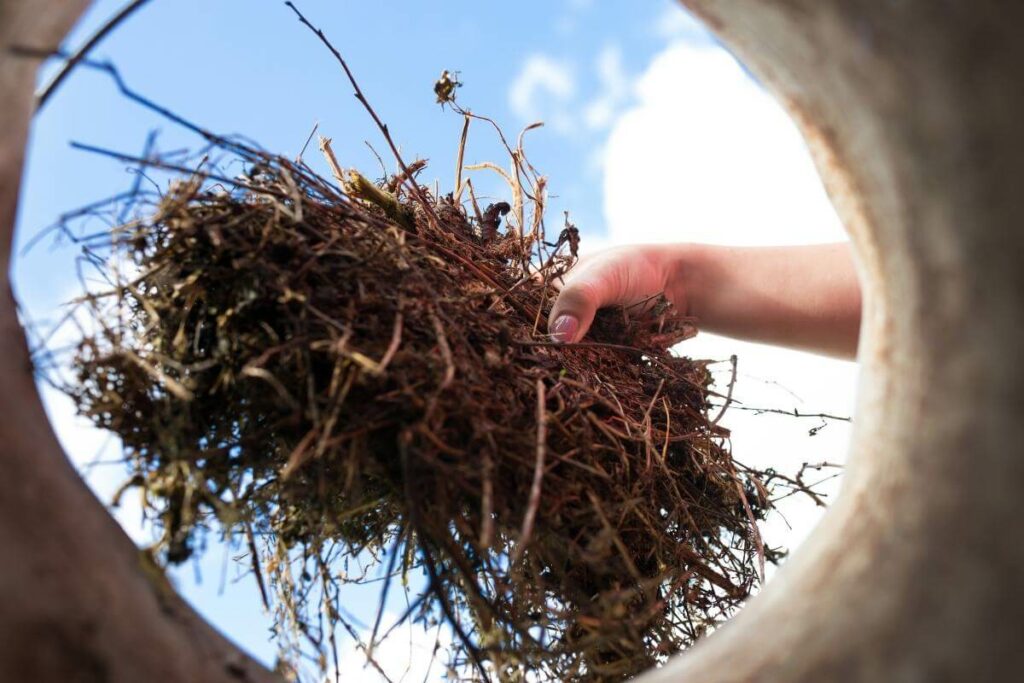
When it comes to breaking down your materials, it’s important to get them as small as you can. Whether you shred, rip, tear, pull-apart, or cut, your end result is to keep the materials going into your compost tumbler small.
The goal is to increase the composting process by increasing heat and microbial breakdown.
The more capable the bacteria are at feeding on your compost materials, the more heat will be generated as a by-product.
Plus, the smaller the material, the more surface contact it has, which creates more friction. More friction means more heat.
By minimizing the size of your materials, you’re accelerating to separate processes that help generate heat.
What Is the Proper Ratio of Greens and Browns?
The general rule of thumb is to keep the ratio at 2:1 browns over greens. In other words, for every green you add, also add two browns. Water is only needed if it’s too dry as there is usually enough H²O in the compounds being added to keep the moisture in check.
If you’re not setting at the correct ratio, that could be the problem that’s resulting in inadequate heat from your compost tumbler. Having too many greens will generally result in an increase in water.
Water has an obvious cooling effect. If there’s too much water in your mixture, you will most likely see it pooling at the bottom.
You can either add more browns to the mix – in the hopes that it will absorb some of the water – or you’ll have to pour out the mixture onto something dry, like a newspaper.
Once the newspaper has sufficiently absorbed enough water, place the mixture back in the compost tumbler. The amount of moisture should be enough that you can visibly see that the compost is wet without it actually pooling up beneath it.
Since the composting process requires the work of bacteria, using water with chlorine or fluoride – which is typical with city water – may kill the bacteria, making your work more difficult when trying to get it to create and maintain heat.
Works Best: Use bottled water without those additives or collect rainwater for the purposes of composting.
What Material Should Go into a Compost Tumbler?

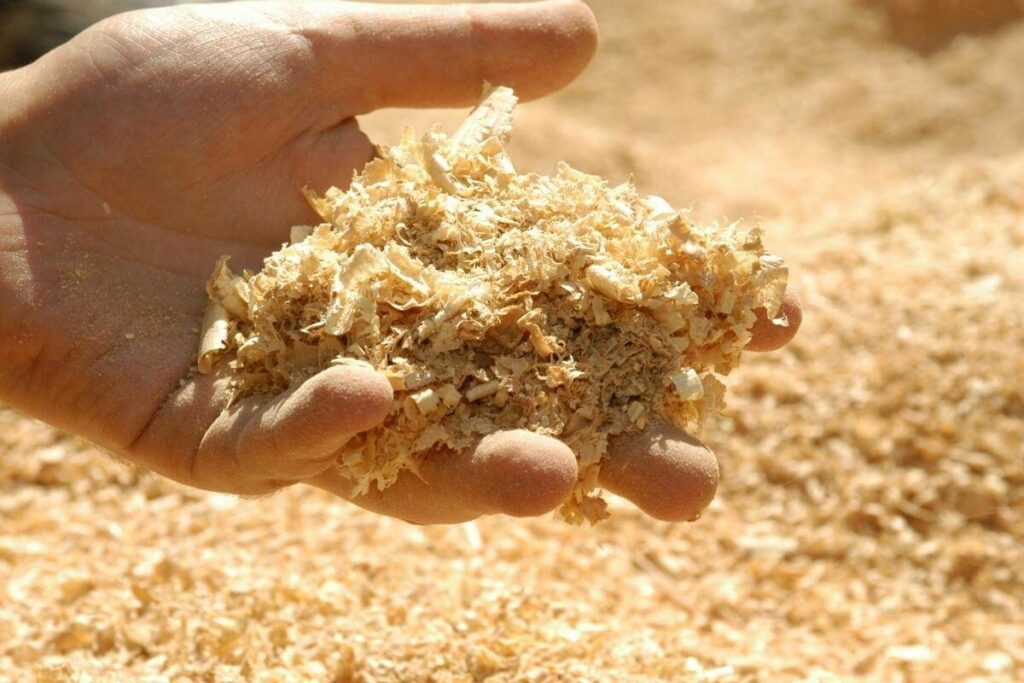
The end goal is to generate heat and now that you know the proper ratio of browns to greens, you should know what kind of materials to use. For greens, stick to vegetation. Brown materials are things like sawdust, straw, twigs, and moss.
Remember, browns to greens is a 2:1 ratio, so when you’re finished breaking down the items that are going into the compost tumbler, stick with a cup of greens to two cups of browns.
Corn cobs and stalks, napkins, paper plates and cups, wood chips, and pine needles are all part of the brown compost, while greens can include any type of vegetable matter, manure, coffee grounds – as well as the used filters – fruits, hair, tea bags, and eggshells.
Most of this stuff isn’t difficult to break down and you can use a larger measuring device than just a cup, so long as you use it twice for the browns and once for the greens.
You’re trying to achieve a healthy balance of nitrogen and carbon, with enough H²O to facilitate the bacterial breakdowns that generate heat.
Introducing too much or too little of the necessary materials can restrain the heating process and it doesn’t take much to be off.
Compost Accelerators and Sugar
Even if you’re a little bit off on your measurements, a good compost accelerator – like SCD Probiotics – will do the job nicely and pick up some of the slack. Molasses is also an excellent additive because bacteria absolutely adore sugar.
What a compost accelerator does is hasten the composition process – creating the level of heat you’re trying to achieve – by fast-tracking the fermentation process.
Composting accelerators come with all of the administration methods and amounts you’re supposed to use, as well as how often.
Adding molasses will also hasten the fermentation process and, as a welcome addition, generate more heat.
When to Spin and Adding a Thermometer

The first rule of thumb is not to turn the tumbler too much. The composting process takes time to generate heat and turning it too much dissipates the heat and sets the process back. A thermometer will help you gauge when it’s time for a spin.
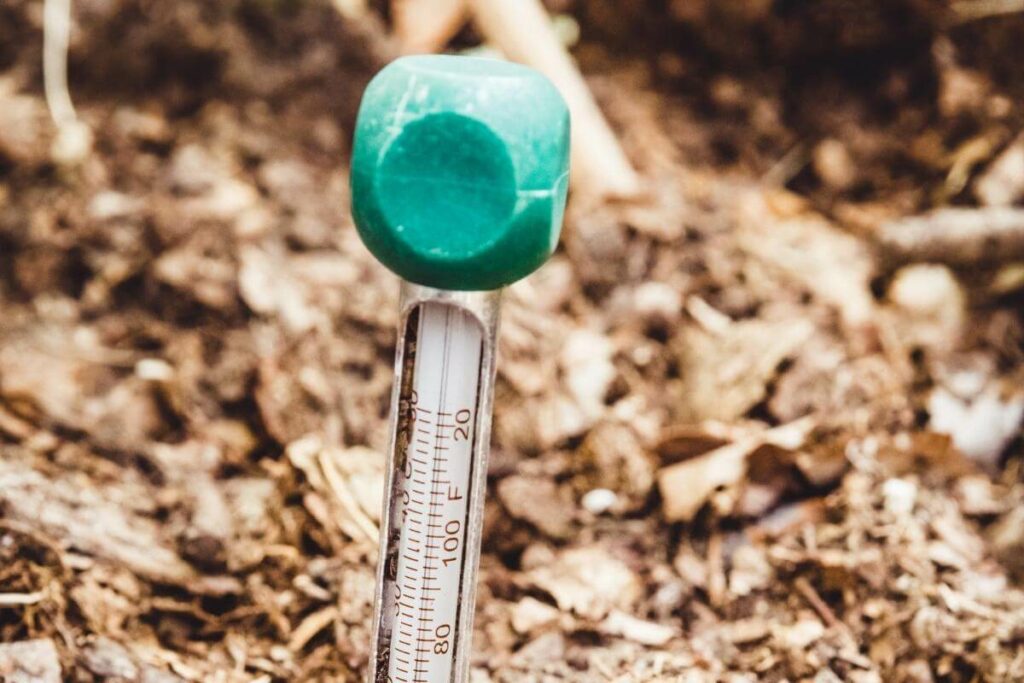
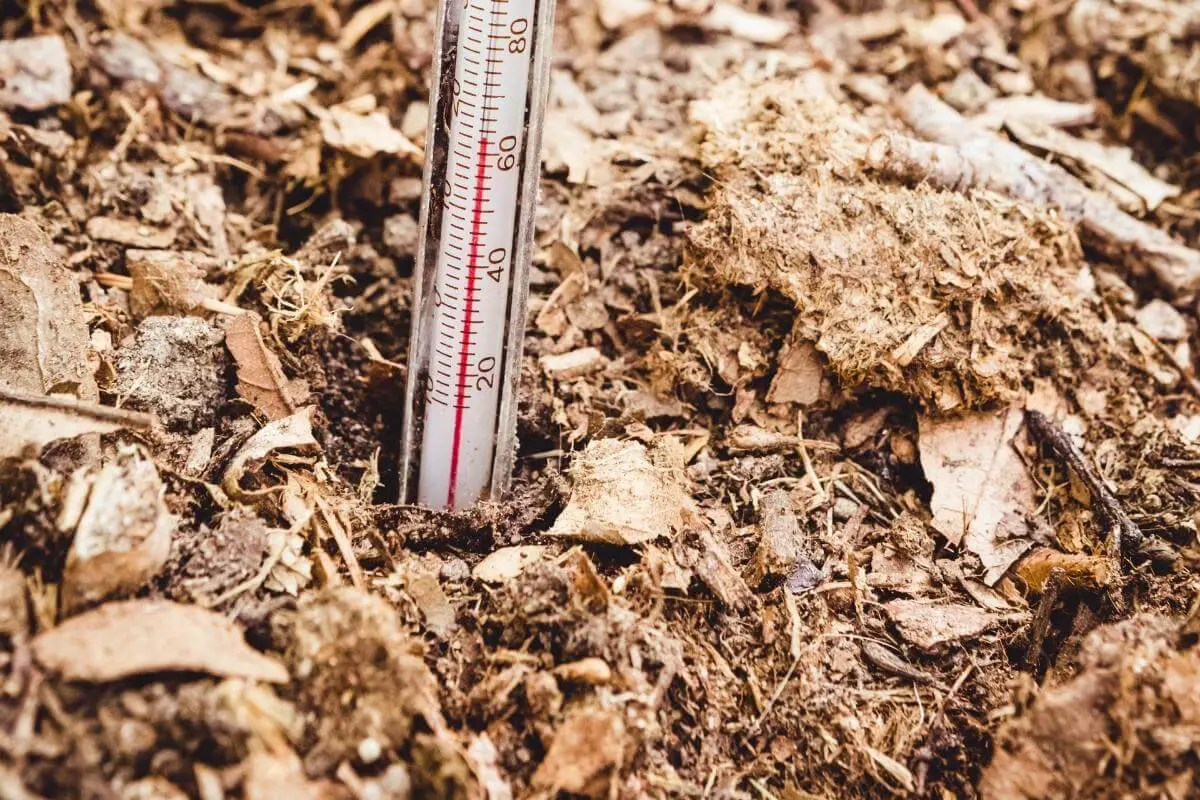
A good compost thermometer will help you gauge when it’s too cold, too hot, or when the fermentation process is active.
Any time the heat gets too much, it’s time to spin the drum. Anytime it’s too cool, you can go over the list above to set it right.
There are plenty of available thermometers out there, but the “composting” thermometer will list the cool, active, and hot cycles.
Focus On This: Turning your compost tumbler should be largely based on this, as controlling the temperature is your only concern if all of the above is set up the right way.
Final Word
A lack of heat in your compost tumbler is far more likely to be a result of inaccurate ratios of green to brown, improper materials, or too much water.
Following the advice above should set it straight and get your temperatures up to a nominal level.
Remember, get a decent compost thermometer, spin it when it’s too warm, and carefully measure out your browns and greens.
Doing all of that should have you composting with adequate heat and efficiency in no time.
