Purchasing a mushroom growing kit is by far the most convenient method to begin farming mushrooms at home.
It may appear to be difficult, but it is relatively simple. It does not need the use of any specialized skills, tools, or other equipment.
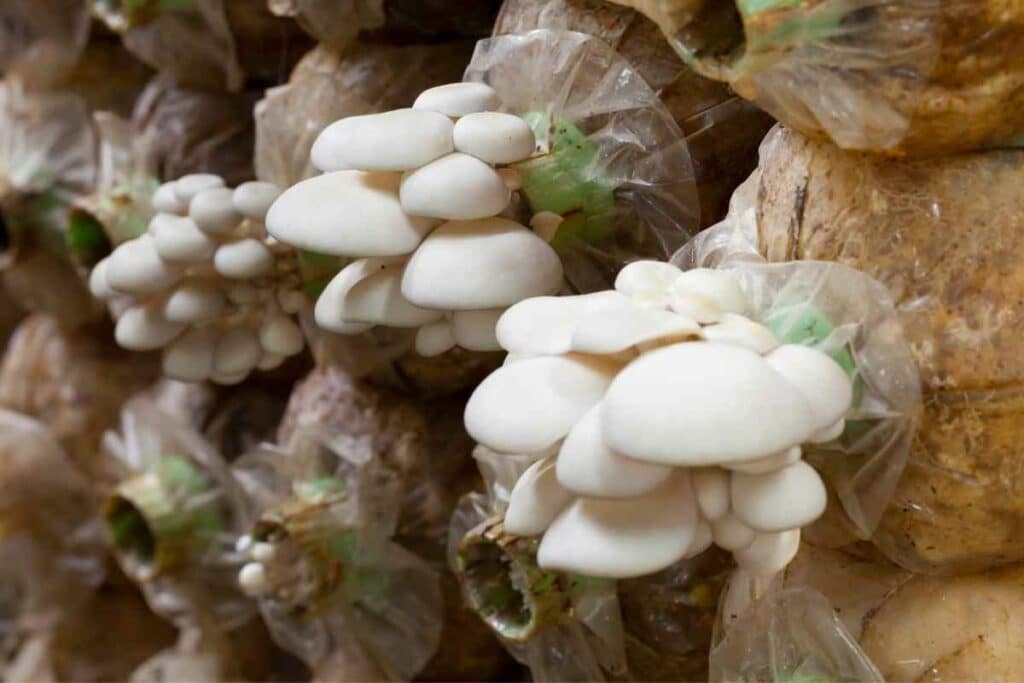
Aside from that, the kit is readily prepared and contains mushroom compost that has been inoculated with a white-colored mushroom mycelium.
All that is required is to take the proper steps.
Some people think that growing mushrooms using a mushroom kit is complex, but that’s not the case.
They are fun for both beginners learning how to grow mushrooms and seasoned cultivators alike.
You can follow some general steps to guarantee success. This will include opening your grow kit, making a hole in the grow bag, soaking the casing, setting up your kit in the right location, how often to water, when and how to pick your mushrooms.
How to Grow Mushrooms Using Organic Mushroom Kit
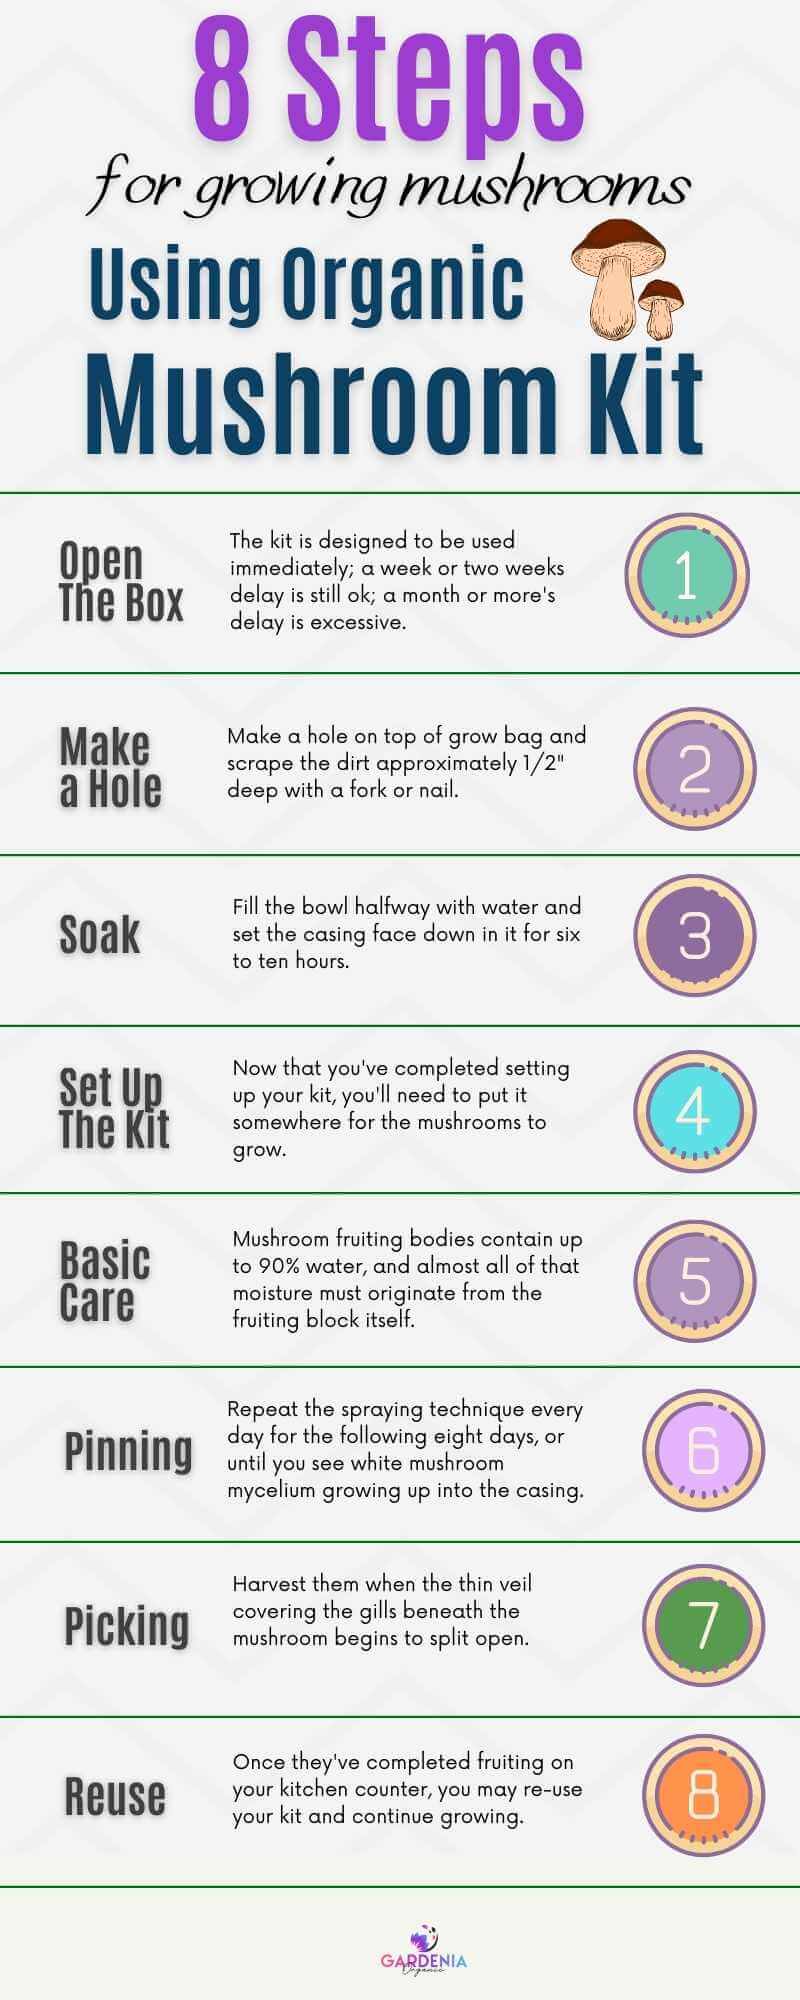
1 – Open The Kit
All mushroom grow kits are shipped when they are entirely colonized and ready to fruit.
The kit is designed to be used immediately; a week or two weeks delay is still ok; a month or more’s delay is excessive.
It will continue to grow, but the longer you wait, the fewer mushrooms produced.
If you want to put off beginning your kit for a few weeks, store it at temperatures between 50°F and freezing.
A tiny bag of dried peat moss combined with a little calcium carbonate is included in the package. This is called a casing.
A casing is used as a covering to contain water and protect the mushroom mycelium developing in the compost.
2 – Make a Hole Grow Bag/Casing
Make a hole on top of grow bag and scrape the dirt approximately 1/2″ deep with a fork or nail.
The idea is to scratch with enough power to make it appear like you’re cutting through the brick.
The roughness of the casing generates a microenvironment in which new mushrooms can develop.
Do this until the white substance looks less white, looser, and less thick.
Organic Mini Mushroom Grow Kit
3 – Soak
After scratching, find a bowl large enough to hold your mushroom bag.
Fill the bowl halfway with water and set the casing face down in it for six to ten hours.
Make sure that the section with the hole is completely immersed.
Soaking is important in hydrating the soil and providing it with adequate moisture to nourish your mushrooms.
The casing aids in the retention of water and the protection of the mushroom mycelium developing in the compost.
Then, with the hole facing up, insert the mushroom bag in the box it came in. This is the end of the equipment setup process. Take a note of the date you start your kit.
4 – Set Up the Mushroom Kit
Now that you’ve completed setting up your kit, you’ll need to put it somewhere for the mushrooms to grow.
For optimum growth, you should store it under fruiting conditions:
- Place it in a sunny place, such as a shaded windowsill; never allow direct sunlight to shine into your mushroom kit. The sun might cause your kit to dry out, overheat, and possibly destroy it.
- No mushroom will grow unless your mushroom kit is left open for air exchange. If there is adequate oxygen, mushrooms will create carbon dioxide and grow tall and leggy.
- You may store the kit at room temperature between 60- and 74-degrees F, but you must mist it with water regularly to maintain a high humidity level.
- If you have a humidifier, placing the grow bag next to it will be beneficial.
Some packages will include plastic tents to cover the bag and keep the humidity levels stable. Leave it in a humid environment for a week or so.
5 – Basic Care
Mushroom fruiting bodies contain up to 90% water, and almost all of that moisture must originate from the fruiting block itself.
As a result, don’t allow the casing to dry up because it’s very challenging to remoisten it, and if your mushroom block doesn’t have enough water, it’ll fail to fruit or fast abort any new mushrooms that do develop.
A little sprinkling or dusting of water in the casing (spray four to five pumps into the soil area) once a day is adequate to keep it moist.
Also, do not overwater the casing because there is no drainage in the kit, and excessive watering will cause the mycelium to stack up, flood, and drown the mycelium.
If the temperature rises over 70 degrees Fahrenheit, you may need to water more often.
Remember This: Do not plan on covering the top of the kit in order to prevent it from drying because the mushrooms need fresh air circulating in the kit for better growth.
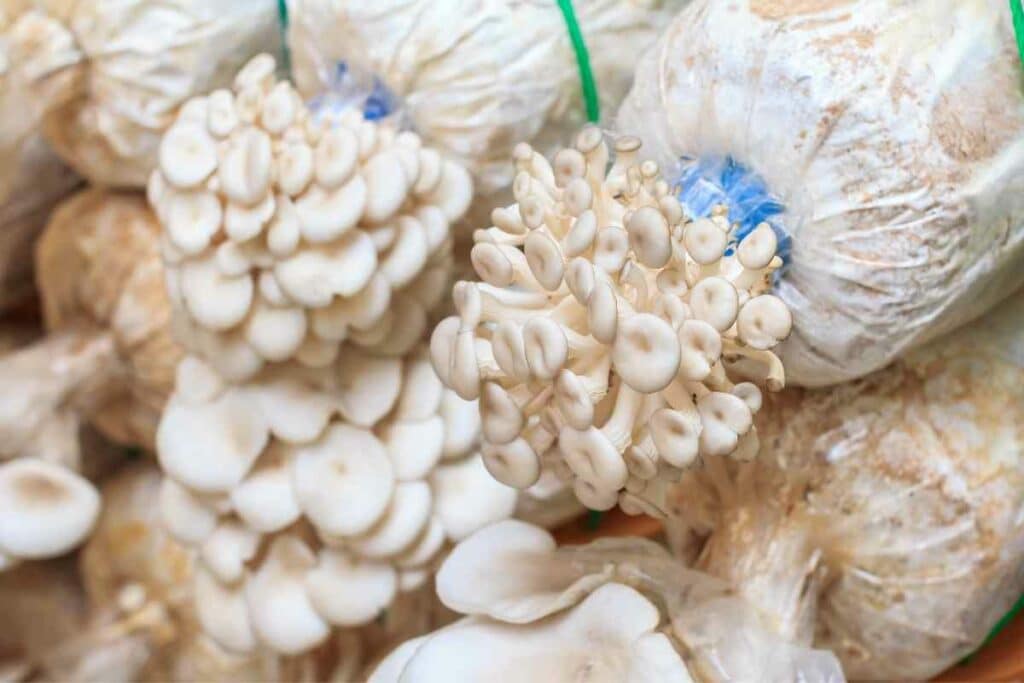
6 – Pinning
Repeat the spraying technique every day for the following eight days, or until you see white mushroom mycelium growing up into the casing.
It is ok if mycelium grows and covers the casing surface. This typically takes one to two weeks for it to occur.
At this time, relocate the mushroom kit to a cool, well-lit area, not in direct sunshine (not on a windowsill).
Inspect daily for developing young mushrooms (primordial).
After twelve to fourteen days, little one-centimeter diameter baby mushrooms begin to grow on the surface of the casing. They can grow alone or in bunches anywhere on the casing surface.
If required, make additional holes in the bag to allow the mushrooms to grow well.
If the temperature is too high, sprinkle the mushrooms several times a day with boiled and cooled water or water that has been left out overnight, since evaporation encourages development, but do not soak or over-wet.
What to Expect: Then pretty much sit back and relax for the next week while your mushrooms go from tiny sprouts to the full-grown. The mushrooms grow so fast from this point, and they should double in size every day.
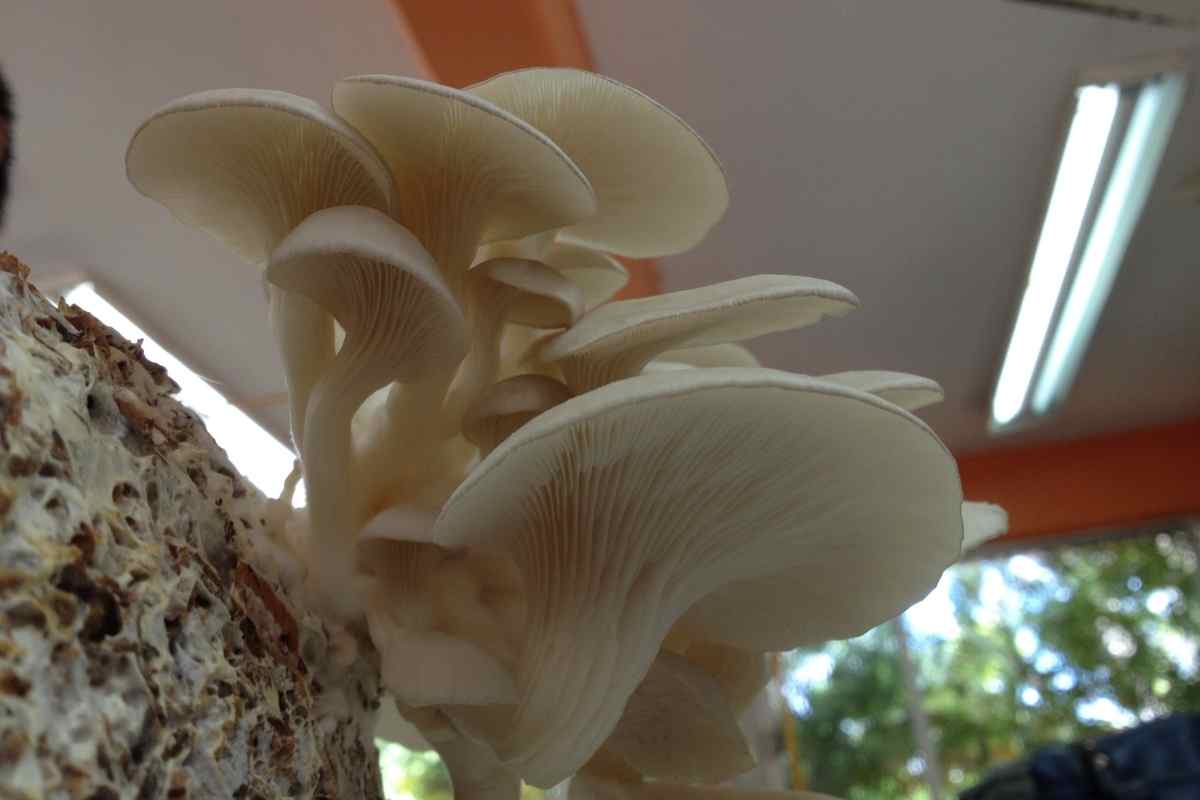
7 – Pick Your Mushrooms
After five days of pining, the mushrooms are around one to two inches in diameter.
It is mature and ready to be plucked when it stops growing.
Harvest them when the thin veil covering the gills beneath the mushroom begins to split open; this prevents most spores from being released and helps them to survive longer when refrigerated.
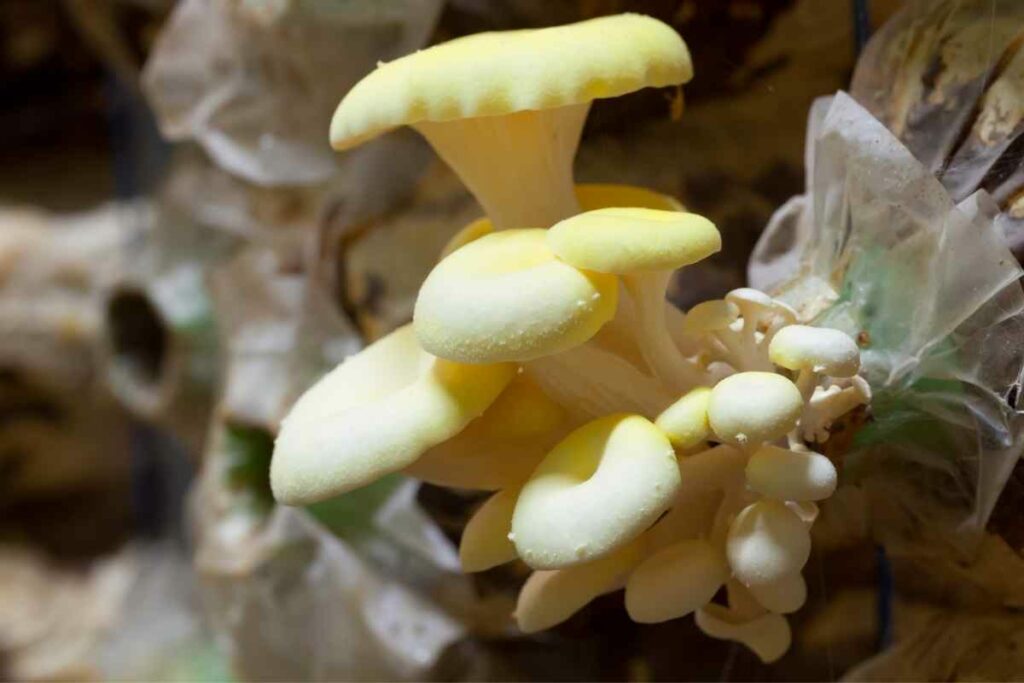
The type of mushroom used will also have an impact on yield:
- The larger the mushroom, the fewer it will grow
- The smaller the mushroom, the more it will grow
At that moment, harvest all of the mushrooms by gently rotating a full turn in situ and carefully pulling them out of the growth medium, be careful not to damage the nearby mushrooms.
Wash the dirt particles that were adhering to the mushrooms’ bases. Cook in your favorite mushroom sauce and serve!
The Right Time: The mushroom size has no bearing on maturity; also the little mushrooms are harvested when the veil splits open.
8 – Reuse
Once they’ve completed fruiting on your kitchen counter, you may re-use your kit and continue growing.
To restore the water lost by the mushrooms, re-water the casing with a half-cup of water.
Return the kit to a cool, dark environment and repeat the process for the second harvest. Depending on the temperature and species of mushrooms, it will usually develop within one to four weeks.
After the second crop of mushrooms has been harvested, rehydrate the kit with half a cup of water then wait for the third crop.
As the kit progresses, little black flies and molds will emerge on the casing surface.
If you’re going organic, spray the inner upper half of the compost bag with a light layer of vegetable oil to keep them at bay. This functions as flypaper, attracting and trapping them.
Once you have used up all the nutrients, the kit will stop producing mushrooms.
This starts approximately twelve weeks later after you started your kit.
You can then recycle your kit; you can either break it up and use one cup of the material as the mushroom spawn ingredient for a new kit or break it up and add it to your garden soil or compost pile as a fertilizer.
Final Thoughts
Mushroom growing kits make it easy to have a lot of fun, learn about nature, and yet get beautiful and delicious food with no work.
Because the kit already contains growing mycelium, all you need to do is establish the correct circumstances for it to generate mushrooms.
This generally entails exposing the kit to a chilly temperature for a day and then keeping it irrigated.
So, whether you’re learning how to grow mushrooms or looking for a quick project, give mushroom growing kits a try.