As they grow, plants require fertilizer regularly to maintain their general health and vigor.
Although there’s no universal rule for fertilizing because different plants have varied requirements, it’s a good idea to learn some fundamental fertilizer rules to avoid over fertilization, which can be very harmful to your plants.
Over fertilization can also stunt plant growth and make it more susceptible to pests and diseases. It can also lead to the plant’s eventual death.
To avoid over fertilizing your plants, be sure to follow the fertilizer instructions carefully. After all, the amount of fertilizer required by your plants is determined by the type of plant and the fertilizer used.
Most fertilizers need to be administered every 6 to 8 weeks on average. But here’s how to detect if your garden is over fertilized and what you can do about it.
What Are the Major Symptoms of Over Fertilization?
While some over fertilization symptoms are clear, others may be more difficult to detect.
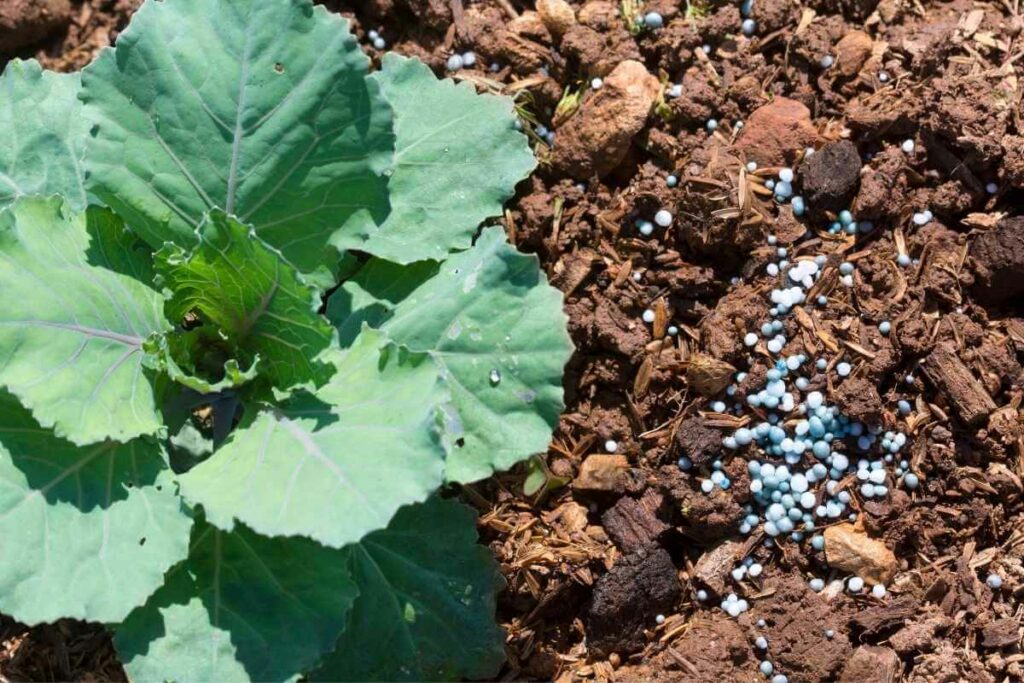
The following are some of the most common signs of an over fertilized garden:
- Plants grow very slowly, or they don’t grow at all
- Fertilizer crust on the soil surface is visible
- Leaf tips and margins are browning
- Seedling death is a common occurrence
- Lower leaves are yellowing and withering
- Roots that have been browned or blackened and are now limp
- Defoliation or the removal of above ground plant material
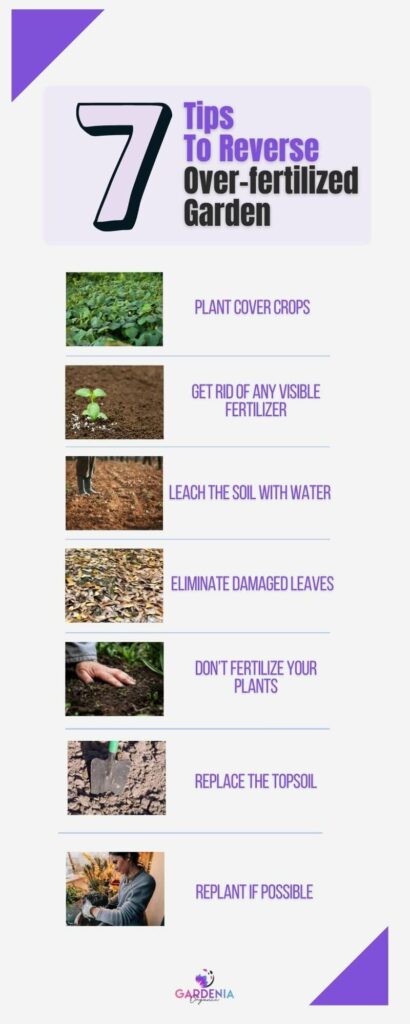
7 Tips to Reverse Your Over Fertilized Garden
Over fertilized gardens can be easily corrected depending on the amount of fertilizer applied and how promptly you act in the reversal process.
The following suggestions below will help you save your plants.
1. Plant Cover Crops
Planting cover crops, which may mine the soil for excess nutrients, is one technique for remediating over fertilized soils.
To exemplify, tillage radish and other deep-rooted cover crops are especially beneficial because they can recapture nutrients leached down to lower depths.
Furthermore, cover crops give organic matter to the soil and nitrogen in a slowly released form that plants can use, resulting in reduced nitrogen volatilization.
Even Better: Cover crops can also act as mulches if adequately maintained, improving the soil’s physical qualities in just one growing season. This can also help attract beneficial insects and pollinators to your garden.
2. Get Rid of Any Visible Fertilizer
To prevent future over fertilization, remove the fertilizer after it has turned into a visible powder.
And if the fertilizer salts have left a white crust on the surface, that must be removed as well.
Make sure to be delicate and not injure the plants or roots when scooping the fertilizer away from them.
If your plants are larger, you can remove the fertilizer with a spoon or small shovel. Please make sure there aren’t any remnants of it.
Also, remove all chunks carefully; otherwise, those particles will penetrate deeper beneath the surface the next time you water it and can cause more issues.
3. Leach the Soil with Water
Watering the roots helps to dilute and drain out the excess salts.
If you spot burned plants early enough, a simple watering will suffice. But you might be wondering how long you should water the damaged plants.
The truth is that you should water your garden until the soil can no longer absorb any more water.
Furthermore, don’t limit yourself to the damaged areas; you should apply water to all the spots, including those that appear to be healthy. This will help to aid in the leaching of salts throughout the garden.
And remember not to permit runoff because it’ll be tainted with chemicals and potentially dangerous.
This hazardous runoff can contaminate adjacent areas and combine with waterways, causing environmental damage.
Instead: Soak the soil carefully to allow it to absorb all the water.
4. Eliminate Damaged Leaves
It’s also crucial to get rid of any dead, discolored, or withering leaves.
Because the plants are incapable of reviving these dead or dying leaves, their existence is a waste of energy.
Now, once your plants have recovered from the shock of over-fertilization, they can develop new, healthy foliage.
Even if you can save an overfed plant, you won’t save the damaged leaves.
So, it’s critical to remove them to ensure the plant’s future health, and if they’re allowed to remain, your plants may become infested with pests or illnesses.
5. Don’t Fertilize Your Plants
If your plants aren’t doing well, don’t use fertilizers or organic additives like compost.
A soluble salt test might also be required, as it helps to avoid premature coating failures due to salt contamination.
To Elaborate: When soluble salt levels are higher than 0.6daS/m, they can harm plants and impede their growth.
6. Replace the Topsoil
Replacing the topsoil is another technique to get rid of surplus fertilizer in your garden.
This will aid in the recovery of the plants. And make sure to replace the top layer of soil around the plant with nutrient-free dirt.
In addition, it may be helpful to move your potted plant into a new container with new soil to aid in the healing of both the plant and the roots.
7. Replant if Possible
If the fertilizer has burned your plants badly, transplanting them to new, fresh soil once the leaching process is through will allow your plants and roots to heal.
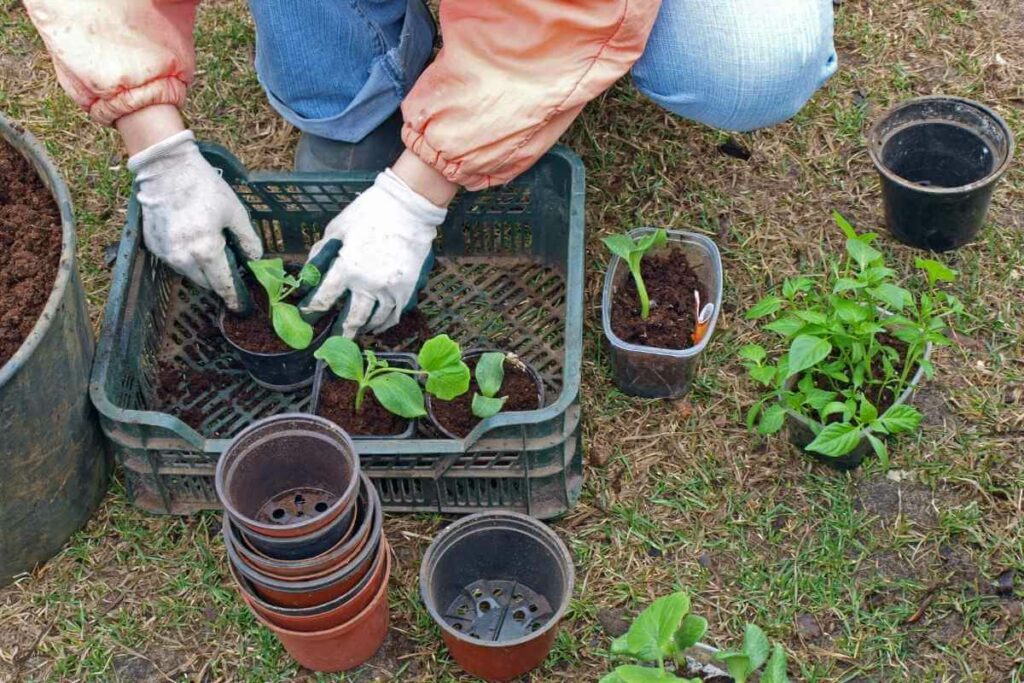
So, re-pot a plant in fresh soil or move it to a new location in your garden away from the fertilized area.
If your plant is too big to transfer or there isn’t enough room in the container or plot, replace the soil.
Final Thoughts
Plants require nutrients to thrive, but they must be provided in the proper quantities, not too much or too little.
Plants, like humans, can be harmed by nutrient overabundance or lack. So, while most fertilizer burn is recoverable, it’s best to avoid it in the first place.
And if the damage is already done, we hope our tips have helped you revive your plant.
Also Useful
- All You Need to Know About Cedar Mulch
- How to Fix Hydrophobic Soil in Your Home
- Bokashi vs Vermicomposting: Which Is Better?

