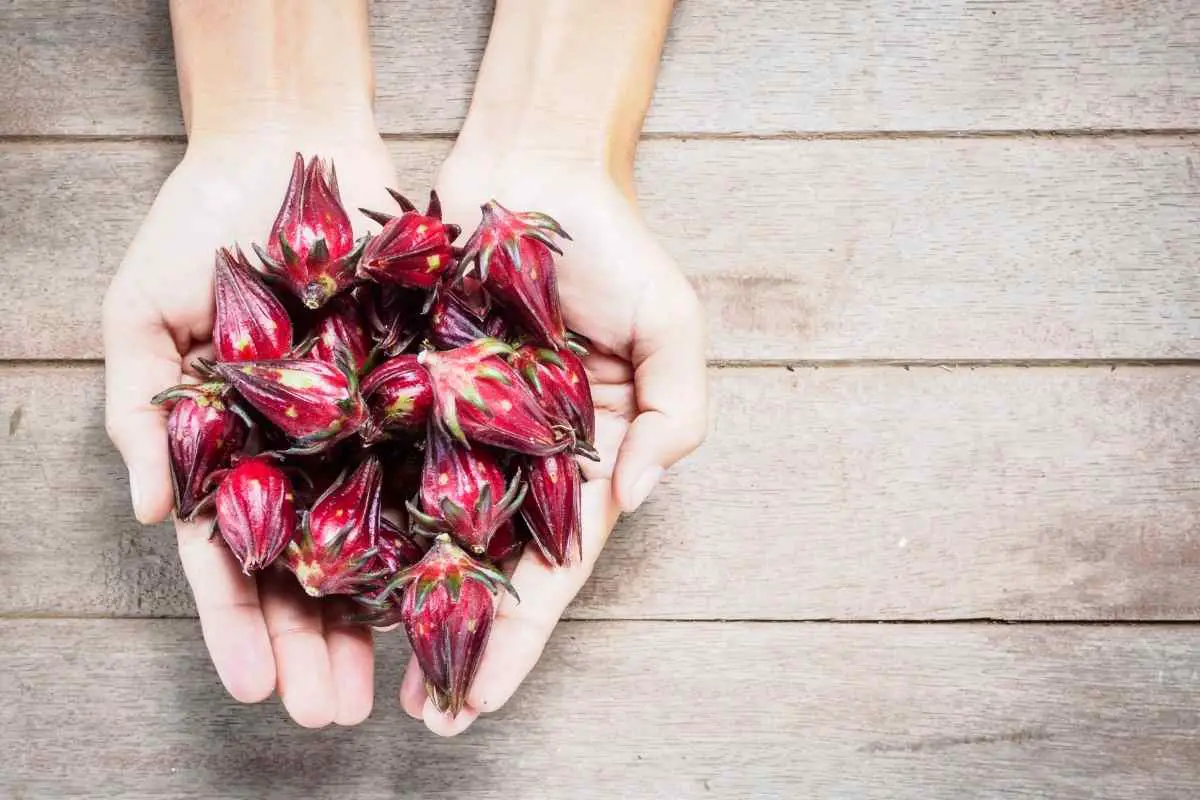
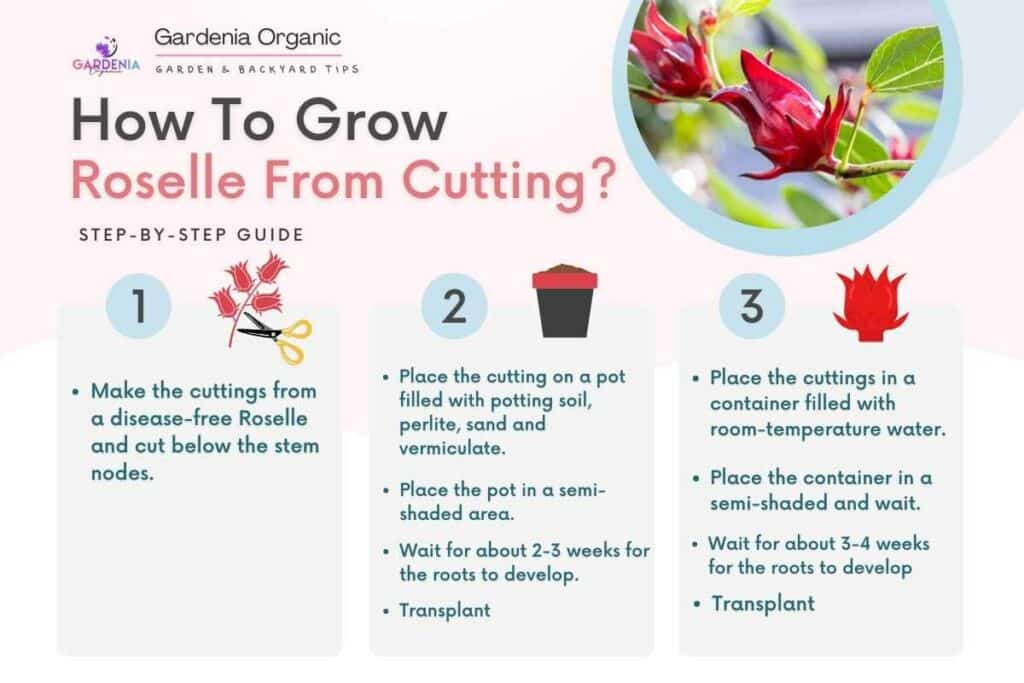
Growing roselle plants from cuttings is an excellent way to fill the garden without spending any money.
The beauty of it is that the new plants share all the original characteristics of the mother plant.
Also, is pretty straightforward and takes about two to three weeks for the roots to develop.
Roselle plant cuttings are cut below the stem node and then placed either on soil or in room temperature water to develop roots before transplanting to the garden. This plant is easy to root up and does not require a rooting hormone, but in doing so, it will assure faster root growth. Here are a few tips on how to grow roselle from cuttings.
How to Propagate Roselle from Stem Cutting
Roselle plant cuttings can be propagated by two methods:
- water method
- soil method
In both cases, the cutting will still develop roots and leaves and then be transplanted into pots or the ground for further growth.
Selecting the Stem Cuttings
Choose the Stem Cuttings
Collect your cuttings first thing in the morning when the stems are full of moisture and check for signs of pests and diseases, and only choose a healthy, disease-free branch.
Take a fresh stem with a new sprout and cut it off; don’t take cuttings from stems that have flowers or flower buds on as these will have had some of their energy used up by this making them slower or sometimes unable to root.
How to Take Cuttings from the Mother Plant
Making sure you have a node (a raised bump where the branch connects to the main stem) on your cutting is the most crucial stage in propagation as they help in root growth. The cutting needs to have one to three nodes.
Before cutting, ensure one is at the top and one at the bottom so that the tissues can seal up effectively.
Make a slant cut below the node using gardening pruners to help you remember which side is the bottom and assist you in poking the cuttings into the soil later.
Each cutting should be approximately 10cm to 15 cm long.
Prepare the Stem Cuttings
Once you have your stem cuttings:
- Remove the branches and unnecessary leaves, leaving one to two leaves above. This will give the plant energy while the roots grow.
- Ensure that the lower half of the stem is free from leaves so that what you insert into the growing medium is entirely bare.
- Then decide on the rooting medium.
How to Propagate Roselle Cutting in Water
This is by far the most common and most straightforward way to propagate a plant.
All you need to do is:
- Take the stem cuttings and place them in a clear container that is tall enough to have water covering at least one node of each cutting.
- Fill the container with room-temperature water and fit as many cuttings in the container as you like ensuring that the root nodes of each cutting are fully submerged.
- Place the container in a semi-shaded spot to soak up some indirect sunlight. Keep it there until the roots develop.
- Keep an eye on the water levels and top up if necessary to ensure the root nodes remain submerged.
- Replace the water at least once a week, or if it gets yellow or looks thick and gross.
Within a week or two, you’ll likely see tiny roots and branches.
After 3-4 weeks, the roots are between two and three inches long, and the plant is ready to be transplanted.
Works Well: Dip the cutting in a rooting hormone before placing it in water or adding the rooting hormone to the water to speed up the process.
How to Propagate Roselle Cutting in Soil
Here is the process to follow:
- Fill a clean seedling tray with a combination of potting mix, sand, perlite, and vermiculite to about four inches. Too much soil will make it difficult for new roots to develop and take hold.
- Dab the end of the cuttings in a powder or gel root hormone to speed up the root growth (optional).
- Make holes in the soil larger than the cuttings to not rub off the rooting hormone when placing the cuttings and insert about one-third of the cutting length in the soil. You can place more than one cutting in the tray. However, do not crowd the cuttings as this can result in mold and rotting.
- Gently push the soil around the cuttings to ensure that the cuttings have adequate contact with the rooting medium. Then water them with a lot of water until the soil is thoroughly saturated. Cuttings need a lot of water to develop roots.
- Create a greenhouse by using a glass top or inflating a plastic bag to keep it away from touching leaves of the cuttings as this can result in mold on the leaves.
- Then, place the entire tray into a plastic bag and seal the bag with a twist tie.
The covering will help increase humidity, moisture and will encourage growth. Allow the cuttings to develop in a bright place but out of direct sunlight.
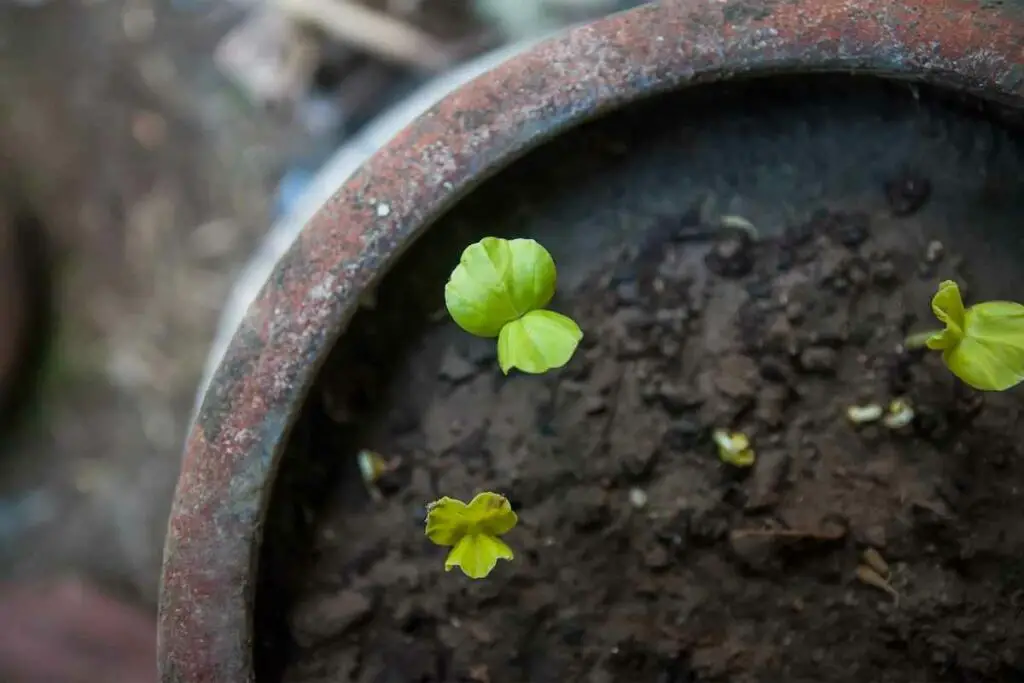
In about two to three weeks, new shoots and roots will have already formed on the bottom of the cutting.
You can confirm this by carefully poking your fingers under the cutting to feel if there are roots.
Decision to Make: If the cuttings have roots, it is time to relocate them to a permanent-growth site. If not, you’ll have to start over with new roselle cuttings.
Transplanting Process and Basic Care of Roselle Plant
Transplant the cutting once roots have formed. If you used the water method, take the plant out of the water.
For the soil method:
- Dig around the cutting with a small gardening shovel, careful not to injure any of the roots.
- After removing the plant, lay the cutting in well-ventilated soil, such as perlite or vermiculite, in a larger pot or the garden.
Make sure that the desired spot provides adequate sunlight for your Roselle.
Roselle plant care is relatively easy. It requires little to no fertilization. Water it regularly (every 2-3 days), and you should weed around it if necessary.
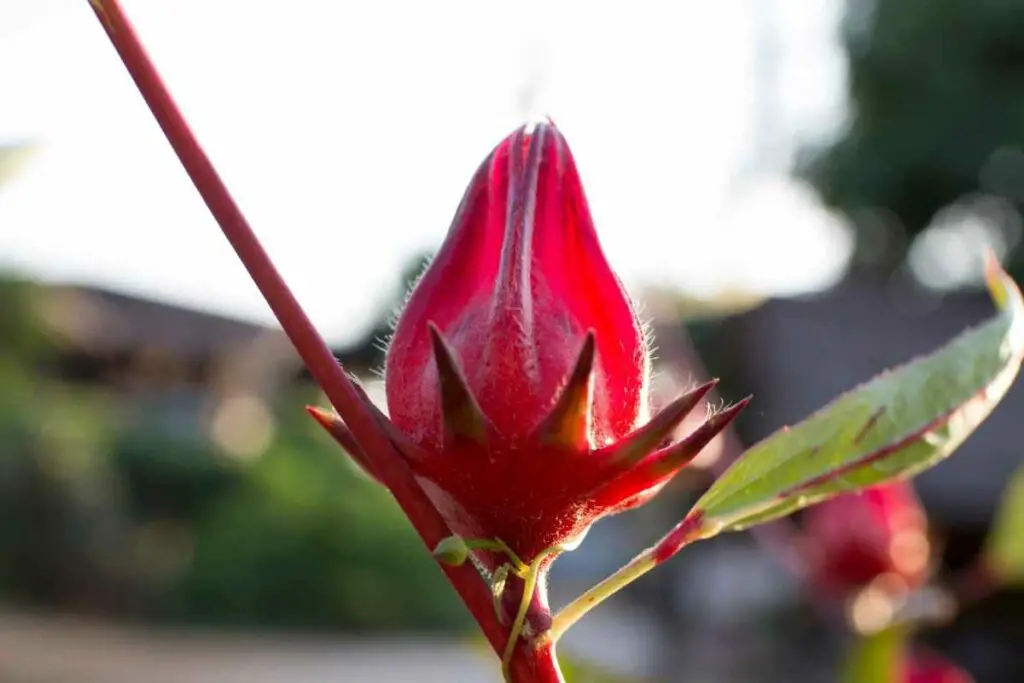
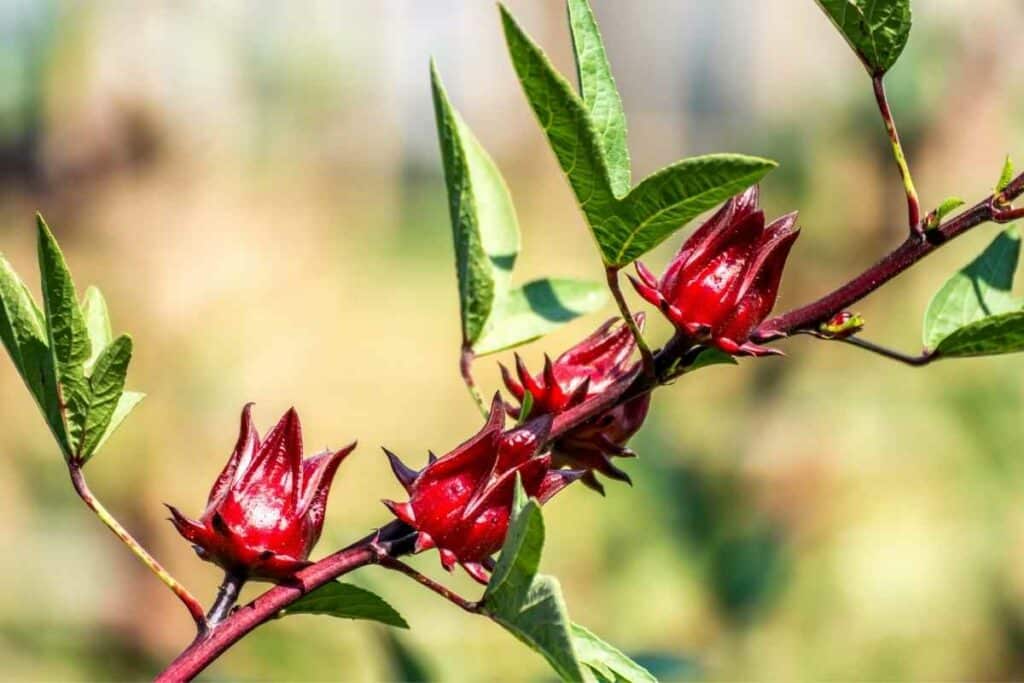
It grows to about 2 meters, starts flowering from 3 months, and produces ‘fruits’ for months until the frost comes.
Best Time: Harvest them when the fruits are about 3cm in diameter and the tip is just about to open.
Final Thoughts
Nothing could be easier than taking a pair of scissors and cutting some tips off a plant, then placing the cut tips into a medium and waiting for a new plant to grow.
Cuttings produce clones of the original plant, ensuring that you receive what you started with.
As a result, it’s less of a lottery and more efficient than planting genetically changeable seeds.
It is possible to accomplish it very easily with patience and the proper approach.