The best time to repot orchid is one to three years after growing it when the potting mix starts decomposing.
You’ll also need to transfer your plants to a new home after flowering, when roots entangle or turn soft and brown, and when new growth appears.
What’s the Importance of Repotting?
The most significant benefit of repotting orchids is promoting optimal growth.
After growing on a potting mix for an extended period, the plants exhaust the nutrients.
This calls for the replenishment of these vital elements to promote development.
Additionally – Orchids bought from a store might be underwatered or overwatered. The solution to this problem is transferring to a new pot.
Do My Orchids Need Repotting?
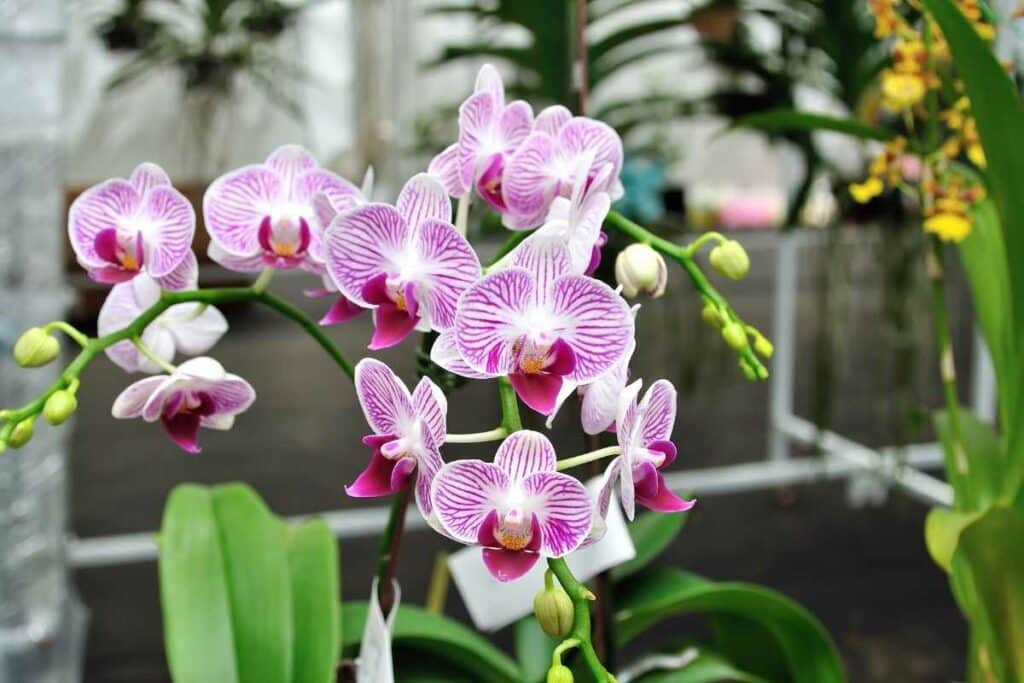
Naturally grown orchids mostly lose flowers during summer.
On the contrary, orchids grown in a nursery can bloom throughout the year, including summer.
As mentioned earlier, it’s wise to repot your plants after flowering.
Doing so promotes optimal growth and increases the chance of successful blooming.
Did You Know? When orchids overstay in a growth medium, they smother due to oxygen deficiency. This is why experts recommend annual or biennial repotting.
If you acquire a new orchid, water it frequently so that it grows. After the last flower falls off, repot the plant.
Avoid repotting while the plant is blooming, as this causes bud blast.
When you notice aerial roots, it’s time to move your orchid to a bigger pot.
The plant shouldn’t be blooming during the transfer, and the new pot’s diameter must be an inch or two wider than the original container.
You can only repot a blooming orchid if the pot has no drainage. A drainage hole improves aeration and prevents waterlogging, promoting plant growth.
Factors to Consider before Repotting Orchids
Here’s what you need to consider before repotting orchids.
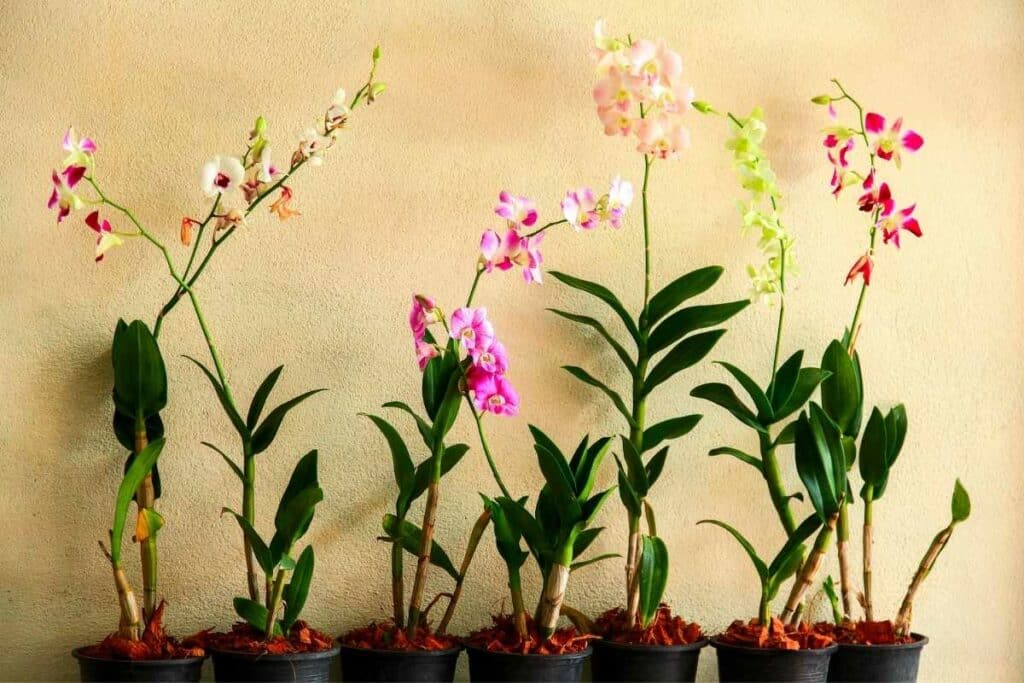
Pot Size
Orchids grow in crowds – this is why it’s best to choose a slightly larger pot.
However, ensure it’s not too big as using a too-large container inhibits blooming, the primary reason for growing orchids.
Huge pots also prevent proper air circulation.
Another factor that determines pot size is root volume. Ensure that you leave enough room for new roots without risking entanglement.
Pot Material
Clay pots are ideal for areas with high humidity because they dry faster than plastic.
The lightweight nature of plastic means it has low stability, but you can work around it by adding stones.
Growth Medium
You can use coconut fiber, pumice, rock wool, perlite, fir bark, or horticulture charcoal as growth media for orchids.
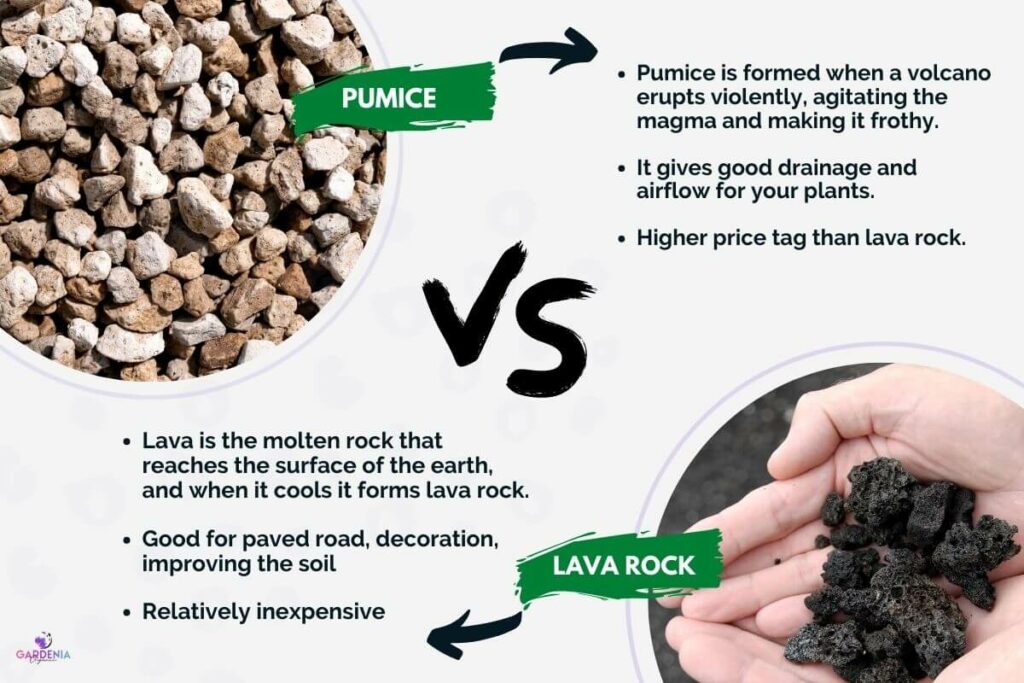
For the best results, use a mixture of these media.
For instance, fir bark replicates natural growing conditions, while rock wool has excellent water retention.
Coconut fiber improves aeration, and clay pellets enhance drainage by preventing compaction.
How to Repot Your Orchid
If your orchid meets the criteria mentioned above, use the following steps to repot it.
1. Preparation
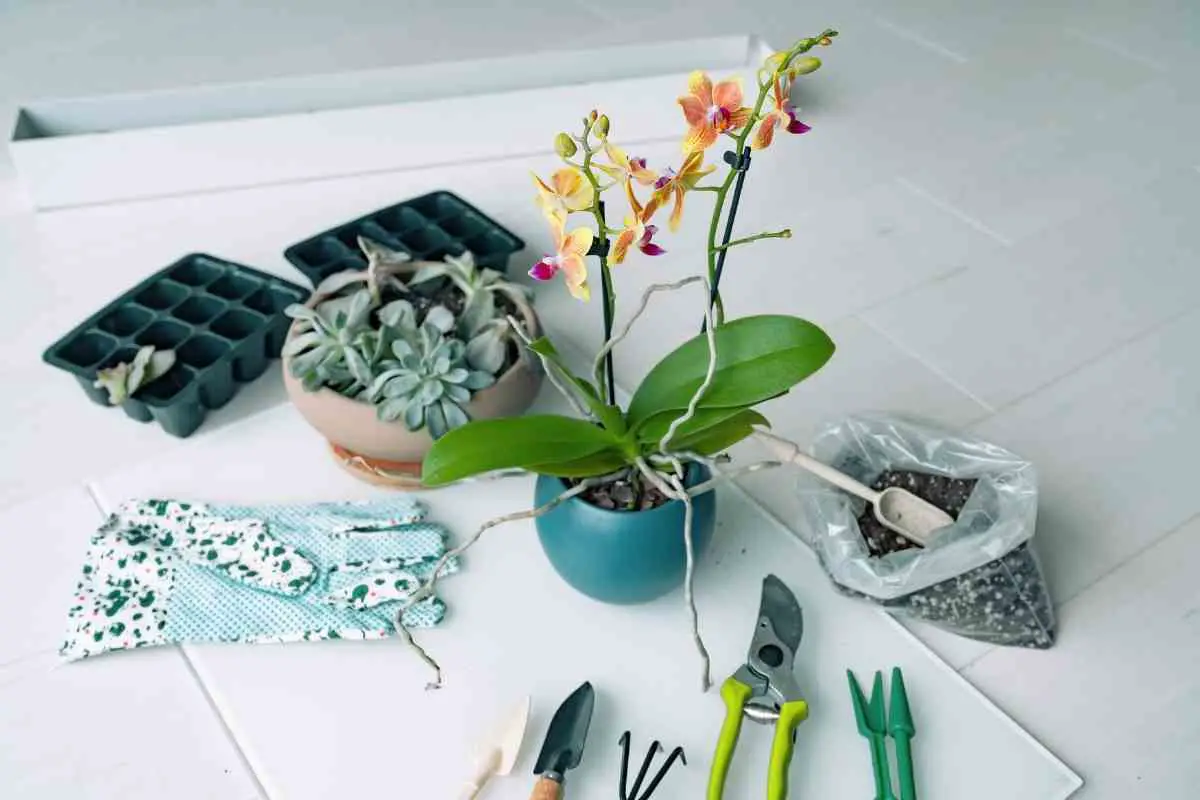
First, you’ll need the following equipment for successful repotting.
- Fitting garden gloves
- Pots
- Sterilized pruning shears
- New potting media
- Chopsticks
- A rhizome clip
After gathering the equipment, place the new potting media in the unused pots and add twice as much boiling water.
Once the mixture cools to room temperature, drain the water.
Since orchids are susceptible to disease, sterilize every piece of equipment using bleach for at least 20 minutes.
Then, follow the steps below.
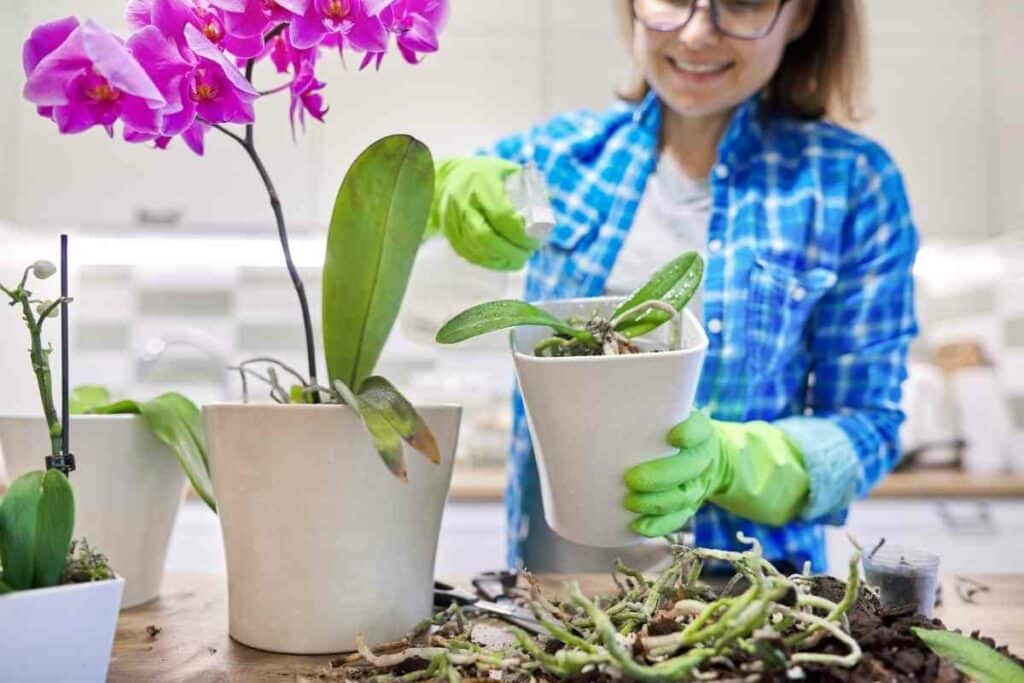
2. Uproot the Orchid
Soak the plant for ten minutes to increase root pliability.
Then, carefully remove the orchid from its pot.
Ensure that you don’t interfere with its roots, especially if they’re entangled.
If you have a clay pot, some roots may attach to it.
This might compel you to break the pot and detach the roots using a razor blade.
3. Remove the Old Growth Medium
It’s advisable to discard old-growth media when repotting your orchid.
This prevents the spread of disease and the adverse effects of accumulated fertilizer salts.
After removing the growth medium, cut away rot and remove dead leaves and roots.
Healthy roots are green and firm, while dead ones are soft and brown. Then, rinse the healthy parts with tap water.
4. Divide the Orchid
If you’re repotting your orchid because of new growth, you must divide it before transferring it into new pots.
Each division mustn’t contain more than five pseudobulbs.
5. Transfer the Orchid
The growth habit of your orchid determines the best orientation in its new home.
It would be best to centrally place Monopodial (single stem) orchids to encourage vertical growth.
On the Other Hand – The oldest pseudobulbs in a sympodial (multi-stem) orchid should be at the edge of the new pot so that the new ones grow centrally.
6. Add New Potting Media
After finding the proper orientation for your plant, add potting media until you cover all the roots.
Then, poke the media using chopsticks to remove air spaces.
Use rhizome clips to secure the crown and prevent damage caused by overgrown roots.
What’s the Alternative to Potting Orchids?
Consider mounting them if you aren’t keen on potting and repotting orchids.
Orchid mounts last longer than potted plants, provided the mount doesn’t decompose.
More importantly, mounting is the closest to growing orchids in a natural environment.
So, how do you mount an orchid?
Here is a pretty quick guide:
- Remove the orchid from its pot. Ensure that you don’t compromise the roots.
- Place the orchid on moistened sphagnum moss to help with the transfer. If you’re dealing with sympodial orchids, the oldest pseudobulbs go on top to allow the rhizome to grow downwards and cover the mount.
- Use colorless fishing to secure the plants against the mount.
After mounting, you must ensure that humidity never drops below 50% – this protects roots against drying.
You must also soak the mount in distilled water whenever the root tips turn brown.
The brown color is usually a sign of too many fertilizer salts in the growth media.
Taking Care of Orchids After Repotting
Let the plants recover and acclimatize to their new growth media for the first two weeks.
During this period, increase humidity and water sparingly. Please avoid fertilizer application.
After the two weeks, restore normal growing conditions – you can water the plant and apply fertilizer.
Final Words
Like other blooming plants, orchids add life and color to would otherwise be a dull home.
These flowers are easy to maintain, durable and stylish.
However, your orchids can become unhealthy if they overstay in one pot.
Repotting is the best way of prolonging your plant’s life and attractive outlook.