Living in a region that gets cold and snowy through the winter limits you on what fruits and vegetables you can grow in those seasons.
You get stuck buying all your produce from the grocery store, which isn’t always the highest of quality or what you want.
Tomatoes are easy to grow, but not when there’s snow all over and freezing temperatures.
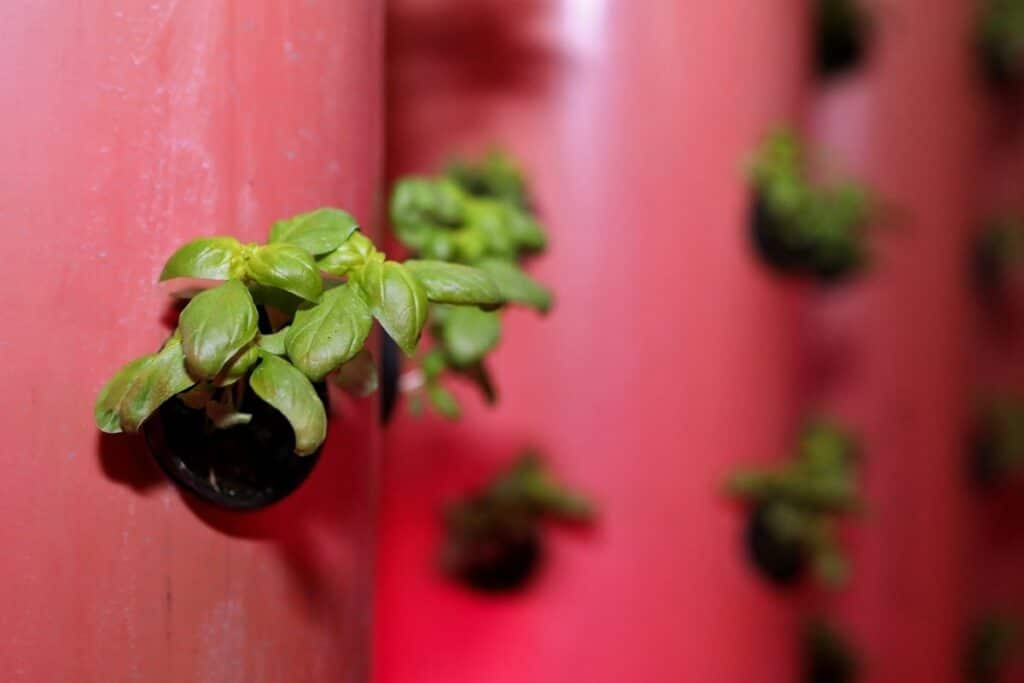
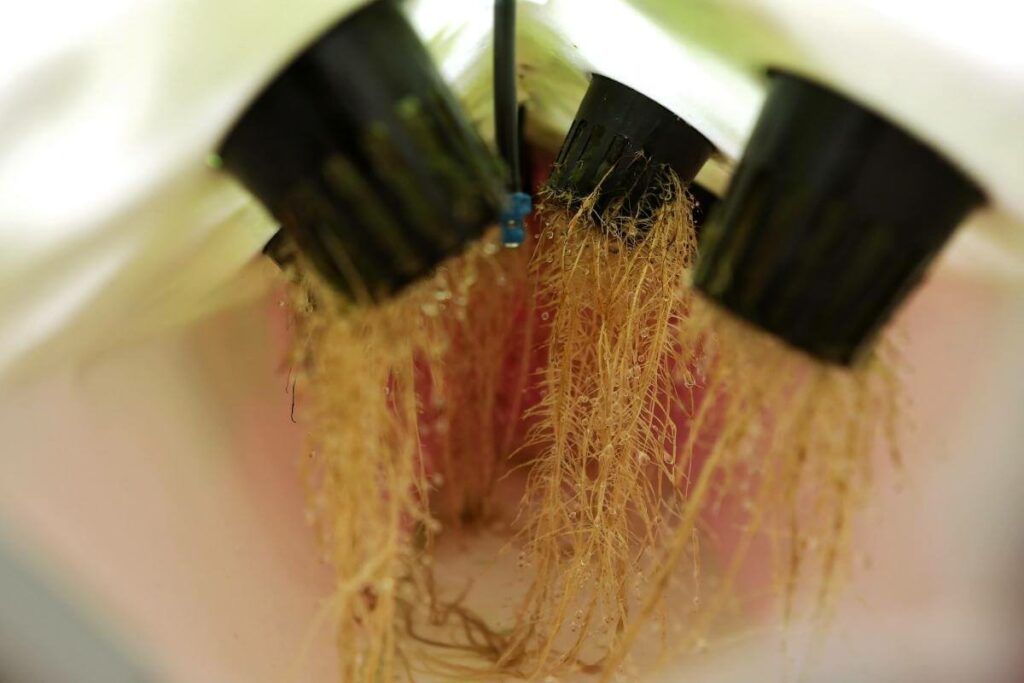
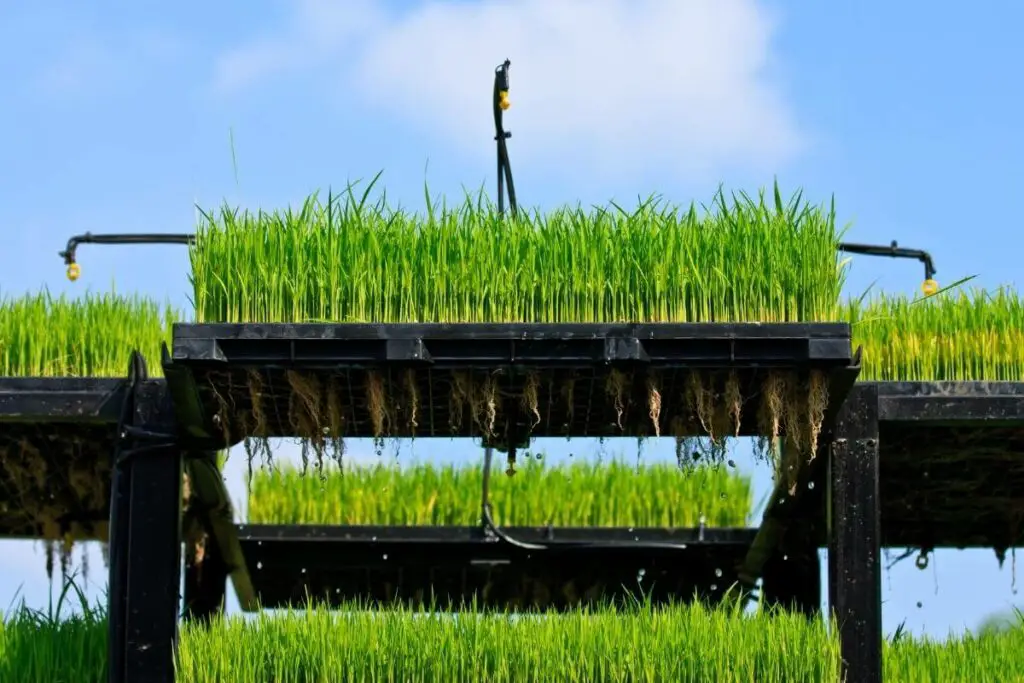
You can grow tomatoes in an aerogarden regardless of the weather outside. An aerogarden allows you to grow tomatoes inside using water, light, and nutrients, without any soil. These indoor hydroponic gardens have grown in popularity so much that commercial farmers are now using them on a large scale.
This article is about how to grow tomatoes in an aerogarden with the most success.
What to Expect: We’ll give you useful tips for growing tomatoes efficiently through the hydroponics process. Read on for all the aerogarden tomato tips you should know.
Getting Started with Aerogarden
If you’ve never used your aerogarden:
- You’ll start by getting it out of the box and making sure it’s clean.
- Then pick a spot where you’ll have easy access to it and there’s a nearby electrical outlet.
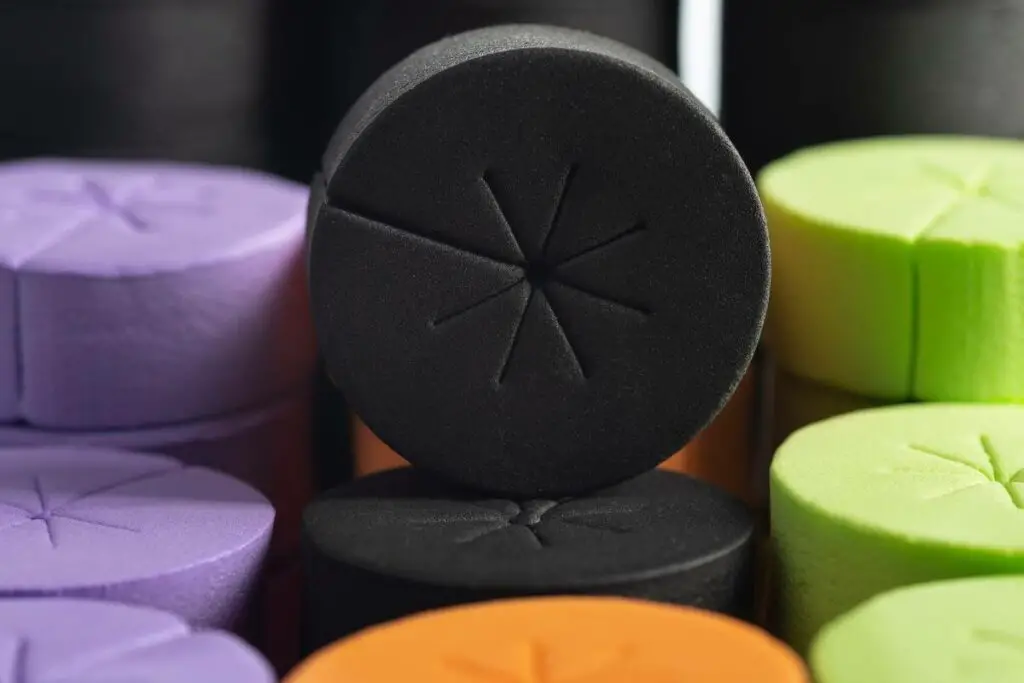
- Once it has a home, put water in the reservoir along with the nutrients packs.
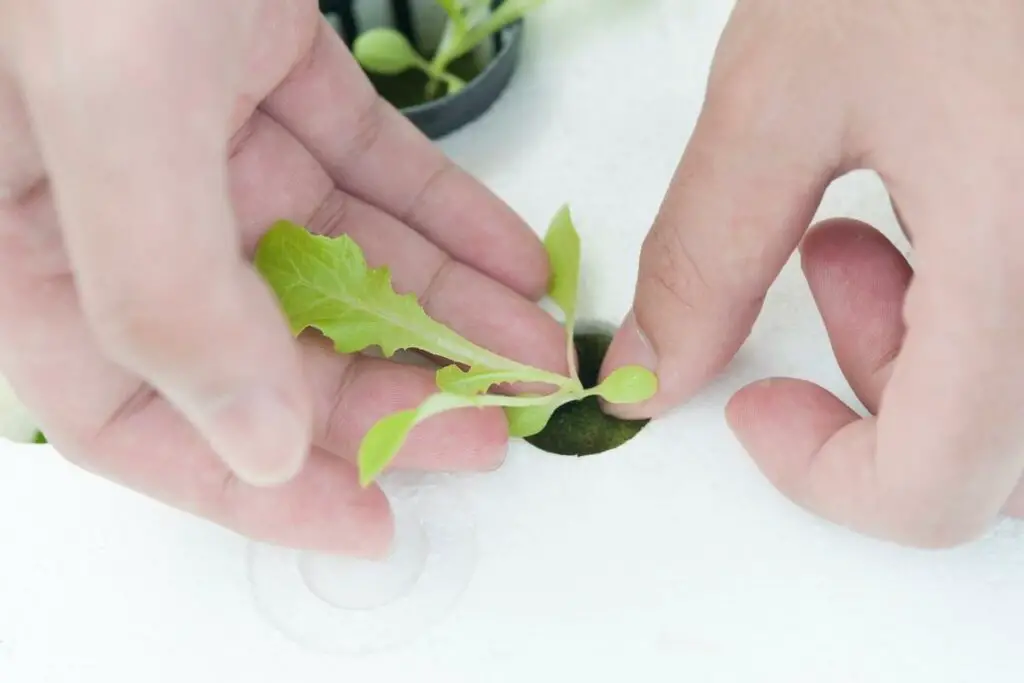
- Place the tomato seeds in the pods. Make sure the pods aren’t too close together as the tomato vines need room to spread out.
Some aerogardens come with seeds.
If you’re purchasing yours separately, look for dwarf determinate indicators for size 3 or 7. These are the most appropriate for an aerogarden.
The light should be positioned two inches above the pod tray. It needs to be on for 16 hours every day.
You can turn it on when you get up in the morning and turn it off when you’re going to bed. Some aerogardens have an automatic shutoff option, too.
When Will I See Sprouts?
You should start seeing your first sprouts in a week.
When that happens, move the light up accordingly. It should always be just two inches above the plants.
Not long after the sprouts appear, you’ll start noticing stems.
Typically, several stems form in the same pod. You’ll only want to keep one per pod.
Key Takeaway: There’s not enough room to cultivate more than one stem in each pod.
Making the Most of the Nutrients
Cut out all of the stems except the healthiest from each pod.
Thinning out the sprouts allows the healthy stem to take all the nutrients so it can thrive.
While you may think it’s better to have more stems, it’s not in this case. Hydroponic gardens are limited in space, so too many stems just restrict the growth of the tomatoes.
Six weeks into growing, the stems will have grown into recognizable tomato plants. They’ll need to be topped. Use your fingers and run them up the stems.
When you feel a knobby portion of the stem, you should cut it right below that. There may be flowers and leaves beyond the knobby section. The stem also probably splits into a “Y” right there.
Topping the tomato plants helps the stem build up the stability it needs to support the heft of the tomatoes.
You should also trim any leafy branches that start traveling beyond the light source.
After several trimming sessions, your plant may stop growing in that direction.
Don’t Forget to Pollinate
Your tomato plants must be pollinated to produce the way you want them to:
- You can do this by shaking the plants so that they distribute pollen from the little yellow flowers appearing around seven weeks.
- Or you can use the electric toothbrush method. The vibrations cause the pollen to release and spread through the plants.
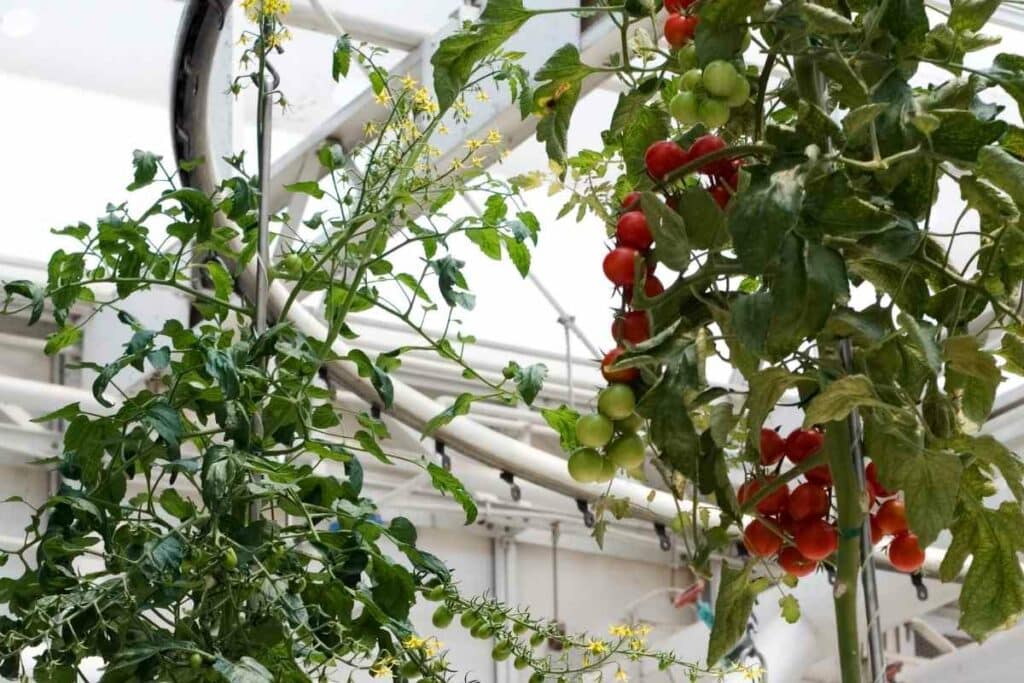
Once pollination is complete, the flowers will fade away and tiny green tomatoes will appear.
Just Keep Trimming
Continue to monitor your plants for additional flower growth.
Too many flowers stifle the tomatoes. Keep the flowers from overgrowing.
Also, don’t allow yellow or brown leaves to remain on the plants. They’re a drain of energy.
Quick Tip: Allow the energy to flow where you want it to, to the fruit producing part of the plant.
Should I Clean the Water Tank?
Most aerogardens have instructions that tell you when it’s appropriate to clean out the water tank.
You’ll want to do this periodically.
Dirty water becomes unsanitary and could harm your plants. Even quickly rinsing the tank with sanitizer is helpful.
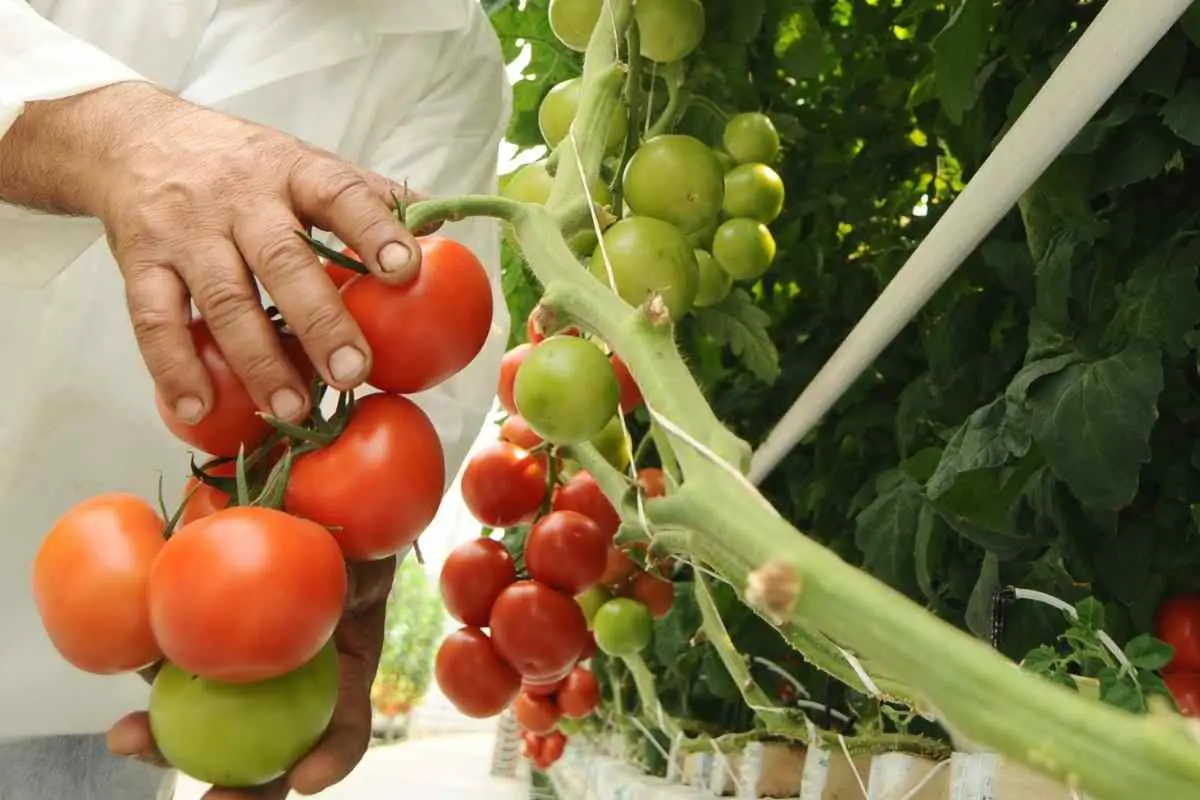
When Is Harvest Time?
Your first tomato harvest should be ready around 12 weeks in.
A few weeks before that, you’ll notice the green tomatoes changing color.
Once they soften enough that they’re firm yet not hard, you can harvest them.
It’s best to cut them when you’re going to eat them.
What’s the Best Way to Harvest Tomatoes?
Get your garden scissors out and sanitize them.
Cut the stem near the top of the fruit. You can let it drop. Try to keep your scissors sharp so they make a clean cut.
Go Easy: You don’t want to cause trauma to the stem. It will grow another tomato in the same spot as long as the stem remains healthy.
How Do Aerogarden Tomatoes Taste Relative to Traditionally Grown Tomatoes?
Though there are some claims aerogarden tomatoes don’t taste as flavorful as soil-grown tomatoes, there’s not evidence that supports this.
Generally, if you taste them side-by-side, you won’t likely be able to tell the difference.
Additional Aerogarden Tomato Tips You Should Know
- Small tomatoes are more appropriate for basic aerogardens.
- Sterilizing your equipment is important to maintain safety.
- Using plastic domes in the early weeks is beneficial.
- Find a way to add support to branches that seem overburdened by the fruit.
Final Thoughts
Aerogarden tomatoes are easy to grow.
You can optimize your harvest with a few simple tips. This is the best method of growing delicious tomatoes all year long.
You’ll keep them inside where you can monitor their growth and trim them accordingly without ever going outside.
Get started any time and you’ll be enjoying your homegrown aerogarden tomatoes in a few short months.