With the human population increasing rapidly by the day, there’s less land for gardening.
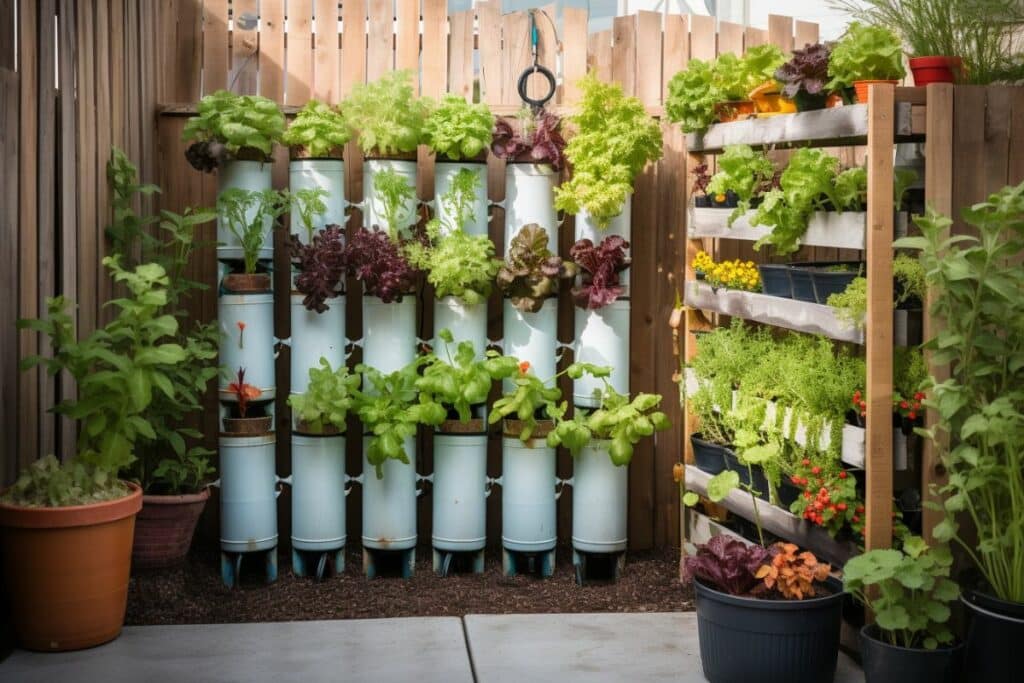
For this reason, people have had to get creative to find spaces for planting crops, and this is where tower gardens, also known as vertical farms, emerged.
Tower gardens work on the same principle as skyscrapers in that they look to make the most out of limited spaces.
This explains why the concept bodes well with individuals who practice hydroponics, as they often have small spaces where they desire to grow crops.
History of Tower Gardens
Although it’s unknown to many, the concept of tower gardening has existed for many centuries.
As early as 600 BC, the Babylonians had built the Hanging Gardens.
Several types of flowers, shrubs, and trees graced these magnificent structures.
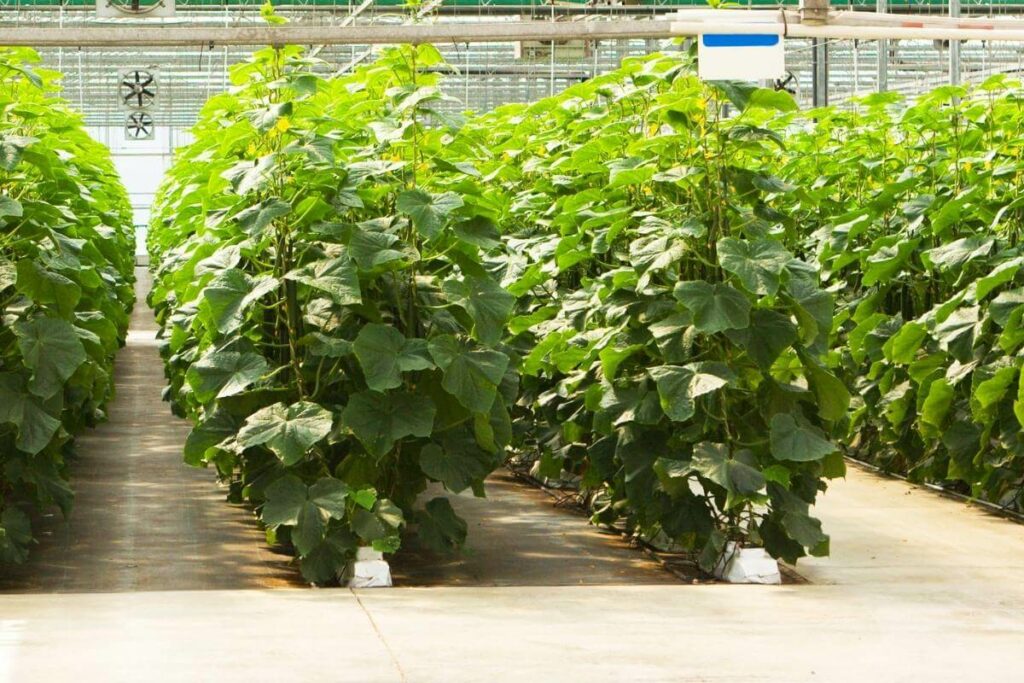
In the contemporary world, tower gardening has become much easier thanks to the increased adoption of hydroponics.
Unlike in the past, where soil was used as the growing medium, hydroponics systems are more lightweight because they don’t need soil.
As such, you can stack more layers and increase your yield significantly.
Ancient systems depended on water from natural sources and manual screws to irrigate the upper tiers.
With hydroponics, water pumps make the task simpler.
Another significant difference between ancient and modern tower gardens is that the latter have artificial lighting, known as grow lights, primarily because most are indoors.
When appropriately positioned, these light fixtures can increase your yield.
How to Build a Hydroponic Tower Garden Yourself
Before anything, you’ll need to find the right materials and tools required to construct a functional hydroponic tower garden.
Materials
- A large food-grade bucket, at least five gallons, with a lid
- A submersible pump
- Aquarium-safe silicon
- Nutrient solution
- Seedlings
- Hydroton
- 4” PVC pipe, at least seven feet long
- One-piece each of 4” PVC bracket and square
- PVC solvent cement
- Bolts and nuts
- At least 20 net cups, 2” each
- Grow lights
Tools
- Tape measure
- Drill
- Miter saw, or hand saw
- Rulers
- Jigsaw
- Sandpaper
- Pencil and paper
After obtaining the necessary tools and materials, follow the steps below to make your hydroponic tower.
How to Set Up Your Tower Garden Guide
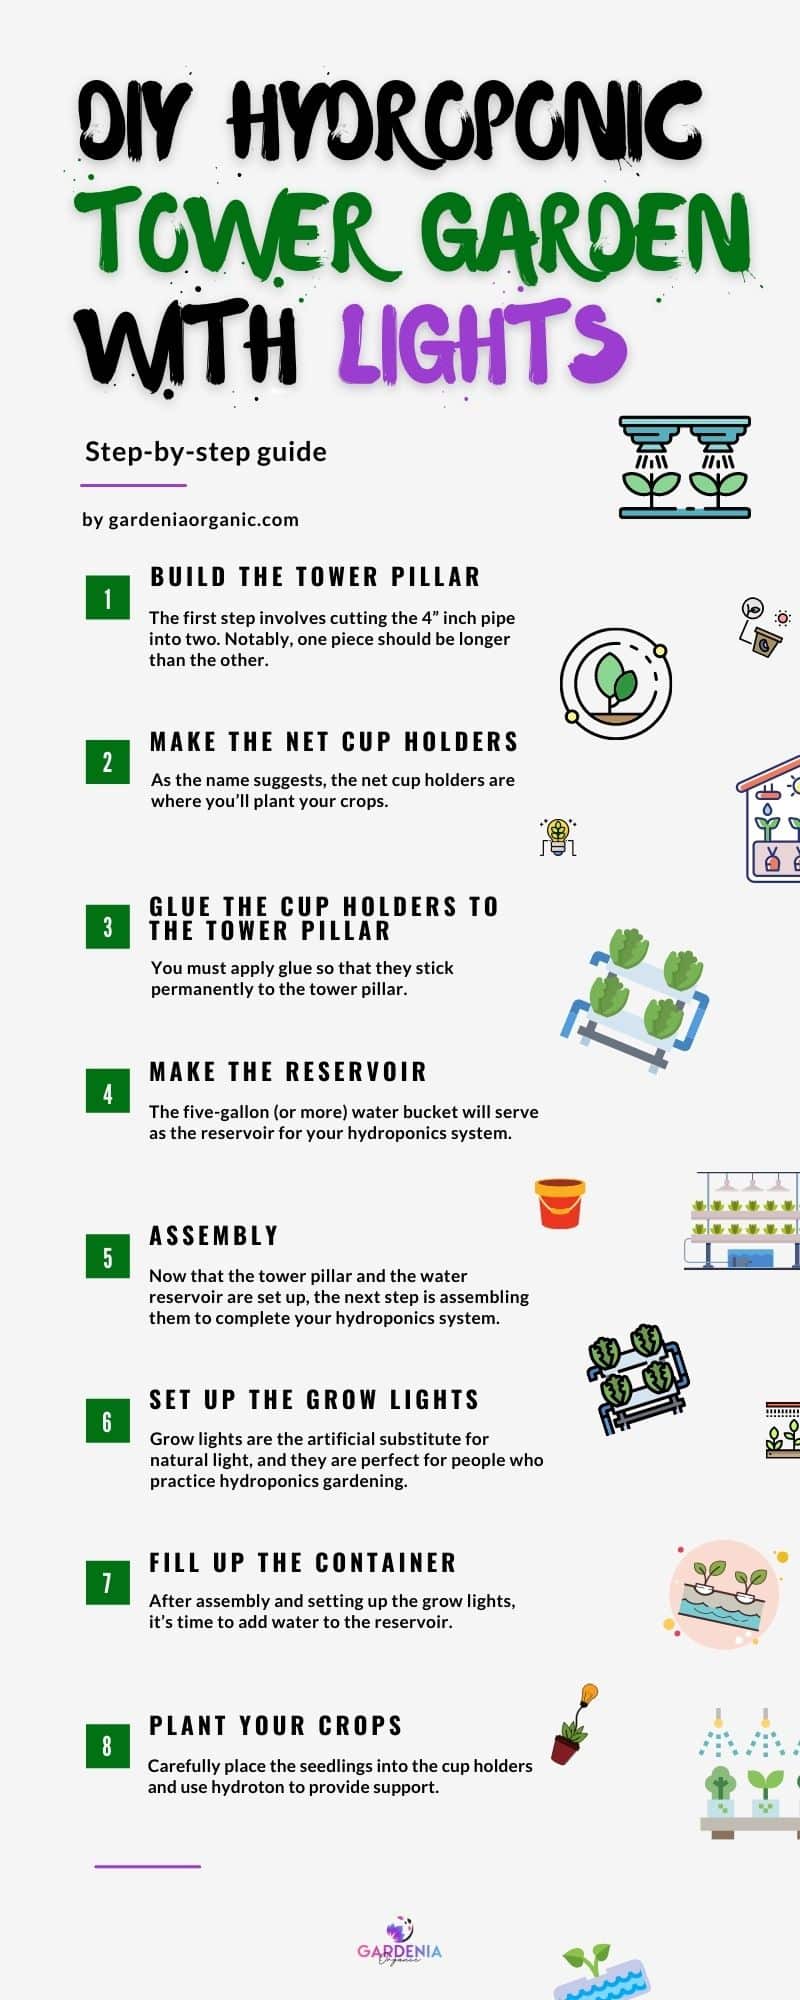
Step 1: Build The Tower Pillar
The first step involves cutting the 4” inch pipe into two. Notably, one piece should be longer than the other.
For instance, if it’s nine feet long, one should be six feet while the other should be three feet long.
Avoid making pillars longer than six feet since that’s beyond the average height of many individuals.
On the longer piece, mark on the spots where you’ll make holes for planting your crops.
The areas should be equally spaced throughout the pipe’s length.
Don’t Forget: They should also have vertical correspondence, such that the topmost hole is in line with one at the bottom of the towering pillar.
Step 2: Make the Net Cup Holders
As the name suggests, the net cup holders are where you’ll plant your crops.
Here, you’ll use PVC pipes with smaller diameters than the one used for making the tower pillar.
The number of holders you make depends on the number of crops you want to plant.
Cut one end of the cup holder at a 45o angle, leave the other side straight.
After this, draw a center mark on the angled end, then stick it to the hole marks you made on the tower pillar.
Repeat this until cup holders occupy all the holes.
Step 3: Glue the Cup Holders to the Tower Pillar
If you want your cup holders to be stable enough to support growing plants, you must apply glue so that they stick permanently to the tower pillar.
Here is the process:
- Apply PVC solvent to the holes on the tower pillar and the angled side of the cup holders, as this is the one that directly attaches to the pillar.
- Once you apply the solvent, insert the holders into the pillar and ensure they fit tightly without leaving any gaps. Add more PVC solvent to the pillar’s outer surface.
- After gluing all the holders, apply the aquarium-safe silicon that acts as a sealant and leave the structure to dry for at least one day, depending on the prevailing weather conditions.
As mentioned above, the cup holders must fit tightly into the holders in the tower pillar. A size mismatch often causes issues.
For example, a small hole means that the holder will pop out, while a large opening means that gluing will be useless.
Step 4: Make the Reservoir
The five-gallon (or more) water bucket will serve as the reservoir for your hydroponics system.
It should have a lid since that’s where the hole through the tower pillar passes will be made:
- Start by placing the 4” inch collar on the bucket’s lid, then trace its outline.
- Cut out a circle from the outline to create a hole where the tower pillar’s pipe will fit.
- Afterward, drill multiple holds around the cut-out circle and lightly sand them using the sandpaper.
- Next, drill two holes on the bucket that you’ll use to secure your PVC bracket.
These holes shouldn’t be too close to the lid such that they interfere with its opening and closing.
Step 5: Assembly
Now that the tower pillar and the water reservoir are set up, the next step is assembling them to complete your hydroponics system:
- Begin by gluing your PVC collar to the pipe emerging from the reservoir (this is the shorter pipe you cut in step 1).
- With this shorter pipe in the bucket, insert the submersible pump into the reservoir and mark the exit point for its tubing.
- After connecting the pump attach the tower pillar to the reservoir via the PVC collar. Apply glue to ensure that the two are tightly stuck to each other without leaving any spaces.
- Next, connect the tubing to the pump and power it to check for leaks. If there are any, let it dry completely before reapplying silicone.
Otherwise, leave the pump running overnight to confirm that everything is working correctly.
Step 6: Set up the Grow Lights
Grow lights are the artificial substitute for natural light, and they are perfect for people who practice hydroponics gardening indoors where the sun’s rays can’t reach.
Setting up grow lights is a straightforward process that doesn’t require professional experience.
All you need is a strong structure that will support the light fixtures.
Since you want the lights to cover as many plants as possible, you’ll have to arrange them vertically so that they correspond to the crops’ arrangement on the tower pillar.
Choose a shelved structure where you’ll place the fixtures. The number of shelves depends on the height of your vertical gardens.
For Instance: A six-foot-tall pillar requires a structure with at least three shelves, each having a 48” grow light.
Step 7: Fill Up the Container
After assembly and setting up the grow lights, it’s time to add water to the reservoir.
While doing this, ensure that you leave a little space for adding the nutrient solution.
Also, remember to read the manufacturer’s instructions to avoid mixing the nutrients improperly.
Once you add water and the nutrients, check the pH level of the mixture.
The recommended level is 6.0. If it’s higher, you can lower it by gradually adding a few drops of phosphoric acid.
Ensure that you wear gloves when handling the acid.
Step 8: Plant Your Crops
The last step involves planting your crops.
Carefully place the seedlings into the cup holders and use hydroton to provide support.
It’s advisable to wrap an insulation foil on the bucket’s rim to prevent the proliferation of algae and maintain cool temperatures.
Post Preparation Care for Hydroponic Tower Gardens
It’s worth noting that the work doesn’t stop at planting your crops in your vertical garden.
Once the structure is up and running, you’ll need to conduct regular maintenance practices to keep it in a pristine condition that guarantees high yields every planting season.
Such practices include:
- Avoid leakages – You should check your garden regularly for leakages. When water leaks, it not only counts as a waste of a precious resource, but it compromises the integrity of the structure since water can reduce the longevity of PVC structures if exposed to light.
- Cleaning – After every round of growing, clean the tower using a bleaching agent.
- Monitoring electrical conductivity (EC) pH levels – Ensure that the pH of the contents in your reservoir matches the requirements of the plants you are growing. (See the table below)
| Crops | EC (m $/cm) | pH |
|---|---|---|
| Asparagus | 1.4 to 1.8 | 6.0 to 6.8 |
| African Violet | 1.2 to 1.5 | 6.0 to 7.0 |
| Basil | 1.0 to 1.6 | 5.5 to 6.0 |
| Bean | 2.0 to 4.0 | 6 |
| Banana | 1.8 to 2.2 | 5.5 to 6.5 |
| Broccoli | 2.8 to 3.5 | 6.0 to 6.8 |
| Cabbage | 2.5 to 3.0 | 6.5 to 7.0 |
| Celery | 1.8 to 2.4 | 6.5 |
| Carnation | 2.0 to 3.5 | 6 |
| Courgettes | 1.8 to 2.4 | 6 |
| Cucumber | 1.7 to 2.0 | 5.0 to 5.5 |
| Eggplant | 2.5 to 3.5 | 6 |
| Ficus | 1.6 to 2.4 | 5.5 to 6.0 |
| Leek | 1.4 to 1.8 | 6.5 to 7.0 |
| Lettuce | 1.2 to 1.8 | 6.0 to 7.0 |
| Marrow | 1.8 to 2.4 | 6 |
| Okra | 2.0 to 2.4 | 6.5 |
| Pak Choi | 1.5 to 2.0 | 7 |
| Peppers | 0.8 to 1.8 | 5.5 to 6.0 |
| Parsley | 1.8 to 2.2 | 6.0 to 6.5 |
| Rhubarb | 1.6 to 2.0 | 5.5 to 6.0 |
| Rose | 1.5 to 2.5 | 5.5 to 6.0 |
| Spinach | 1.8 to 2.3 | 6.0 to 7.0 |
| Strawberry | 1.8 to 2.2 | 6 |
| Sage | 1.0 to 1.6 | 5.5 to 6.5 |
| Tomato | 2.0 to 4.0 | 6.0 to 6.5 |
A table showing the recommended EC and pH levels for common hydroponics plants.
Top Reasons to Build a DIY Hydroponic Tower Garden
While you can do without grow lights, adding them to your hydroponic systems could be the difference between average yield and high yields.
Here are the top reasons why grow lights would make a smart investment.
Get Ahead of Other Farmers Every Planting Season
With regular farming methods, you have to wait until the conditions are warm to start planting your crops.
This is because the bleak conditions experienced in winter hinder germination.
On the contrary, owning grow lights provides the warm conditions needed to grow plants, regardless of the time of the year.
By the time the other farmers start using standard growing methods, your plants will already have grown.
Works Best: Your harvest will be ready faster, allowing you to generate higher profits due to the reduced competition.
Grow Food Indoors
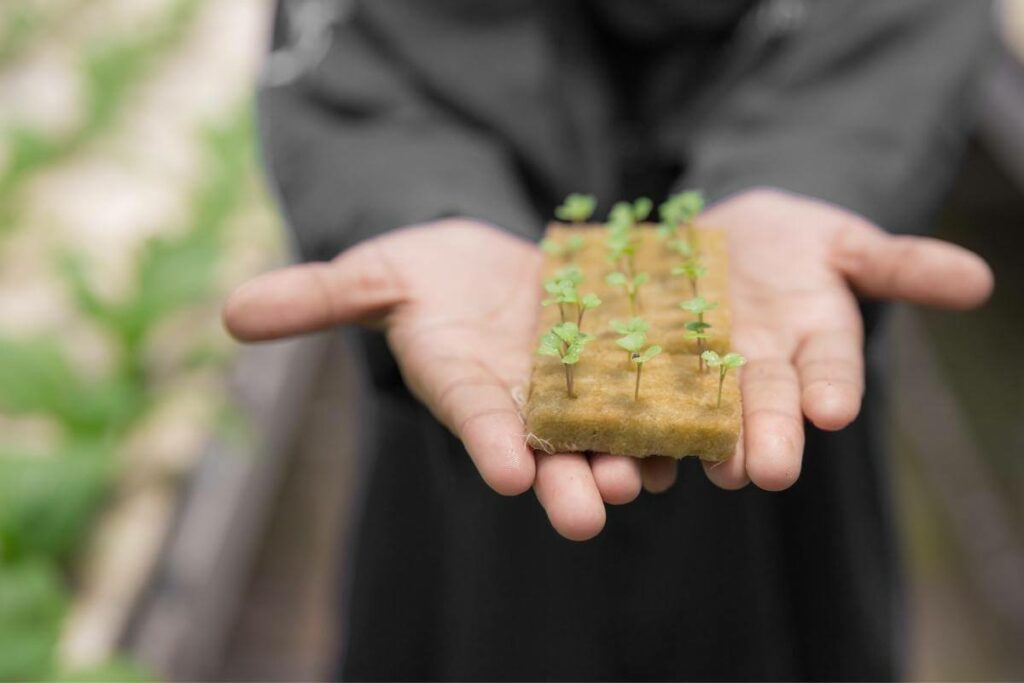
Another benefit of grow lights is that they allow you to practice indoor gardening.
For instance, you can grow small plants like lettuce and other green vegetables.
Besides being an exciting pastime activity, you won’t be making several trips to the local grocery store.
Additionally, indoor gardening allows you to practice farming throughout the year.
This is particularly useful to people who live in areas that experience extreme winters.
Better Seed Germination Rates
Lastly, indoor growing environments offer more stability to plants than outdoor spaces.
It is much easier to control temperature, humidity, and moisture levels in an indoor garden.
Among the benefits of this heightened control is improved seed germination rate.
Also, indoor gardens are less exposed to pests who might dig out the seed before it germinates or eat the seedling immediately it emerges from the soil.
Final Words
Hydroponics, even without the grow lights, is significantly better than traditional farming techniques.
The plants have direct access to nutrients, oxygen, and water, meaning they grow faster than crops grown on soil.
Even better, there is zero risk of contracting the infections caused by pathogens found in soil.
When you add lights to your hydroponic system, you benefit from improved growth rates and reduced dependence on natural light.
These lights are affordable, and if you go for LED, you will use them for over 50,000 hours (more than 5½ decades) before you need a replacement.
Hydroponic farming is ideal for people who have limited garden space, agriculture enthusiasts looking to explore indoor gardening, and homesteaders with poor soil on their farms.
