Cloning is a key aspect of aeroponic gardening, as mastering it almost guarantees perpetual success for your farm.
If you clone a plant successfully, you ensure that its strong genes last for many years, a period in which you’ll enjoy massive yields and profits from selling their produce.
For instance, if you discover that a particular variety of chili does well every planting season, you might want to clone it such that it covers the entire garden.
Despite its numerous benefits, cloning has its fair share of challenges. One of the most widespread problems encountered by farmers is clones not rooting in an aeroponic cloner.
If your clones are not rooting in aeroponic cloners, it could be because of mistakes done during cutting and oversights when maintaining the cuttings. Other times, it could be due to mistakes when preparing the rooting medium although this occurs rarely.
Given that plants use roots to absorb nutrients needed for growth and development, this is a severe problem. Simply put, a plant can’t grow healthily or produce meaningful yields if it lacks proper roots.
If your aero clones are not rooting, you’ve come to the right place. Read on to discover the common reasons why clones fail to root and their solutions.
What Prevents Rooting in Aeroponic Cloners?
As earlier mentioned, rooting in aeroponic cloners may fail due to blunders during cutting and taking care of the cuttings.
Another reason for this, though rare, happens when preparing the rooting medium.
Let’s look at this in detail.
Clones Not Rooting in Aeroponic Cloner Because of Mistakes Done During Cuttings
The first mistake farmers make when making cuttings is taking pieces that are too small to spray properly.
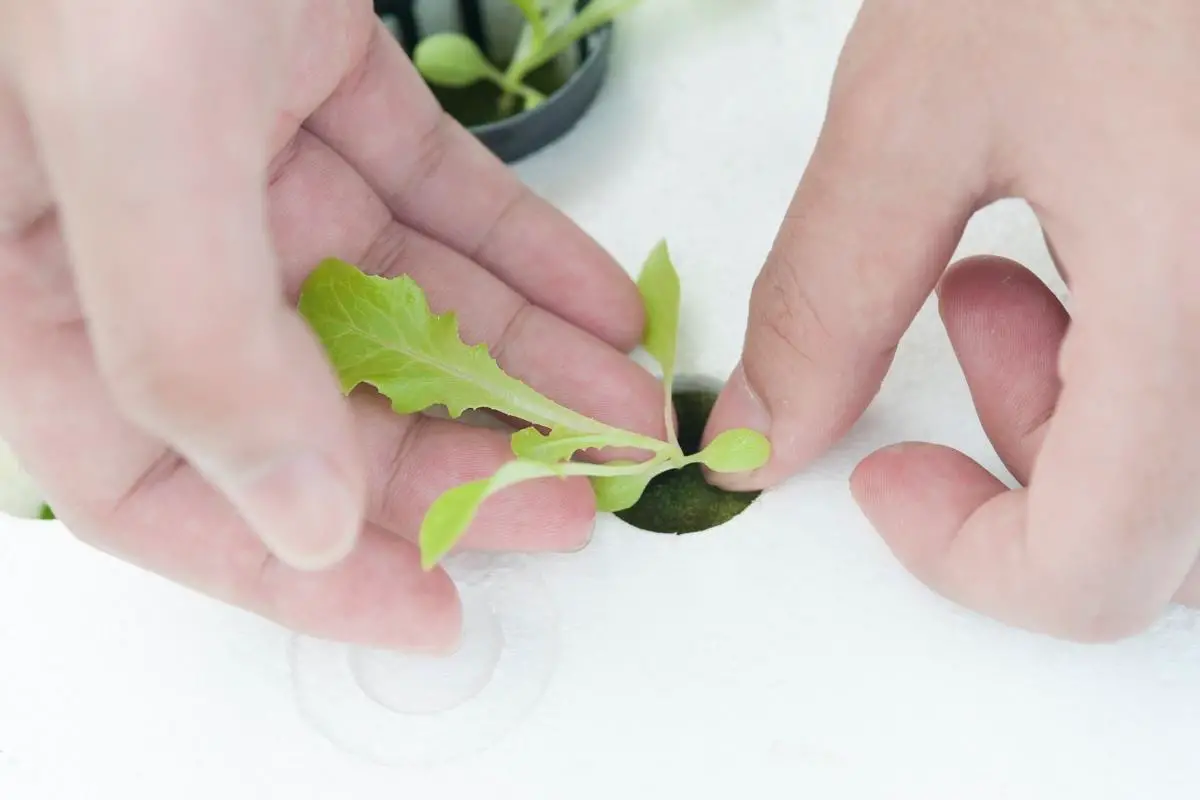
Ideally, the cutting you make should be big enough such that you can stick them into the growing medium and leave enough room between the first leaves and the substrate.
Here are some more vital points to know:
- Using water with a pH that’s on the extreme (too high or too low) can also hurt the rooting process.
- The rooting medium must be moist, and the water should have a pH of 6.0. While doing this, avoid using too much water since it increases the risk of rotting.
- It is essential to handle the cutting carefully when removing it from the mother plant.
Some species, such as cannabis, have their rooting hormones close to the outermost layers of the bark. If you remove it, clones will never produce roots.
You should avoid placing the cuttings near contaminants like alcohol and other chemicals, as these can also kill the rooting hormones.
The best way to store them is in a refrigerator until you transfer them to the growth medium.
Lastly: You need a cloner or small greenhouse to ensure that the humidity doesn’t fall below 90% when you plant the cuttings.
Aeroponic Cloning Issues Because of Mistakes During Maintenance
You might follow the right steps when making cuttings, but your clones won’t root if you don’t maintain them properly.
When planting:
- ensure that the rooting medium has sufficient moisture to support the rooting process
- then, leave the cuttings for at least 10 days without watering
Whenever you spray the cuttings, focus on the bottom of the leaves, instead of the top. Wetting the upper surface is known to delay rooting in aeroponic clones.
Another aspect you need to keep a close eye on is the temperature range in your aeroponic cloner.
Experts recommend 22oC but you’ll be fine if it’s a degree higher or lower. Anything that deviates from this range will affect rooting.
Precisely, rooting won’t occur if the temperature is too low, and the clones will die if the temperature is too high.
The effect of too much heat is also the reason why it isn’t advisable to cover your cloner with electric blankets.
Like temperature, aeration is also vital to the rooting process. Ensure that you open your cloner at least once daily to allow for fresh air.
This also eliminates any drop that might have condensed inside your aeroponic system. If the moisture is too much, it would be best if you drain it off.
Clones Not Rooting Because of Mistakes When Preparing the Rooting Medium
Sometimes, the environment you use for planting cuttings might not be favourable for rooting.
As mentioned above, cloners, propagators and greenhouses provide an excellent surrounding for root growth. This is because they maintain humidity at levels above 90%.
Moreover, the medium you use must also offer conducive conditions for rooting. Rockwool is a top choice among many growers because of its top water retention properties.
This ensures that your cuttings develop in an environment that provides enough moisture to grow roots.
How to Tell If Clones are Rooting
Knowing if your clones are rooting is vital. If they aren’t, you’ll know the reason why and implement the necessary changes as described in the previous sections of this post.
The two methods used to tell if a clone is rooting are tugging and checking for new growth.
Tugging
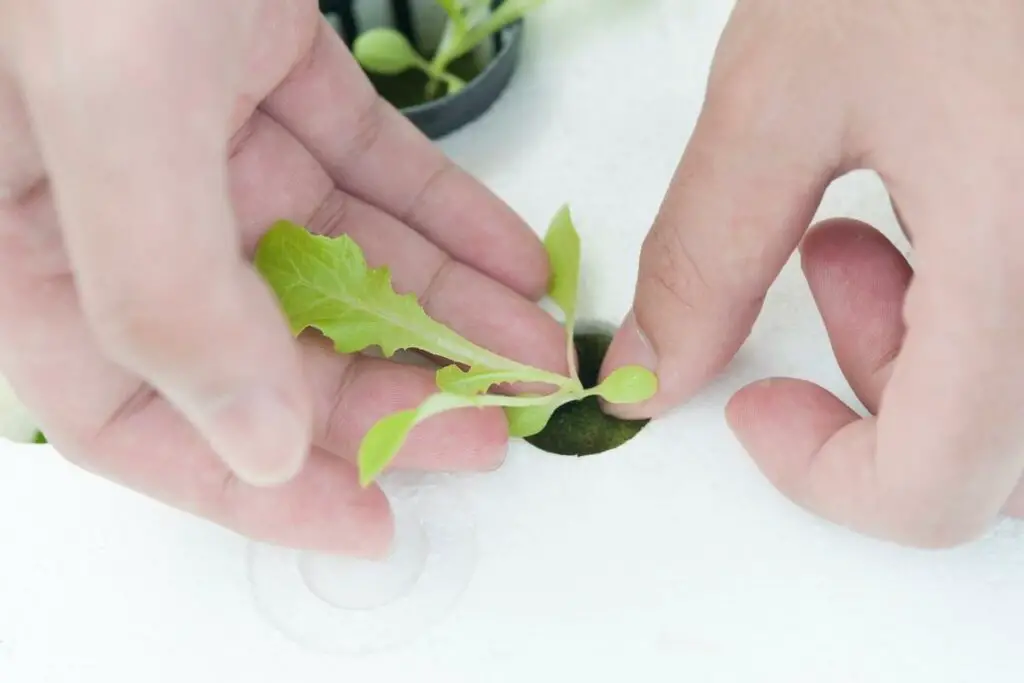
Tugging is a straightforward task used to examine if your cuttings are producing roots. Pull the upwards in a gentle manner, as applying too much force might result in uprooting.
If you feel a slight degree of firmness, it’s a sign that your plant is rooting.
Watch Out: Avoid doing this test too early (less than 10 days after planting) since it can cause fatal damage to the clones.
Check for New Growth
If you find tugging too risky, you can wait for your clones to produce new growth, such as leaves.
These usually start appearing 10 to 14 days after planting.
While waiting, check the condition of your clones. If they’re wilting, it’s a sign that the roots aren’t forming.
How to Quicken Rooting in Clones
Nothing is as frustrating as waiting for your clones to root.
Luckily, there are smart ways of making the process quicker.
These include:
- Ensure that you take cuttings from a healthy mother plant. Use a sharp blade to cut the branch at a 45o angle. This provides a large surface area for root development. Avoid blunt knives because they can crush the stem.
- Remove leaves from the cutting except for the ones at its topmost end. This is because too many leaves slow down the rooting process.
- After trimming, dip the clones in powder and rooting gels. By doing this, you provide the nutrients needed for root growth.
- Before burying your clones into your preferred growth medium, ensure that it has enough moisture. Then, transfer the plants to your aeroponic cloner.
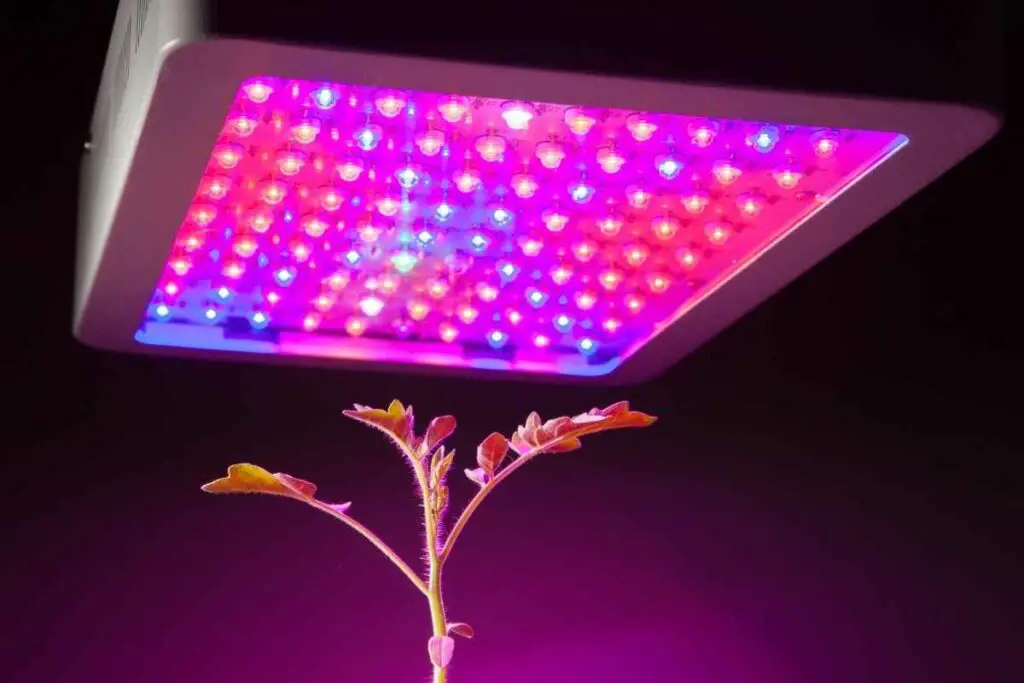
- Once they’re in the cloner, install powerful LED lights above the equipment. These maintain temperature and humidity at the ideal levels. With the right money, you can purchase dimmable bulbs that enable you to save on electricity costs.
- Lastly, avoid doing the maintenance mistakes mentioned earlier. This way, your clones will have roots by the 10th day after planting.
Wrapping Up
As seen above, small errors when preparing and maintaining cuttings can prevent timely rooting in aeroponic clones.
For this reason, you need to be keen when doing these tasks, or even hire a professional to do it for you.
Besides, you also need to ensure that the growing environment has the ideal conditions for root development.
You might also need to apply rooting gel and some kind of organic fertilizer to quicken the process.
Avoid using chemical-based fertilizers, as this contradicts the principles of aeroponic farming.
Lastly, be patient. Disturbing your clones before they start rooting only delays the process. In some cases, it might kill the clones.
