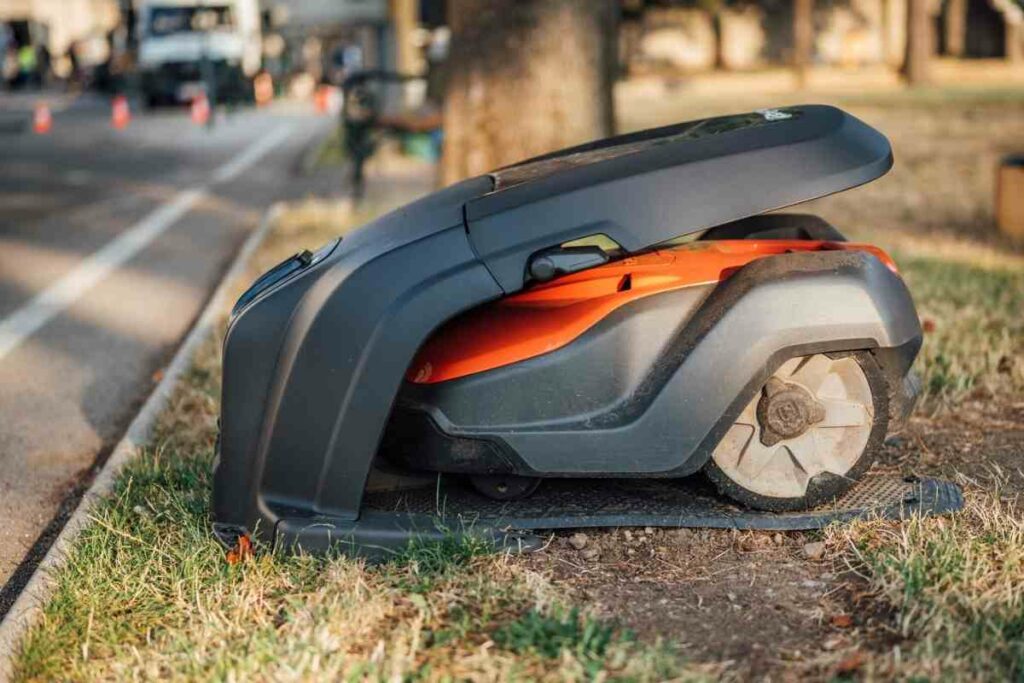
Some prices of robot lawnmowers are more than a little eye-watering, but when you consider the time you save and the sheer convenience of having a robot mow your lawn, they are well worth it.
That being said, you want to make sure that your investment in a robotic mower does not depreciate too rapidly through frank neglect.

Some robot lawnmower maintenance will not increase the longevity of the mower but also keep your grass looking great.
In This Article – We will explain how your can clean and take care of a robotic mower. By following these quick and simple maintenance tips and steps, you can get the best out of your automatic mower and keep it running well season after season.
Taking Care of Robotic Mower
Thankfully, maintaining a robotic mower is less arduous than looking after a traditional mower.
You won’t need to get the engine oil or sharpening stones out. After all, you have purchased your mower for easy garden life.
Robots have fewer parts to take care of and are less prone to breakdown meaning you only need to carry out a few, quick tasks to keep the mower running beautifully.

Key maintenance jobs for a robot mower include:
- Cleaning the mower
- Replacing the mowers blades
- Replacing the battery
- Protecting and storing the mower in winter or bad weather
Keep up this regimen of care and your mower will achieve its lifespan!
Why Cleaning Your Robot Mower Should Never Be Overlooked?
Your mower spends hours, days, weeks, months, and years braving the elements to keep your lawn looking like a showroom carpet.
This is hard work and if there is no cleaning, the evidence will build up in every, gap, seam, corner, and crevice of your mower.
Grass builds up around the wheels of the mower, and rotting mulch that is not cleaned can blunt the cutting mechanism.

Grass juices are corrosive and also contribute to corrosion of the blade and other exposed parts.
If the mower is grimy and dirty with blunt blades, it will have to work harder, leading to wear on the mechanics of the robot and reducing its mobility and cutting performance.
Complete neglect shortens the robot mowers lifespan, with the failure of key parts that may be costly to replace.
How to Clean Your Robotic Mower
Cleaning your robotic mower is a pretty basic job and does not require fancy detergents or materials.
At most you’ll need:
- A bucket of warm soapy water and a cloth
- A toothbrush
- A large handheld brush
- Protective gloves
- A flat-bladed/Phillips screwdriver (if you want to remove the blades for a deep clean)
- A vacuum cleaner or can of compressed air.
Here Are Some Basic Steps for Cleaning a Robotic Mower
- Switch off the mower at the onboard master switch, so that it cannot accidentally activate and cut you. The position of this switch will vary by model of mower.
- Turn your robot lawnmower upside down on a soft surface, like an old towel on the grass.
- Remove grass clippings from the underside of the machine using the hand-held brush. Mulch and clippings accumulate around the blades and wheels. When cleaning the cutting deck, protect your hands by wearing gloves.
- For smaller seams and crevices, use the toothbrush to remove soil, plant material, and other accumulated debris.
- A vacuum cleaner or compressed air can tackle clippings in inaccessible areas.
- The flat head screwdriver can also dislodge dirt
- Once you’ve removed and dislodged most of the grass and dirt, turn over the mower, so it falls to the ground.
- You can wipe the robot mowers chassis down with warm soapy water and left to dry.
Take a look at a robotic mower pro cleans their mower
Keeping Your Robot Lawnmowers Blades in Good Condition Is Vital for Efficient Cutting
The blades of the lawnmower do the hard work of keeping your lawn cut to the right length and chopping up the dead grass into a fine mulch that nourishes your lawn.
Check the sharpness of your blades monthly, especially during the spring and summer months when the grass is growing faster and your mower is working hard.
The following problems can occur if your robot continues to mow with blunt blades:
- corrosion and breaking off of parts of the blade creating a hazard
- damage to grass as the blade does not cut cleanly it
- browning of the damaged lawn
- a shortened lifespan of mechanics of the mower, because it has to work harder to cut with a damaged blade.
Replacing the Blades on Your Robot Mower
The method of replacing the blades on your robotic mower will depend on the type of blade your model uses.
Always read and follow the manufacturer’s instructions for replacing blades.
You can usually get suitable generic replacement blades online or direct from the manufacturer.
There are two main types of blades for robotic mowers:
- Rotating razor blades: These are small razor blades that are attached to a rotating disc. They wear quickly and usually require replacement every two months if used heavily.
- A set of singly mounted blades: These blades are more durable and deliver a more powerful cut. They only need to be replaced every 6 to 12 months.
How to Replace the Blades on Your Robotic Lawnmower

Manufacturers have designed robotic mowers so that changing their blades is easy.
You will need your replacement blades, screws, and a screwdriver.
Protect your hands with gloves as you handle sharp blades!
How to Replace Blade Discs on a Robotic Mower
- Ensure that your switch the master switch of your mower off
- Turn over your mower on a soft, level surface
- Unscrew the blunted or rusted blades
- Once you remove the blades clean in and around the mowing deck to remove clippings and dirt.
- Attach your new blades
- When complete, set up your mower, switch it on, and test the mowing function. If the blades are not rotating properly, you may need to re-secure them.
Replacing Individually Mounted Blades
- Once the main switch is off put the blade clamp on the two holes move it to offset the hooks and release the mower blades
- Clean beneath and around the blade housings with a stiff-bristled brush
- Press new blades into position (protect your hands) and lock the new blades into place.
Take a look at this video guide that explains the essentials of replacing the blades on a robotic mower
The Battery Makes or Breaks Your Robotic Mower
Batteries are critical to the performance of the mower and you need to be able to recognize when it’s time for your mower’s battery to be replaced.
Over time lithium-ion batteries lose their charge, as repeated cycles of recharging produce unfavorable chemical reactions that reduce battery efficiency and capacity.
When to Replace the Battery on a Robotic Lawnmower
The battery of a robotic mower usually lasts between two and five years, varying between brands.
The life of your battery will also be determined by the length of the mowing season and for how long the mower is working every day.
The batteries of mowers that work a long season with continual mowing will require replacement sooner than the batteries of robot mowers that work less often.

If a battery fails before its first two years, you can usually get it replaced using a manufacturer’s guarantee.
A mower’s battery probably needs to be replaced once its maximum charge capacity falls below 75%.
You will probably notice a fall in the operating time of your mower, with it needing to return to base for recharging more often than expected as the battery ages.
You can check the level of charging that the mower achieves on its onboard control panel or mobile app.
How to Change the Battery of a Robot Mower
The following steps are to give you an idea of what is involved.
The method for replacing a robotic mower vary amongst manufacturers, so follow the advice in your instruction manual.
Always use new, original batteries that are ideally obtained from the manufacturers as the performance of other batteries can be unpredictable.
Here are the key steps:
- Ensure the main switch is off and set the cutting height to the lowest position.
- Turn over the robot mower on a soft clean surface to prevent the chassis from becoming scratched while you work.
- Locate and clean grass debris from around the battery cover.
- Unscrew the battery cover and remove it.
- Batteries often have a strap that assists you in removing them safely. Pull on the strap to dislodge and remove the battery.
- Fit the new battery, pressing gently on the contact strip to help fit it correctly.
- Replace the battery cover and screw in place, taking care to check if the seal of the cover is intact. If this is damaged, replace the cover to prevent the ingress of moisture and the development of corrosion.
- Reset the cutting height as required and switch on the mower.
- If replacing the battery has reset the robotic mowers settings, reprogram your mower as needed.
Have a look at changing a battery on a John Deere mower
Your Robotic Mowers Charging Station also Needs TLC
The charging station of the robotic mower should also be cleaned and maintained so that your mower can automatically dock and charge effectively.
As it is left outside in all weather, grime and debris can build up, so cleaning it every six to twelve months is worthwhile.
During the winter, you may also want to store it inside until spring.
After turning off the mains power you can brush the dirt off the base station and wipe it down with a rag that has been dipped in warm soapy water.
The Charging Contacts of the Mower Should also Be Cleaned
Look for any corrosion on the contacts (a light green deposit) that you can remove with fine-grain sandpaper.
With a damp microfiber cloth, wipe off any visible dirt on the contacts (make sure that the power is off!).
Finish by drying the contacts with a dry cloth.
Preparing Your Robotic Mower for Storage
You may need to store your robot and its charging station over the winter months or if you are going to be away from your property for an extended period.
Though robotic mowers can be left outside throughout the year, storing the mower and charging station can protect them from harsh damp conditions.
Keeping the mower indoors through the winter also prevents the battery from discharging quickly in cold weather.
Key steps to prepare a robotic mower for storage:
- Fully charge the mower before storage.
- Give the robot a thorough clean and replace the blades if needed.
- You can place the mower in a storage bag and store it in a place that is clean and dry until you need to deploy it again.
Take a look at these steps in action in this helpful video by Husqvarna pro The Greasy Shop Rag
Storing the Charging Station
The charging station can also be protected by storage in a clean well-ventilated and dry area for the winter months.
Clean it up before storage as it is likely home to more than a few insects. If your winters are mild, you could leave it outside covered with a tarp.
Don’t stand on the charging station in cold weather as you can crack it. To do this the station needs to be disconnected from the boundary wire that it is connected to.
If the ends of the boundary wire are left exposed they can corrode rapidly and destroy the wire.
This can be prevented by sealing the ends in the insulating tape and silicone grease.
Rounding Up
Robotic mowers are designed to be forgotten about and it is easy to let the season pass and watch them fall into disrepair, but the effort of actively maintaining your mower is a great investment for keeping your robotic lawnmower and lawn in great condition.
Following these easy maintenance steps and following the instructions in your manufacturer’s manual will keep your robotic mower in good service for a long time.
