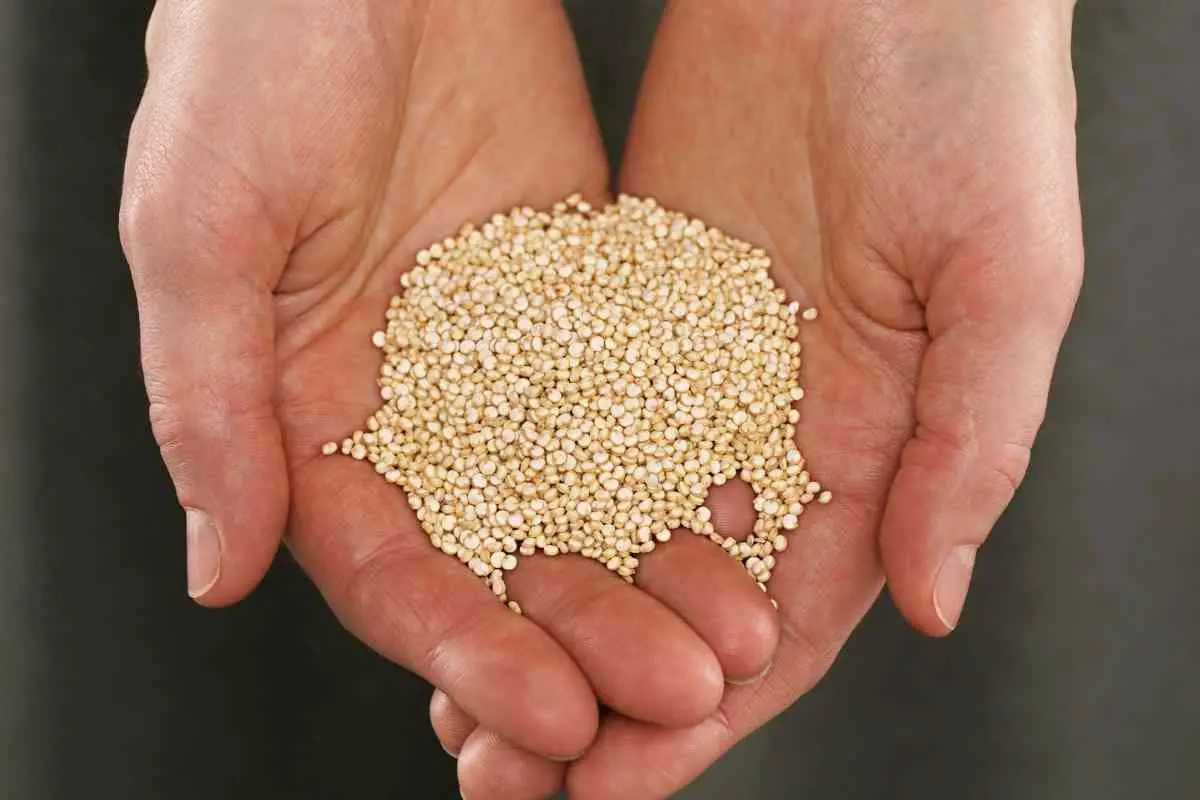
Quinoa microgreens are among the most loved microgreens because they are incredibly nutritious.
They are rich in protein, contain almost twice as much fiber as most other grains, and have high minerals and vitamins content.
Most individuals find it essential in their diet; thus, greatly consider growing it. This growing guide will aid beginners in quinoa gardening and indoor farming.
The process of growing quinoa microgreens starts with seed sowing either directly into the ground or in shallow containers with potting mix, covering sowed seeds to maintain moisture and allow germination and frequent misting until the microgreen develops cotyledons and true leaves.
Lastly, harvesting is done using a sharp knife or scissors. Cut quinoa microgreens are then supplemented in diet or stored in airtight containers or bags and placed in a fridge to preserve their flavor for later use.
Conditions under Which Quinoa Microgreens Grows Best
When venturing in quinoa microgreen farming, you need first to know the best conditions under which quinoa can grow healthy and produce high yields.
Soil Requirement
Since quinoa performs better when grown in soil.
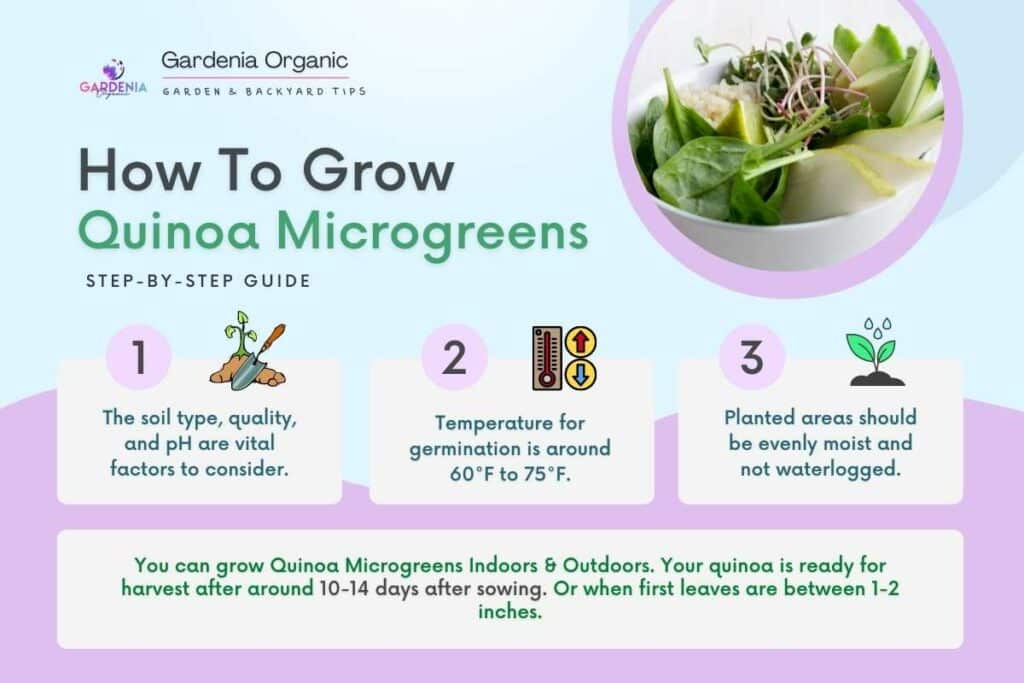
The soil type, quality, and pH are vital factors to consider.
For optimal yields:
- You need to use sandy-loam soil that is well-drained with good aeration and fertility.
- Amend the soil with compost, manure, or organic fertilizer if its fertility is low.
Compost amendment adds organic material in the soil providing many essential nutrients that quinoa needs to grow healthy with the best nutrients and flavor.
Organic matter also helps in improving the soil texture to make it soft so that the roots can quickly spread throughout the soil.
Helpful Tip: Quinoa also prefers moderate salinity, with a pH ranging from 6.0 – 7.5. If the pH is above 7.5, lower the alkalinity of the soil by adding compost, whereas if it is below 6, you can reduce the acidity by adding ash to it.
Temperature Requirement
Quinoa is a warm-season crop whose ideal substrate soil temperature for germination is around 60°F to 75°F, under which seedlings emerge within three to four days.
On the other hand, its optimal growing conditions are in full sun regions with relatively short days and summer temperatures that don’t exceed 90°F during the day and 25°F at nighttime.
Thus, it can grow in a range of temperate climates.
Useful to Know: Quinoa seeds planted in soil temperatures above 75°F may inhibit germination and increase disease pressure. It’s best to refrigerate seeds before planting to compensate for that.
Water Requirement
Planted areas should be evenly moist and not waterlogged until quinoa seedlings sprout:
- Seedlings are just as quickly killed by too much water as too little.
- You can add mulch to the plants to retain soil moisture as less moisture will be lost through evaporation.
- Once it has sprouted, you should water several times a week, but only when the top two inches of soil is dry to the touch in between watering.
Quinoa is very tolerant to drought conditions and does well on a total of 10 inches of water or less.
It is because the established quinoa plant has vigorous root systems.
Growing and Caring for Quinoa from Seeds to Microgreens

Seed sowing
Outdoor
In mid-spring, select a growing site that receives full sun and has well-draining soil (preferably a raised bed).
Then prepare the growing area by loosening the soil and amending it with compost or applying an organic fertilizer if the ground isn’t fertile.
Also, make rows while spacing them 1-2.5 feet apart enough to allow a row planted to pass through without damaging the plants.
Once the last spring frost has passed and the soil is around 60°F to 75°F, sow the seeds directly into the ground and along each row to make weeding less confusing.
One gram of seed will sow a 50-foot row.
You can do planting either by hand or with a row seeder:
- While planting, make sure you scant two or three seeds at a time.
- Plant them at a depth of about 0.5 -1 inch into the soil and 8 – 10 inches apart.
- Gently tamp with a thin layer of soil, no more than 0.25 inches deep.
Too dense seeding can result in a lack of air circulation, increasing the risk of diseases as they need good ventilation to prevent mold growth.
Since they are small, seeds are susceptible to waterlogging and dehydration when sown very deep or very shallow.
Indoor
Start the seeds in shallow flats, cell packs, containers, or trays.
Use one with drainage holes to allow bottom watering or for water to escape through.
Fill it with about 1 inch of a potting mix and compost.
Two-thirds potting mix to one-third compost is a good ratio. You may add an organic fertilizer to the potting mix.
Before sowing, soak your seeds in a bowl of cold water and leave for 8-12 hours. It will speed up the germination time.
Sprinkle seeds up, but don’t bunch them up to avoid mold growing nor over space them.
Sow them about 3 inches apart and don’t cover them with the growing media.
Moisture the soil quite heavily; soil must remain moist.
Cover the tray to help germination and humidity retention with:
- another tray
- a white plastic dome
- or moistened paper towels
If you’re using a tray or dome, make sure to remove the cover or ventilate it on bright, warm days; otherwise, the temperature may climb too high and hinder germination.
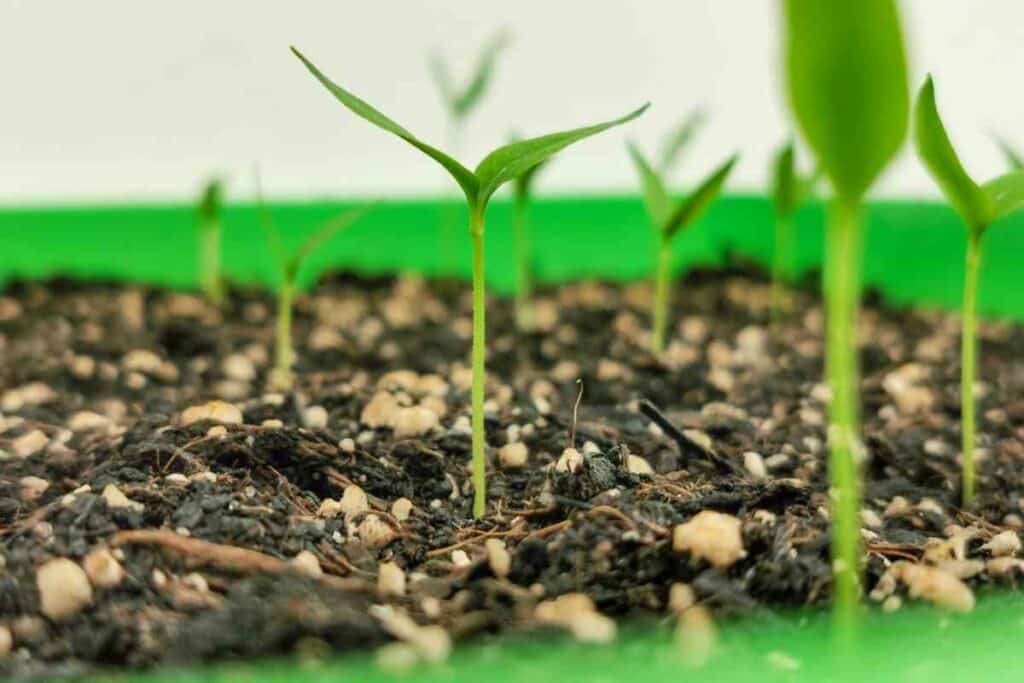
Sprouting
Lay a cover on top of the row bed to help retain soil moisture for germination.
Uncover the seedbed daily to check and see if the topsoil has dried so that you can water to ensure the soil remains moist.
It would be best if you do not overwater the plants until topsoil is dry in between waterings.
Bottom watering is the most preferred method of watering:
- It is done by taking the tray or container with quinoa sprouts with drainage holes and then placing it beneath another tray or container without drainage holes.
- Add water to the tray/container that’s underneath. Quinoa sprouts will absorb moisture through the drainage holes.
Over-watering quinoa during the seedling stages can cause damping-off and severe stunting, and excessive irrigation after quinoa is developed usually translates into tall, leggy plants with low yield.
After planting:
- Keep the seedbed or the tray consistently moist and ensure soil temperature is about 60°F -75°F until the seeds germinate 4-7 days into the first seedlings.
- Once the seeds have sprouted to a length of 2-3 centimeters, uncover and expose them to light.
- For indoor farming, keep the sprouts under grow lights for 16 hours a day. You can use automated timer to turn them on and off.
When And How to Harvest Quinoa Microgreens
Generally, your quinoa is ready for harvest after around 10-14 days after sowing. Or when first leaves are between 1-2 inches.
Upon maturity, you should harvest as soon as possible because the stress of not getting a lot of nutrients may cause the plant to die out soon.
Harvesting is done mainly by hand using a sharp knife or a pair of scissors:
- Small harvesting tools are the best as they prevent damage to small and fragile quinoa leaves.
- Use clean and sharp harvesting tools to ensure clean cuts that prevent rot and bacteria from growing on your microgreens.
- Make sure that you harvest them with gloved hands by pulling up and cutting off the stem together with the leaves and not by uprooting the entire plant with the roots.
- Cut the stalks just below the leaves, then drop them into a clean container.
Harvest only the amount that you need for immediate consumption.
However, you can store the excess in between damp paper towels and keep them in airtight containers or bags before popping them in the fridge – they will last for about a week.
Final Thoughts
Quinoa microgreen is a versatile vegetable that can grow in a wide range of temperate climatic conditions, either in the garden or on a window sill inside your home.
It grows best after the last spring frost has passed since its seeds have a low tolerance for cold. It forms an incredible addition to the home diet; thus, it is a great option to consider growing.
They are easy to grow and low to care for as they are drought tolerant and bothered by few plant diseases and pests. They take 10-14 days to be ready for harvest.
Furthermore, all they require is to attain maturity in well-drained fertile soil with a pH level of 6-7.5, moist soil, and pre and post-germination temperature of 60-75°F and 90°F daytime and 25°F nighttime.