Winter is coming, and that means it’s time to start thinking about ways to have fun outdoors!
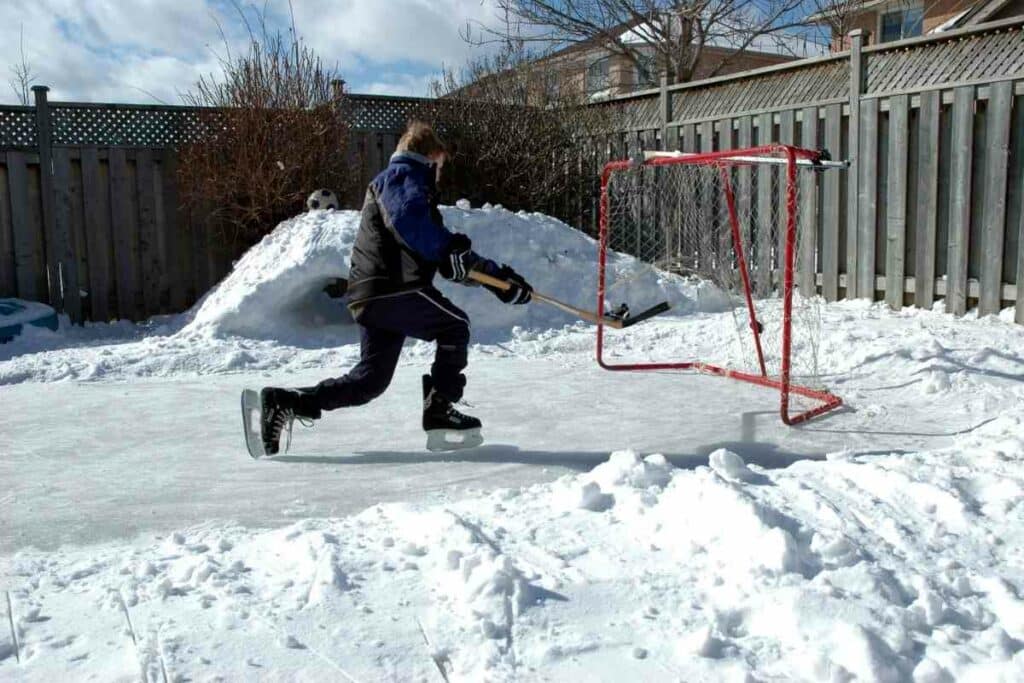
One of our favorite winter activities is skating on an ice rink in our backyard.
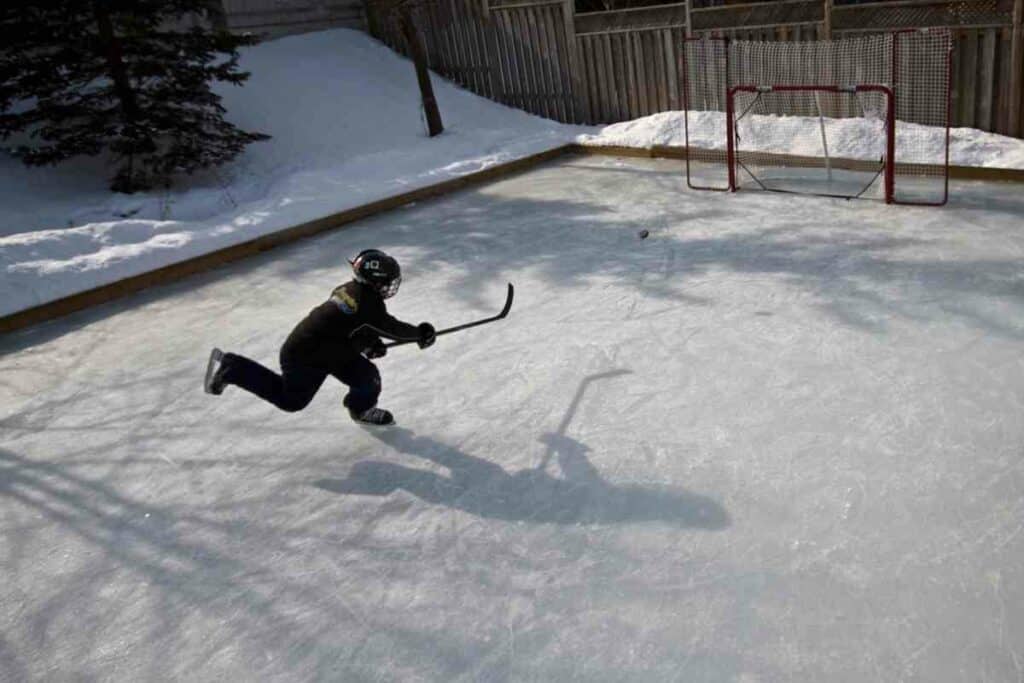
It’s a great way to get some exercise and spend time with family and friends.
Want to learn how to build your own backyard ice rink and some tips on how to prevent it from damaging your lawn? Read on!
What Is a Backyard Ice Rink?
A backyard ice rink is exactly what it sounds like; an ice rink in your backyard.
Backyard ice rinks are rectangular areas of ice that you can use to skate on.
It can be any size, but for a typical backyard ice rink, the dimensions would be about 20 feet by 40 feet.
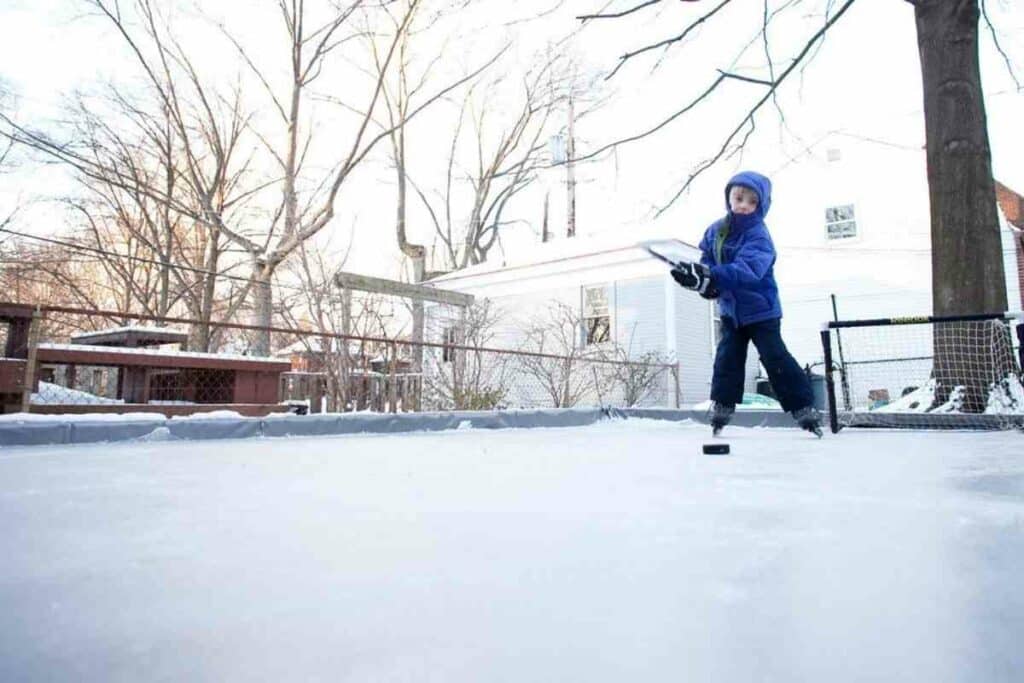
You can make a backyard ice rink in your yard by building a frame out of wood and then lining it with plastic.
You will need to fill the frame with water, which you can do using a garden hose. The water will freeze and create the skating surface.
How Much Does It Cost to Build a Backyard Ice Rink
You can make build a backyard ice rink for as little as $250.
You can spend more money and make your ice rink bigger and fancier, but it’s not going to affect how much you enjoy your time on the rink.
The most expensive part of building an ice rink is the tarp. A tarp will cost around $100 to get the size and durability you need.
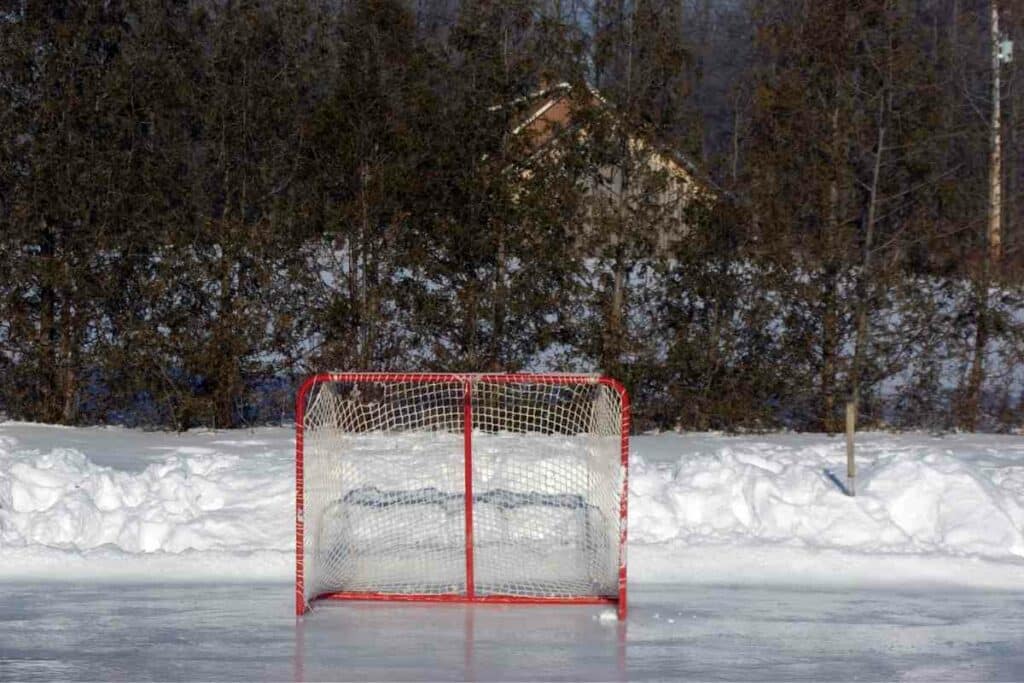
This is, unfortunately, a necessity when building a backyard ice rink, since it is what holds the water in one spot instead of melting across your backyard.
The other $150 is for lumber, supports, and building hardware like brackets, and screws.
Something to Consider: If you’d rather hire someone to fill the rink with water instead of filling it with your hose, this will add another $200 to your build price.
How Much Water Will It Take to Make a Backyard Ice Rink
Backyard ice rinks will come in all shapes and sizes, and each one will take a different amount of water to fill it.
The standard backyard ice rink size is 20 feet by 40 feet, and if you fill it with 4 inches of water (assuming your backyard is completely flat), you will need 1,995 gallons of water to fill your ice rink.

This handy website will do the math for you if you know the dimensions of your ice rink. It will even tell you how long it will take to fill your ice rink based on the flow rate from your hose.
Hiring a water delivery service will speed up the process of filling your ice rink is going to take too long.
Do Backyard Ice Rinks Kill Grass
There is a lot of speculation that backyard ice rinks kill grass.
However, this is not the case. The reason backyard ice rinks don’t kill grass is because perennial grasses go dormant when temperatures are consistently under 50 degrees.
You’ll need temperatures much below this anyway for the water to freeze anyway, so your grass will have definitely entered its dormant state.
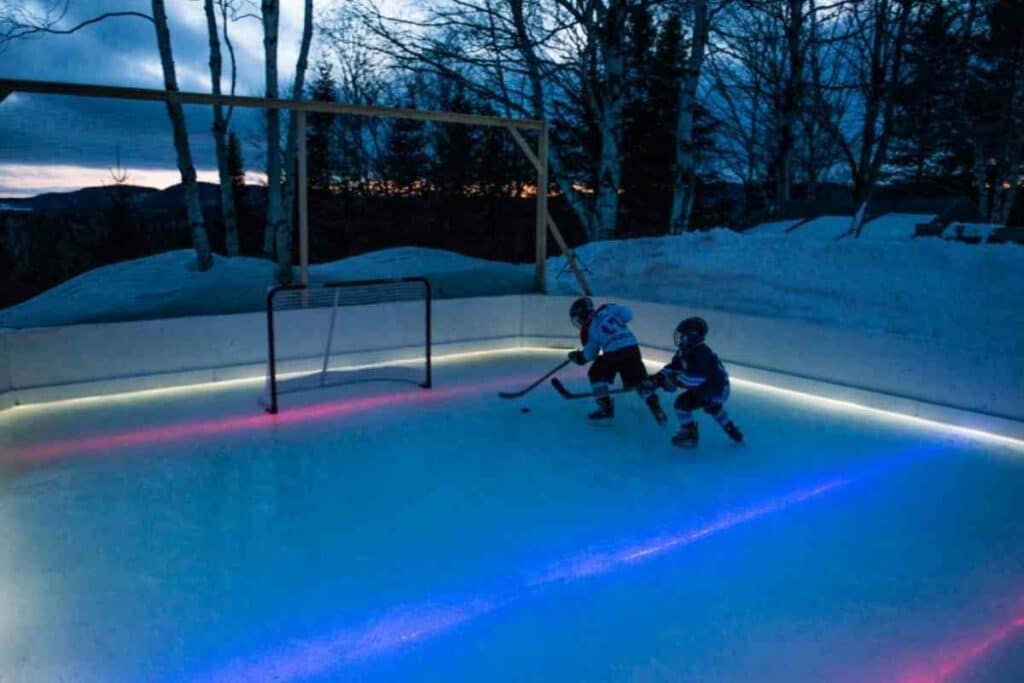
Then as long as you pull up the rink and melt all the ice before the days get longer and the weather gets warmer, your grass won’t die.
If you are worried about your grass, you should use a white liner underneath the ice.
Works Well: A dark-colored liner is going to absorb light and create heat which can damage the grass in its dormant state. A white liner will reflect the light and there won’t be any heat to damage your lawn.
How Long Will a Backyard Ice Rink Last
Your backyard ice rink will last as long as you have below-freezing temperatures.
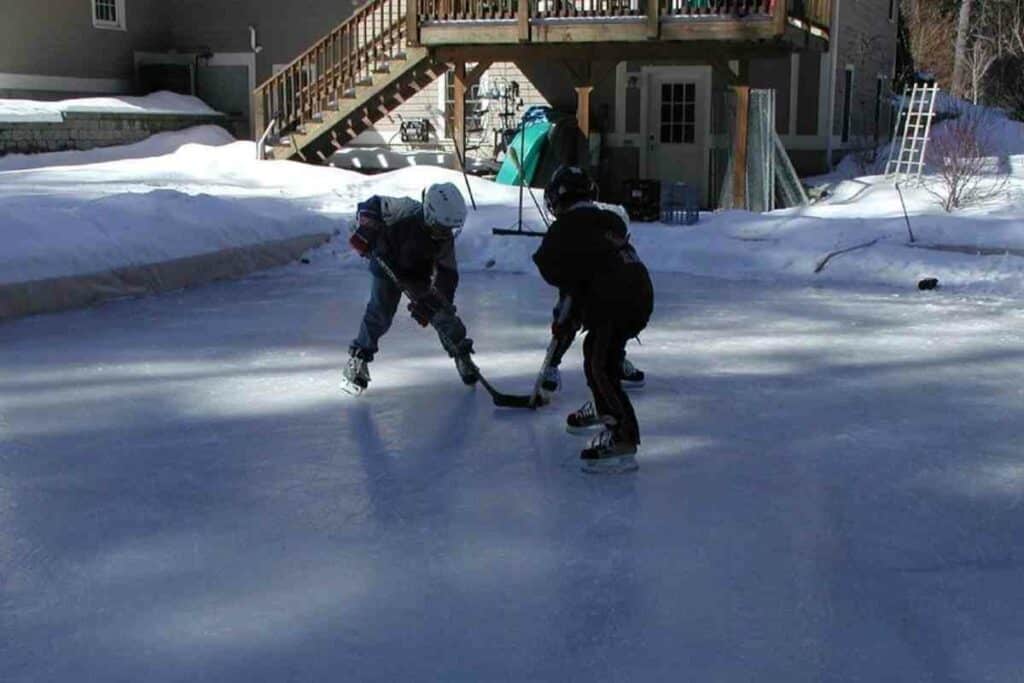
If you have traditional winters where temperatures drop below freezing, you can expect to keep your ice rink up from early December into late March.
There may be a few days where the sun is too bright and the temperature is too high so your ice may melt a little bit.
Don’t worry! It’s just water, and as long as you don’t have any tears in your liner, it will freeze again the next time it’s cold enough.
Step-By-Step Building Guide
And finally, the moment you’ve been waiting for; the guide on how to actually build a backyard ice rink.
Materials
First, let’s go over the materials you need to build your ice rink.
- Boards: Pick up 4 sheets of 4’x8’ OSB that are cut into 1 foot wide vertical strips. Each sheet will give you 4 planks that are 8 feet long. This will give you just more than enough to frame in a 20’x40’ ice rink.
- Supports: nearly 2,000 gallons of water is going to put a lot of pressure on those boards, and you’ll need supports to take some strain off the boards to keep them from bending or breaking. You can use rebar stakes or 24” wooden stakes.
- Liner: You can use any sort of plastic as a lining, as long as it is larger than the size of the rink you want to make. The liner is going to act as a tub to contain the water, so you need extra on the sides. You’ll need at least an extra 2 feet on the width and the length to create a deep enough basin to hold water in.
- Building Hardware: There are a few essential pieces of hardware you will need to build your frame. The first things you’ll need are USP structural connectors that will be used to connect your boards. The second things you’ll need are 8 L-shaped brackets; 2 for each corner of the frame. The last thing you will need is a box of screws, enough to attach all the boards together and attach the L-brackets.
- Spring Clamps: Any sort of clamp will do, but the more you have the better. These will be used to hold your tarp to the frame as it is being filled.
- Water: Ice rinks need ice, and ice is frozen water, which means you’ll need water; and lots of it. You can choose to fill your ice rink with your hose or call in a water delivery service to fill your ice rink for you for a fee.
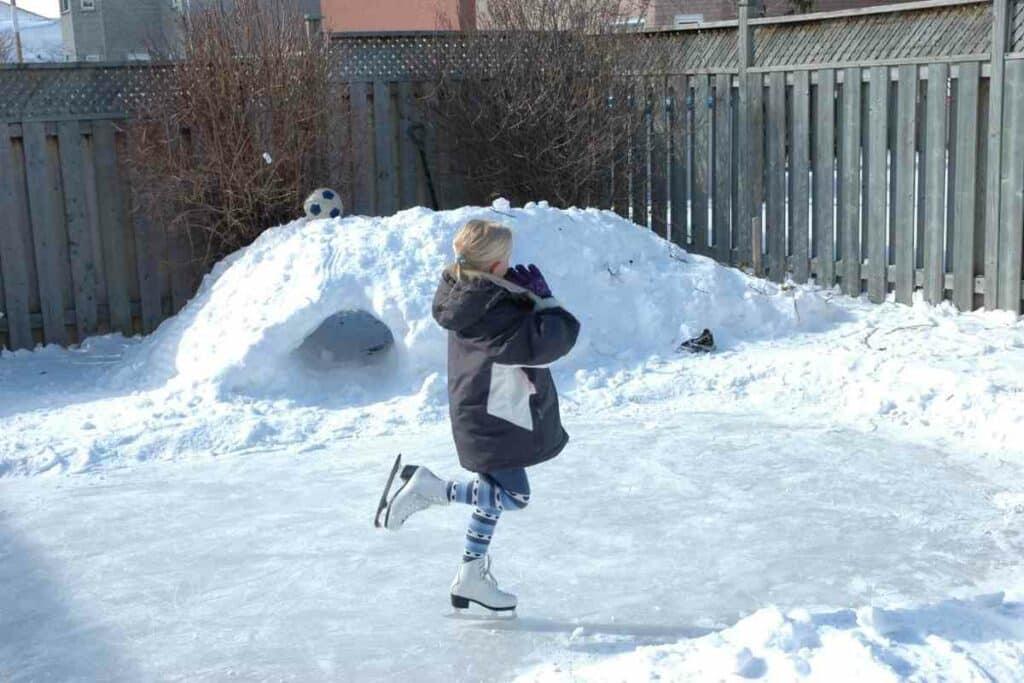
Step 1: Find The Right Spot
Decide on the location of your ice rink.
The perfect location will be completely level so you don’t need to worry about accommodating a slope.
The space should be at least 20’x40’ and should be clear of any obstacles, like trees or poles.
Winter days are quite short, so if you’re able to build your ice rink where it receives light from a street light or your back door light, that’s going to make it safer to use the rink in the evening.
Step 2: Build The Frame
When you have a space picked out for your ice rink, lay your boards out along the perimeter of where you want your rink to be.
Using the USP structural connectors and screws, attach the boards.
When you get to a corner, use two L-shaped brackets to make 90° angles by placing one bracket on the outside edge of the corner 2 inches from the bottom, and the other two inches from the top.
Once your frame is built and in place, insert the stakes into the ground along the outside edge of the frame. Start by placing one stake every 3 feet to support your frame.
Quick Tip: Watch your frame while you are filling the ice rink with water. If you notice your frame is bulging, add more stakes as needed!
Step 3: Attach The Liner
Attaching the liner doesn’t need to be done the same day your frame is built, but it should be done the same day you do the next step.
Wait until there are several days with below-freezing temperatures and no snowfall!
Start by figuring out which sides of your liner are shorter, and center them along the short side of your frame.
Fill the inside of your frame with as much liner as you can to give plenty of slack while it’s being filled.
The extra liner should be draped over the top of the frame and secured in place with a clamp.
Do not staple your liner to the frame!
Not only will this put holes in your liner, but you won’t be able to make adjustments easily while your rink is filling if you need to add more slack.

Step 4: Fill
Fill day should be the same day you lay out your liner.
This keeps any sticks, animals, or falling ice off your liner to prevent any holes.
Keep your eyes on your rink while you fill it. You should be watching the liner, the boards, and the water level.
If you notice the liner is starting to pull away from the boards and water is pooling in the middle, give your liner more slack so the water extends all the way to the edge of the boards.
If the boards are bending, insert more stakes to give them more support.
The water level should be watched around the entire edge of your frame.
If you have a slight slope in your backyard, the lower end is going to “fill” faster than a side that’s higher on the slope.
Make note of the slope for the following year and you can use a wider board to accommodate the slope.
Tips For Your Backyard Ice Rink
Determine If Your Backyard Has a Slope
Looking at your backyard, it might look flat, but chances are there is a slight slope.
This video does a great job of showing you how to find out if there is a slope in your backyard.
If you realize you do have a slope, use a wider board in your ice rink frame wherever your backyard is lower.
Fill It All At Once
When you’re filling your ice rink with water, fill it all at once.
Freezing water in layers makes the ice weaker, and your ice rink will crack more often.
Keep Snow Off Your Ice Rink
If you can cover your ice rink before the snowfalls, that will be one of the best ways to protect your ice rink.
If that’s not an option for you, shovel the snow off your ice rink when you have the time.
Resurface Your Rink
If you can’t keep snow off your rink, or if the top layer melted and refroze on a windy day, the top layer of ice might be bumpy and won’t give you a smooth skating experience.
To resurface your rink, use a garden hose and add a thin layer of water.
Do not use the spray function to add the water, or it will create another rough surface that you’ll have to resurface again.
Final Thoughts
Building a backyard ice rink is an inexpensive project, but it’s one of the most rewarding things you can do in your yard this winter.
There are two things stopping people from building a backyard ice rink.
Wondering what the cost is to build an ice rink in your back yard, and thinking it is going to be way too expensive, and not knowing if it will damage the grass they’ve spent so many months tending to.
Hopefully, this guide will give you the confidence you need to move past these questions and take on this challenge and build your very own backyard ice rink.

