Whether you’re a railroad enthusiast or want to make something for your children or grandchildren, backyard train tracks are a great project to undertake.
The main questions people often ask when starting this idea are to do with space or money.
Where to start with backyard train tracks
Before you begin, you need to plan your backyard railroad.
If the hobby is just for you in your own time, you won’t feel pressure to complete it in a set period of time.
However, if you’re building it for your children or grandchildren, you might want to consider scaling back elaborate plans to something simpler so that they can benefit from it sooner.
Also, if it’s your first track, you should probably start small and simple – there’s no reason why you can’t expand later on.
Many existing backyard train enthusiasts have gone through stages where they start simple and build bigger.
It typically goes something like this:
- Start the project – build a three to six-meter track, and have a four-wheel wagon.
- Extend to fifteen meters and include a curve and a slight grade, get another four-wheeled wagon.
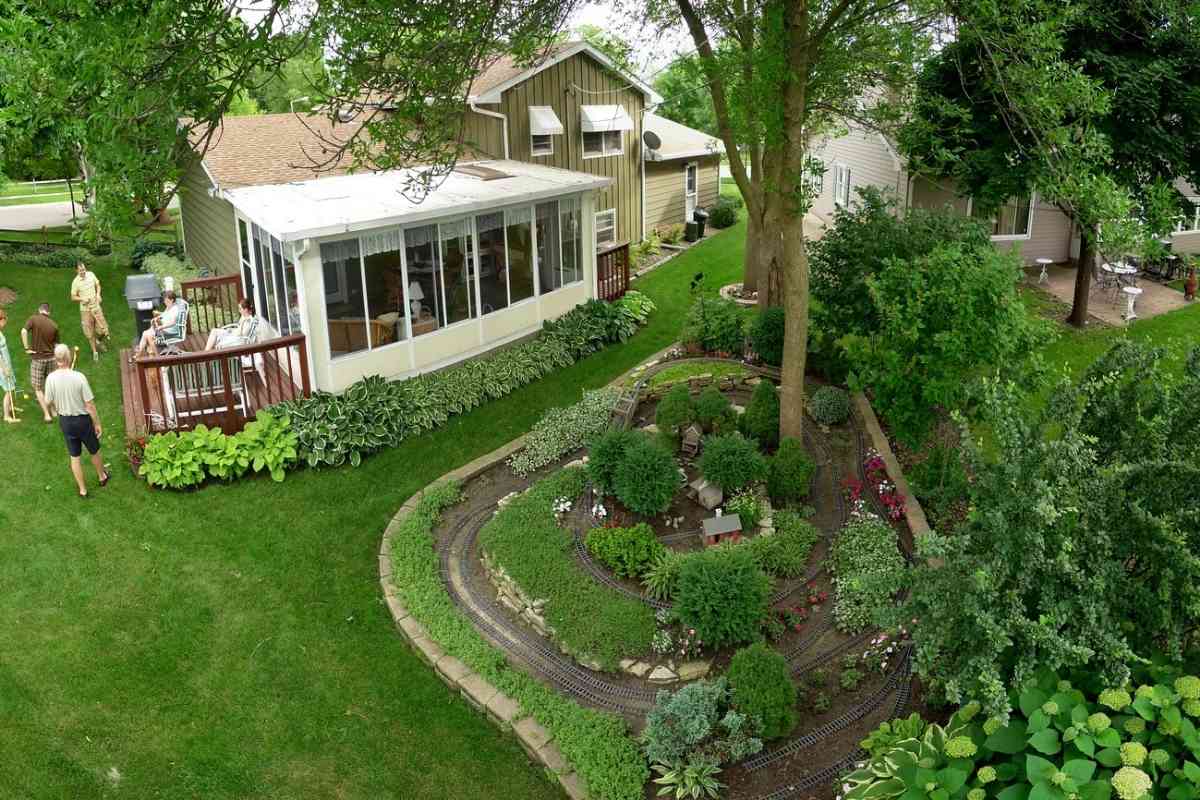
- Develop a mature system with appropriate landscaping and a complete loop if the layout allows.
Of course, many people never plan to go further than stage 1, but inevitably this hobby is one that takes over!
Gauge choice
You’ll need to choose a gauge for your track during the design process.
For anyone new to backyard railways, the gauge of a track is the distance measured between the rails on their inside edges.
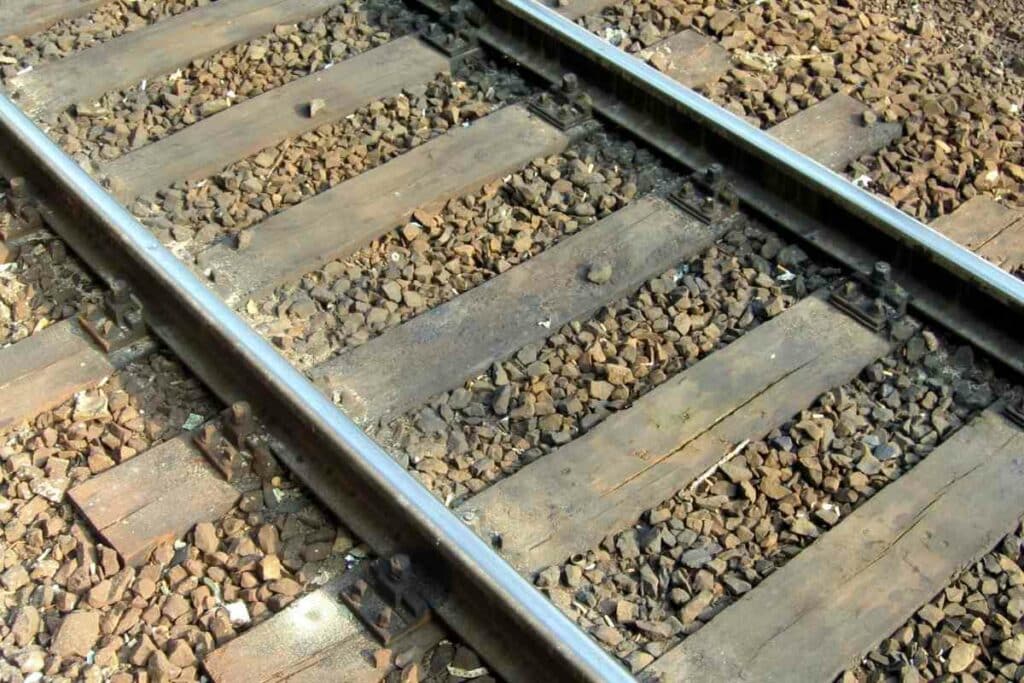
It’s worth doing some research around your local area for what other backyard railway enthusiasts use as many of them re-purpose rail or trains later on so you could get some bargains.
This is also useful if you’re thinking of joining a club.
Here are some of the most common gauges (in inches) for backyard train tracks that are capable of hauling passengers:
- 1.25/1.75/2.5/3.5 – all of these are best for elevated viaducts (and are therefore not suitable for children’s use or use on the ground.
- 4.75 in the USA (5 in the rest of the world).
- 7.5 in the USA (apart from the Northeast) and Japan – 7.25 in the rest of the world.
- 9.5/10.25 (historic and not common in New York).
- 12/15 – these would be too heavy for younger people.
For backyard train tracks, the best choice is choosing between the 1/12 scale or the 1/8 scale (so 4.75-5 inches to 7.25/7.5 inches).
For the purpose of this post, we’ll use 5” and 7.25”.
Cost
When you’re using a 7.25” gauge, you’ll spend twice as much on materials as you would for 5” gauge backyard train tracks.
In terms of weight, you’re looking at each item being three times as heavy.
However, if you’re making a lightweight operation (by this we mean the majority of the load is the passengers rather than the train itself), both gauges will cost a similar amount.
The reason for this is that the rails carry the same weight between their sleeper regardless of the gauge.
If you’re basing your choice on cost, you’ll probably find the 5” gauge to be preferable.
However, lots of people are now choosing 7.25” gauges because:
- Heavier adults can’t always ride in 5” wagons.
- Rail, tube, and common bar are 1” and look right on a 1/8 scale but look too tall on a 1/12 scale.
- Lots of larger, private tracks use 7.25” gauges, as do many club tracks.
- In many places around the world, buying 1/8 scale is easier.
- 7.25-inch gauge wagons are a useful size for carrying produce and garden materials.
Whichever size you choose, don’t forget to check your local gauge sizes before you start building (i.e., 4.75” or 5” and 7.25” and 7.5”).
Do you scale?
For some hobbyists, scale is important.
They will only use trains and wagons that are built to scale for the track they’re on.
Others simply choose to ignore the scale and just use wagons and cars that will fit on the track regardless.
When you’re freed of scale constraints, you can make something both useful and fun.
Track construction
There are lots of different track materials and some are available in some places and not in others.
Here are some of the possibilities for track materials.
Profile rail
This is specially designed and made for smaller railways.
Its cross-section is similar shape-wise to a full-sized track, and it’s usually made from rolled steel or extruded aluminum.
The base is wide so that it fixes easily to sleepers with wide-head screws or nails.
Ideally: Fixings should be galvanized steel or stainless steel, and sleepers should be pressure-treated pine. This type of track is best for beginners.
Ladder track
This is a track made of steel bars and is welded to flat sleepers.
These are then supported by either timber sleepers, a stone bed, or concrete.
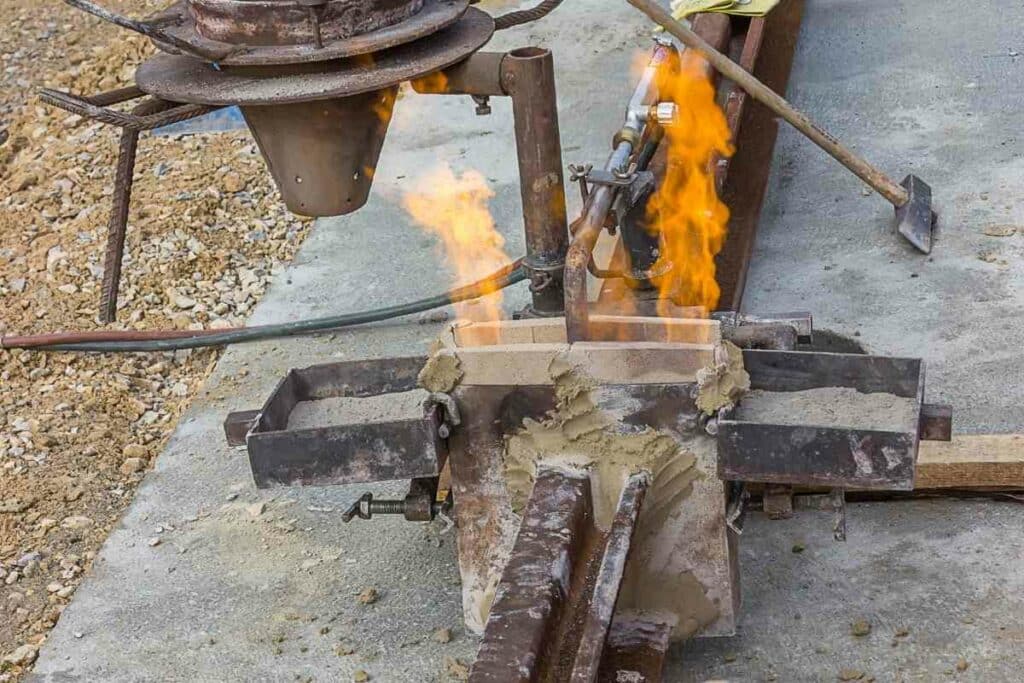
This type of track is the cheapest in terms of maintenance if the miniature railway is going to get heavy use and wear and tear.
However, it’s not the best type of track for a beginner to work with unless they are happy with welding.
“Groovy” track
This type of track is made of steel bars that are pushed into slots on the top of sleepers.
It is a cheaper system but is tedious if you’re cutting the slots yourself.
When sleepers have grooves, they also don’t usually last as long.
Bar-in-chain track
This track type uses rectangular steel bars or tubes that are pressed into aluminum channels or plastic chairs that are fixed on the top of sleepers.
This would be a suitable track system for beginners.
Preparing the ground
If you’re building a short track as a little hobby, you could build it on an existing concrete path or even a lawn.
However, if you’re building a longer track, you’ll need to prepare the ground below.
In terms of basic rules, your sleepers need to be horizontal and your rails almost horizontal.
It’s fine if your rails slope up or slope down by a small (1%) percentage of their length.
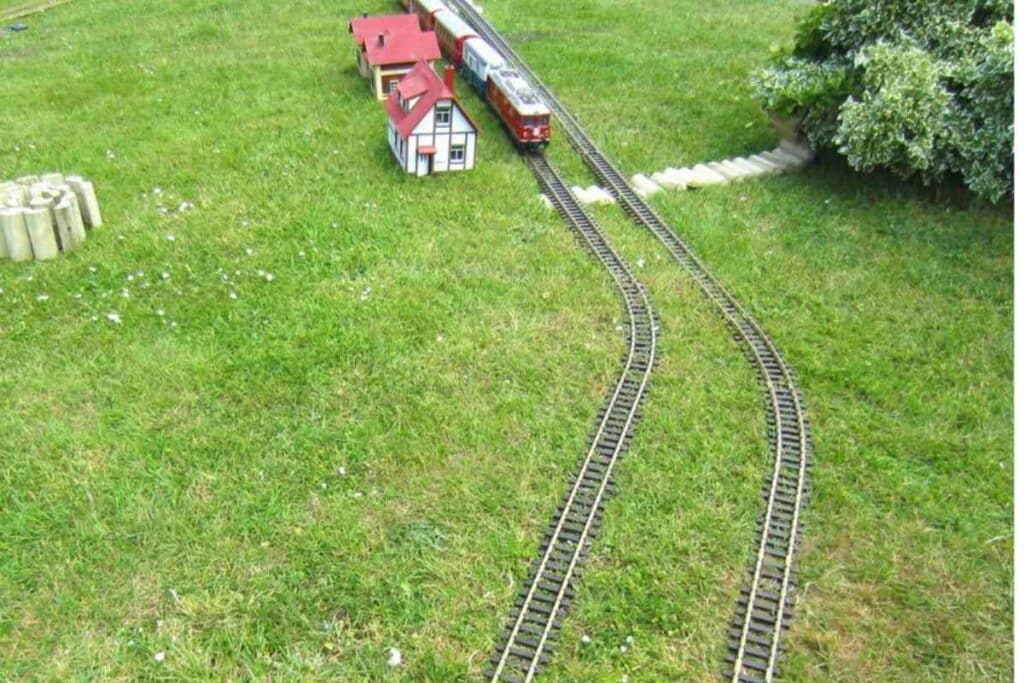
You must also not put in bends that are too tight. For a 5” gauge, you need a minimum radius of 1.2 meters on bends.
For a beginner’s lightweight track, you probably don’t need ballast.
However, if the sleepers start to disappear into soft ground, you’ll need to strengthen them underneath with paving bricks or ballast.
Decision to Make – Many people use ballast anyway because it looks nice – and it also distracts young children from kicking sleeper ends.
Your rolling stock
If you’re planning on making your own cars or wagons, you should start simple.
The first car you should make should be able to be pushed along your track.
If you’re making a flat, 4-wheel car, you’ll need the following items:
- Plywood deck
- Timber frame
- Axle sets and wheels
- Bearings
- Bearing housings
- Springs (depending on the size of the wheelbase)
- Screws
- Couplers
- Outdoor paint
If you’re going to make a freight car, you’ll also need:
- Sides (solid pine or plywood)
- Optional roof (PVC sheet, plywood, sheet metal)
- Optional footboards (pine boards)
- Brakes (unless the track is flat)
As for wheels, you can get these from many sources, but it is possible to buy them readymade too.
For a powered locomotive, it’s best to use electric as petrol engines require more maintenance and are noisy.
You’ll need to get:
- A powered chassis
- A plywood body that’s strong enough for sitting on
- Batteries (two, large ‘deep-cycle’ batteries or 17Ah gel cell batteries for flat track)
- A battery charger
- A controller – ideally, a PWM (pulse width modulated) electronic controller
Materials for cost estimates
It is possible to make backyard train tracks for as little as $300.
You can, of course, spend thousands on your system – and many enthusiasts do!
For a small, 40-foot track (12 meters), you’ll need the following:
- Rails: You’ll need four 10-feet rails or two six-meter profile rails.
- Track screws: 100 roofing screws (galvanized or stainless csk) – size 1” x 17ga or 35 mm x 10ga
- Sleepers: 24 sleepers – size 3 x 2 x 13 (treated pine). You can often find these free as leftover lumber or off-cuts.
- Wheelsets: 4 diecast wheels or 1 pair (4 wheels on axles).
- Bearings: 4 sealed ball races for axles – usually ½” or 4 pillow block bearings (to save boring the bearing housings).
- Wagon frame: Around 10 feet of softwood (3” x ½”). You can often find this free as leftovers or off-cuts.
- Wagon deck: For a wagon deck 2’6” or 750 mm x 500, use decking timber to fit. You could also use marine ply scrap.
- Paint: Outdoor gloss acrylic.
How to put your railway together
The ballast layer
The quickest and simplest train tracks are at ground level or close to ground level.
You will need to provide a solid foundation for your train tracks and many enthusiasts choose to lay their tracks in ballast like real train tracks.
This also looks great.
There are two layers of ballast – the rack ballast layer is the first layer that is tampered down. After the track is in place, you use a fixing or decorative ballast.
Keep In Mind – The scale doesn’t matter (unless you’re doing everything to scale of course, then stone size might be important to you).
Even though the size isn’t important, many people choose their ballast depending on its visual impact.
You should choose something that blends in with the surroundings. Remember, though, that ballast can also change color with age too.
Laying your tracks
With your ballast down, you can begin to lay your track sections and put them into position.
It’s a good idea to lay them all out before fixing any into position so that you can adjust the ballast as appropriate.
You’ll need a spirit level and will have to infill shallow areas or reduce bumps as needed as you fix your tracks into position.
Use the decorative ballast when your tracks are all laid in position.
Check clearances
When your track is laid and you’ve put down the decorative final layer of ballast, you’ll need to ensure that your rolling stock clears all of the ballast.
If you think there are chances of the ballast being disturbed by animals, strimming, or leaf blowing, you can spray it with a PVA solution (diluted).
This will stabilize your ballast. Remember that nothing should come higher than the rail bottom.
Backyard train tracks FAQs
Do backyard train tracks need lots of maintenance?
If you’re enthusiastic enough to build a backyard train track, the chances are you’ll love to tinker with it when it’s finished too!
Once backyard train tracks are installed, you’ll occasionally need to adjust something like the ballast or replace a screw here and there but in general, the maintenance is not a big job.
Is it worth joining a club?
This is a personal choice.
Some people like to join a club before building their own track so that they can get ideas. Others either join afterward or don’t join at all. It’s a very individual choice.
Can I lay backyard train tracks on soft ground?
Absolutely. Many people choose to lay their tracks on their lawn.
If you want a long-lasting permanent feature, using ballast or a hard base is recommended, however.
How much does it cost to lay backyard train tracks?
You can spend anywhere between a few hundred dollars to thousands of dollars.
It all depends on the setup you want. If you’re reclaiming wood and materials, you can keep costs very low indeed!
Final Thoughts
Backyard train tracks are every train enthusiast’s dream – and they’re great fun for all the kids (and big kids) in the family too.
When you decide to build backyard train tracks, you’ll need to plan it out thoroughly before you begin.
This isn’t the sort of project that can be done in one afternoon!
You’ll need patience and precision if you’re going to have a successful end product – and you’ll probably find a few aches and pains from being low to the ground for so long too!
