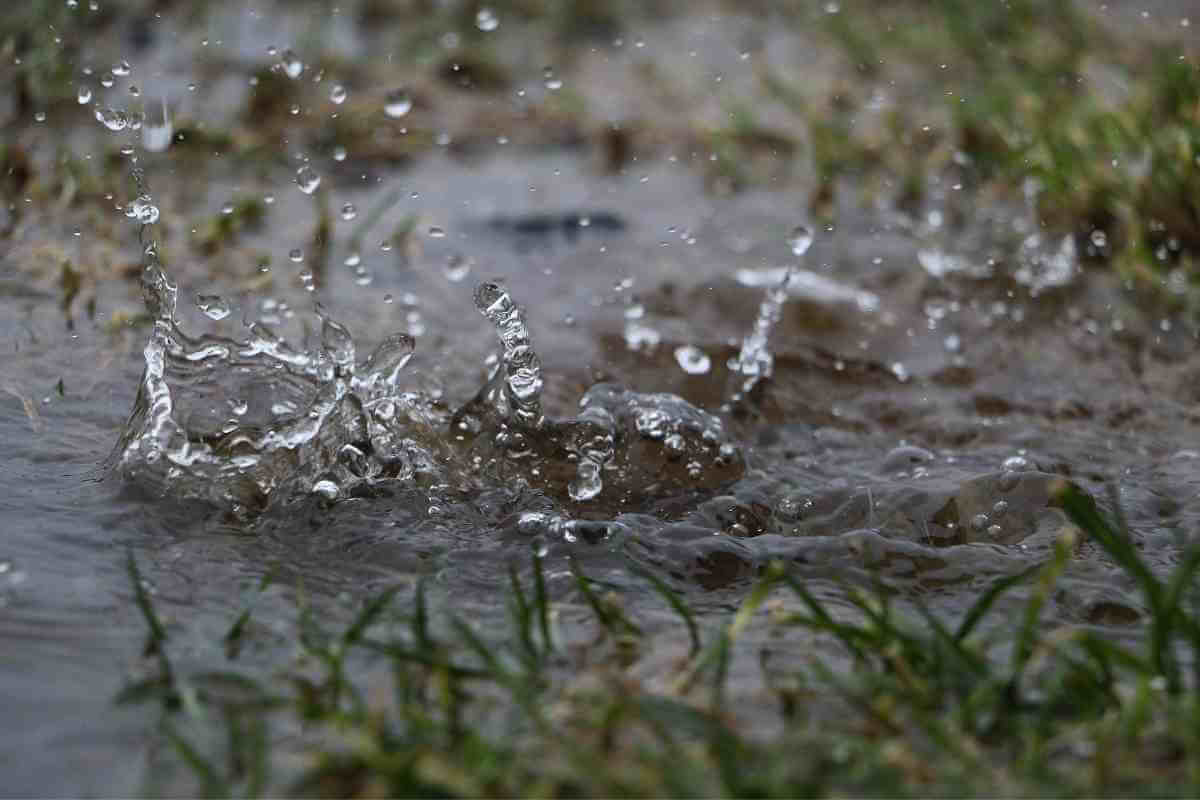
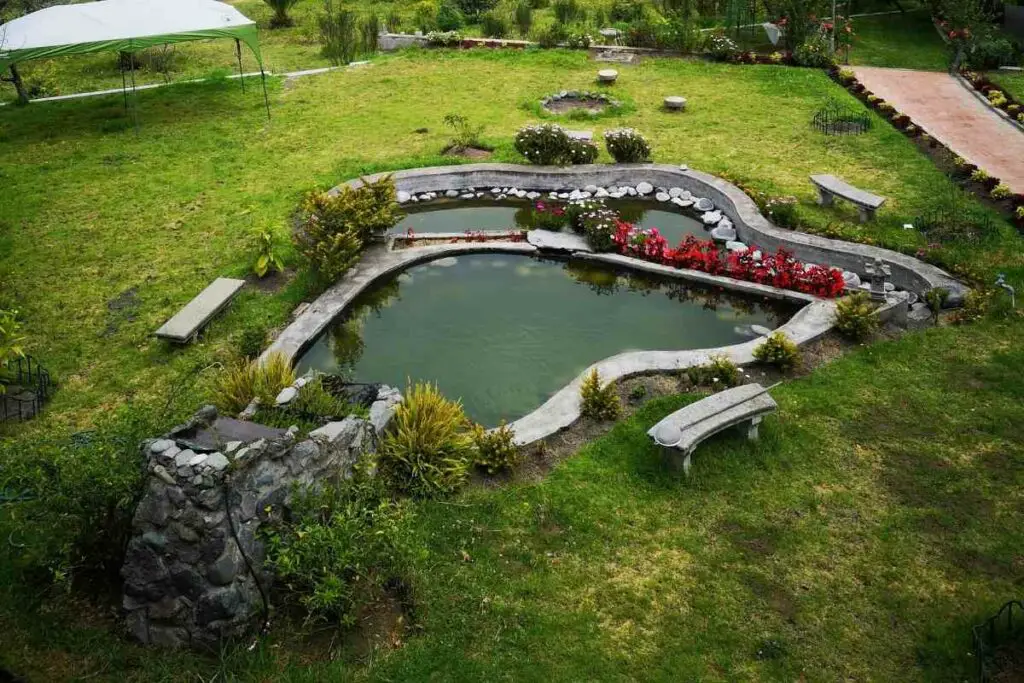
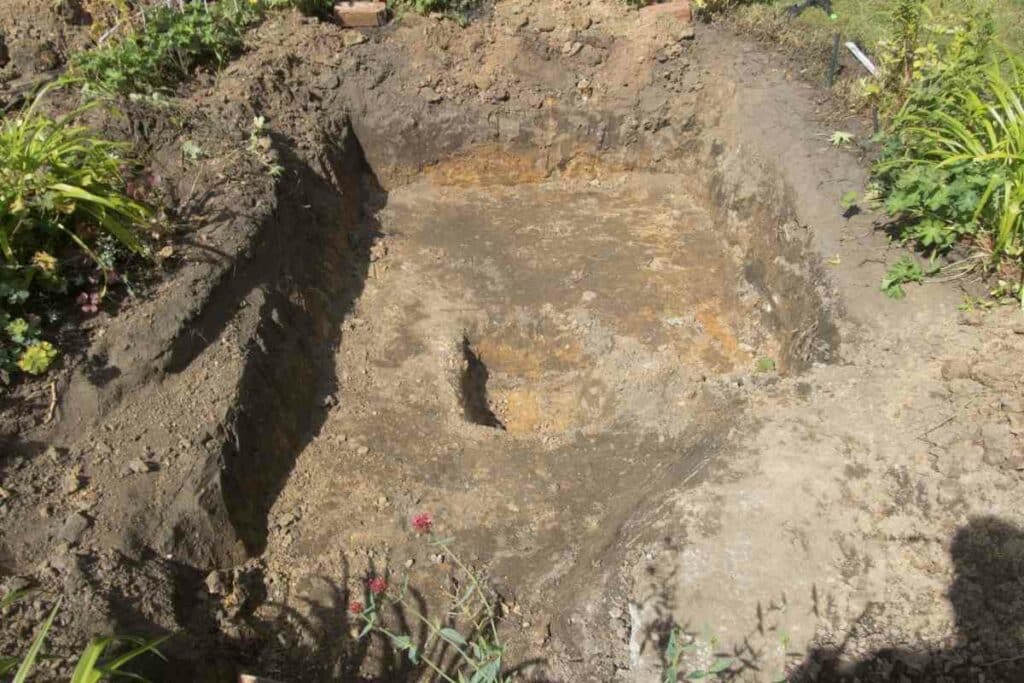
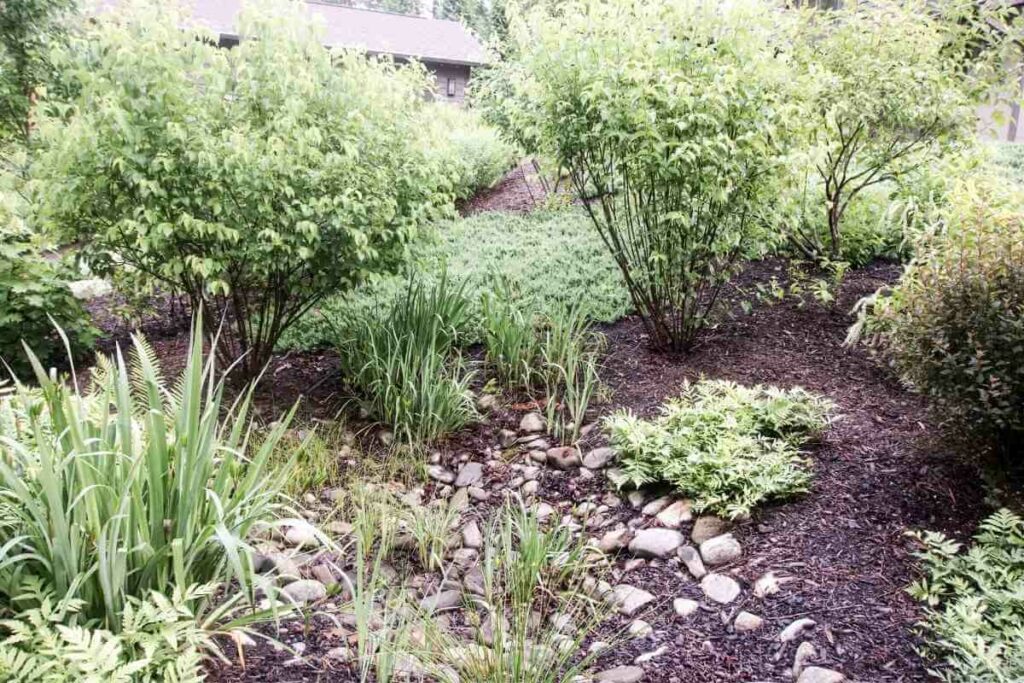
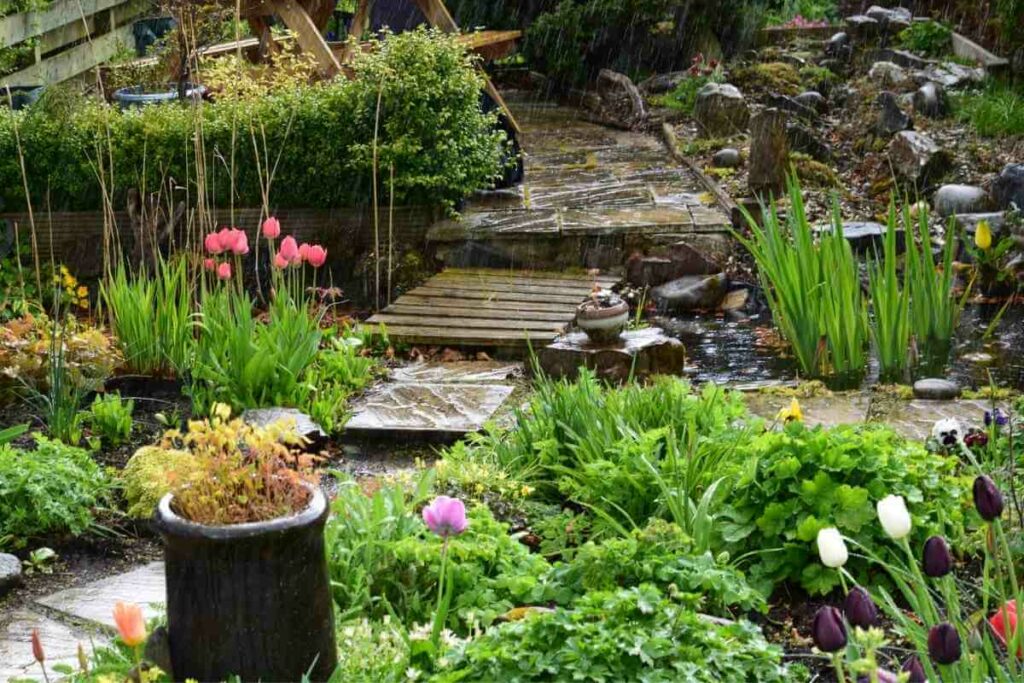
A rain garden, also known as a bioretention cell, is a small garden containing shrubs, flowers, and perennial plants grown in a small depression formed on a natural slope. Its objective is to collect stormwater that runs off your lawn, driveway, and roof when it rains or snows.
After collecting the stormwater, the rain garden uses the concept of bioretention to remove soil and pollutants naturally.
This explains why these gardens require particular types of soil and organic mulch. These filter the stormwater and nourish the plants growing in the garden.
Difference Between Rain Gardens and Traditional Gardens
When designing a rain garden, you start by removing six to twelve inches of soil and replacing it with compost, sand, and tillage to improve infiltration.
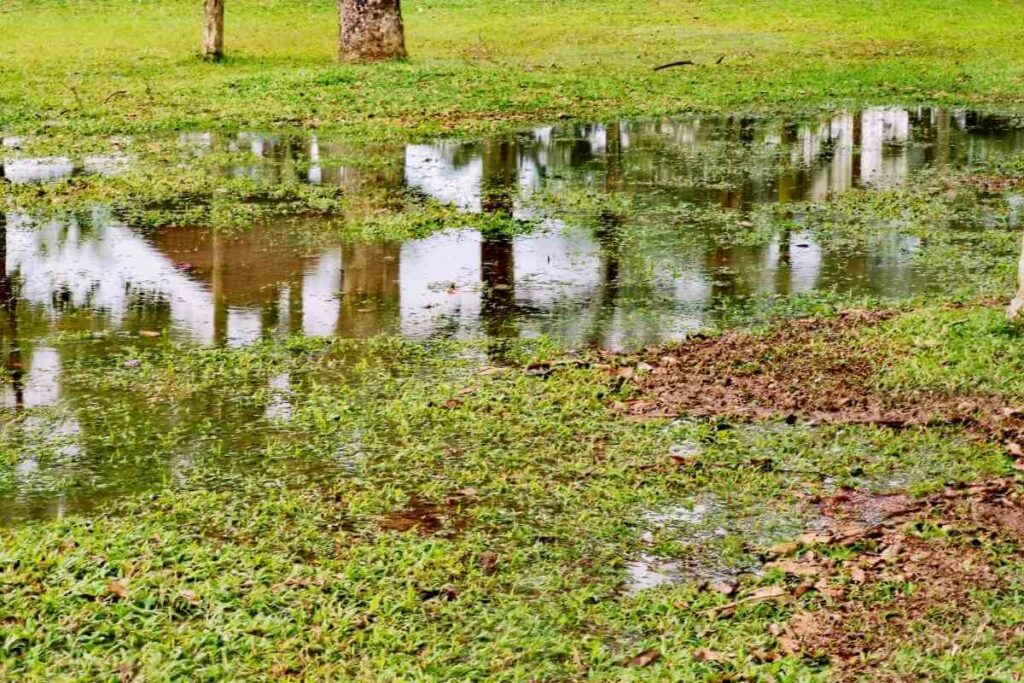
The amount of modification you need to do to your soil depends on its current composition, which is why it’s wise to conduct a soil test.
As mentioned above, rain gardens are constructed on the lower sides of a slope to act as a basin for collecting runoff water.
Once the runoff water settles, it takes up to two days to infiltrate into the soil.
Good News: Because they contain native vegetation, you don’t need fertilizers to grow plants in a rain garden. Also, these structures require little maintenance after the first year.
Benefits of Rain Gardens
Here are the benefits of rain gardens:
- pollution control
- flood prevention
- habitat creation
- water conservation
Pollution Control
Rain gardens remove contaminants such as plant debris, animal waste, and used chemicals from rainwater by capturing the first flush of rain.
When the runoff flows into the garden, it slows down as the soil, and the plants filter it.
Eventually, the solid particles in the stormwater get absorbed into the soil through natural processes such as:
- absorption
- filtration
- and naturally occurring microbes
Flood Prevention
Another benefit of having a rain garden is that it prevents flooding.
Usually, flooding results from the buildup of runoff water.
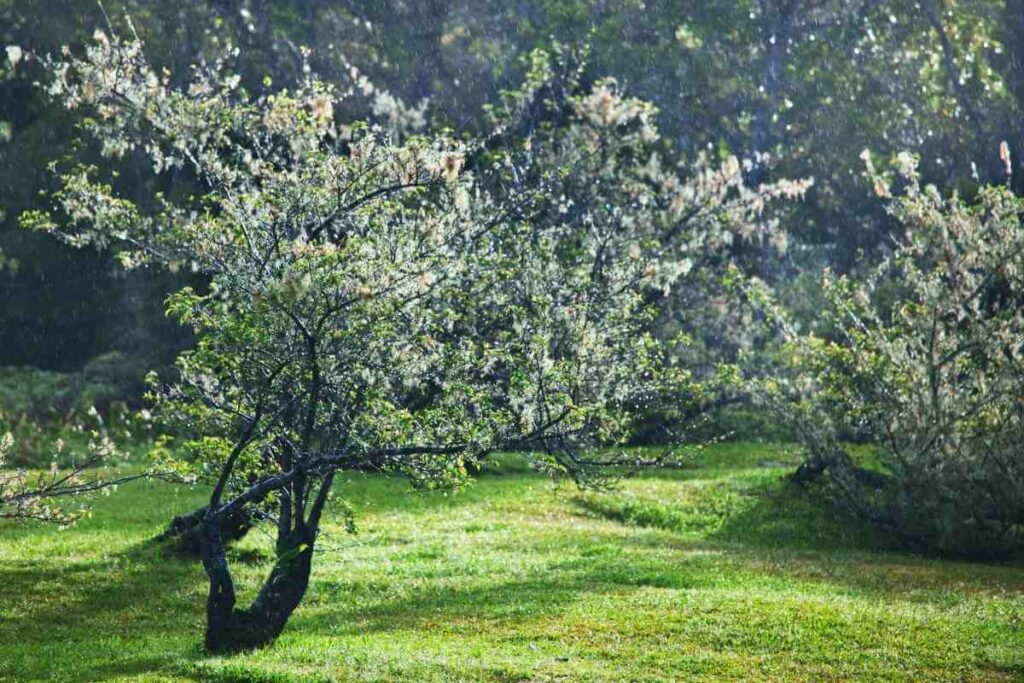
Because the water gets redirected into a garden before being absorbed by plants or seeping into the soil, you are less likely to experience floods.
Besides preventing floods, rain gardens replenish underground water and improve water quality.
Habitat Creation
It’s advisable to grow deep-rooted plants in your rain garden.
This is because they infiltrate water during the rainy season and locate water during the dry season.
Native plants are also more adaptable to harsh climate conditions, meaning they can survive throughout the year.
Moreover, the native plants attract and provide food and shelter for pollinators and wildlife.
Some organisms that get habitat from native plants include:
- birds
- butterflies
- bees
- and other beneficial insects
Water Conservation
Rain gardens regulate the infiltration of rainwater into the ground.
By doing this, these gardens eliminate the need for using water from a public supply company.
This is a smart way of conserving water and the environment while lowering your electricity bill.
Factors to Consider Before Building a Rain Garden
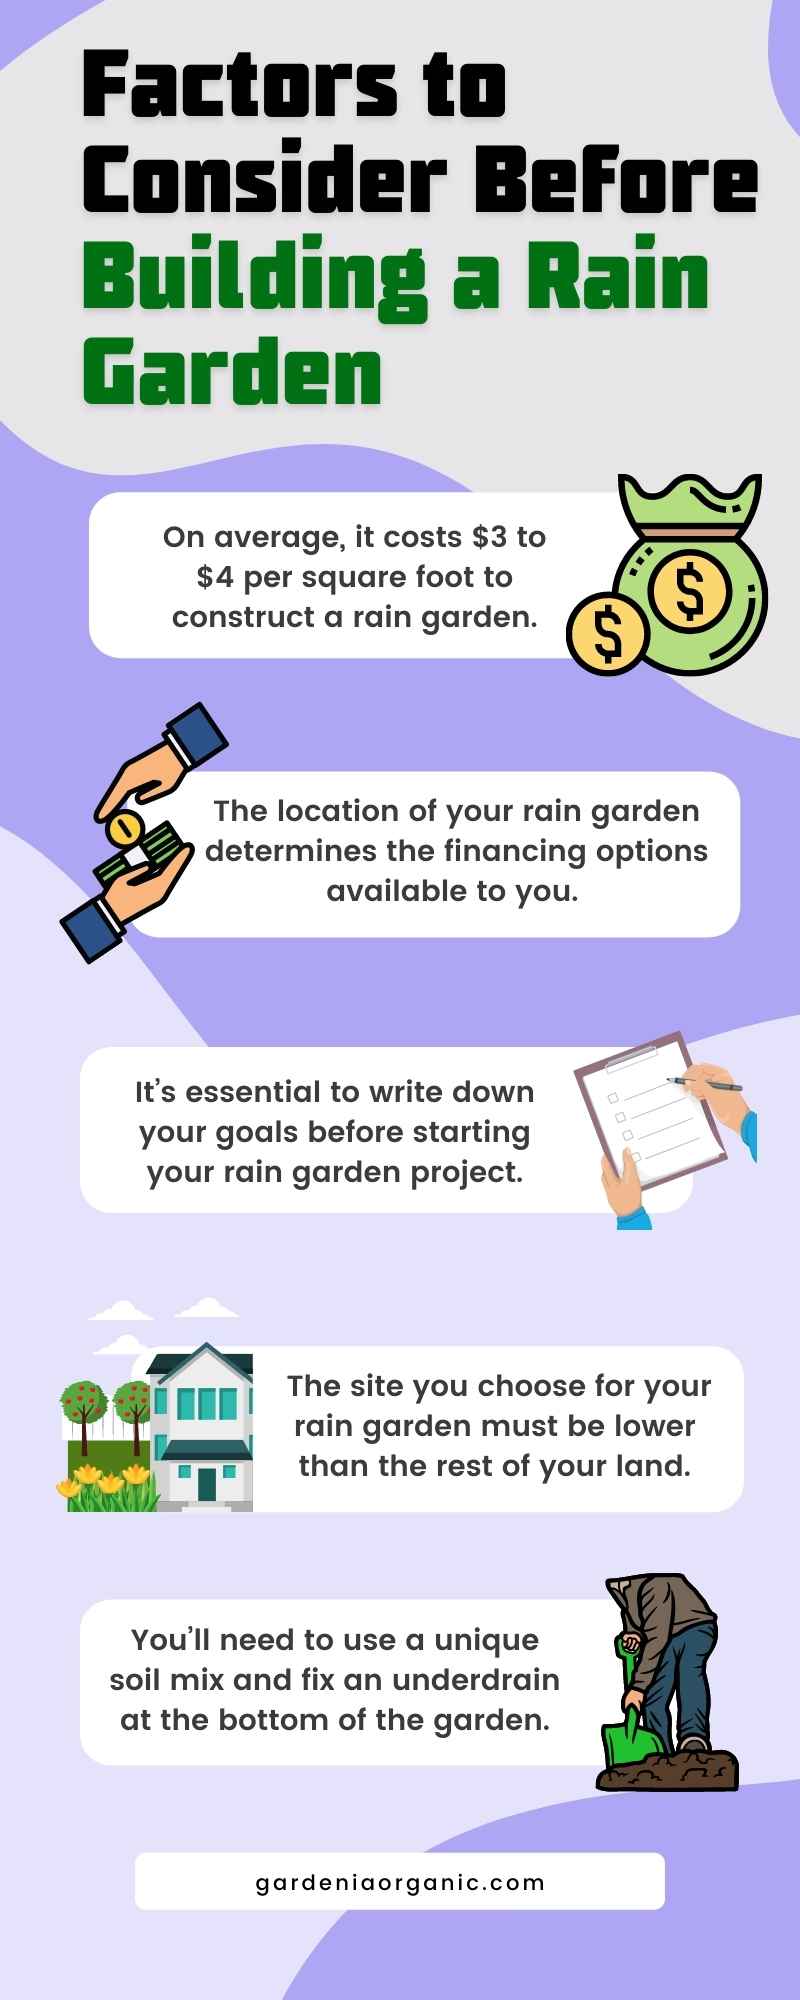
Before you start constructing a rain garden, here are the factors you need to consider.
Cost
On average, it costs $3 to $4 per square foot to construct a rain garden, depending on the condition of the soil and the type of plants you intend to grow.
If it’s in a commercial setting, these costs can soar up to ten times.
Installing a rain garden is more expensive than general landscaping.
Keep In Mind: The additional costs are due to the increased number of plants, the need for excavation, and the cost of acquiring backfill material.
Financing
The location of your rain garden determines the financing options available to you.
If you intend to build it on public land, you’re likely to get a grant.
The local government can also fund such a project.
However, if you plan to build a garden in your home, you will have to use your savings or seek help from lending institutions.
Objectives
Regardless of your objective, it’s essential to write down your goals before starting your rain garden project.
Some goals include reducing the negative impacts of stormwater, conserving the environment, preventing floods, etc.
It’s worth noting that your objectives and target audience determine if you hire a contractor or take the DIY approach.
While doing it yourself gives you a sense of accomplishment, it can’t be practical if you want a large rain garden.
Construction Site
The site you choose for your rain garden must be lower than the rest of your land to allow runoff water to flow easily. If not, it should be a place that requires minor modification.
Additionally, the rain garden must be far from other buildings to prevent their foundations from water damage.
For buildings with basements, the minimum distance between the garden and the structures should be at least 25 feet. If there is no basement, five feet is enough.
Plan Ahead: When constructing rain gardens, it’s also vital to check out underground utilities such as water pipes, natural gas supplies, electric wires, and telephone posts. The chosen site should be at least three feet from these structures.
Soil
Ideally, the construction site for your rain garden should have uncompacted soil with a small amount of clay.
However, this is not always the case because the construction of buildings usually compacts the soil.
For this reason, you’ll need to use a unique soil mix and fix an underdrain at the bottom of the garden.
How to Construct a Rain Garden
The following is a systematic guide on how to construct a rain garden yourself.
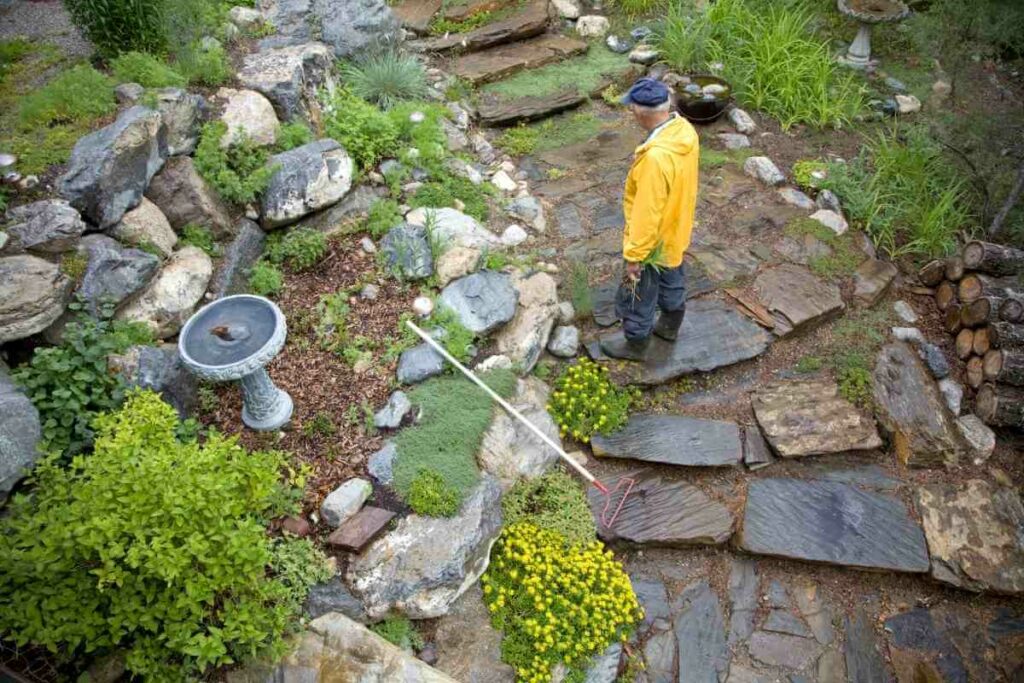
Materials
Here are the items you need for a rain garden construction project.
Procedure
- Start by constructing curb openings that will let in the runoff water. However, it would be best to block these openings until the construction is complete to prevent drainage from entering the site.
- Add compost berm and straw bales to the area surrounding the rain garden. These prevent sediments from getting into the bioretention area.
- Next, excavate the bioretention area. Ensure that you don’t compact the soil while digging up the hole.
- After excavation, fix an underdrain system. Remember to cover the drainage pipe after installation, preferably with pea gravel.
- Add eight inches of the special mix soil (two inches at a time) to the bioretention area. As you add the soil, saturate it with water and let it drain before adding more.
- Once the water drains, bury the native plants into the soil and rake it. Then, add mulch to the topsoil.
Maintaining Your Rain Garden
Although minimal, a rain garden needs maintenance to keep it in good condition.

Below is all you need to do to ensure that your bioretention area remains functional.
General Maintenance
Whenever it rains, inspect the garden to confirm if the drainage is still functional.
The water should dissipate in four to six hours, depending on the size of your river garden. The time might also be longer if the weather is cold.
Soil
Ensure that you evaluate the condition of the soil in your rain garden at least once monthly.
If the soil is compact, add some pebbles to create drainage paths and stabilize erosion.
From Experience: It’s also crucial to check the soil chemistry, especially the pH. If it’s below the recommended levels, apply an alkaline product such as limestone to return it to normal.
Mulch
Once you tend to the soil, check if the mulch has decomposed and replace it if necessary.
After every six months, add a fresh layer of mulch, preferably on the onset of spring and autumn.
Remove the old layer after two to three years and replace it with a new one.
Plants
Water the plants consistently for at least two weeks after planting unless there is adequate rainfall.
After every four weeks, monitor the plants for possible pest attacks or diseases. If there’s an infestation, try to use organic control methods.
If a plant dies, remove and replace it immediately.
Before this, try to combat the symptoms of death, such as brown and spotted leaves, leaf loss, wilting, etc. also, remove weeds to enable the plants to thrive fast.
Fertilizers
Never apply fertilizers to your rain garden, as the soil has an abundance of nutrients.
Moreover, the native plants can quickly adapt to harsh conditions, so you don’t need extra fertilizer.
Weeding
Interestingly, rain gardens can infiltrate water even when they’re full of weeds.
The problem with weeds is they hinder the fast growth of native plants because the two compete for nutrients.
This is why you should pull out weeds whenever you spot them.
Wrapping Up
If you’re struggling with excess runoff water in your premises, it’s time to invest in a rain garden.
These structures require little maintenance and provide a permanent solution to floods, erosion, and other issues caused by stormwater.
What’s more, you can construct them yourself, especially if it’s a small project.
Lastly, the native plants and flowers can be a beautiful addition to your outdoor space.
Also Helpful
- What Should I Put in the Bottom of My Wildlife Pond?
- Backyard Oasis With Pool: Creating a Relaxing Retreat in Your Backyard
- How to Find Pond Leak (Quick Method to Find the Leaks)
- Pool Ledge Lounger – Complete Buyers Guide
- Do Garden Ponds Overflow When It Rains
- How To Fill A Pond With Water (Complete Guide)
