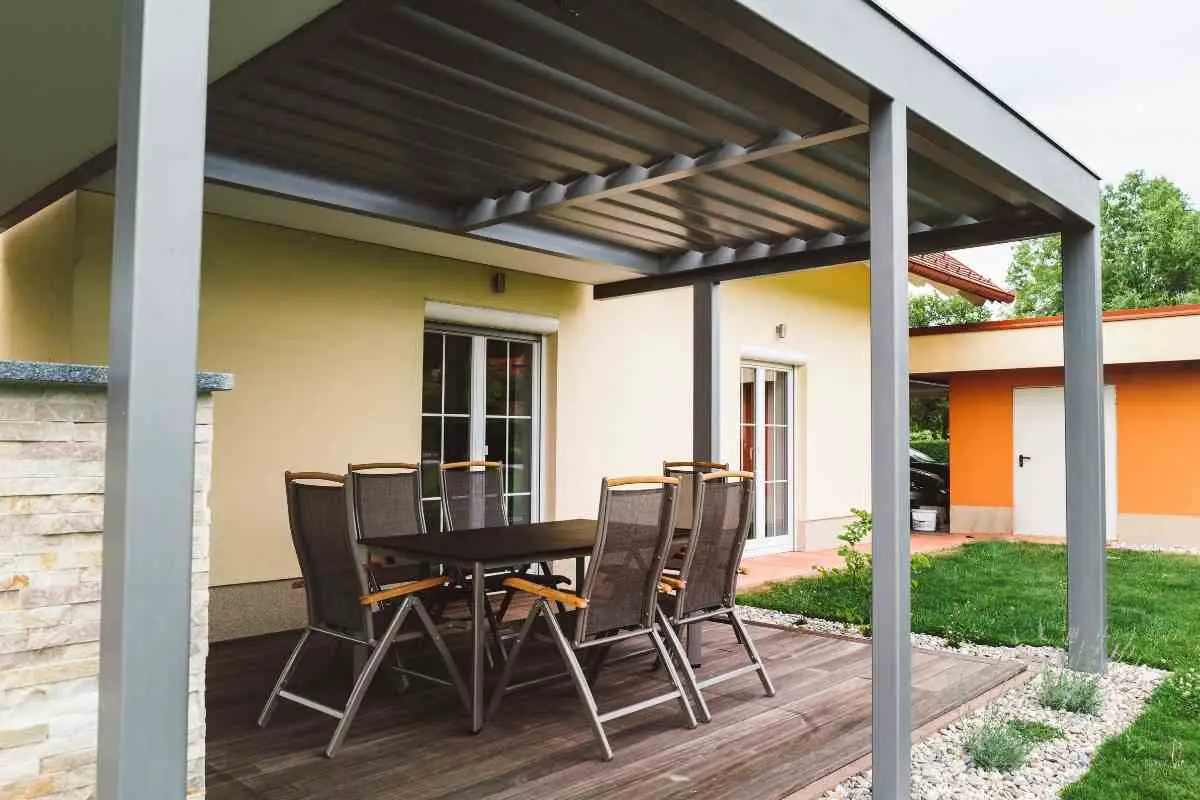
Hanging string lights is pretty easy when you have a wooden pergola, but what about if your pergola is metal?
Aluminum to be precise.
Well, it’s certainly a lot trickier! With wood, the biggest challenge you have is making sure that the wires are all straight and neat.
With aluminum, however, you’ve got to think outside of the box when it comes to attaching them to the pergola.
Since metal pergolas are becoming more and more popular, we decided to put together this guide on how to hang string lights on aluminum pergolas.
Read on to find out everything you need and all your options for hanging up your string lights on metal.
What are metal (aluminum) pergolas?
If you don’t know what a pergola is, then we’ll give you the lowdown on this first!
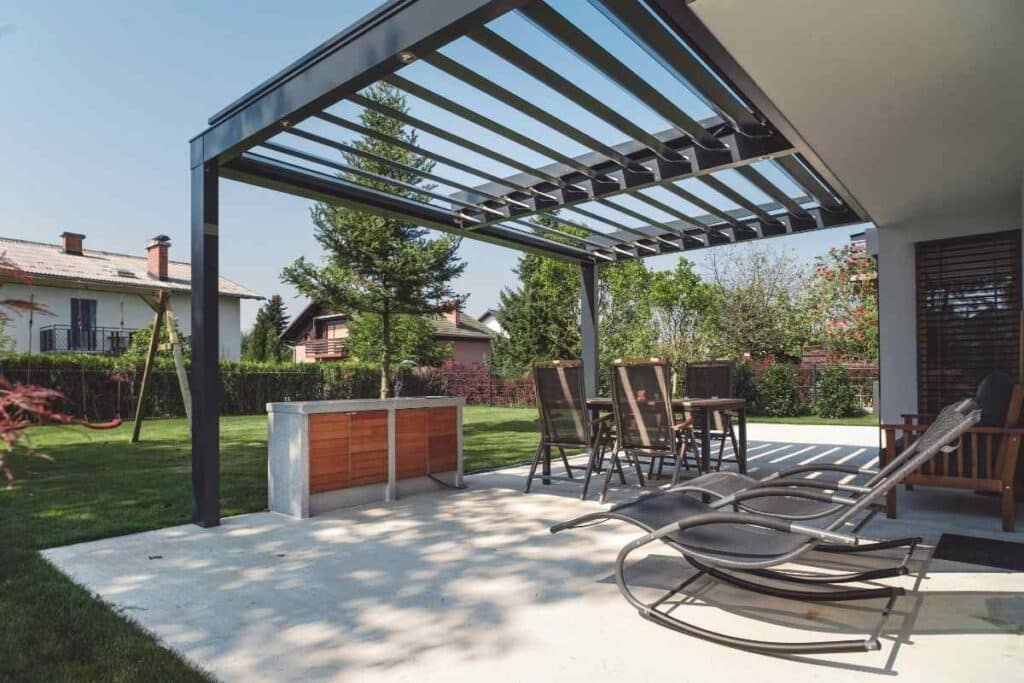
A pergola is a garden feature whose purpose is to create a shaded sitting area, passageway, or walkway.
It is made of vertical pillars or posts that support some crossbeams, a lattice or both. Pergolas often have trained woody vines climbing up and over them to create shade.
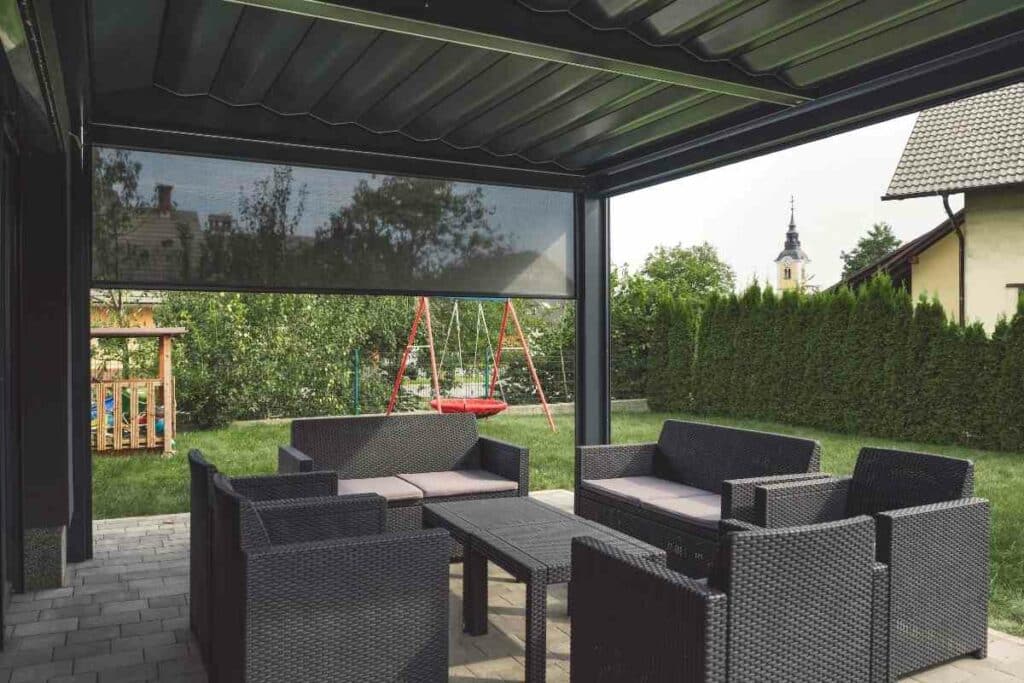
The word pergola originates from pergola, which is Latin for a projecting eave, but the English term is from the Italian, pergola.
The term was first mentioned in 1645 by the English writer John Evelyn in Rome.
Pergolas aren’t designed to keep off the elements.
Rather, they’re a shady, decorative space that enhances a backyard and home.
If the pergola is freestanding, it’s technically not a pergola but an arbor. True pergolas are attached to walls.
How to attach string lights to an aluminum pergola

If you’ve previously had a wooden pergola, you’ll know that hanging string lights to it is a twenty-minute job.
You’ll also have realized that there are various simple ways of attaching them too.
However, when you have a metal pergola, you can’t use many of the same methods.
Let’s look at these alternative options to hanging string lights.
1. Don’t hang, just wrap
Depending on the type of string lights you have, it might be possible for you to wrap the lights around the pergola beams without the need for any securing.

This option is best if you have small bulbs and won’t work well with large ones.
With this wrapping method, you’ll also need longer lights (or more sets of string lights) as the wrapping will take up some of the length.
This could cause issues with electricity and outlets as if you use more than one set of string lights, you’d probably want to start them at different places.
You can, however, use outdoor lights that don’t need electricity.
2. Cable ties
Plastic cable ties are a great option for attaching your light wires to a metal frame.
All you need to do is lay the string light in the place you want then wrap the cable tie around the pergola and the wire and secure in place.
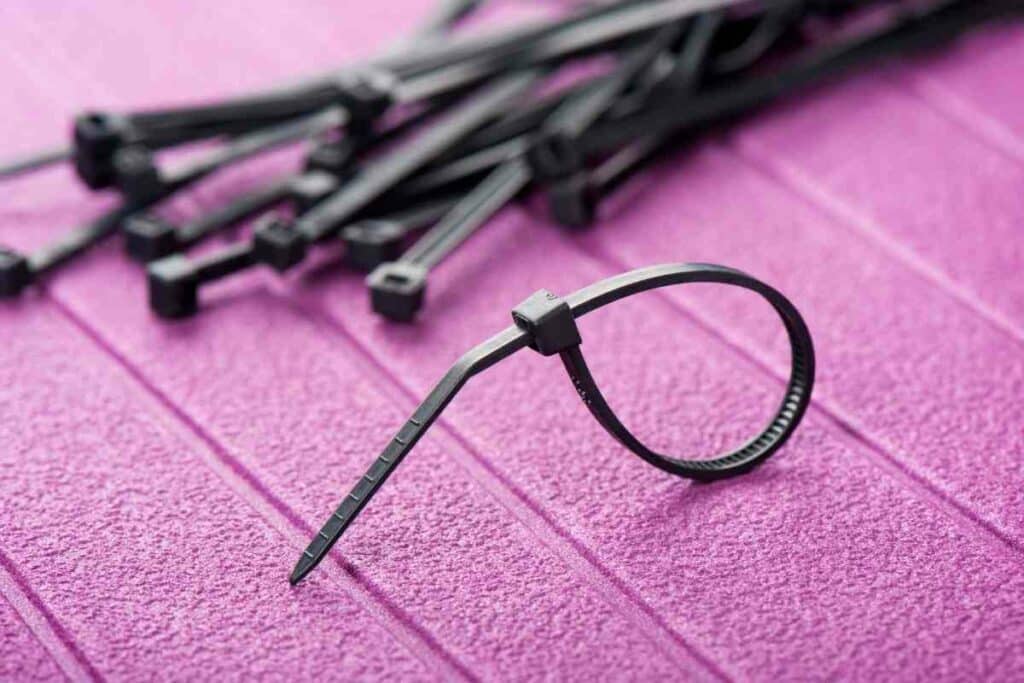
Cable ties are one-use fixings, and they’ll need cutting to remove but they’ll last a long time.
They’re readily available in all sorts of colors too – even translucent, so you can get them to blend in with the pergola.
Works Fine – If you don’t have cable ties to hand, string or wire ties will do the job too.
3. Create a chandelier
If you want to show off your decorative and creative side, use string lights to make your own chandelier.
For this, you’ll need:
- a metal hoop
- some wire
- some metal paint
- and your string lights
Firstly, paint the hoop with the metal paint (a can of spray paint is best).

Either use a color that matches your pergola or the wires of the string lights.
With your loop painted and dry, use pieces of wire spread evenly along the hoop.
This will be where the lights are attached so an even spread is important. Make these wires long enough that they will be able to hold your light wires in place.
With the wires in place, attach your string lights in place.
You’ve then got a homemade chandelier and you’ll only need to attach this to one point in the center of your pergola.
4. Hooks and anchors
Though time-consuming, adding anchors to your pergola will mean you have a permanent, effective solution for hanging string lights.
For this, you’ll need a drill to create holes in the aluminum wherever you want a hook to go.
It’s important to choose the right drill bit and hole size for the hooks and anchors you plan to use.
You should also make sure you used galvanized hooks and anchors so that they won’t rust or corrode when they’re exposed to the elements.
When you’ve created the holes, insert your anchors, and screw your hooks into place facing upward.
With the hooks in place, you’ll then be able to hand string lights in whatever way you want.
If you want to secure the lights further, you can still use plastic ties to secure them exactly as you wish.
When Using This Method – You should be wary of ensuring you know what you’re doing as drilling into aluminum will mean you’re permanently altering your pergola and if you go wrong, you won’t be able to undo the damage.
FAQs on how to hang lights on aluminum pergolas
What type of drill bit should I use for aluminum?
If you’re going to drill your pergola to install hooks and anchors, you’ll need to use a suitable drill bit.
Since aluminum is soft, you can get away with a standard drill bit. However, because this metal has a low melting point, the best choice would be a cobalt drill bit as this will dissipate heat more quickly and reduce how hot the metals get.
If drilling aluminum, what speed should I use?
The recommended speed to drill aluminum is 200 rpm to 300 rpm. A slower drill speed is important in reducing heat build-up.
Do I need lubrication when drilling aluminum?
It’s always a good idea to use a lubricant to reduce friction and minimize the heat build-up.
Final thoughts on how to hand string lights on an aluminum pergola
So, there you have it, four different ways to hang string lights on a metal pergola.
All methods are great ways, but some are more permanent than others.
The most important deciding factor is your pergola design and how easy it is to use cable ties or hooks and anchors.
Putting holes in a pergola with a drill can’t be undone, so make sure you’re sure that this is the method you want to use before you choose it!
